Creative DIY Wall Sconce Ideas to Light Up Any Room
Want to add creative lighting to your room but are tired of the same old styles or overpriced options? You’re not alone. Most store-bought wall sconces either don’t fit your vibe or cost way more than they should.
But here’s the good news, you don’t need to spend a lot or settle for something you don’t love. You can actually make your wall sconces using simple tools, items from the dollar store, or things you already have at home.
In this blog, I’ll show you easy, creative DIY wall sconce ideas that work if you’re renting, on a budget, or just like doing things yourself.
You’ll get tips on different types of sconces, the tools and materials you’ll need, and step-by-step guides. From battery-powered hacks to wired options, you’ll find something that lights up your space and feels great.
Ready to brighten your walls without breaking the bank?
Choosing the Right DIY Sconce for Your Space
Before you start crafting, it helps to know which kind of wall sconce fits your space, your tools, and your comfort level.
Match Your Sconce to Your Skill Level
- New to DIY? Go for battery-operated sconces or Dollar Tree hacks they’re simple, safe, and don’t need wires or drills.
- Intermediate? Try a plug-in design using thrifted parts. You’ll get more light and still avoid dealing with wiring.
- Experienced or ready for a challenge? A hardwired sconce gives a long-lasting, pro look. Just follow safety tips or call an electrician if needed.
Pick Based on Your Room and Needs
- Use battery sconces in hallways, rentals, or dorms—anywhere you don’t want to make holes or run cords.
- Plug-in sconces are great for bedside lighting, reading nooks, or areas near outlets.
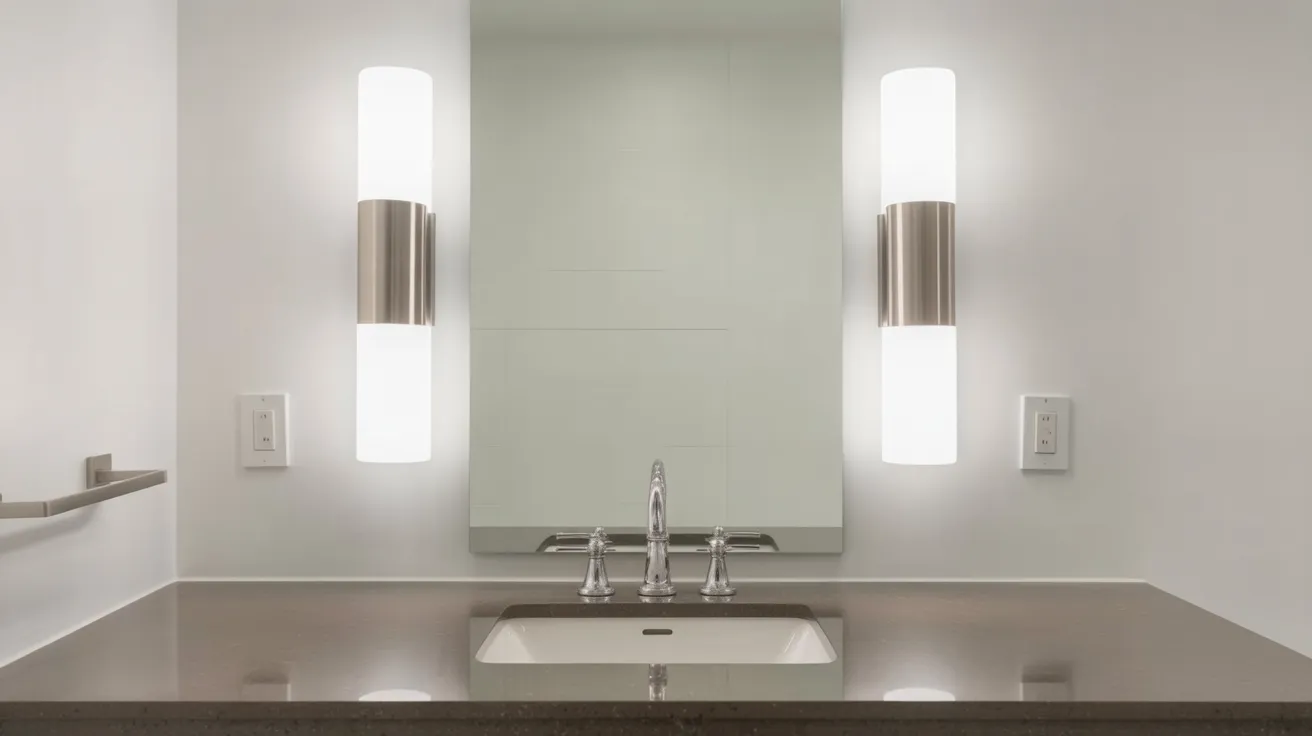
- For bathrooms, entries, or long-term updates, go with hardwired sconces for a clean, built-in style.
Types of Wall Sconces You Can DIY
Choose the right type of DIY sconce based on your skills, budget, and how permanent you want the lighting to be.
1. Battery-Operated Sconces
Battery sconces are easy to install no wires, just command strips or screws. They’re great for renters or anyone avoiding tools. Use puck lights or battery candles for soft light.
The downside? You’ll need to change batteries often, and the light output is lower. Still, they offer freedom to place lighting anywhere and are perfect for temporary setups or low-light accenting without electrical work.
2. Plug-In Sconces

Plug-in sconces offer the best of both worlds: more brightness than battery-powered options, and no need to mess with wiring. You can DIY them using thrifted lamp parts or wall-mounted fixtures.
Add a cord cover or run the cord behind furniture to keep things tidy. They’re great for living rooms or bedside stands. Plus, if you change your mind, you can move them easily.
3. Hardwired Wall Sconces
Hardwired sconces look polished and permanent. They’re best if you want to match your home’s lighting setup or increase resale appeal.
You can DIY the look, but if you’re not experienced, it’s smart to hire an electrician for safety. These sconces are great in bathrooms or hallways.
Once installed, they require no batteries or cords, just switch them on. They’re a more lasting option but require planning.
DIY Wall Sconce: Step-by-Step Instructions
Making your own wall sconce is easier than it seems. These simple step-by-step guides will help you build, decorate, and install your favorite style safely.
1. Simple Battery Sconce Tutorial
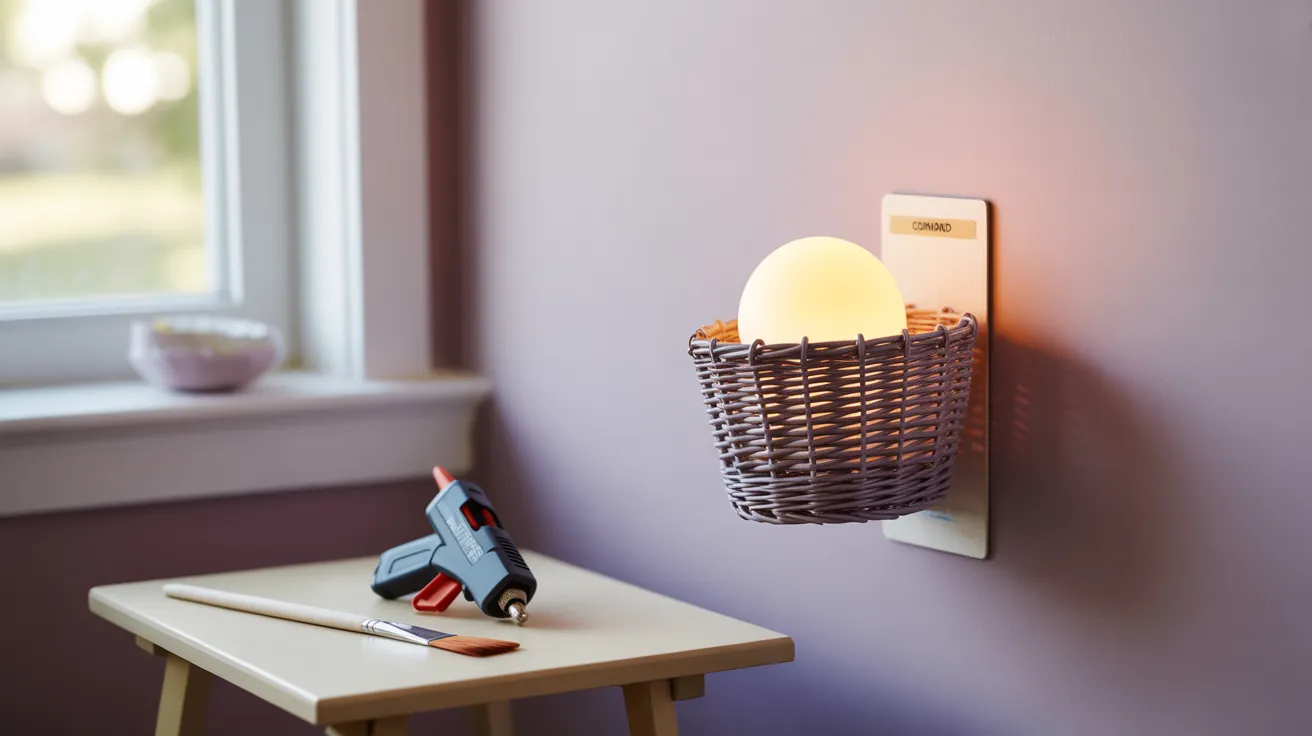
A great no-wire option for beginners. Quick to make and easy to hang, perfect for apartments or temporary spaces.
Materials List:
- Battery-operated puck lights
- Small decorative baskets or jars
- Mounting tape or Command strips
- Paint or fabric (optional for decorating)
- Scissors, glue gun
Assembly Steps:
- Paint or decorate your basket or jar if you like. Let it dry completely.
- Stick the puck light inside the basket using mounting tape or a glue dot.
- Make sure the light is easily removable so you can replace the batteries.
2. Plug-In Wall Sconce With Fabric Shade

This adds style and function. Use a plug-in light kit and custom fabric shade for a soft, cozy glow.
Materials List:
- Plug-in light socket with cord
- Wood board (approx. 10″ tall and 4–5″ wide)
- Wood stain or paint
- Wire rings
- Fabric for shade
- Hot glue gun and glue sticks
- Small LED light bulb
- Mounting screws
How to Build the Base and Shade:
- Cut a piece of wood for your base—about 10″ tall and 4–5″ wide works well.
- Stain or paint it to match your room.
- Attach a light socket with a cord (plug-in style) to the base.
- Make a shade using wire rings and fabric. Hot glue fabric to the frame or wrap it tightly and tie off.
- Screw in a small LED bulb and test it.
3. Hardwired Wood Frame Sconce

Best for long-term use. This one looks professional but needs care. If wiring isn’t your thing, ask a pro to help.
Materials List:
- Light fixture with wiring
- Wood frame or mounting board
- Mounting screws or brackets
- Wire nuts and electrical tape
- Circuit tester
- Screwdriver, drill
- Drywall saw (if cutting into the wall)
Prepping the Wall:
- Choose your sconce placement and mark the spot.
- Turn off the power to that area from your circuit breaker.
- Cut a hole in the drywall if new wiring is needed, or use an existing electrical box.
Wiring Basics (with Safety Warnings):
- Attach the wires from your sconce to the wall wires white to white, black to black, ground to ground.
- Use wire nuts and electrical tape to secure connections.
- Mount the wood frame to the wall using screws or brackets.
- If you’re unsure, hire a licensed electrician. Safety first.
Creative DIY Wall Sconce Ideas
Simple and stylish wall sconces you can make at home using everyday materials for a rustic, modern, vintage, or glam look.
1. Upcycled Wall Sconces
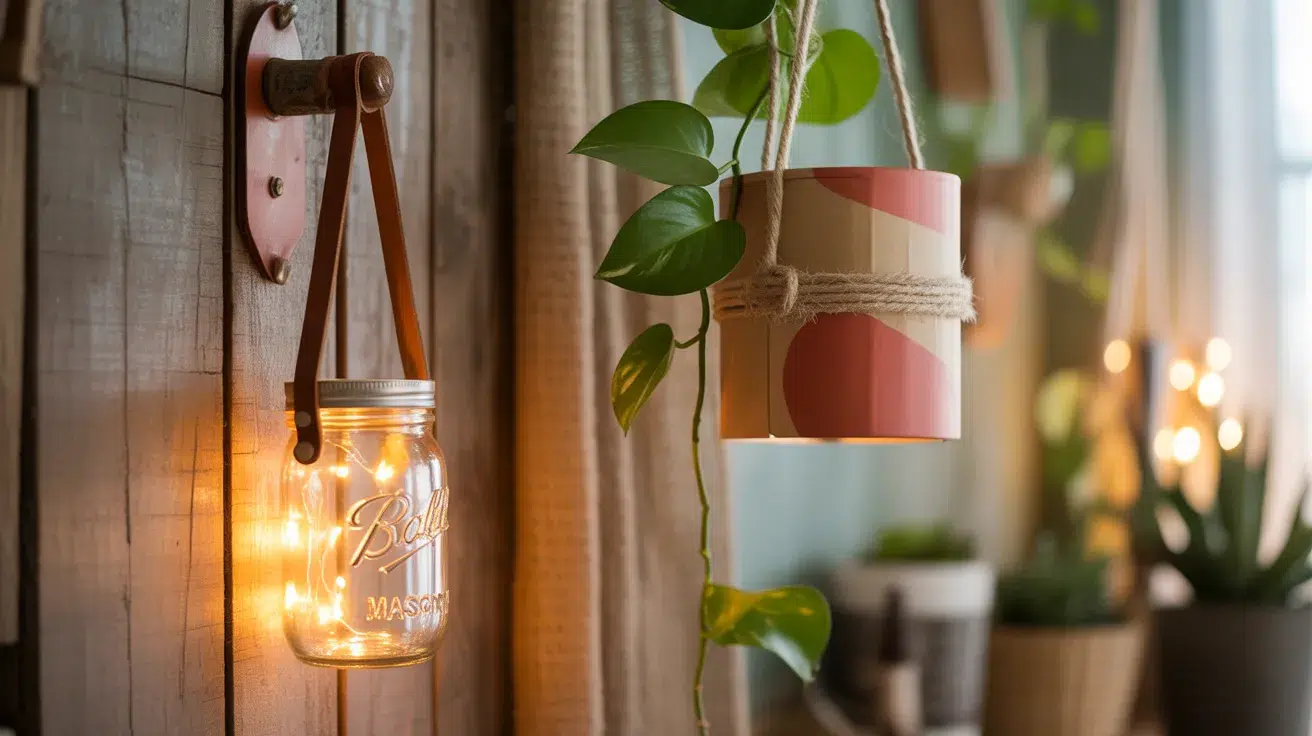
Turn old items like mason jars, wooden bowls, or cardboard mailing tubes into rustic wall sconces. Use twine or leather straps to hang them.
Add fairy lights or LED candles for a warm glow. These are perfect for boho rooms, entryways, or cozy corners. Paint the materials or leave them raw for that natural charm. It’s an easy and affordable way to reuse everyday items creatively.
2. Dollar Tree Sconce Hacks
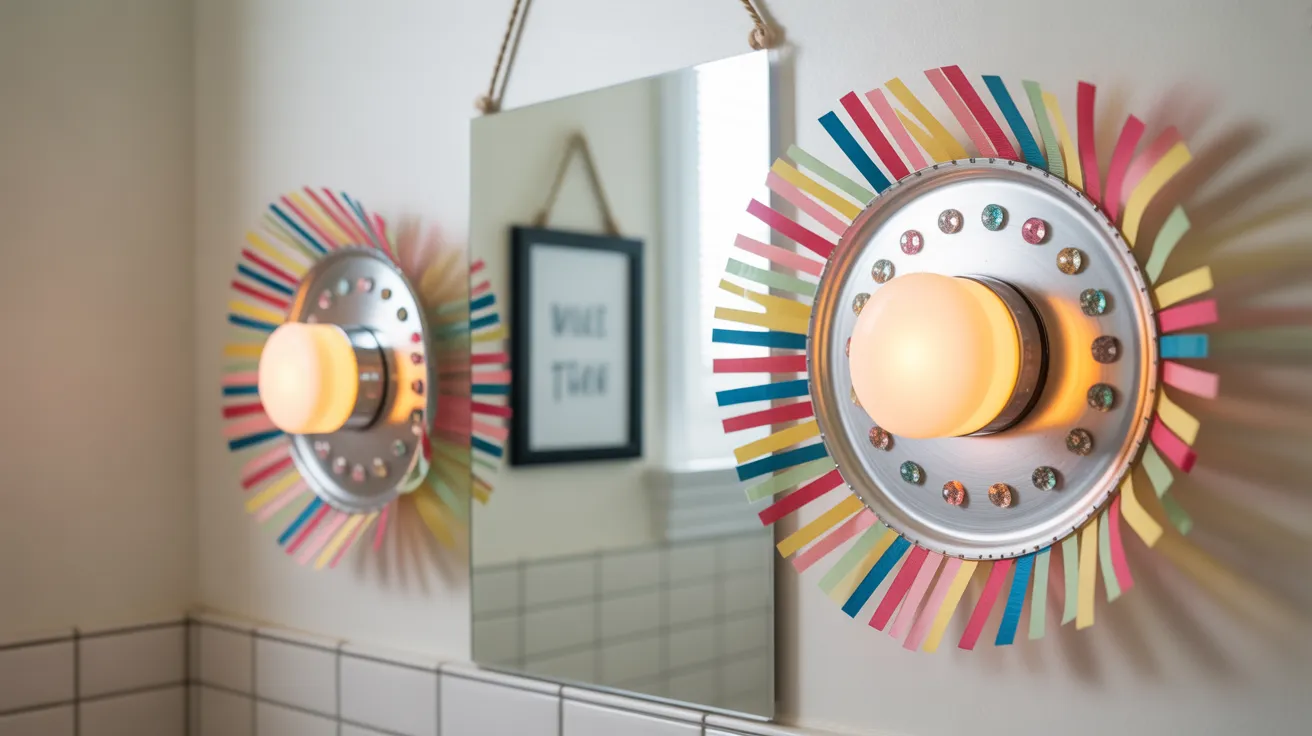
Grab ribbon, metal trays, and battery-operated puck lights from Dollar Tree for budget-friendly DIY sconces.
Glue a puck light to the tray, wrap ribbon around the edge, and mount it on the wall. You can paint the trays or use adhesive gems for flair.
These work great in small rooms, hallways, or bathrooms. It’s a fun weekend project that gives you stylish lighting without spending much at all.
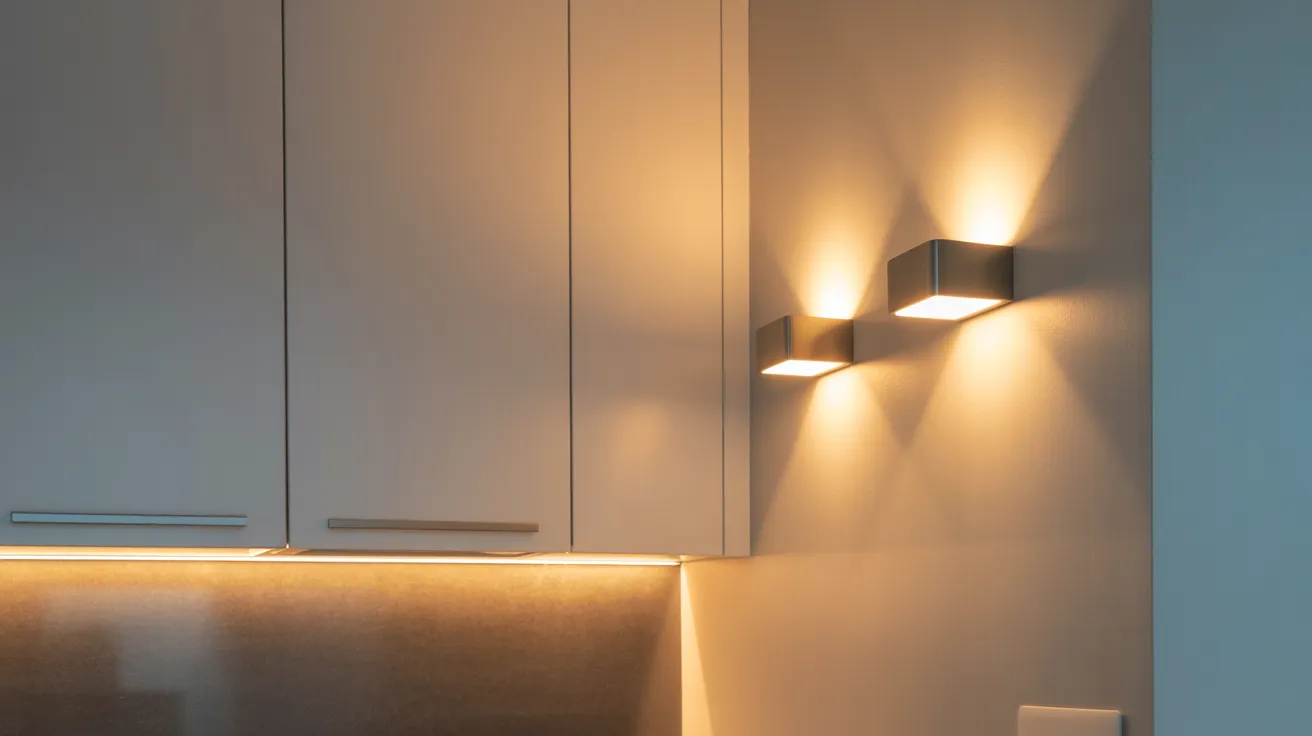
3. Glam and Fluted DIY Sconces

Create glamorous sconces using half-round wooden dowels and textured paint. Glue the dowels side by side onto a wooden board to form a fluted surface.
Paint in gold, matte black, or plaster white for a luxe finish. Add a puck light or globe bulb on top. These modern sconces look great in bedrooms or living rooms. They’re chic, bold, and surprisingly easy to make with simple materials.
4. Candle and Vintage Sconces
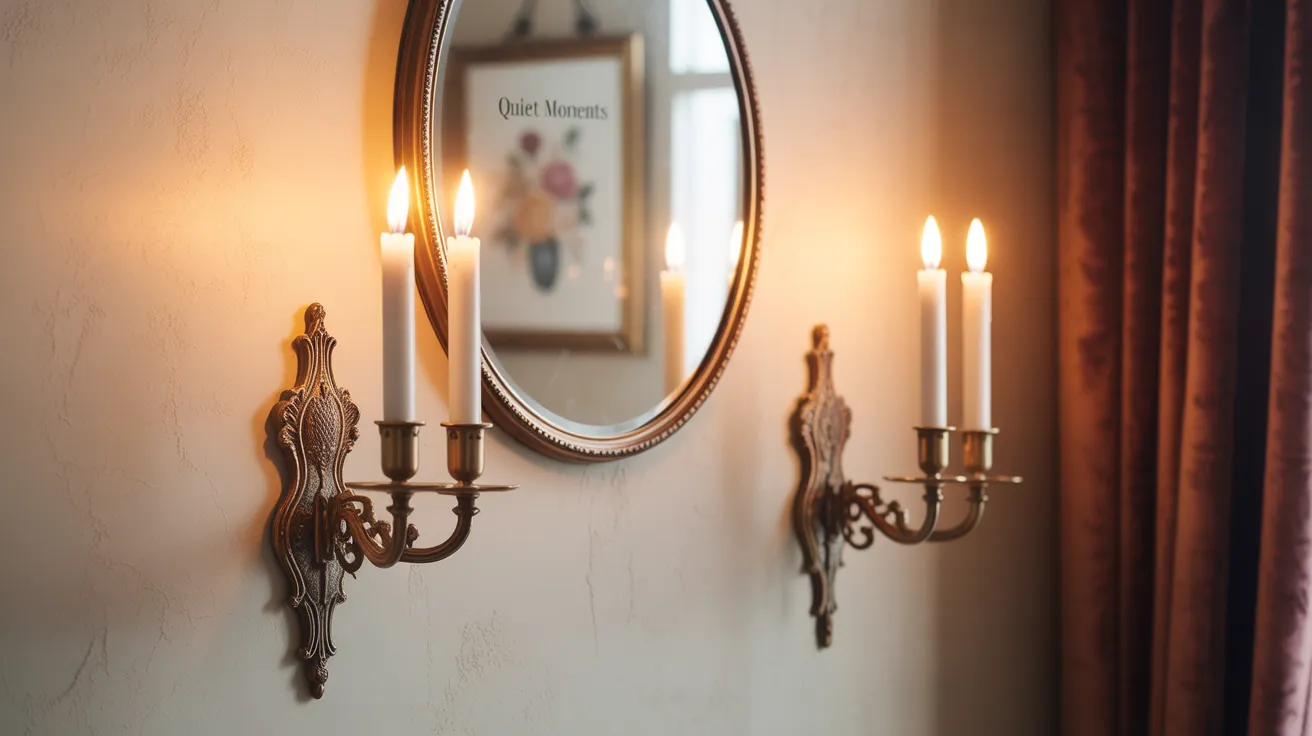
Use antique-looking candle holders or thrifted wall brackets to make vintage-style sconces. Add taper candles, glass votives, or battery-powered versions for safety.
These non-electric sconces bring old-world charm and a soft, flickering light to your space.
Try them in hallways, bathrooms, or reading nooks. Pair them with vintage mirrors or floral artwork for an extra cozy, timeless feel. They’re romantic and full of character.
Tips for Hanging Wall Sconces
Installing a wall sconce correctly keeps it safe and looking good. Here are tips to help you do it right.
- Mount sconces 60 to 72 inches from the floor (eye level is best).
- In hallways, space sconces about 6 to 8 feet apart.
- Keep 12–18 inches from mirrors or artwork for balance.
- Use studs or wall anchors for heavy fixtures.
- Turn off the power at the breaker box before wiring.
- Use a circuit tester to double-check wires are safe.
- Never install near wet areas without proper protection
Final Thought
You don’t need a big budget or fancy tools to create lighting that feels right for your home. I’ve tried it myself—from simple battery sconces to bold builds and it does make a difference.
If one of these ideas caught your eye, give it a shot. Start with something small, enjoy the process, and see how it changes your space.
These projects aren’t just about saving money, they’re about making your home feel more like you, one step at a time.
And if you liked what you saw here, send this blog to a friend who’s ready to add their own DIY touch. It’s always more fun when you share the inspiration.