
Crafting Decoupage Pumpkins: A Step-by-Step Guide to Fall Perfection
Decoupaging pumpkins is a must-try if you’re looking for an easy, creative way to enhance your fall decor! This fun DIY project transforms plain pumpkins into beautiful, customized pieces using decorative napkins and a little Mod Podge.
Whether you prefer a rustic or elegant vibe, this craft will add a personal touch to your seasonal decorations.
This blog will guide you through every step, from gathering materials to adding final embellishments. You’ll also find tips on styling your decoupage pumpkins to make them perfect for your home decor.
Here’s what we’ll cover:
- What is decoupage?
- Why you’ll love this craft
- Step-by-step guide to decoupaging pumpkins
- Styling tips for displaying your pumpkins
- Helpful tips for crafting success
Let’s jump in!
What is Decoupage?
Decoupage is a fun and creative way to make ordinary objects look special. It involves sticking pretty paper or fabric onto things and coating them with a special Mod Podge glue. This creates a neat, textured look that’s both eye-catching and unique.
When you decoupage pumpkins, you take a simple fall item and turn it into something cool. You can use all sorts of paper – from fancy napkins to old book pages – to cover your pumpkin. Then, with a few coats of Mod Podge, you end up with a pumpkin that’s your own.
It’s a craft anyone can do, even if you’ve never tried it. And the best part? You can make your decoupage pumpkins look any way you want. They can be fancy, funny, spooky, or cute – it’s up to you!
Why You’ll Love This Craft
Decoupage pumpkins are a great way to add your touch to fall decorations. It’s easy, it’s fun, and it doesn’t cost much. Here’s why you might enjoy this craft:
- Easy: You don’t need to be an art expert to make decoupage pumpkins look good. If you can cut paper and brush, you can do this!
- It’s Cheap: You only need a few things to make these pumpkins; most are pretty cheap. You might even already have some of the stuff at home.
- It Fits Your Style: You can use any paper you like. Want a fancy pumpkin? Use some nice floral paper. Want something fun? Try comic book pages. The choice is yours!
- Quick: You can finish a pumpkin in just a few hours. It’s perfect for when you want to make something nice but don’t have much time.
- It’s Great for Groups: This is a fun thing to do with friends or family. Everyone can make their pumpkin and show off their style.
Decoupage pumpkins are a great way to make your fall decorations stand out. They’re fun to make, look great, and show off your creativity. So why not give it a try? You might be surprised at how much you enjoy it!
Steps to Decoupage Pumpkins
Let’s walk through the process of making your own decoupage pumpkins. It’s easier than you might think!
Step 1: Gather Your Materials
Before you start, make sure you have everything you need:
- Fake pumpkins in the size you want
- Pretty napkins with designs you like
- Mod Podge (this is the special glue we talked about)
- A paintbrush
- Scissors
- Real pumpkin stems (if you want to use them)
- Paint (in case you need to touch up the pumpkin)
- A hot glue gun and glue sticks (for attaching stems)
- Dried leaves or fake stems (to make it look extra nice)
- Finger covers (to protect your fingers if you use hot glue)
Step 2: Get Your Pumpkin Ready
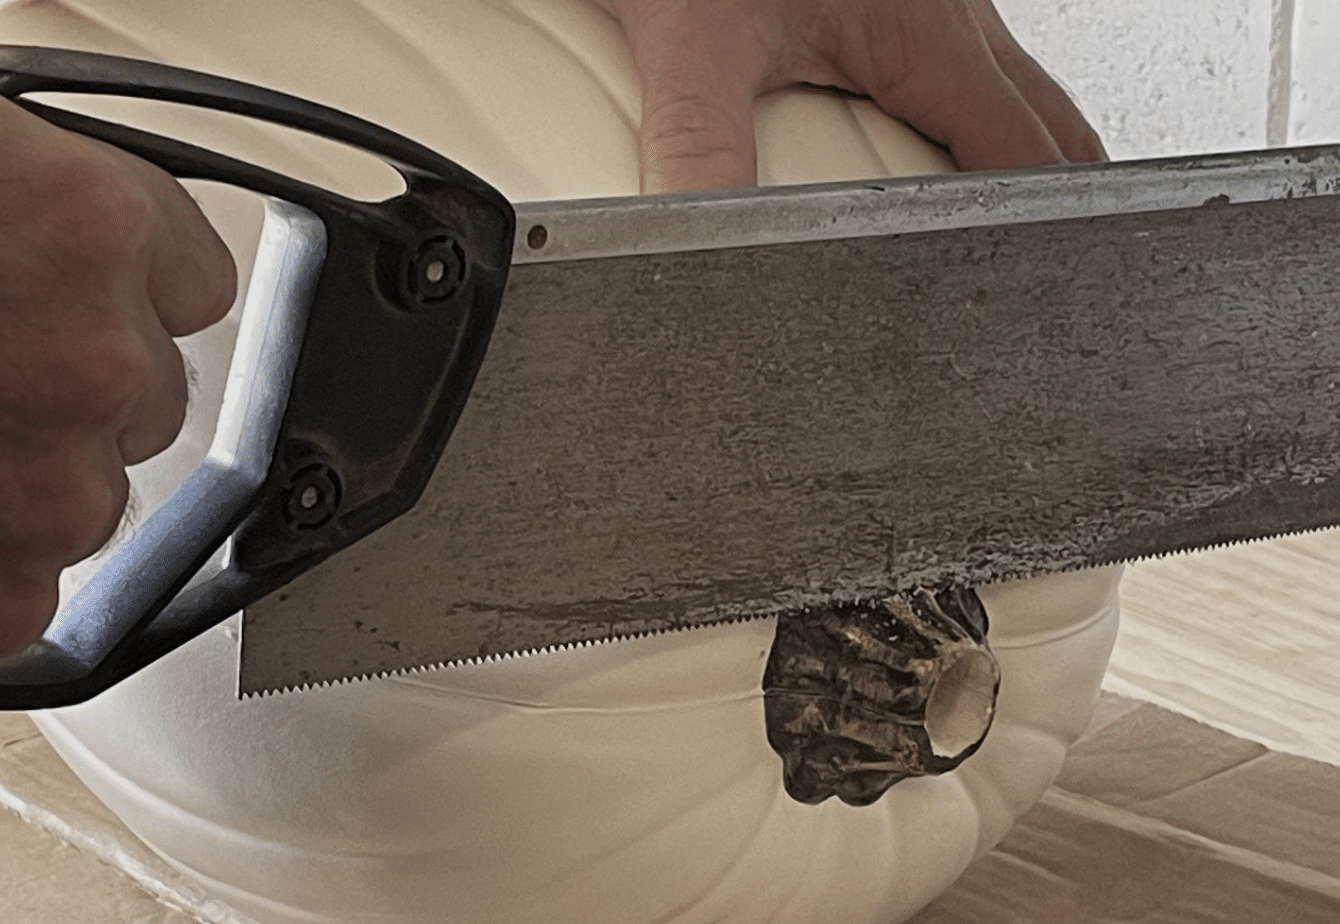
First, we need to prep the pumpkin:
- Take off the fake stem if you don’t like it.
- If you removed the stem, you might want to paint that area so no odd colors show through the napkin.
Step 3: Prepare the Napkin
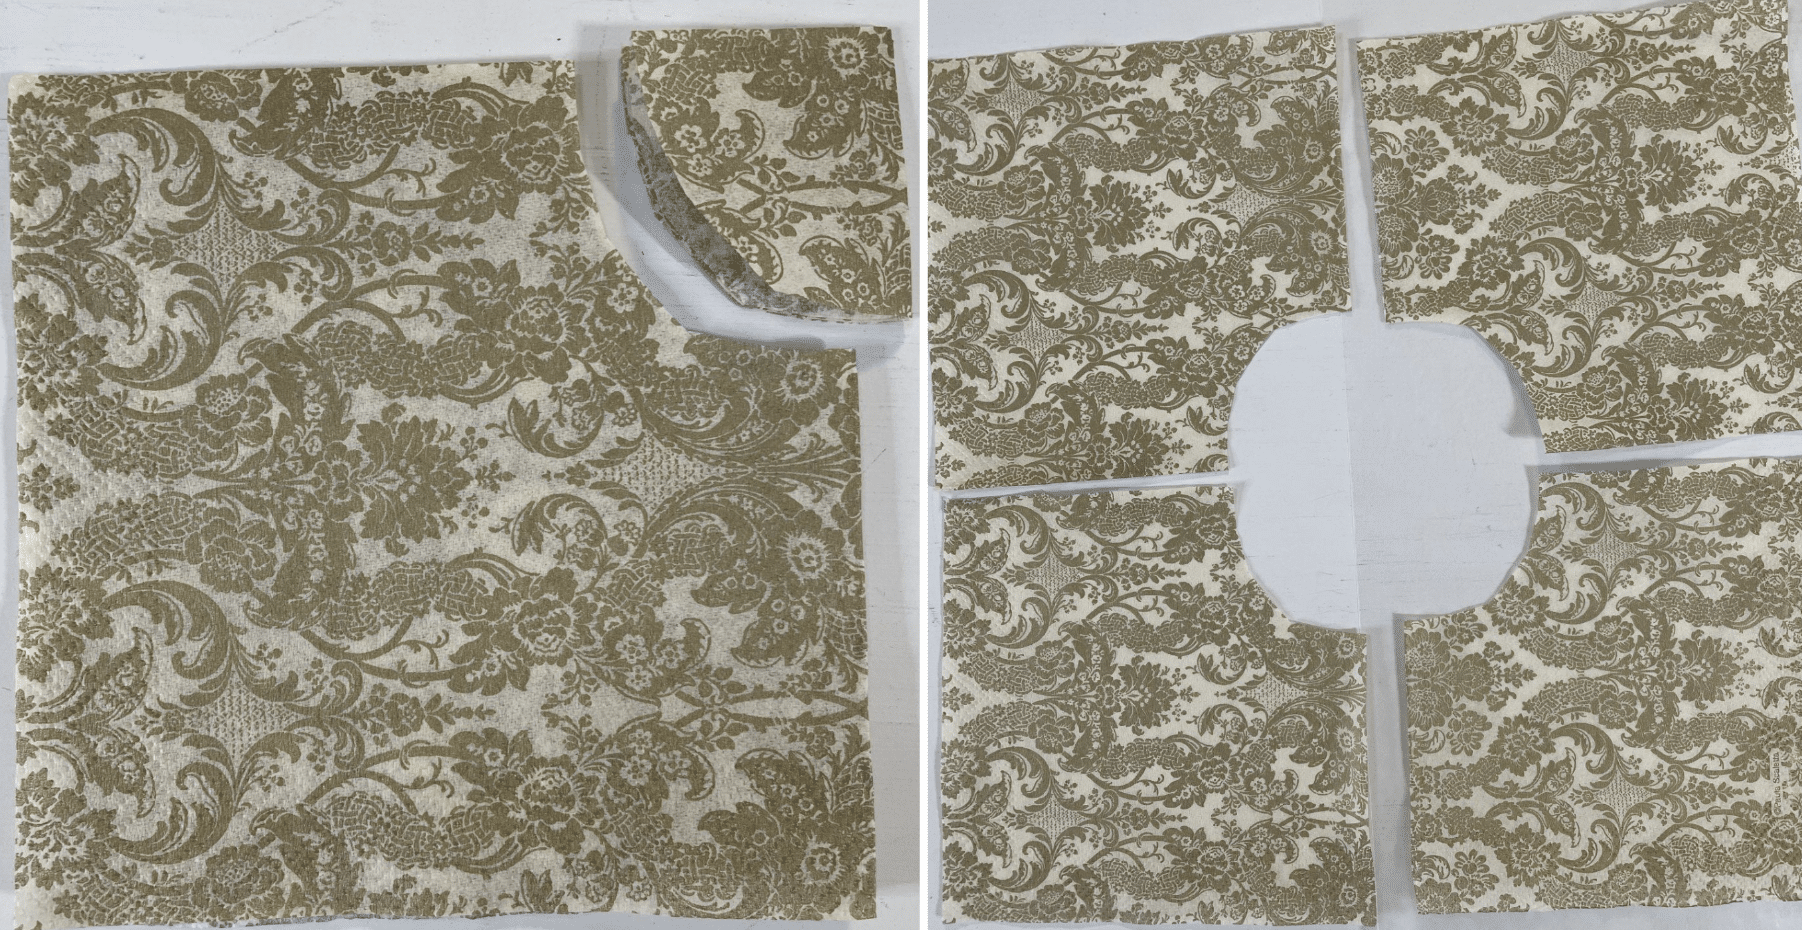
Now, let’s get the napkin ready:
- Napkins often have more than one layer. We only want the top, pretty layer.
- Cut a circle in the napkin to fit around where the stem was.
- Cut the rest of the napkin into four pieces. These will cover the rest of the pumpkin.
Step 4: Put on the Mod Podge
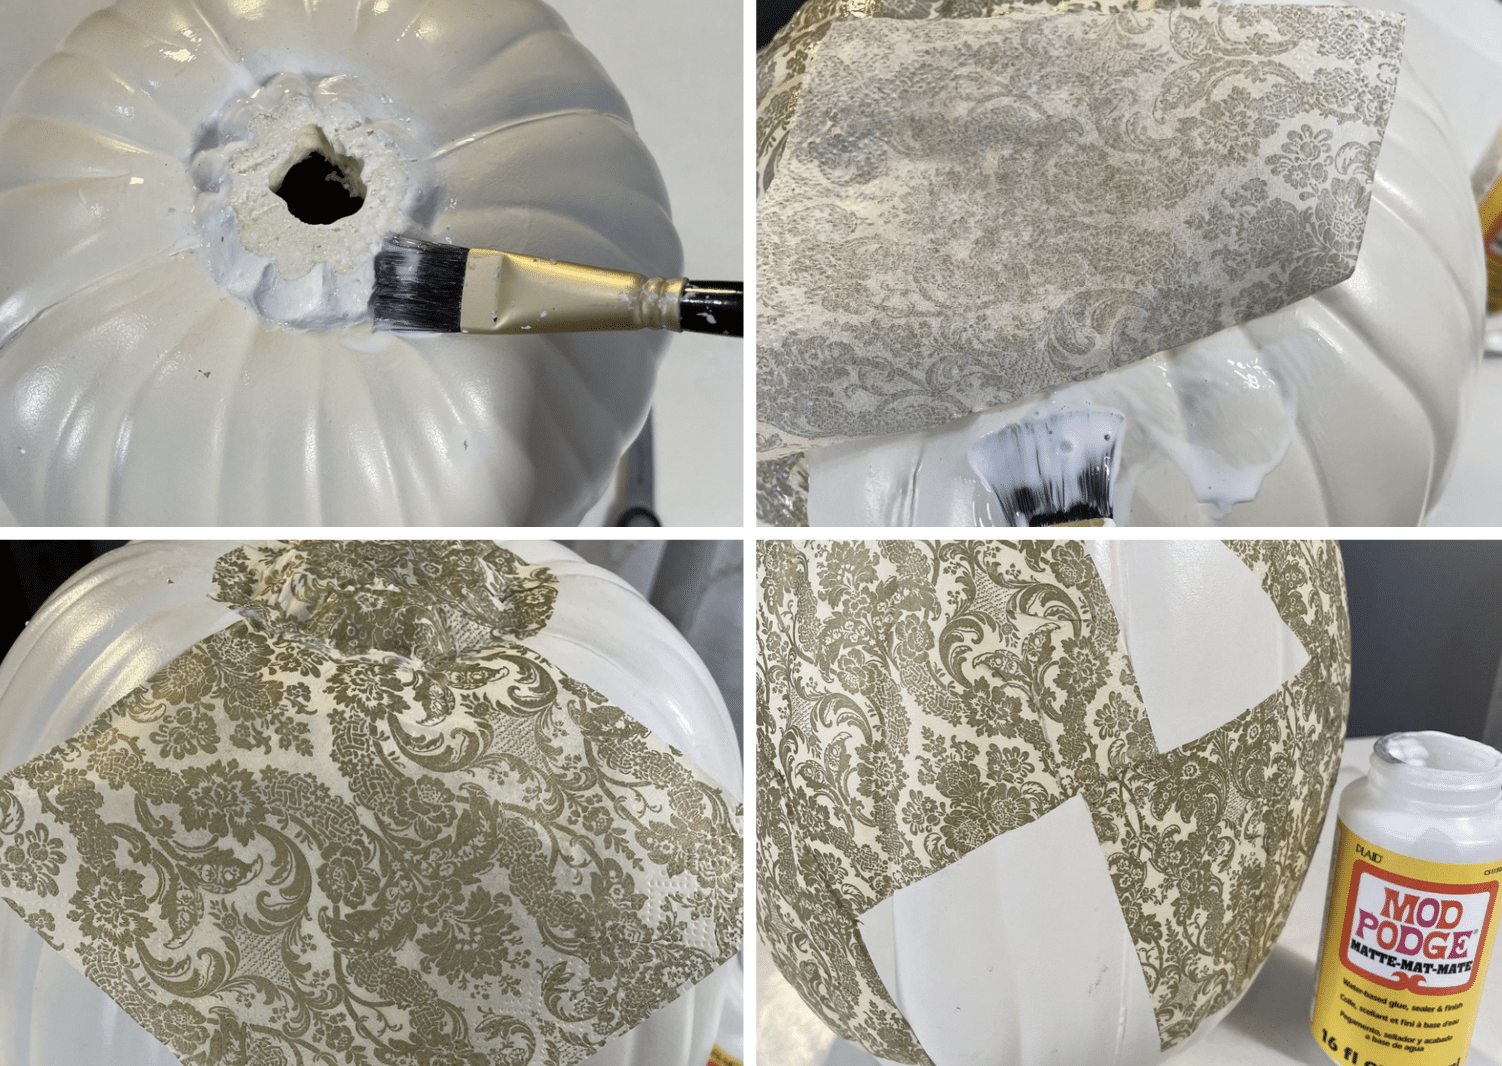
This is where the magic happens:
- Put some Mod Podge on one part of the pumpkin.
- Place a piece of napkin on the Mod Podge. Try to line it up with the pumpkin’s grooves.
- Put another layer of Mod Podge over the napkin to seal it.
- If you see any bumps or folds, trim them off and smooth them out with more Mod Podge.
- Keep doing this until your whole pumpkin is covered.
Step 5: Add a Real Stem
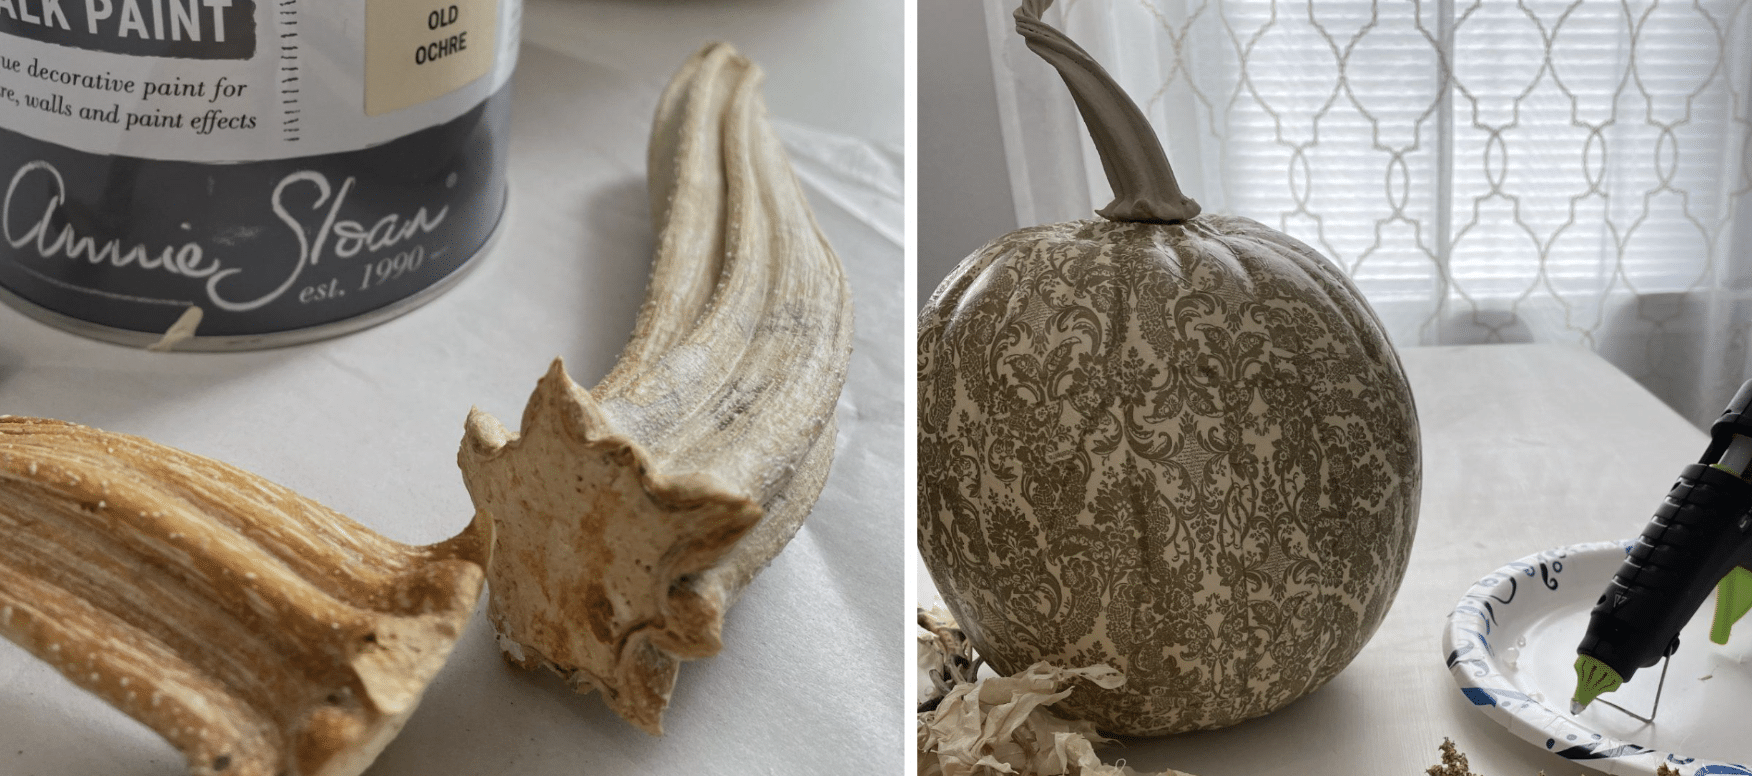
This step is optional, but it can make your pumpkin look even better:
- Use hot glue to stick a real pumpkin stem on top.
- You can paint the stem if you want it to match better.
- Add some dried leaves or fake stems around the base of the stem for extra flair.
Step 6: Show Off Your Work
You’re done! Now it’s time to enjoy your creation:
- Put your decoupage pumpkins where everyone can see them.
- They look great on shelves, tables, or as part of a bigger fall display.
Remember, making decoupage pumpkins is all about having fun and being creative. Don’t worry if everything isn’t perfect – that’s part of what makes your pumpkins unique!
Styling Tips for Your Decoupage Pumpkins
Now that you’ve made your beautiful decoupage pumpkins let’s talk about how to show them off. Here are some ideas to make your fall decor shine:
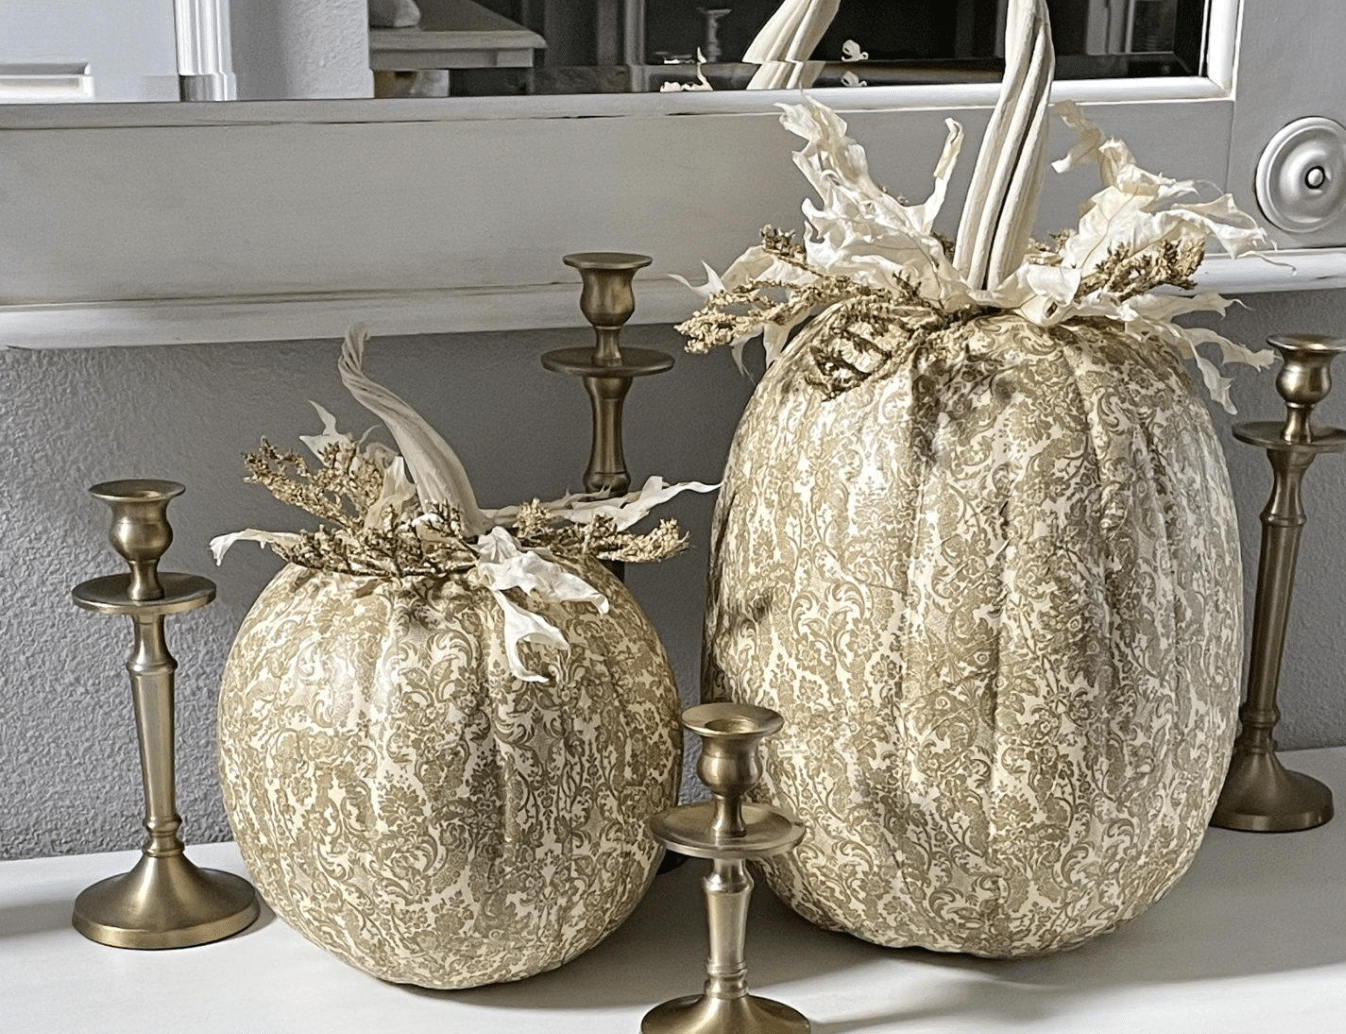
Make a Pretty Centerpiece
Want to wow your dinner guests? Try this:
- Put a few decoupage pumpkins in the middle of your dining table.
- Add some candles and fake fall leaves around them.
- Voila! You’ve got a lovely centerpiece perfect for family meals or parties.
Mix in Some Nature
For a cozy, outdoorsy feel:
- Place your pumpkins next to things from nature, like pinecones or twigs.
- You could also use dried flowers or leaves.
- This mix of smooth pumpkins and rough nature items looks great and feels very “fall”.
Build a Pumpkin Tower
Here’s a fun way to catch everyone’s eye:
- Stack different sizes of your decoupage pumpkins near your front door or on your fireplace shelf.
- Add some other fall things like lanterns or small hay bales.
- This layered look is sure to get people talking!
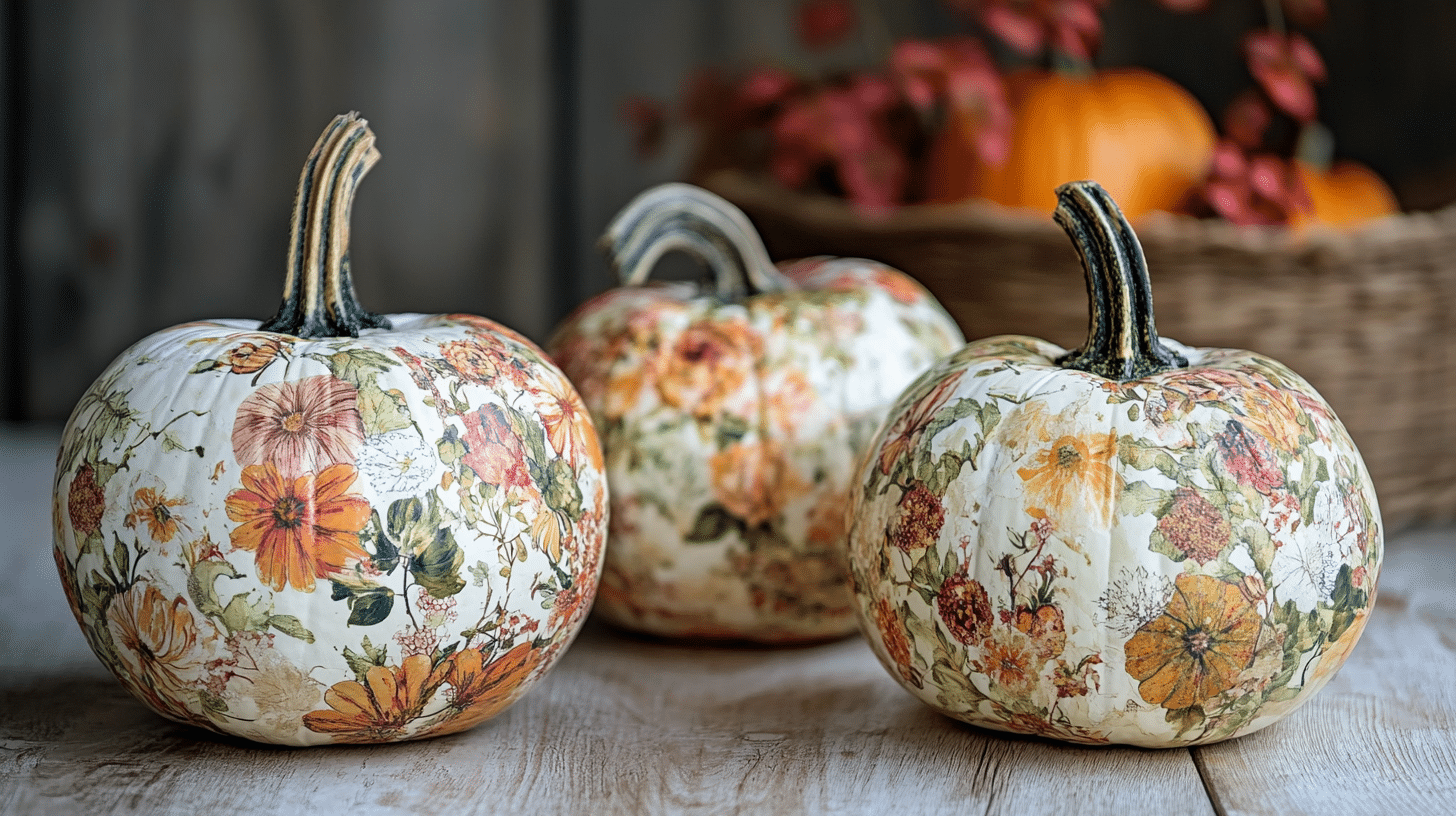
Use Different Patterns
Don’t be scared to mix it up:
- Use different napkin designs on your pumpkins.
- Try mixing flowers, dots, and stripes.
- Having different patterns makes your display more interesting and fun to look at.
Add Some Soft Stuff
To make your display extra cozy:
- Put your pumpkins near soft things like plaid blankets or big, knitted pillows.
- This mix of smooth pumpkins and soft fabrics feels warm and homey.
Remember, there’s no wrong way to show off your decoupage pumpkins. The best part about making them yourself is that you can put them anywhere and wherever you like. Have fun with it, and make your space feel just right for fall!
Helpful Tips for Crafting Decoupage Pumpkins
Want to make sure your decoupage pumpkins turn out great? Here are some tricks to help you along:
Handle with Care
Remember, those pretty napkins are very thin and can tear easily. When you’re putting them on your pumpkin:
- Use a light touch. Press gently to smooth out any air bubbles.
- If you need to adjust the napkin, lift it slowly and carefully.
- Don’t worry if it tears a little – you can always cover small mistakes with more napkin pieces.
Keep Your Space Clean
Mod Podge can get sticky! To keep your work area neat:
- Put the wax paper down before you start. This makes cleaning up much easier.
- Have a damp cloth nearby to wipe your hands if they get sticky.
- Keep your materials organized so you don’t accidentally knock things over.
Stay Safe
If you’re using a hot glue gun to add stems or other bits:
- Use finger covers made of silicone. They protect your fingertips from the hot glue.
- Work slowly and carefully. There’s no need to rush!
- If you don’t have silicone covers, a thick pair of gardening gloves can work too.
Take Your Time
Making decoupage pumpkins isn’t a race. It’s okay to go slow:
- Let each layer of Mod Podge dry before adding another.
- If you’re unhappy with a section’s appearance, wait for it to dry, then try again.
- Sometimes, stepping away and coming back with fresh eyes can help.
Have Fun with It
Remember, this is supposed to be enjoyable:
- Don’t stress if things aren’t perfect – that’s part of the charm of handmade items.
- Try different techniques and see what works best for you.
- Enjoy the process of creating something unique and beautiful.
By keeping these tips in mind, you’ll have an easier time making your decoupage pumpkins. And remember, practice makes perfect. The more pumpkins you make, the better you’ll get at it!
Conclusion
As we wrap up our guide to crafting decoupage pumpkins, remember that this activity is more than just decorating. It’s a chance to express yourself, create lasting memories, and add a personal touch to your fall decor.
These pumpkins aren’t just ornaments; they’re conversation starters and unique pieces of art that reflect your style. Whether you’re making them solo or with friends and family, the process is as rewarding as the result.
So gather your materials, let your creativity flow, and enjoy the satisfaction of transforming simple pumpkins into stunning centerpieces.
As the leaves change and the air grows crisp, your handcrafted decoupage pumpkins will bring warmth and charm to your home, making this autumn special.


