Choosing Between Professional or DIY Epoxy Installation: Key Factors to Consider
Choosing between DIY and professional epoxy installation can be a tough decision. Both options have their pros and cons, depending on your budget, time, and desired results. If you’re looking for a high-quality, durable finish without the hassle, professional installation from a reputable company like Peach State Epoxy is the way to go. Their expertise ensures a flawless application and long-lasting results.
DIY epoxy kits are more budget-friendly and provide a sense of accomplishment. However, they require a certain level of skill and experience to get right. On the other hand, hiring a professional ensures you get access to better materials and a more efficient installation process, leading to a longer-lasting and more resilient floor.
Evaluate your needs and constraints carefully. Whether it’s for your home’s garage or a commercial space, the choice you make will significantly impact the look and durability of your floors.
Key Takeaways
- Professional installation offers higher quality and durability
- DIY kits are cheaper and good for small-scale, less critical projects
- Consider your skill level and the importance of the floor’s longevity.
Evaluating Your Options: DIY vs. Professional Epoxy Installation
When choosing between DIY or professional installation for epoxy flooring, it’s crucial to consider the advantages and drawbacks of both options. Below, I’ll break down the key factors to help you make an informed decision.
Understanding the Basics of Epoxy Flooring
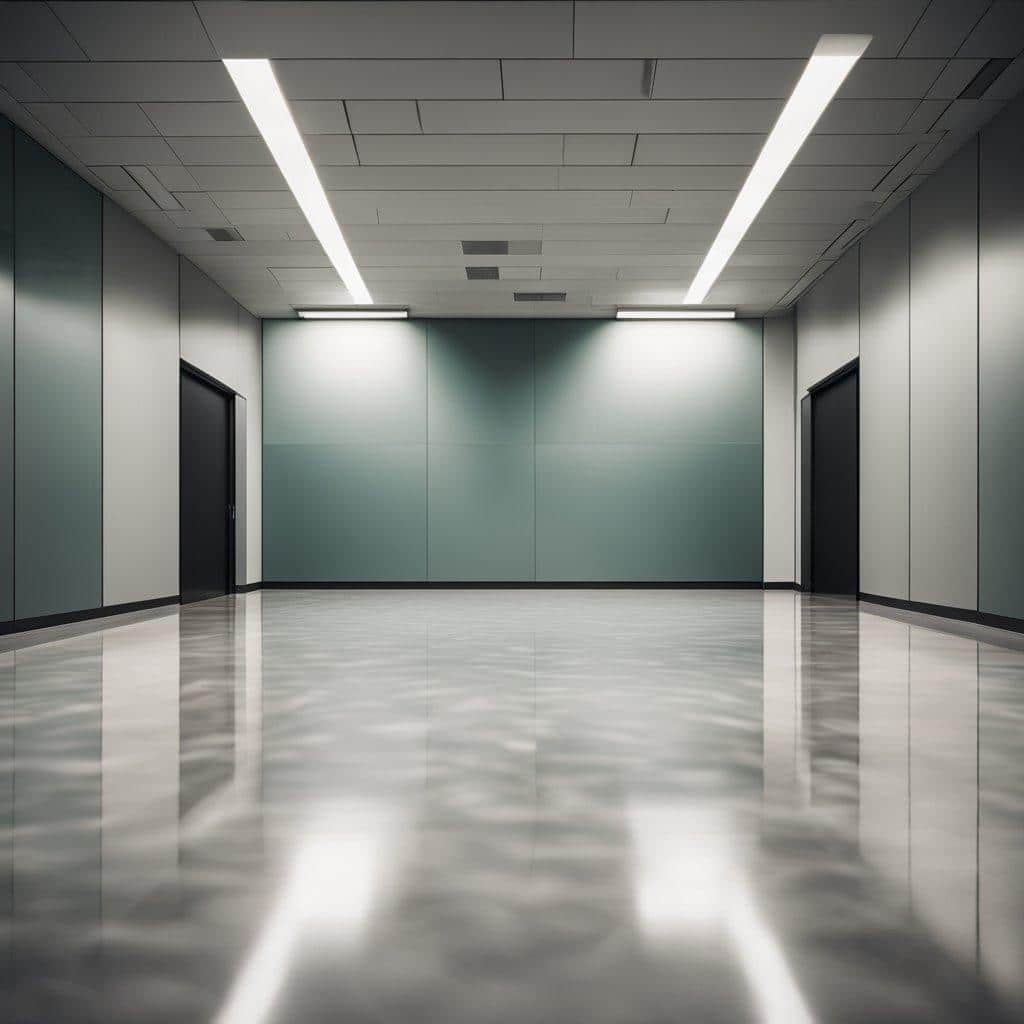
Epoxy flooring is a type of durable coating that can be applied to concrete floors. It’s known for its strength, longevity, and resistance to stains and chemicals. Typically used in garages, basements, and commercial spaces, epoxy floors are both functional and attractive.
Advantages of Professional Installation
Opting for a professional installer comes with some clear advantages. First, professionals have the experience and tools necessary to ensure a high-quality finish. This means fewer mistakes and a more polished look.
Consistency: Professional installers deliver a more uniform application, which can be challenging to achieve on your own.
Time-Saving: Hiring a professional can save you considerable time, especially if you’re not familiar with the process.
Warranty: Many professional services offer warranties, adding extra peace of mind regarding the longevity and quality of the installation.
Exploring the DIY Epoxy Flooring Approach
On the other hand, taking the DIY route has its own set of benefits. One of the most appealing aspects is the potential cost savings. You can skip the labor costs and purchase a kit that includes everything you need.
Flexibility: DIY projects allow you to work at your own pace, fitting the project into your schedule.
Learning Experience: This can also be an educational experience, teaching you new skills.
Cost-Effective: DIY epoxy flooring can be particularly cost-effective if you already own or can borrow the necessary tools.
Comparing Costs and Long-Term Value
When comparing costs, it’s essential to look beyond just the initial outlay. DIY epoxy flooring kits are often cheaper upfront, but can escalate in cost if mistakes are made.
Upfront Costs:
|
Option |
Cost Range |
|---|---|
|
DIY Epoxy Kit |
$100 – $300 |
|
Professional Installation |
$3 – $12 per square foot |
Long-Term Value:
Professional installations might have higher initial costs but tend to offer better long-term value. They are often more durable and come with warranties, reducing future maintenance costs.
A DIY project might be cheaper, but consider the potential costs of errors and the time investment required. It’s a trade-off between saving money now versus potentially spending more later for repairs or redoing the floor.
Key Considerations for a Successful Epoxy Installation
When planning an epoxy installation, you’ll want to pay attention to surface preparation, materials and tools, and your own design preferences. Each element plays a crucial role in ensuring the durability and look of the final product.
Importance of Proper Surface Preparation
Proper surface preparation is essential for a durable epoxy coating. Without it, the epoxy may not adhere well, leading to peeling or cracking.
First, clean the surface thoroughly to remove oils, grease, and dirt. Using a degreaser can be helpful here.
Next, you’ll need to smooth out any imperfections. Grinding or shot blasting the concrete surface can provide a rough texture, allowing better adhesion for the epoxy.
Finally, make sure the surface is completely dry. Moisture can interfere with the bonding process, reducing the lifespan and effectiveness of your epoxy floor.
Selecting High-Quality Materials and Tools
Choosing the right materials and tools is another key step. High-quality epoxy coatings and tools can make a significant difference in the outcome.
Look for epoxy kits that offer a mix of durability and ease of application. It’s wise to invest a bit more in top-grade products as they often offer better resistance to wear and tear.
For tools, you’ll need rollers, mixing buckets, and brushes designed for epoxy application. Using subpar tools can lead to uneven application and bubbles in the coating.
Don’t forget to consider safety gear, such as gloves and eyewear, to protect yourself during the installation.
Design Options and Personal Preferences
Your design preferences will also influence the epoxy installation process. There are various finishes and colors to choose from, so think about what will best match your space.
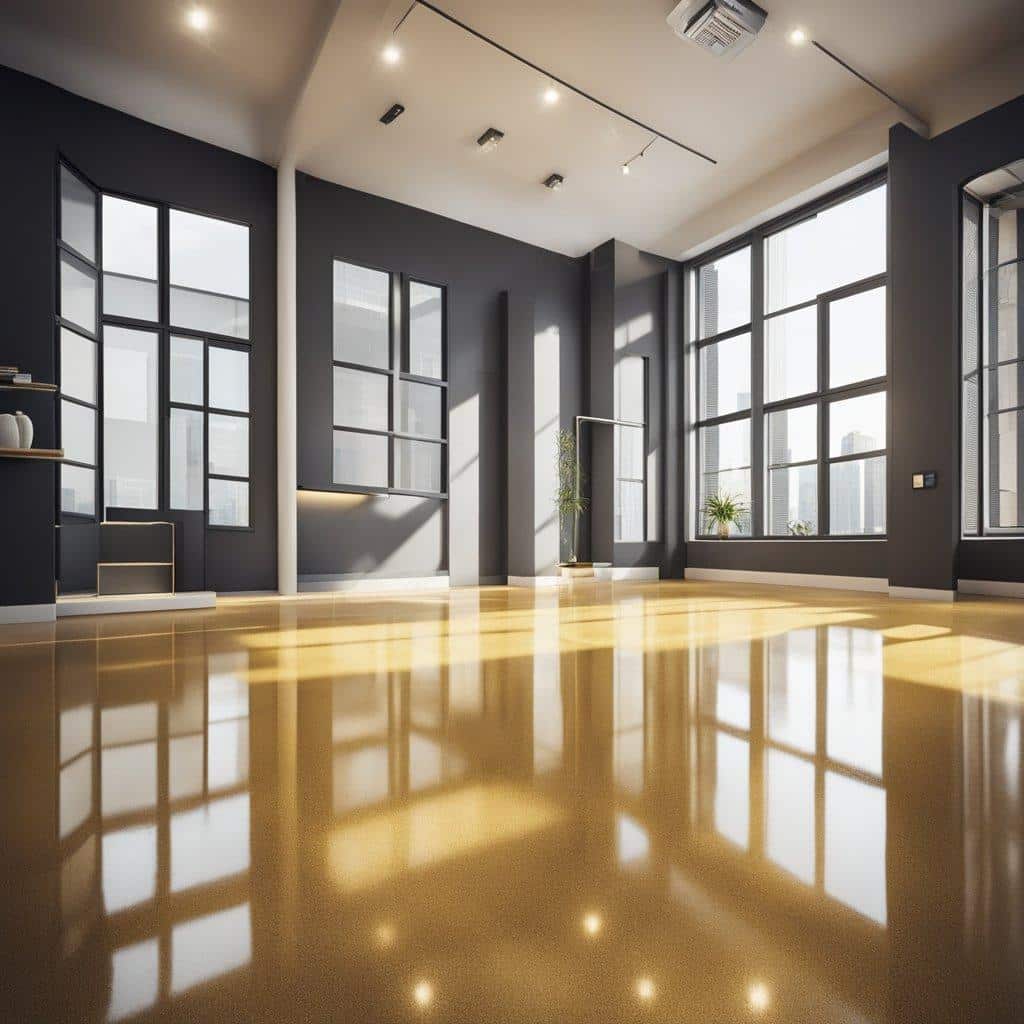
Some people prefer a high-gloss finish for a sleek look, while others might opt for a matte finish for a subtle appearance.
Consider adding decorative flakes or metallic pigments for added aesthetic appeal. These options can make your floor stand out and fit your personal style.
Plan your design carefully and gather all necessary materials ahead of time. This ensures a smooth installation process and a final product that you’ll be pleased with.
Potential Challenges and How to Address Them

When deciding between professional and DIY epoxy floor installations, it’s important to think about mistakes, maintenance, and achieving professional results. Here are some ways to address these challenges.
Mitigating the Risks of DIY Epoxy Mistakes
One of the biggest challenges of DIY epoxy floors is the risk of errors. Proper surface preparation is key. I suggest making sure the concrete is clean and free of stains and dust. Any moisture can cause poor adhesion, leading to bubbles and peeling.
Using the right amount of epoxy is also crucial. Too much or too little can affect durability and finish. Always follow the instructions on the epoxy kit carefully. It’s also wise to test a small area first before doing the entire floor.
Ensuring Durability and Maintenance
Epoxy floors need to be durable to withstand abrasions, stains, and chemicals. For top performance, applying a high-quality topcoat can make a huge difference. This extra layer helps protect against scratches and spills.
Regular maintenance helps keep the floor looking good and lasting longer. Clean up any spills right away to prevent staining. Sweep and mop the floor routinely to remove dirt and grit that can cause abrasions. Using a mat at entryways can minimize dirt being tracked onto the floor.
Achieving Professional Results at Home
Getting a professional-looking finish at home requires attention to detail. Mixing the epoxy thoroughly ensures an even finish. Use the right tools like rollers and brushes designed for epoxy to apply the coating smoothly.
Pay special attention to ventilation. Proper airflow helps the epoxy cure correctly and reduces odor. Also, work in small sections to avoid mistakes and ensure consistent application.
If you’re unsure about any step, consulting with a professional or looking up detailed guides can be very helpful. This way, you can have the peace of mind that your epoxy floor will look great and last.


