Can You Paint Grout: Easy DIY Tips & Alternatives
Tired of staring at stained, dingy grout? I’ve been there too. It’s a common question: Can you paint grout to give your old tiles a clean, fresh look without spending a ton? The answer is yes, and it’s easier than you might think.
In this guide, I’ll walk you through when painting grout is a good idea, when it’s not, and how to do it the right way. You’ll also get tips on tools, common mistakes to avoid, and how to make your results last longer.
If you’re updating a bathroom or freshening up a kitchen backsplash, this post will help you do it with confidence. Let’s see if grout paint is the simple fix you’ve been needing.
Can You Paint Grout?
Painting grout isn’t always the best choice. But in the right spot, it can give your tiles a quick and affordable upgrade.
Grout paint works best in dry areas that don’t get too much wear.
If your grout is stained but still in good shape, painting it can make it look brand new. It’s also a smart choice if you want to change the grout color to match your tile or your style.
A kitchen backsplash is a great place to paint grout. It stays dry and doesn’t get touched much. Bathroom wall tiles can also be refreshed this way, just avoid areas that get splashed often.
Paint adheres better to tiles that are glazed or sealed. Smooth surfaces are easier to clean up if the paint goes outside the lines.
In these situations, grout paint is a quick fix that makes a big impact.
When to Think Twice
Grout paint isn’t for every space. In some cases, it won’t last or look good. If the grout is cracked, falling apart, or missing, don’t paint it. You’ll need to repair or regrout first.
Shower floors or wet bathroom areas are also risky. The constant moisture can cause the paint to peel or grow mold.
If your tiles are rough or unsealed, they can soak up the paint and make cleanup tough. High-traffic areas like entryways or kitchen floors may need touch-ups more often. The paint can wear off faster there.
When in doubt, test a small corner first to see how it holds up.
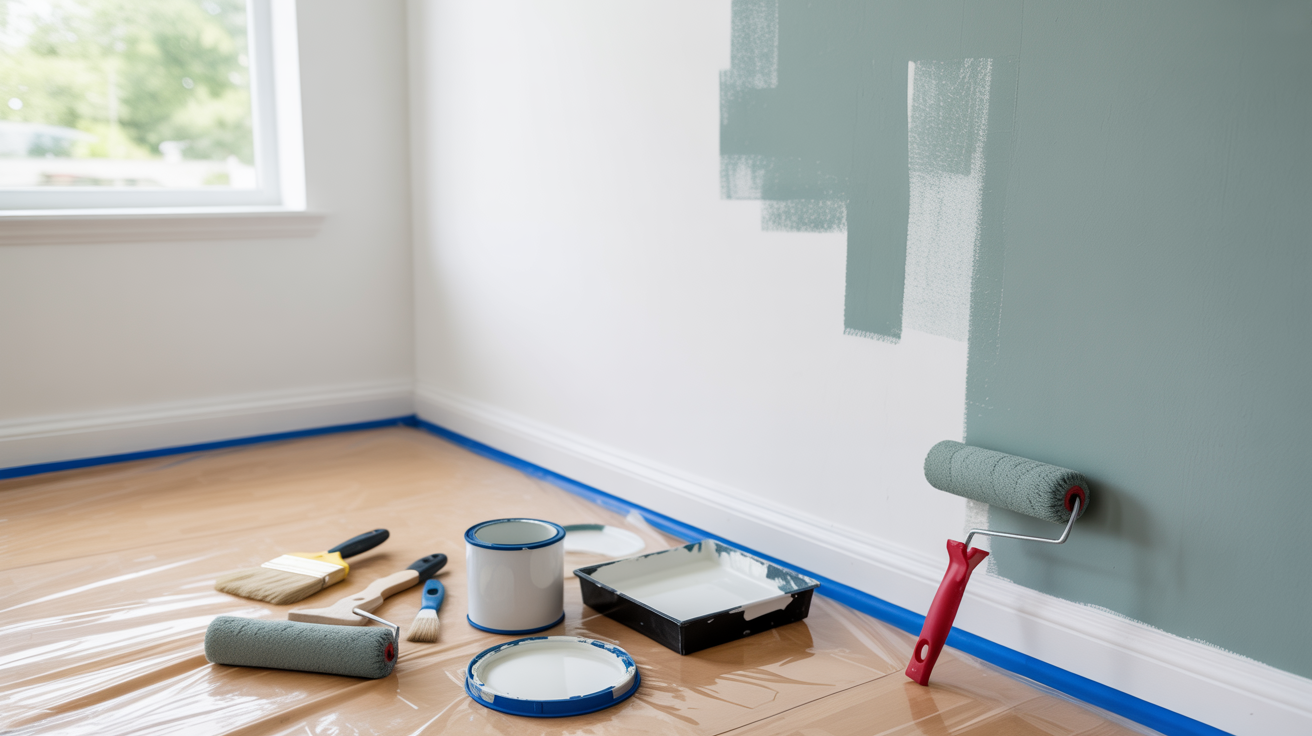
How to Paint Grout: Step-by-Step Guide
Painting grout is a straightforward process, but it requires meticulous attention to detail for optimal results. Here’s a simple step-by-step guide to help you achieve a clean, professional finish.
Step 1: Clean the Grout

Start by thoroughly cleaning the grout lines to remove dirt, grime, and any leftover cleaning products. Use a grout cleaner or a mixture of water and vinegar to scrub the grout lines. Ensure the grout is dry before proceeding to the next step.
Step 2: Apply Grout Paint

Choose the right tool for your project, such as a small paintbrush, a toothbrush, or a grout applicator. Apply the grout paint evenly along the grout lines, working in small sections. Be careful not to paint over the tiles themselves, as the paint can stain them. For larger areas, use a small roller for smoother coverage.
Step 3: Wipe Off Extra Paint

After applying the paint, use a damp cloth or sponge to wipe off any excess from the tiles. Be sure to clean up any drips or smudges immediately, as dried paint on the tiles can be more challenging to remove.
Step 4: Seal the Grout

Once the grout paint has dried, you can apply a grout sealer for added protection. This helps to keep the fresh look and makes it easier to clean the grout in the future.
Be sure to follow the manufacturer’s instructions for proper sealing. With these steps, your grout will look refreshed and new in no time.
Alternatives to Painting Grout
If you’re looking for a more permanent solution than painting grout, consider regrouting. This involves removing old grout and replacing it with new material, offering a fresh look and better durability, especially in areas with cracked or uneven grout.
For minor touch-ups, Grout Pens are a simpler option. They’re effective for small fixes but don’t provide the same coverage or durability as regrouting, especially in high-moisture areas.
Replacing grout completely is the most involved and expensive option, but it offers the most lasting and durable results, especially for heavily damaged grout lines.
Each method has its advantages, so choose one based on your grout’s condition, budget, and the desired duration of the results.
Maintenance and Long-Term Care
To keep your painted grout looking fresh and durable, regular maintenance is key. Clean the grout with a gentle solution, such as water and mild dish soap, using a soft brush or microfiber cloth.
Avoid harsh chemicals, bleach, or rough scrubbers, as these can damage the paint and grout surface. Gentle cleaning helps prevent dirt and stains from settling into the grout lines, thereby maintaining the color integrity.
Resealing the grout is also vital for long-term care. Over time, the protective sealer can wear off, especially in high-traffic areas.
Resealing every 1-2 years makes sure that the grout stays protected from moisture and staining. Apply a grout-specific sealer once the paint is dry for the best results.
Also, try to reduce moisture exposure, especially in areas like showers or sinks. Installing a fan or lowering humidity can help reduce the problem.
Common Mistakes and How to Avoid Them
When painting grout, it’s essential to avoid common mistakes that can affect the finish and the longevity of the paint. By following the right steps and using the right products, you can make sure your results last.
- Using Regular Latex Paint:Regular paint lacks the stickiness and moisture resistance needed for grout. Always use grout-specific products, such as epoxy or acrylic grout paints.
- Rushing the Process: Rushing cleaning or painting can cause uneven coverage and poor stickiness. Clean and dry the grout carefully before painting, and work in small sections.
- Applying Too Much Paint: Overloading the brush or applicator can result in excess paint on the tiles. Apply thin layers to avoid streaks and make sure you get an even finish.
- Not Testing the Paint First: Testing the grout paint on a small, hidden area is important to make sure the color and finish meet your expectations before applying it to the entire surface.
- Using the Wrong Tools: Using incorrect applicators, such as a large brush for small grout lines, can lead to unsatisfactory outcomes. Choose the right tools, such as a small brush or grout pen, for precision and better control.
By avoiding these common mistakes, you can ensure a smooth, durable, and professional grout painting job that improves the look and life of your tiled spaces.
Choosing the Right Grout Paint
Choosing the right grout paint is vital for achieving durable, professional-looking results. Regular paint isn’t suitable for grout due to its poor stickiness and lack of moisture resistance.
Epoxy-based colorants offer the best durability, making them ideal for high-moisture areas; however, they require more skill and are more expensive. Acrylic grout paints are a more affordable option, suitable for moderate moisture areas, but may need touch-ups over time.
Grout pens are useful for small jobs or touch-ups, though they can be expensive for larger areas and less durable. DIY solutions, like mixing regular paint with additives, often lack the necessary durability and stickiness.
Popular brands like Polyblend Grout Renew and Mapei Grout Refresh are reliable, with Custom Building Products Grout Colorant offering the highest durability for demanding uses.
Wrapping up
Painting grout is an easy, affordable way to give your tile a clean, refreshed look without the hassle of a full renovation. Now that you know the answer to can you paint grout, you’re in a great spot to decide if it’s the right solution for your space.
Follow the steps, tips, and tools we covered to get lasting results. Just keep in mind, good prep makes all the difference, and some areas might not be ideal for grout paint.
Still not sure? Test a small spot first, and take your time with the process.
Looking for more simple home updates like this? Check out other blogs on the website for DIY tutorials, tile advice, and budget-friendly ideas to help you update your home.