Built-In Fridge Cabinet: A Complete Guide with Ideas
Have you ever wanted your kitchen to look clean and put together? Built-in fridge cabinets are the answer!
Built-in fridge cabinets make your kitchen look custom-made, and you get more space to move around.
These fridges fit right into your cabinetry, giving you that smooth, matching look many homeowners love.
We’ll share smart design ideas that work in real homes, walk you through the DIY installation steps, and help you avoid common mistakes.
Plus, we’ll show you how to keep your built-in fridge cabinet looking good and working well for years to come.
Let’s get started with all the basics of built-in fridge cabinets!
What is a Built-In Fridge Cabinet?
A built-in fridge cabinet gives your kitchen that smooth, finished look many dream about.
Let me show you what makes these setups special and why you might want one in your home.
A Perfect Fit for Your Kitchen
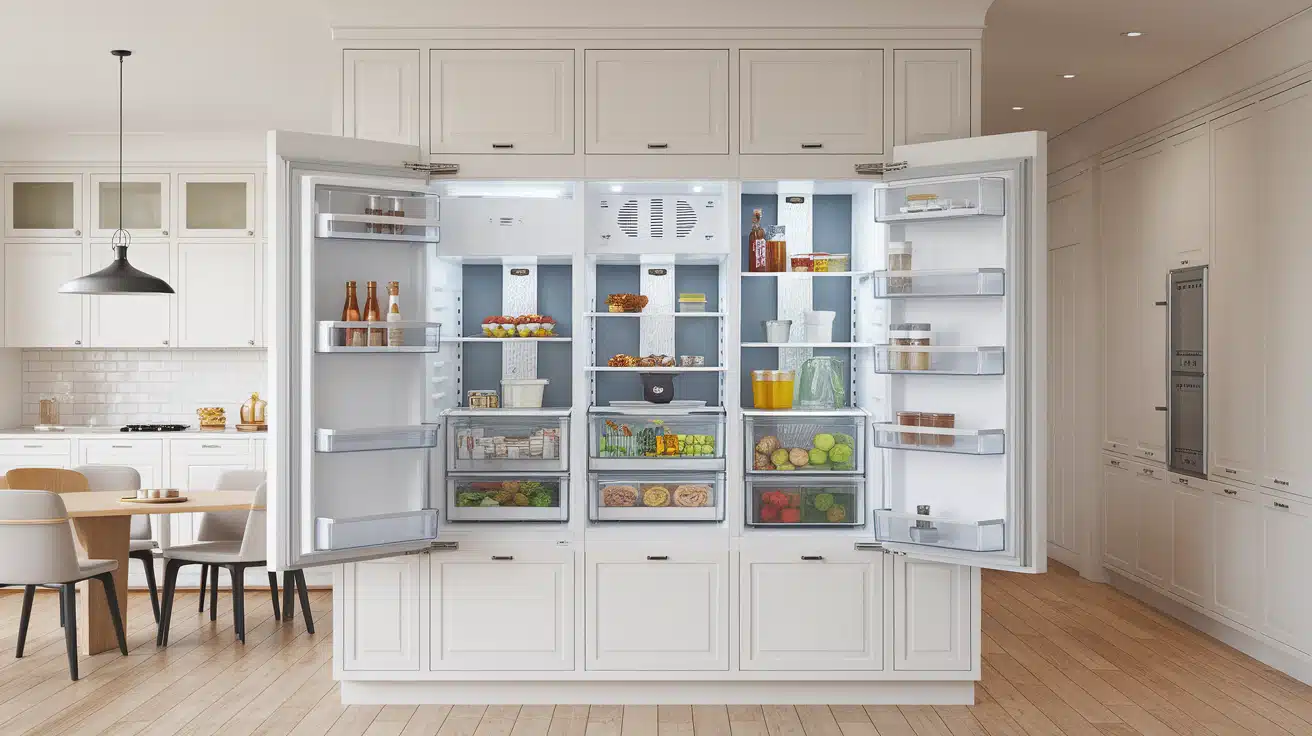
A built-in fridge cabinet is simply a refrigerator that blends right in with your other kitchen cabinets.
It sits flush with your cabinetry instead of sticking out like regular fridges do.
Seamless Look
Your fridge almost disappears into your kitchen design.
With matching panels on the front, guests might not even notice it’s there until you open it!
Custom Options
You can use special panel-ready fridges or regular ones with some clever cabinet work around them.
The goal is to make everything look like one complete unit.
Built-In vs. Freestanding
Built-in fridges sit perfectly flush with your cabinets, while freestanding ones stick out several inches.
Built-ins are usually taller and more expensive, but give that custom look.
Freestanding fridges are more affordable and easier to replace, but they create that awkward gap above and around them that collects dust.
Why People Love Them
People choose built-in fridges for the clean, high-end look they create in a kitchen.
They make the space feel more open and planned. I love how they save me from cleaning those dusty fridge tops!
They also tend to last longer – about 15-20 years compared to 10-15 for regular fridges.
Built-In Fridge Cabinet Ideas
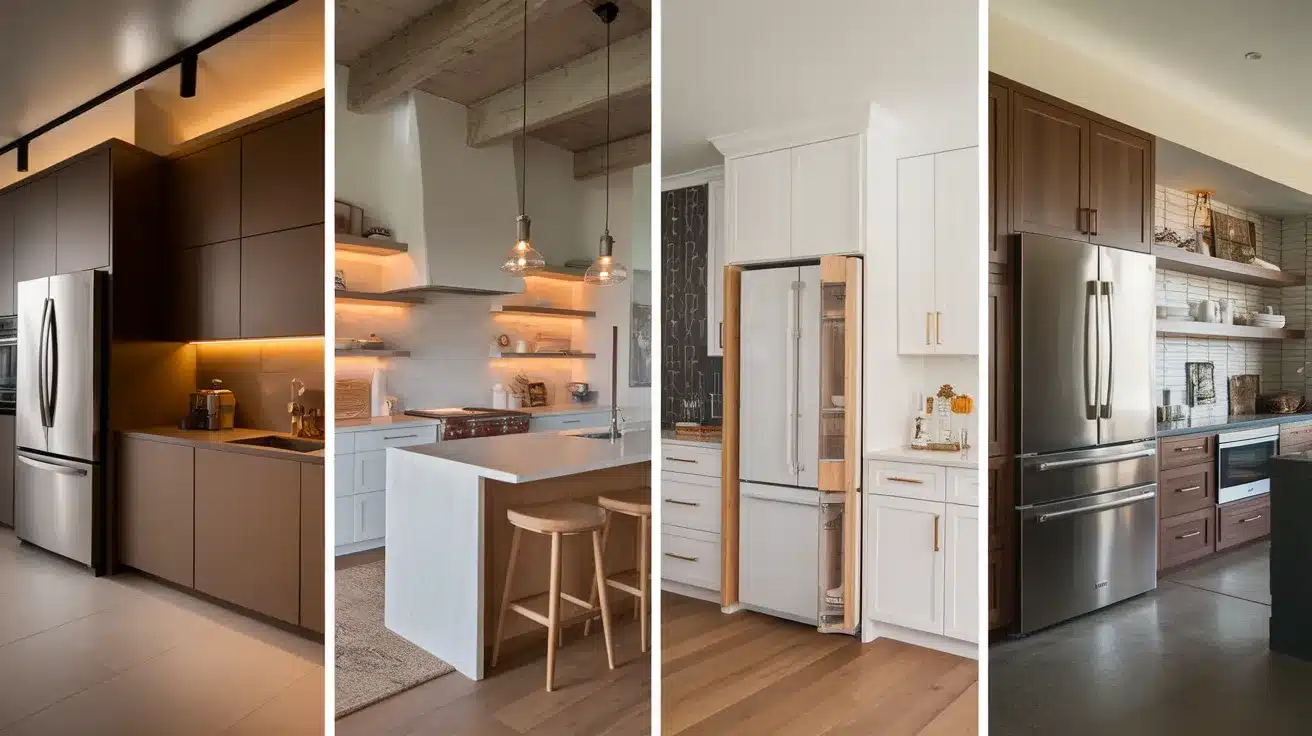
There’s more than one way to get that built-in look.
Here are some options that might work for your home, budget, and skill level.
Prebuilt Cabinets
These ready-made cabinet sets come with spots for your fridge already planned out. Just buy, install, and slide your fridge in!
They save you time but cost more than starting from scratch.
Perfect if you’re not big on DIY projects.
Custom DIY Options
Building your own cabinets gives you total control over size and style. You can make them match your exact needs!
It’s more work but costs less and feels so good when you see the finished product you made yourself.
Panel-Ready Fridges
These special fridges let you attach cabinet panels to the front.
Your fridge will look exactly like the rest of your cabinets!
They cost more but give you that perfect matching look without fancy carpentry skills.
Standard Models
You can still get a built-in look with regular fridges! Just build cabinets around them.
It takes some planning but saves money. Your standard fridge will look like a fancy built-in without the high price tag.
How to DIY a Built-In Fridge Cabinet
Ready to take on this project yourself? It’s totally doable if you have basic woodworking skills!
I’ll break down what you need and how to do it step by step.
Materials and Tools Needed
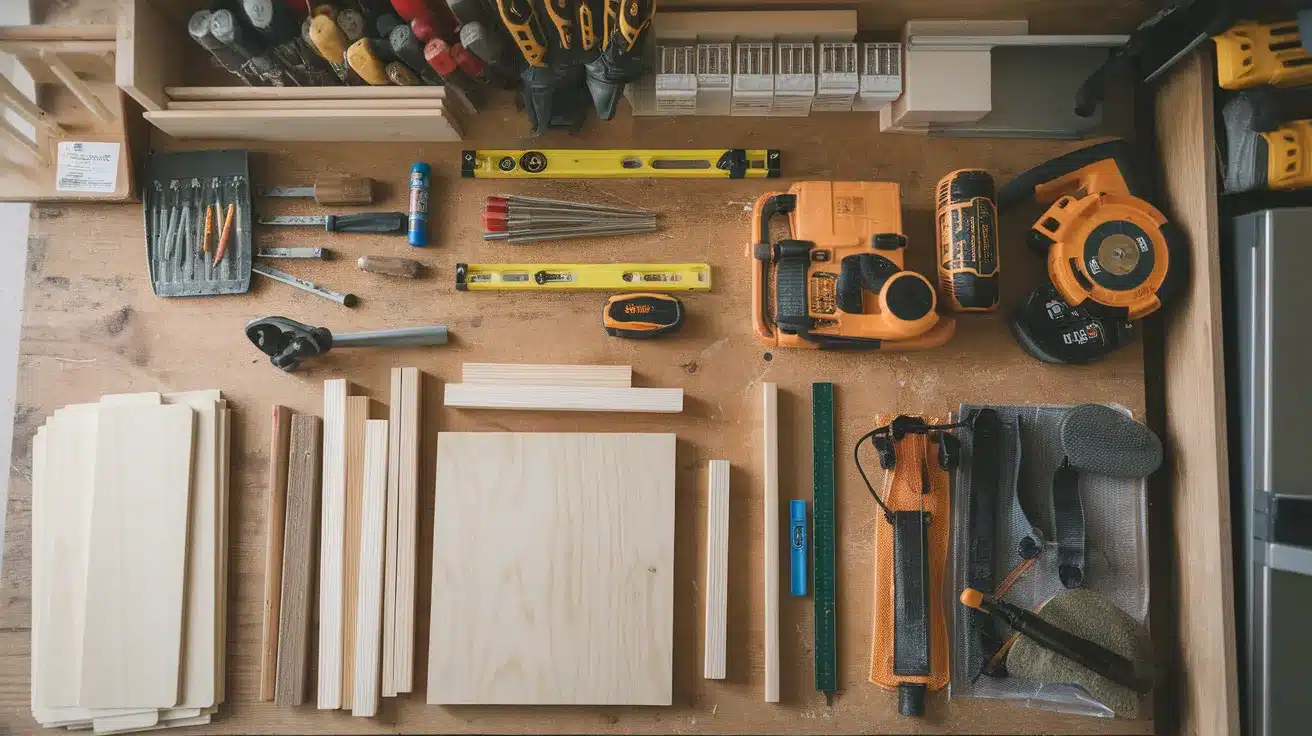
- 3/4″ plywood (cabinet grade)
- 2×4 lumber for framing
- Cabinet-grade wood trim
- Wood screws and finishing nails
- Wood glue
- Cabinet hinges
- Cabinet pulls or handles
- Paint or stain
- Measuring tape
- Level
- Circular saw
- Drill/driver
- Jigsaw
- Nail gun
- Sander
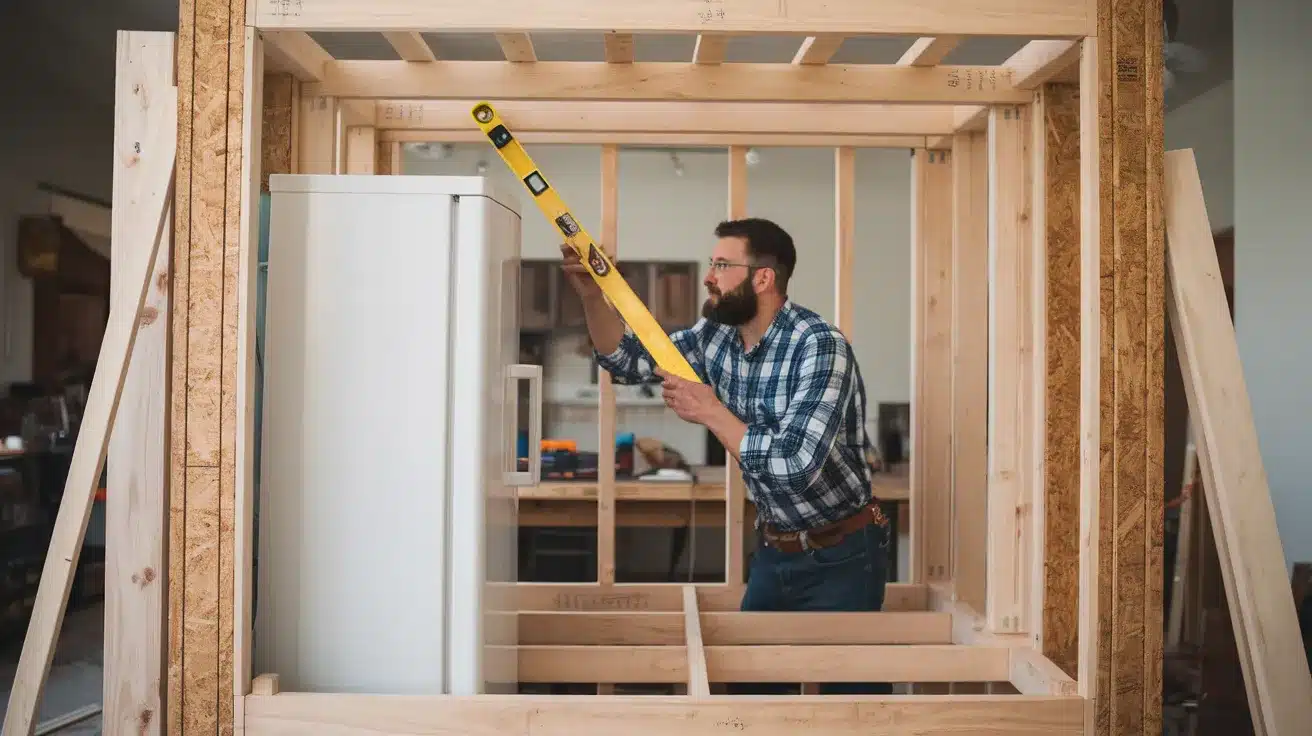
Step-by-Step Installation Process
Step 1: Take careful measurements of your fridge and the space.

Step 2: Add 1-2 inches for air flow around all sides.
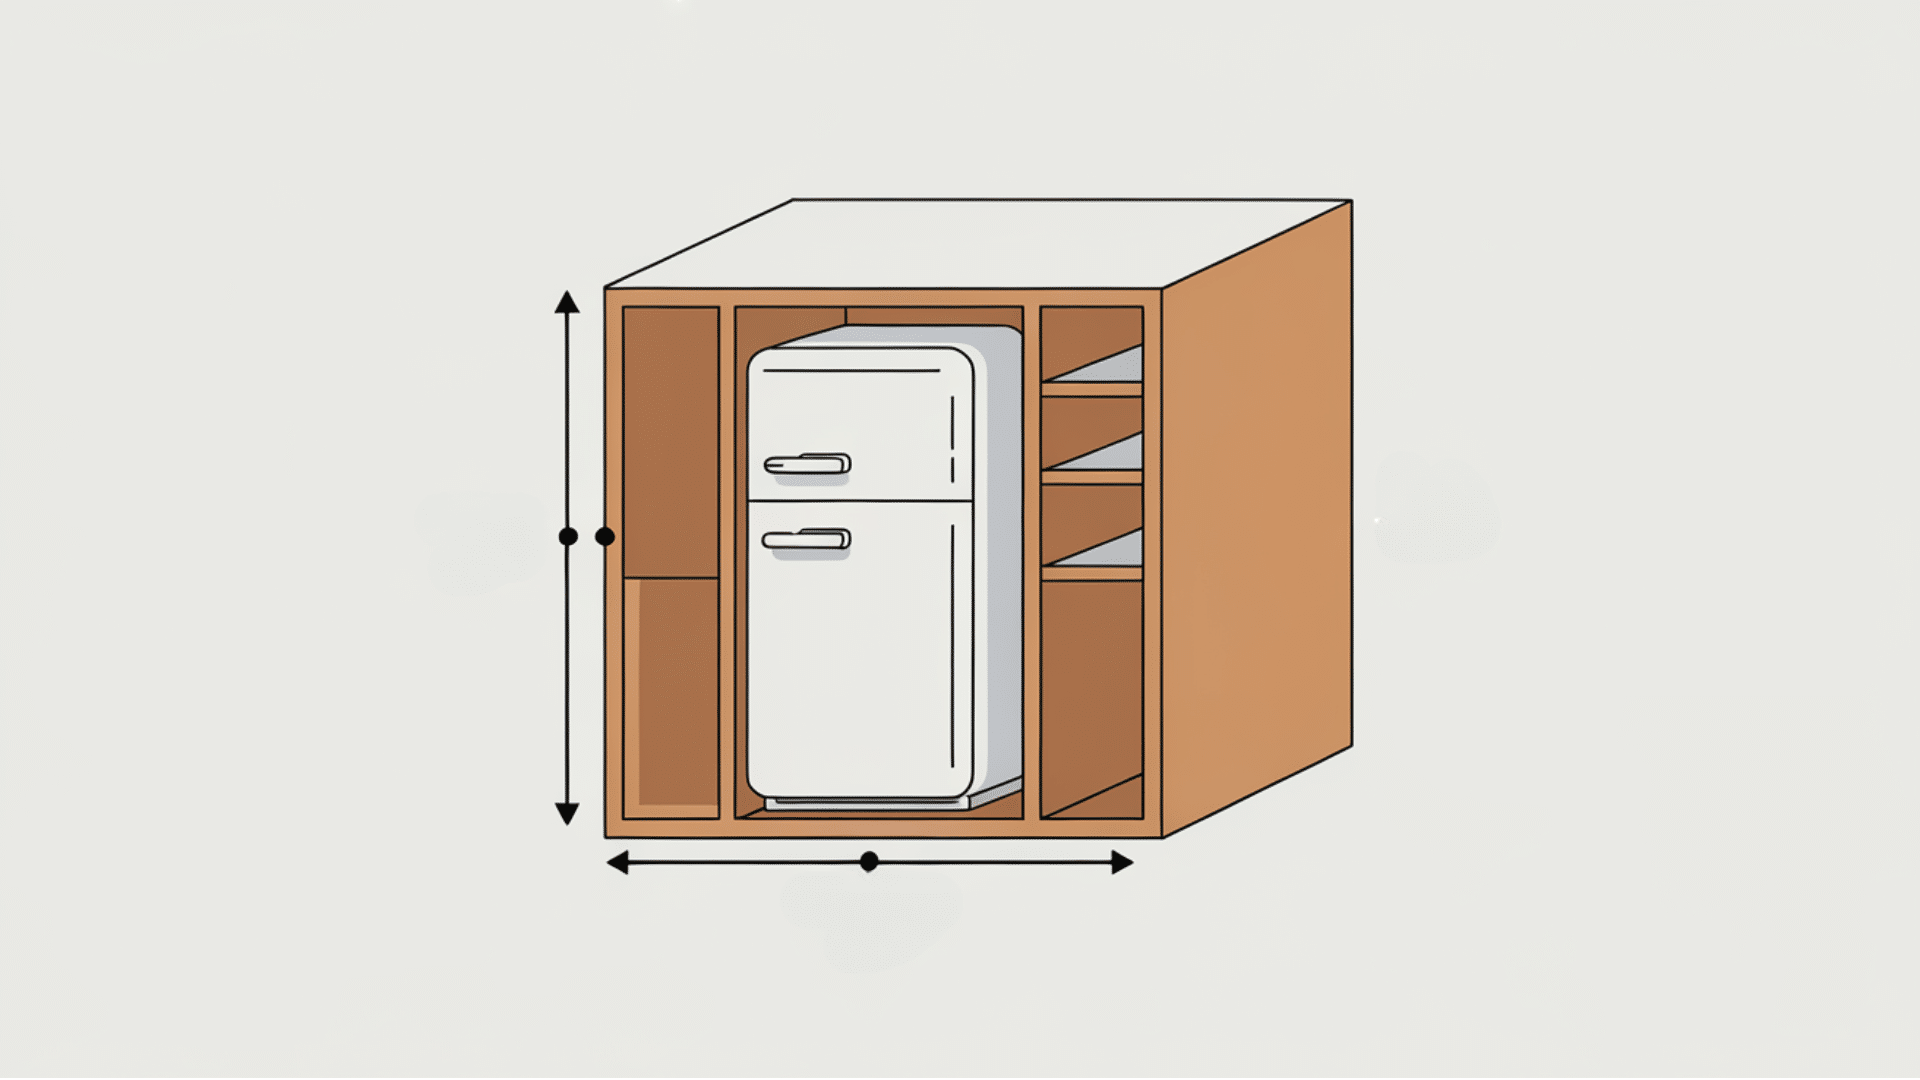
Step 3: Build a simple frame with 2x4s that will hold your fridge with these gaps. Make sure it’s perfectly level, or your doors won’t hang right.
Step 4: Choose trim that matches your other cabinets. Cut plywood panels for the sides and top that will show.
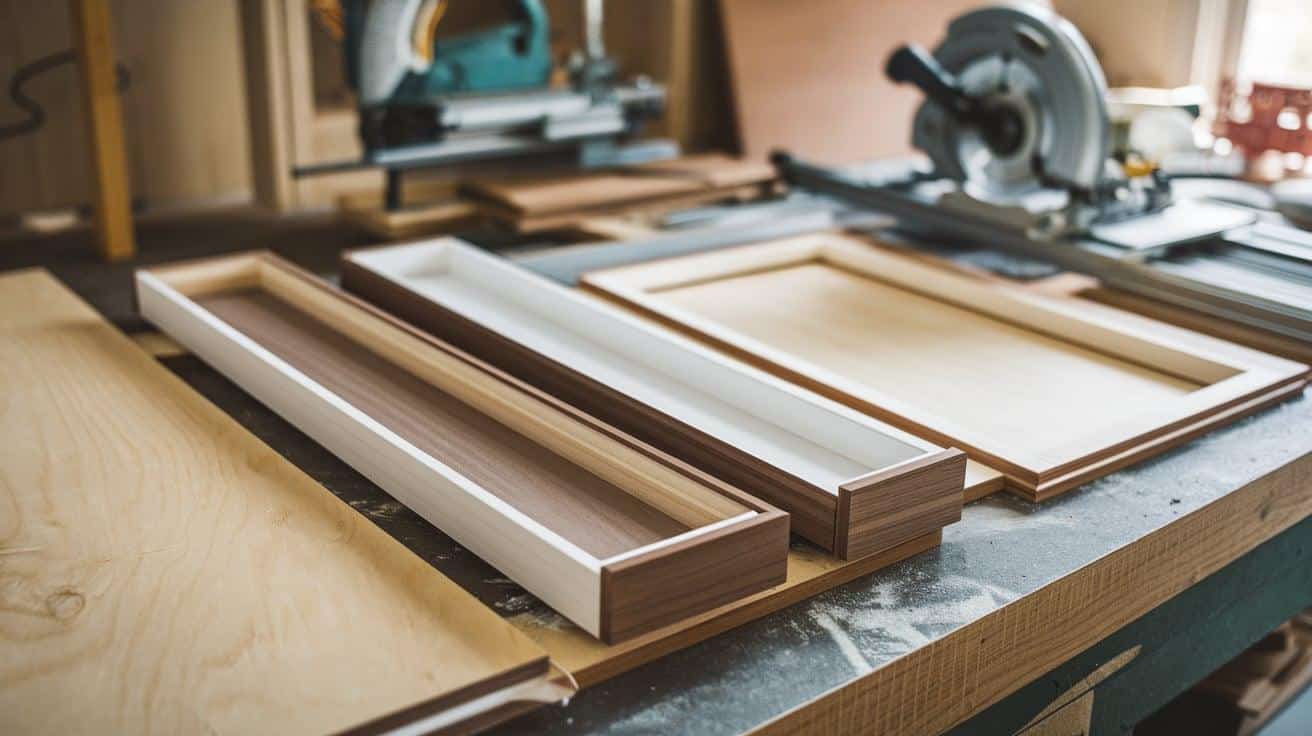
Step 5: Attach them to your frame, then add trim to hide the plywood edges. Leave the back open for cords and airflow.
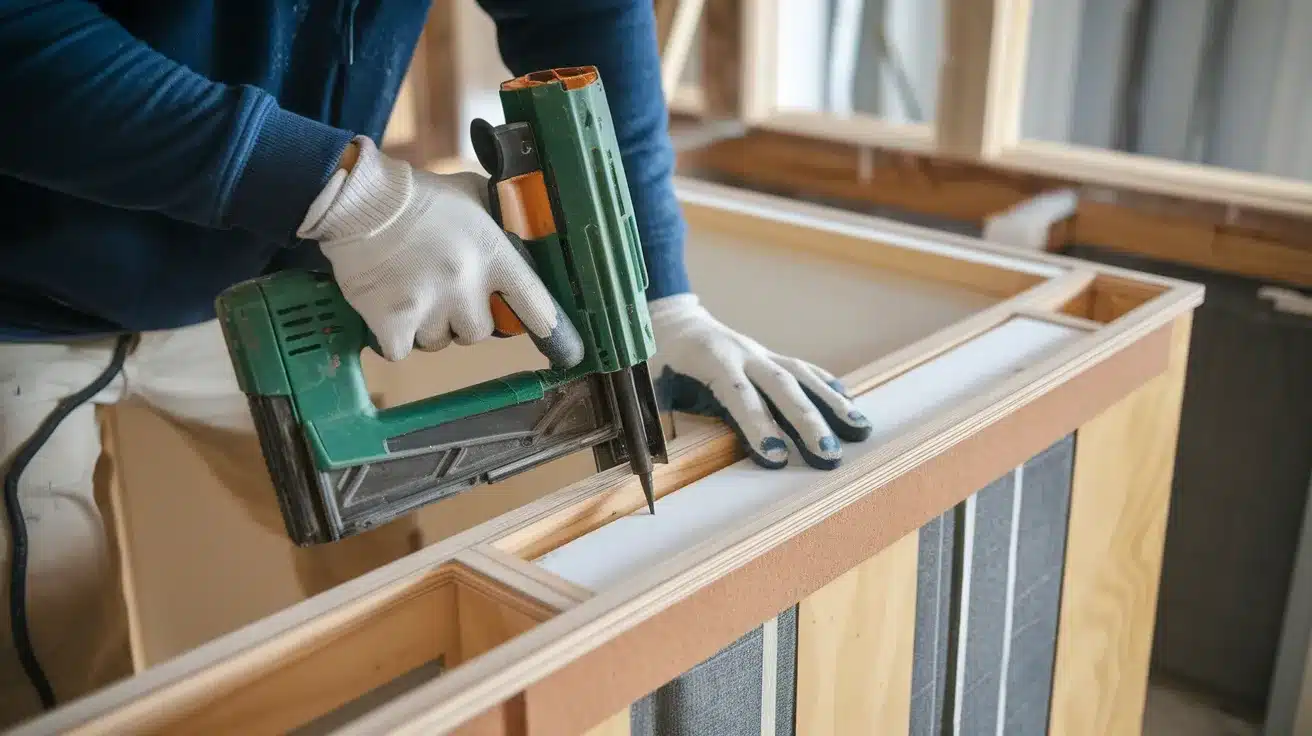
When adding door panels, make sure they can open fully without hitting nearby cabinets.
Most folks forget about ventilation, but it’s super important! Your fridge needs to breathe to work right and not overheat.
Common Issues and How to Fix Them
Even with careful planning, you might run into a few bumps along the way.
Don’t worry!
These problems are common, and I’ve got simple fixes that will help you get past them without pulling your hair out.
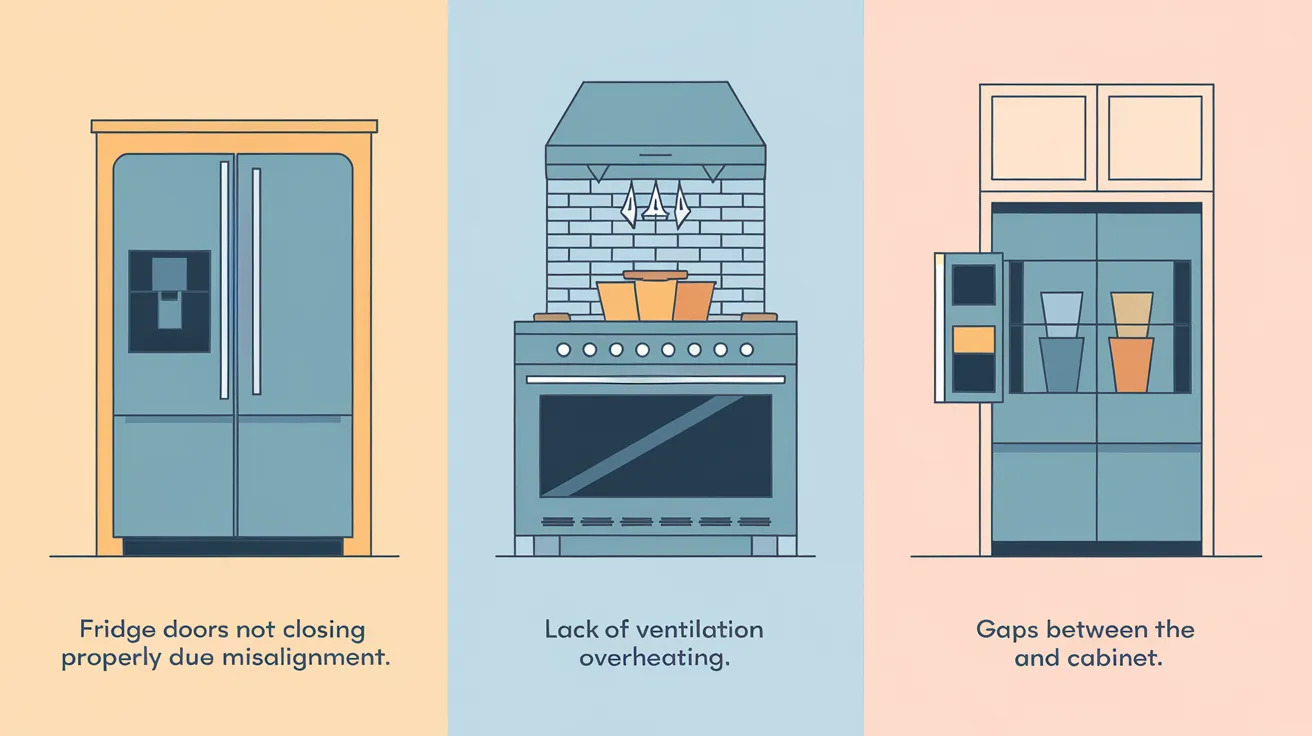
Cabinet Too Tight?
Did your fridge end up with too little breathing room? This happens to many of us!
Try removing any interior trim pieces to gain extra space. If it’s still too tight, you might need to rebuild one side panel with a bit more room.
Remember: fridges need at least 1/4 inch on the sides and 1 inch at the back to work properly.
Fridge Overheating?
Is your fridge running warm, or is the motor working overtime? Your fridge probably can’t breathe!
Check that you have proper venting at the top and behind the unit.
You might need to add a small vent grill to the toe kick area or cut out part of the back panel.
Poor airflow can kill your fridge early, so this fix is worth the effort.
Gaps Between Fridge and Cabinet?
Seeing annoying spaces where your fridge meets the cabinet? No problem!
L-shaped trim pieces can hide these gaps perfectly.
You can also use magnetic strips covered in matching material for a clean look that still lets you pull the fridge out when needed.
Flexible silicone gap covers work great for those hard-to-fill spots.
Maintenance and Longevity of Built-In Fridge Cabinets
Built-in fridges are a big investment, so you’ll want to keep yours looking good and running well for years.
With some basic care, your setup can stay in great shape much longer than you might expect.
Cleaning and Care Tips
- Don’t forget to clean both your fridge and the cabinet parts regularly!
- Wipe down cabinet surfaces with a gentle wood cleaner that won’t damage the finish.
- For those hidden spots, use a vacuum with a brush attachment to remove dust from the coils and vents every 3-6 months.
- Check door seals yearly and replace them if they’re cracked or not sealing well.
These simple steps can cut your energy bills and help your fridge last years longer.
How to Replace or Upgrade Built-In Fridges
When it’s finally time for a new fridge, you don’t need to tear everything out!
Measure your current opening carefully before shopping. Many brands keep similar dimensions across generations.
If you need a different size, you can often modify just parts of your cabinet frame rather than starting over.
Keep the outside panels if possible – they’re the most visible and expensive parts to replace.
Conclusion
We’ve covered a lot about built-in fridge cabinets!
From understanding what they are to choosing between pre-made and DIY options, you now have all the info you need to make smart decisions for your kitchen.
Remember that good planning makes all the difference.
Take time to measure twice (or three times!) before cutting anything. Think about how you use your kitchen daily and what would make life easier for you.
Built-in fridges can make your kitchen look amazing without major renovations.
Ready to start your project?
Take it one step at a time, and soon you’ll have that kitchen you’ve been wanting!