Build an 8×12 Shed: Free Plans and How-To
When I started building my first shed, I just needed a clean, simple place to put my tools and outdoor stuff.
Nothing fancy, just something that worked. These 8×12 shed plans made that possible without stress or guesswork.
In this post, I’ll share the same kind of plans that helped me accomplish it. You’ll find clear material lists and straightforward steps that guide you through the entire process.
I’ve also added tips for common mistakes and a few extras that made my shed even more helpful. If you’re ready to make your yard more functional, this should help.
Why Choose an 8×12 Shed Size?
An 8×12 shed gives you 96 square feet of space. That’s enough room for most backyard storage needs without taking up too much yard space.
You can fit a push mower, wheelbarrow, shelves for storage bins, and a few bikes. There’s room to hang tools on the wall or park a snow blower. It’s also tall enough to stack items or add hooks for vertical storage.
When It Works Best
- Lawn and Garden Storage: Store rakes, shovels, trimmers, and fertilizer in one spot.
- Bike and Sports Gear: Keep bikes, helmets, and outdoor games dry and secure.
- Small Workshop: Add a workbench and organize tools for minor repair or hobby projects.
- Seasonal Storage: Keep holiday decorations, patio cushions, or pool supplies out of the way.
This shed size strikes a good balance between space and function—easy to build, yet big enough to use.
Materials Needed for 8×12 Shed Build
Before you start building, make sure you have everything ready. Here’s a breakdown of the basic materials you’ll need for an 8×12 shed.
Framing Materials:
- 2×4 and 2×6 lumber for wall studs, floor joists, and roof framing
- Nails and screws for framing, siding, and roofing
- Plywood or OSB sheets for flooring, walls, and roof sheathing
- Metal connectors or hurricane ties for added strength
Roofing and Siding:
- Roof shingles or metal roofing panels
- Roofing felt or underlayment
- Drip edge and flashing
- Wood, T1-11, or vinyl siding panels
- Caulk and sealant
Tool List:
- Tape measure
- Circular saw
- Power drill and bits
- Hammer or nail gun
- Speed square
- Level
- Safety glasses and work gloves
Step-by-Step Build Instructions
This section walks you through each central stage of building your 8×12 shed. Take your time and follow the steps in order.
Step 1: Prep the Site and Foundation

Pick a flat spot and clear the area. Dig in stepped levels if needed. Set up batter boards and string lines to square your layout. Lay a gravel base and install pressure-treated 4×6 perimeter timbers. Reinforce the corners with rebar.
Step 2: Build the Floor Frame

Lay 4×4 skids on the gravel. Frame the base using 2×6 joists spaced 16 inches apart. Add OSB sheets on top using adhesive and screws to create a strong shed floor.
Step 3: Frame and Raise the Walls

Assemble each wall flat on the ground using 2×4 studs (16″ OC). Include door and window headers where needed. Raise and brace each wall, then secure them together and install a second top plate for strength.
Step 4: Install Siding Panels

Use LP SmartSide or T1-11 siding. Align the first panel with a chalk line around the base. Nail into studs and overlap edges. Wrap around all four walls, keeping everything straight and tight.
Step 5: Build and Install Rafters

Cut rafters for a 9:12 pitch using a template. Assemble in pairs with gussets. Mount them on 24″ centers, checking alignment with a string line. Toe-nail each rafter to the top plates.
Step 6: Roof Sheathing and Shingles

Add OSB roof sheathing first. Install drip edge, underlayment, starter shingles, then 3-tab shingles row by row. Finish with a ridge cap across the peak.
Step 7: Windows, Doors, and Trim

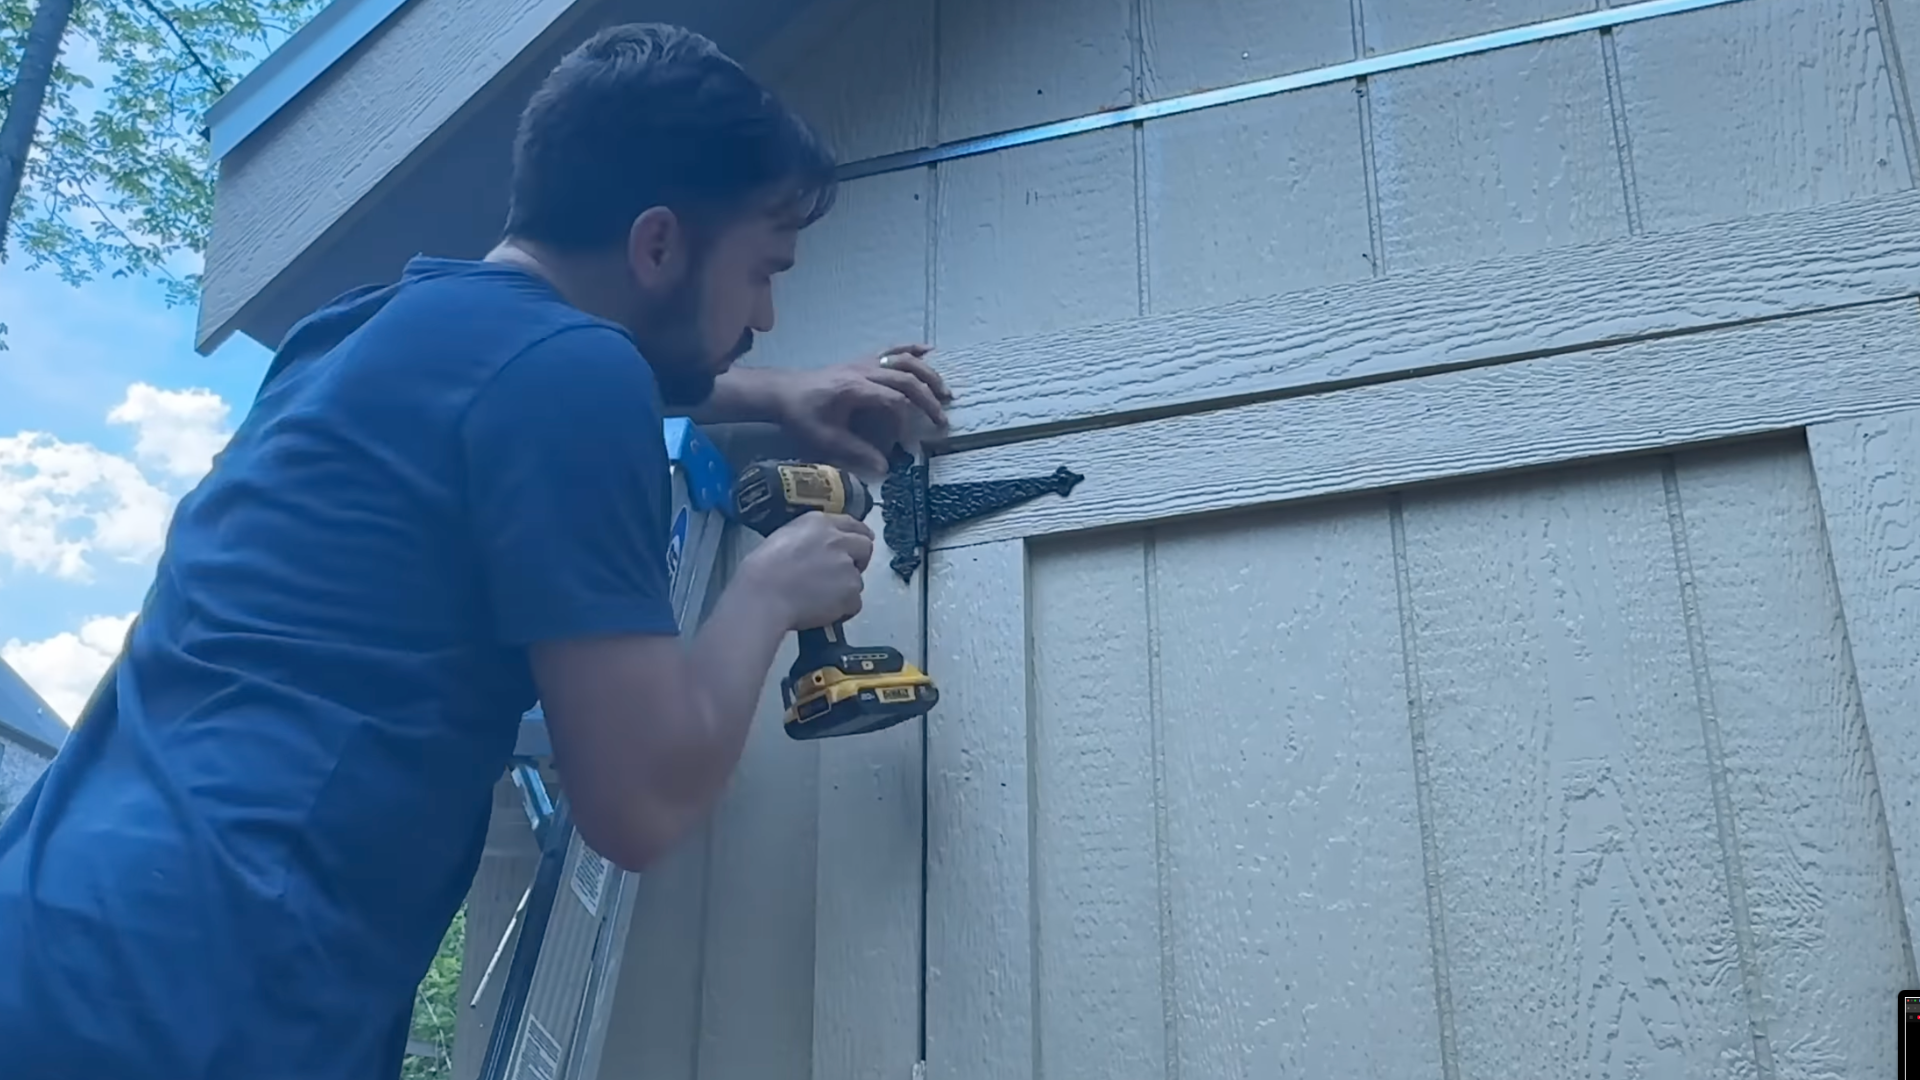
Install the window with seal tape and silicone (no caulk on the bottom for drainage). Build double barn doors from 2x4s and siding. Hang with hinges, shim gaps, and add latches. Trim corners, doors, and soffits for a polished look.
Step 8: Paint and Final Touches
Paint or stain the exterior with two coats. Backfill around the shed with dirt and compact it. Add gravel or weed barrier if needed. Clean up your site—and you’re done!
Here is the Youtube video for better understanding:
Bonus Add-On Ideas
Once your shed is built, you can upgrade it with a few simple extras. These add-ons make it more useful throughout the year.
- Add a Storage Loft: Utilize the overhead space to store bins, holiday decorations, or lightweight tools. It keeps the floor clear and utilizes unused height.
- Add Windows or Skylights: Natural light helps you see better and keeps the inside from feeling stuffy. Install one or two fixed windows or a roof vent for airflow.
- Add Power for Tools: Run a basic power line from your home or garage to power lights, a small heater, or your power tools. Ensure it’s rated for outdoor use and installed securely.
Free 8×12 Shed Plans to Download
You don’t need to start from scratch. These free downloadable shed plans make building easier with step-by-step guidance and ready-to-print layouts.
Gable Roof
This classic gable-style shed plan includes a downloadable PDF with clear diagrams and a full cut list.
You’ll get exact measurements for walls, floor joists, and roof framing. It’s beginner-friendly and designed to accommodate common materials found at any hardware store.
1. Download Gable Roof Shed Plan – 3DShedPlans
2. Download Gable Roof Shed Plan – ShedPlans
Lean-To PDF With Material List
If you need something compact and straightforward, this lean-to plan is a great fit. The downloadable PDF includes detailed wall framing layouts, guidance on roof slopes, and rafter spacing. It’s perfect for placing against a fence or garage wall.
Download Lean-To Shed Plan – ShedPlans
Saltbox Shed Plan Option
This saltbox-style plan features a taller front wall and a shorter rear slope, providing better drainage. It includes options for a side door and a narrow footprint. Great for tight spaces or backyard corners where full-height storage is needed.
Common Shed Building Mistakes to Avoid
Even simple projects can go wrong without planning. Here are key mistakes to watch for:
- Not Checking Local Permits: Some towns require a permit for sheds. Always ask before you build to avoid penalties.
- Wrong Slope on Roof: A roof that’s too flat won’t shed water or snow properly. Follow the pitch shown in your shed plan.
- Using Untreated Wood for Base: Never build the shed floor with untreated wood. It can rot from ground moisture. Use treated lumber only.
Conclusion
I know how satisfying it feels to turn a cluttered corner of the yard into something that finally works for you.
These 8×12 shed plans take out the hard parts and let you focus on the build. You’ve now got the steps, materials, and ideas to put your own shed together with confidence.
If you’re using it for storage, projects, or just clearing space, the setup is flexible enough to fit your needs.
If you want to see more designs or other layout options, feel free to check them out. I’ve got more guides that follow the same simple, no-stress style.