Best Primers for High-Moisture Bathroom Walls Guide
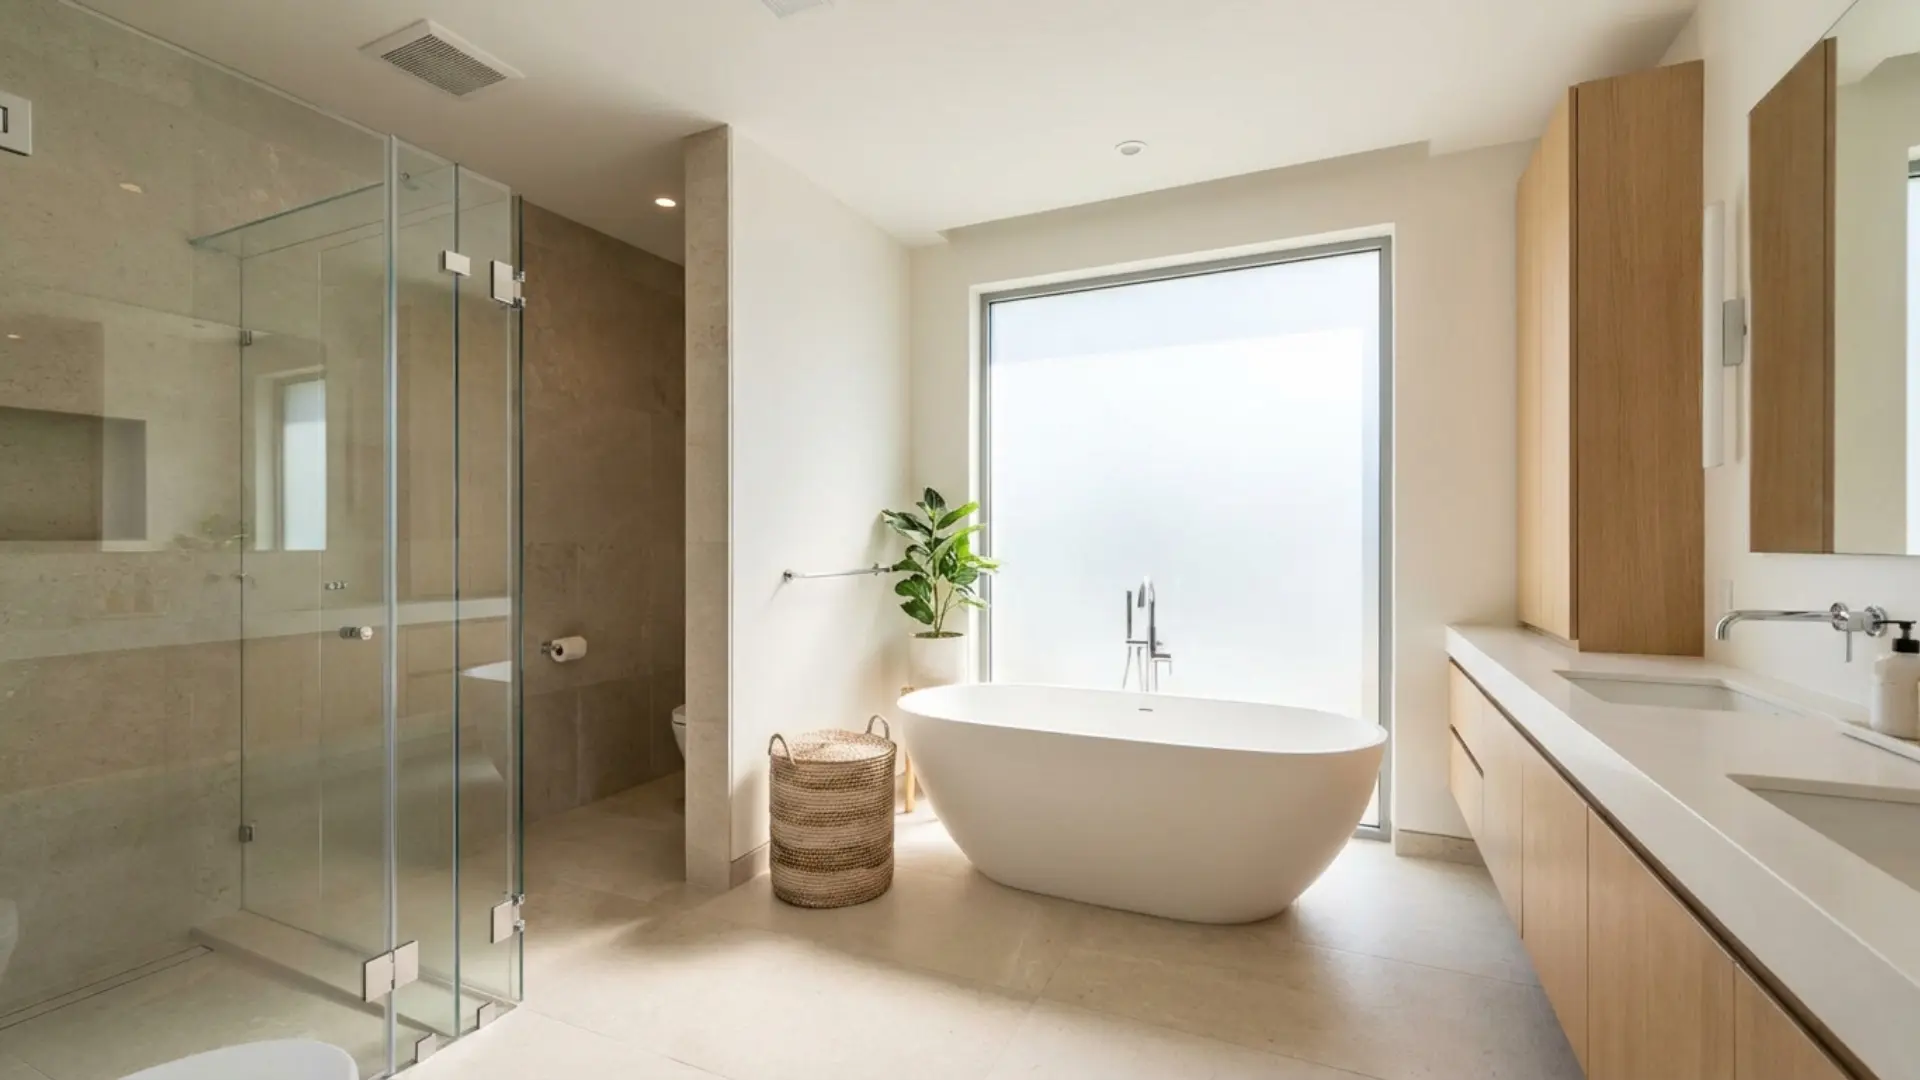
Have you ever painted your bathroom walls only to see peeling or mildew a few months later? Bathrooms face constant moisture, making them one of the trickiest spaces to paint.
That’s why using the best primers for high-moisture bathroom walls is essential. A good primer not only prevents mold and mildew but also improves paint durability and long-term protection.
In this guide, I’ll walk you through the types of primers, top brands, wall-specific recommendations, and step-by-step application tips. Ready to find out which primer will keep your bathroom walls looking fresh and strong?
Why Bathroom Walls Need Special Primers
Bathrooms are exposed to steam, humidity, and splashes every single day. Without the right primer, walls quickly trap moisture, leading to mold and mildew growth.
Paint can start peeling, bubbling, or wearing away faster than expected. A bathroom-specific primer adds a protective barrier that locks out moisture while helping paint stick better.
By using the right product, you not only protect your walls but also extend the life of your paint job.
Best Primer for High-Moisture Bathrooms

The following brands are trusted options when choosing primers for humid bathroom walls, and you may also want to look at the differences between Sherwin-Williams and Benjamin Moore bathroom paints to see how their full product lines compare.
| Brand | Recommended Products | Key Benefit |
|---|---|---|
| Zinsser | Bulls Eye, Perma-White | Mold resistance and long-lasting hold |
| Sherwin-Williams | Preprite ProBlock Primer | Strong adhesion and stain blocking |
| Benjamin Moore | Fresh Start series | Smooth coverage and durability |
| Walplast | Mastertouch Primer | Budget-friendly, easy-to-apply option |
| Asian Paints | Interior/Exterior Primers | Accessible choice with sealing benefits |
Types of Primers for Bathrooms
Different primers work in specific ways to protect bathroom walls. Choosing the right one helps prevent peeling, mold, and long-term damage.
Water-Based Primers
Water-based primers are easy to apply, quick-drying, and eco-friendly, making them the go-to choice for new drywall surfaces.
They soak into drywall evenly, creating a smooth, stable base that helps paint adhere better. They’re ideal for homeowners who want a fresh, clean finish without dealing with heavy odors or extended drying times.
Oil-Based Primers
Oil-based primers are perfect for blocking tough stains and sealing problem areas in bathrooms exposed to constant moisture.
They provide a strong grip on surfaces, making them especially useful when repainting or covering darker shades. Though slower to dry and smellier than water-based options, they deliver long-lasting durability in bathrooms that face heavy wear and tear.
Vapor Barrier Primers
Vapor barrier primers are designed to stop moisture from sneaking through bathroom walls and ceilings. They form a protective shield that reduces water vapor penetration, making them perfect for bathrooms without good ventilation.
If your walls often feel damp after showers, this type of primer can help prevent bubbling, peeling, and long-term structural damage.
Mold-Resistant Primers
Mold-resistant primers are created for humid spaces like bathrooms. They contain added mildewcide that keeps mold and mildew from taking hold on your walls.
These primers work well as a first line of defense against bathroom moisture problems, ensuring your paint looks fresh longer. They’re especially recommended for ceilings and corners where mold often appears first.
Choosing the Right Primer for Your Bathroom
Picking the right primer depends on your wall type, budget, and final paint finish. For drywall, go with water-based primers. For plaster or repaired walls, use high-adhesion or stain-blocking primers.
Always check VOC levels if you prefer eco-friendly options. If your budget is tight, there are affordable primers that still protect against moisture.
If you want long-term results, invest in premium brands designed for bathrooms. The right primer will save you time and money on future repairs.
Best Primer by Wall Type
Different wall surfaces in bathrooms need specific primers. Choosing correctly ensures long-lasting protection, stronger adhesion, and resistance against moisture damage.
| Wall Type | Recommended Primer Type | Key Benefit |
|---|---|---|
| Drywall | Water-based primer | Smooth finish and easy application |
| Plaster | High-adhesion primer | Strong grip and seals cracks |
| Previously Painted Walls | Bonding or stain-blocking primer | Covers stains and improves adhesion |
| Ceilings | Mold-resistant or vapor-barrier | Extra moisture and steam protection |
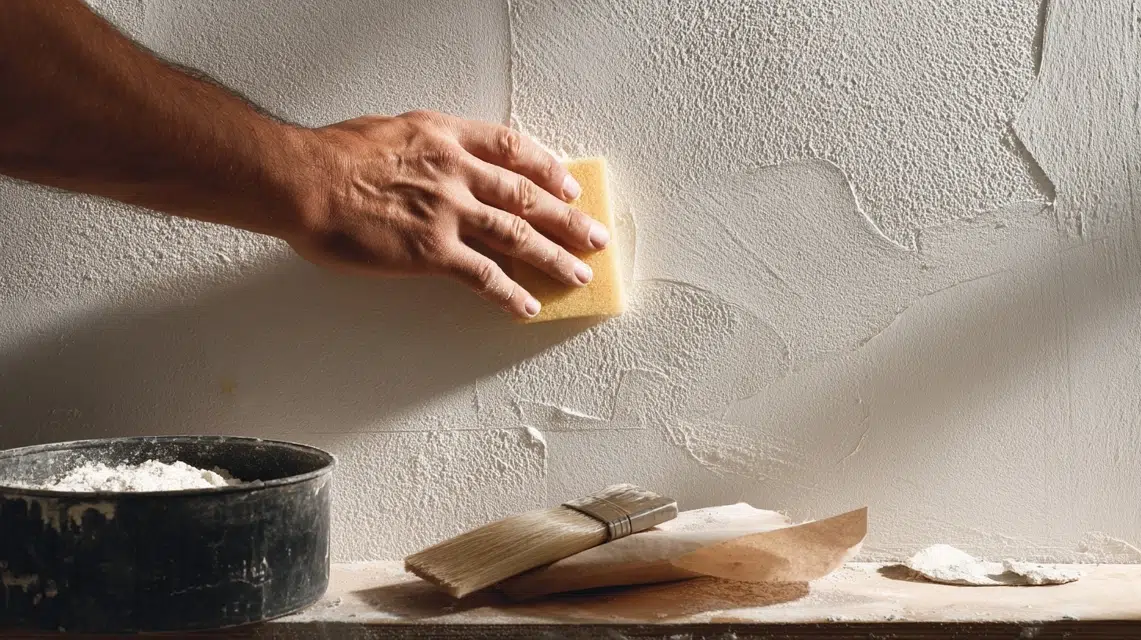
Step-by-Step Primer Application Guide for Bathroom Walls
Applying primer correctly ensures your bathroom walls stay protected against moisture, mold, and peeling paint for years to come.
Step 1: Surface Preparation
Start by cleaning the walls with a mild solution to remove dirt, grease, and mold. Sand down rough areas and fill any cracks to create an even surface.
Proper preparation helps primer bond effectively, giving your paint job better durability and a smooth, long-lasting finish.
Step 2: Priming Process

Use a brush to cut in along corners and edges, then switch to a roller for larger wall sections. Apply one or two coats depending on surface condition.
Even coverage is key, make sure each coat is smooth and consistent. This step creates a strong foundation for the paint.
Step 3: Drying and Curing
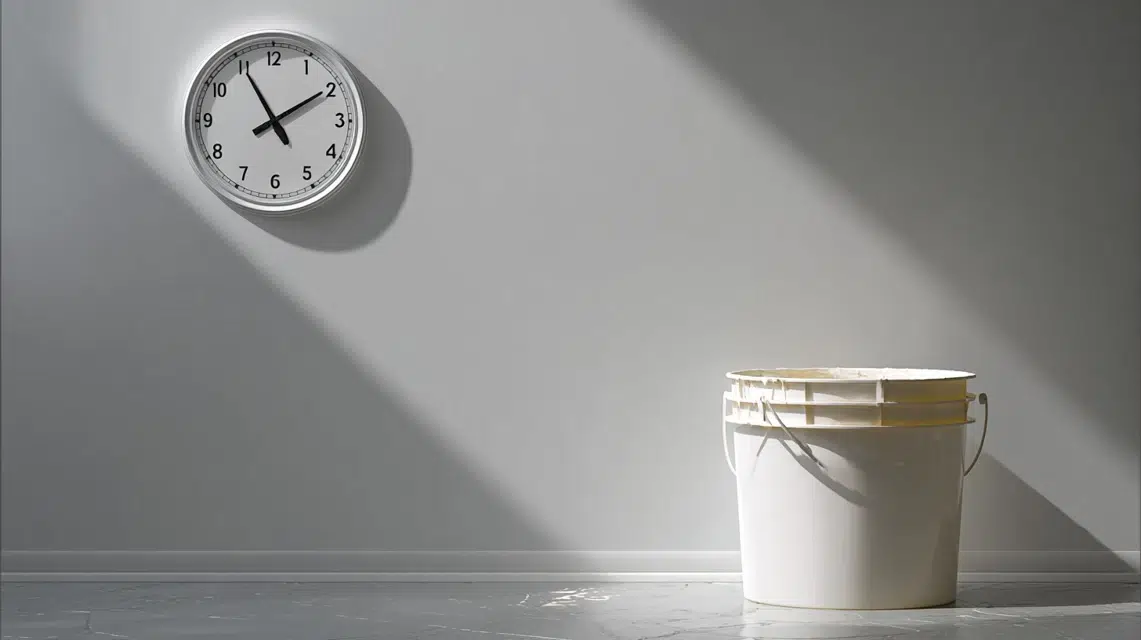
Allow primer to dry completely before adding another coat. Follow the drying time listed on the product label. Once the final coat is cured, it’s safe to apply paint.
Proper curing ensures adhesion, prevents bubbling, and protects bathroom walls against moisture damage for the long term.
Common Mistakes to Avoid
Even with the right products, simple mistakes can weaken your paint job. Avoid these common errors to get the best results. Here are the key things to watch out for:
- Using regular primer: Standard primers are made for dry spaces. In bathrooms, they can’t block moisture or prevent mold, which leads to peeling paint and stains.
- Painting over damp walls: If the surface isn’t fully dry, moisture gets trapped underneath. This often causes bubbling, weak adhesion, and premature paint failure.
- Skipping mold treatment: Painting over mold doesn’t solve the problem. The growth continues under the surface and can spread quickly in a humid environment.
- Rushing drying time: Primer needs enough time to cure before painting. Cutting corners here weakens the bond between primer and paint, reducing durability.
- Skipping ventilation steps: Without good airflow, moisture lingers during and after painting. This increases the chance of peeling and mildew returning.
By avoiding these mistakes, your walls will be better protected and your bathroom paint will last much longer.
Final Thoughts
Painting a bathroom takes more than just picking a color; it starts with the right foundation. By using the best primers for high-moisture bathroom walls, you protect your space from mold, peeling, and long-term damage.
I’ve shown you how to choose the right type, compare trusted brands, and apply it properly. Now it’s your turn to put this into action and give your bathroom walls lasting strength.
Want more practical paint tips? Check out my other blogs to keep every room in your home looking its best.