A Step-by-step Guide To Installing A Water Transferring Pump In Your Garden
Transforming your garden with an efficient irrigation system can simplify watering tasks and ensure your plants thrive.
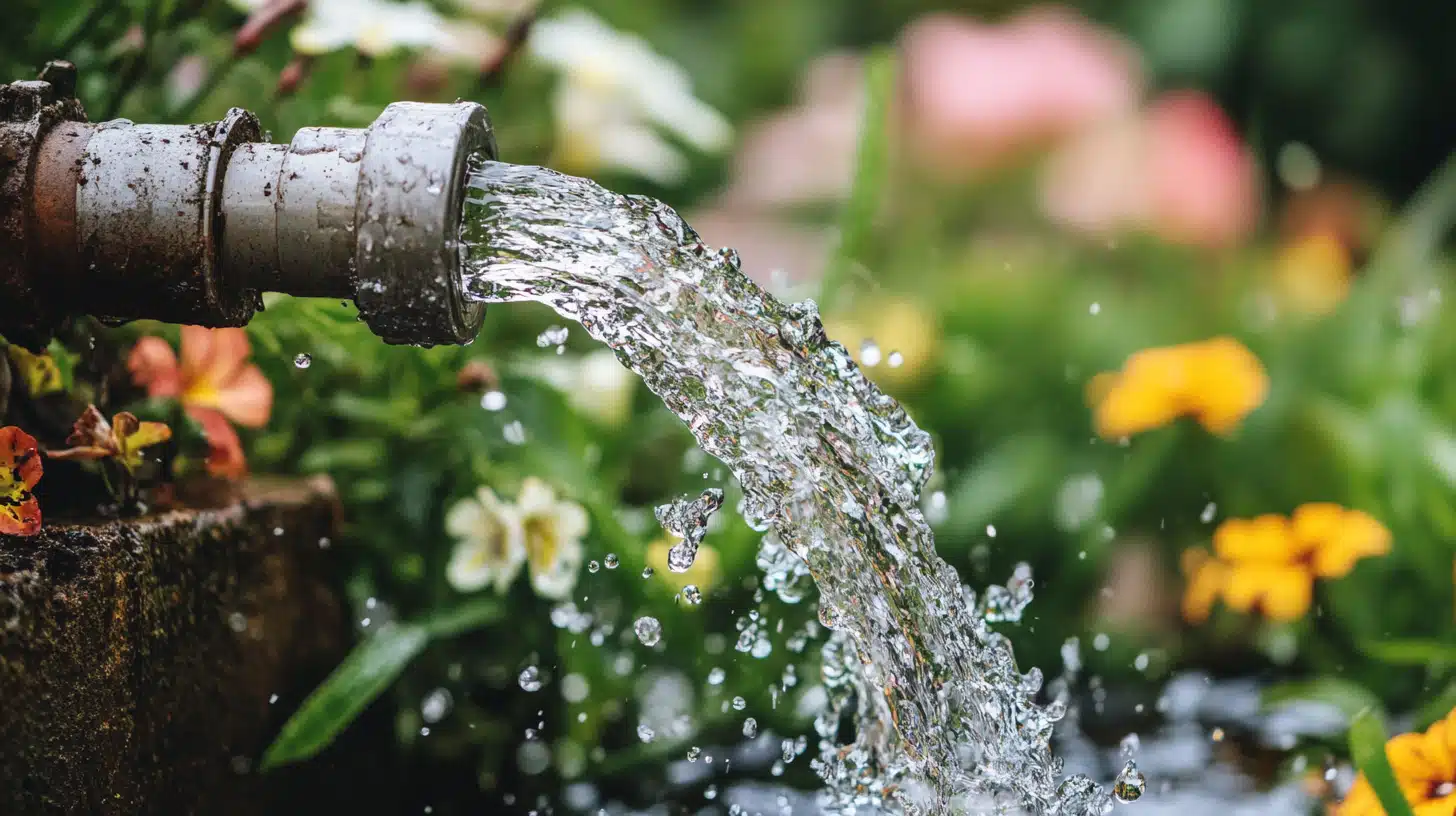
Installing a water-transferring pump effectively manages water distribution in your garden, providing a constant and reliable water supply.
Whether you’re dealing with uneven terrains or just looking to enhance the efficiency of your gardening routine, this step-by-step guide will help you get everything set up correctly.
Before diving into the installation process, having all the necessary equipment and tools ready is important.
Preparing your garden for the pump installation ensures you’ll avoid common mistakes and streamline the setup process.
This guide aims to walk you through each step explicitly, ensuring your water pump operates smoothly and efficiently.
Following these steps, you can install your new water transfer pumps effectively, ensuring an optimal gardening experience.
From selecting the appropriate location to handling the final connections, each phase is covered to provide clear instructions.
Key Takeaways
- Understand the preparation steps necessary for installation.
- Follow step-by-step instructions for setting up the water pump.
- Ensure proper connections for optimal pump performance.
Preparing for Installation
Setting up a water-transferring pump in your garden requires careful preparation to ensure efficient and safe operation.
This includes selecting the right pump, gathering necessary tools and materials, and ensuring all safety measures are in place.
Selecting the Right Pump
Choosing the right pump is crucial for successful installation. For gardens, a submersible pump is often advised for its reliability and efficient performance.
Factors to consider include the water table level, well depth, and required flow rate.
- Deep well pumps are suitable for wells with greater depths.
- For shallow wells, standard submersible pumps are adequate.
- Consider the well location and accessibility to ensure the pump can be installed and maintained easily.
- Verify compatibility with the power source available on the property.
Gathering Necessary Tools and Materials
Having all required tools and materials ready before beginning the installation saves time and prevents unnecessary delays.
Essential tools and materials include:
- Pipe fittings, PVC primer, and cement for secure piping connections
- Electrical wire and waterproof connectors for safe connections
- Teflon tape for sealing threads
- Voltage tester to ensure electrical safety
- A bucket for handling excess water
- Additional tools such as wrenches, screwdrivers, and pliers
Ensure all materials are of high quality to provide a watertight seal and prevent leaks.
Ensuring Safety Before Starting
Safety is paramount when installing a water-transferring pump. Start by disconnecting the electricity supply to avoid shocks.
- Wear protective gloves and goggles to safeguard against injuries.
- Use a voltage tester to confirm there is no live current where you will be working.
- Verify all tools and materials are in good working condition.
- Check local regulations and guidelines to ensure compliance and safety standards.
- For added safety, consider consulting a professional to review the setup, especially for complex systems.
The installation process can be completed efficiently and securely by attentively selecting the pump, thoroughly preparing tools and materials, and adhering to safety protocols.
Executing the Installation
The installation of a water-transferring pump requires assembling the pump system correctly and ensuring the pump is properly primed and started.
These steps are crucial for achieving optimal performance and maintaining a reliable water supply in your garden.
Assembling the Pump System
Begin by selecting a suitable mounting surface. The surface should be level and sturdy to support the weight and operation of the pump.
Use an adjustable wrench, screwdrivers, and a drill to secure the pump to the surface, ensuring it is properly aligned to prevent vibrations.
Next, attach the drop pipe to the pump’s intake. This pipe should reach the water source, such as a well or tank.
Ensure all connections are tight and use a sealant to prevent leaks. Attach the discharge pipe to the pump outlet. This pipe will direct the water to your desired location in the garden.
Connect the pump to a reliable power source, ensuring the voltage matches the pump’s specifications.
If you are replacing an old water pump, refer to the installation instructions provided by the manufacturer.
This may include wiring the pressure switch and verifying its settings. Avoid contamination by keeping the well cap clean during this process.
Regular maintenance is advised to keep the system running smoothly.
Priming and Starting the Pump
Priming the pump is essential to avoid airlocks and ensure the pump operates efficiently.
Fill the priming port with clean water, making sure there is enough to cover the pump’s internal components.
This helps create the necessary vacuum for the pump to function.
Once the pump is primed, double-check all connections and ensure there are no leaks. Start the pump and monitor the water pressure.
If there are issues with pressure, refer to any troubleshooting tips provided in the installation instructions.
Adjust the pressure switch to maintain the desired pressure level. It may take a few adjustments to achieve optimal performance.
Monitor the system closely for the first few hours to ensure everything works correctly and address any maintenance needs quickly.
Maintaining the pump system involves regular maintenance, such as cleaning the well and checking the sealant on connections.
Proper priming and setup ensure a cost-effective and reliable water supply.
Conclusion
Installing a water-transferring pump in your garden can significantly improve irrigation efficiency.
Following the outlined steps ensures a smooth installation process.
With regular maintenance, the pump will provide reliable performance for years.
Proper setup and care guarantee optimal functionality for your garden’s watering needs.