A Step-by-Step Guide to DIY Marble-Inspired Concrete Countertops
Introduction
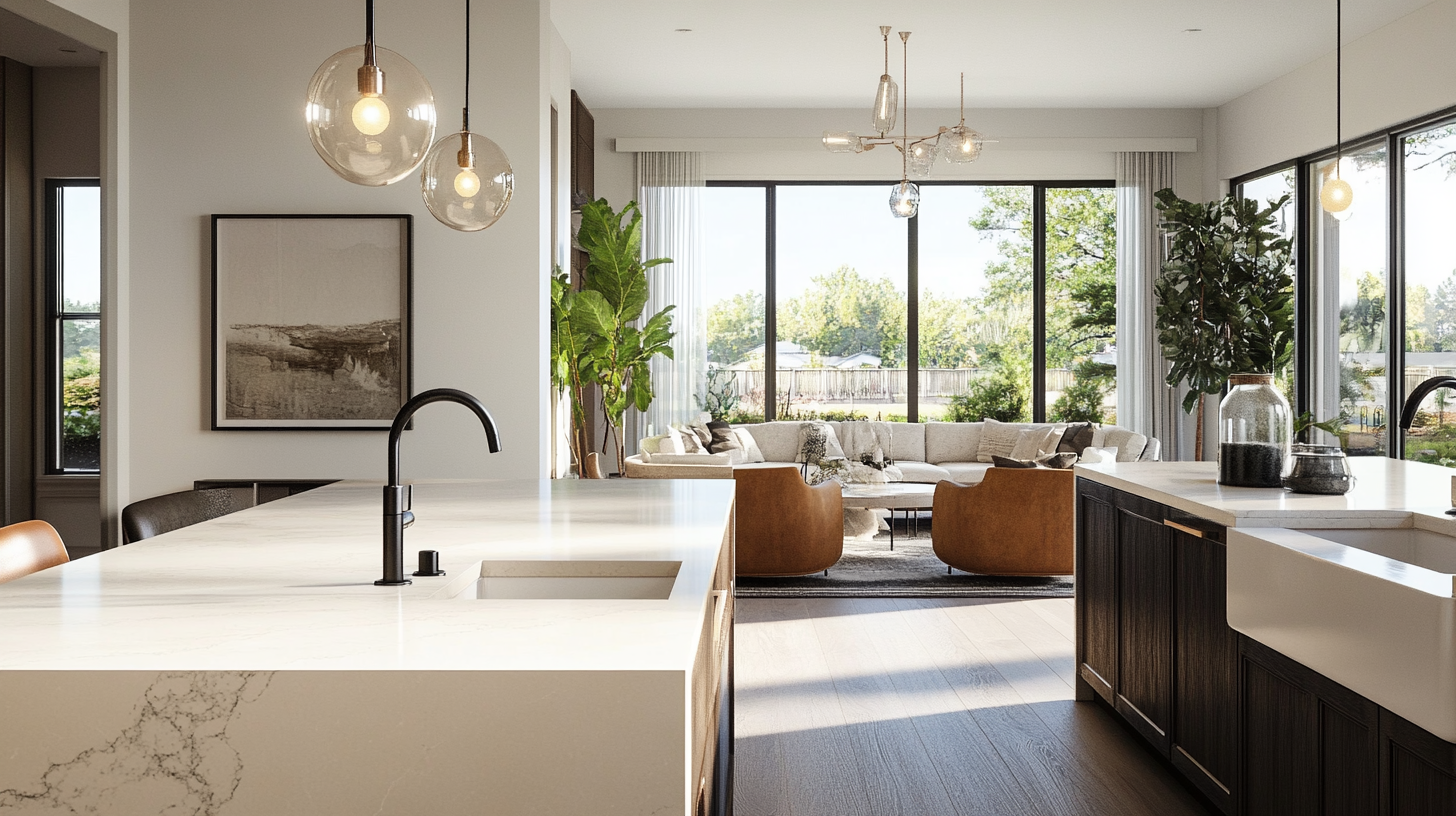
Marble countertops evoke refined style and timeless elegance. But as a rare luxury material requiring extensive mining and processing, genuine marble fixtures still need to be more affordable for most homeowners. Thankfully, the remarkable realism achievable with modern concrete materials and techniques enables even DIYers to replicate the sophistication of marble without costly stone fabrication.
This guide outlines proven methods for crafting convincingly marble-like concrete countertops and their distinctive veining and translucency. While mastery requires patience and practice, understand that imperfection adds to the stone’s authentic charm.
We walk through crucial steps from building custom molds to realistically tinting concrete mixes to seamless installation and protective finishing. Follow along, and soon, you’ll have an enviable showpiece sure to receive endless compliments from guests.
1. Getting Started
Proper planning and sourcing quality materials prevent setbacks like any rewarding DIY project. Ensure your workspace has ample access to electricity, water, and ventilation for safe material handling. Review required tools and ingredient essentials as well.
Equipment and Materials
At a minimum, you’ll require mixing containers, concrete coloring admixtures, mold building supplies, vibrating equipment, polishing pads, and compatible sealers. Consider purchasing specialized marble-effect tools like feather dusters. Don’t cut corners on concrete mixes, either. Invest upfront in the right stuff.
Preparing Your Workspace
Concrete mixing generates dust, requiring covered floors and ventilation. Allow space for building slab molds comfortably to scale on flat surfaces. Ensure adequate lighting and power accessibility for mixing drills, vibrating paddles, and polishers. Position near a hose or sink. Lastly, test run ventilation effectiveness before prolonged dust exposure.
2. Design Planning
Meticulous measuring and innovative mold design prevent headaches down the road. Map intended sink cutouts and backsplash boundaries based on your cabinetry. Decide on unique edge profiles, if any—account for lifting and transporting limitations in the mold dimensions.
Researching Inspiration
Study various marble types like Carrara, Calacatta, or Statuario in detail, noting what colors, veining widths, transparency, and edge styles appeal specifically—catalog photos from multiple vantage points. Good design preserves natural stone’s randomness within controlled parameters.
Sketch desirable patterns.
Blueprinting Details
With fresh research, map your countertop’s perimeter dimensions, overhangs, and inset regions. Specify creature comforts like integrated drain boards, trivets, or custom details. Consider if modifying standard cabinet sizing remains feasible to accommodate non-rectangular layouts. Leave wiggle room. Changes happen.
3. Choosing Concrete Mix
Not all concrete matches offer equal viability for marble realism based on included aggregate sizes, ideal setting times, coloring capacity, and texture. Thankfully, specialty mixes designed explicitly for decorative applications exist through reputable suppliers. To achieve the desired marble-like appearance, having access to high-quality decorative concrete supplies, such as specialized admixtures, pigments, and sealants, is crucial.
Overview of Mix Options
Top contenders include Cheng Design Mix and QuickCrete Countertop Mix. Both feature refined aggregates, high-white cement, and optimal viscosity. Verify suitability for dye and stain absorption. Compare setting times. While pricier than bare bulk concrete, such materials reward finished results.
Consider Texture and Color
Finer sands and aggregates allow better assimilation of liquid colorants within the concrete and reduce noticeable particulates, which could spoil the illusion of smooth marble. Pure white base cements assist light play, though natural gray mixes also marble convincingly—samples aid decision-making.
4. Building the Mold
Molds give concrete shapes and decorative forms. Craft rigid wooden molds from moisture-resistant MDF board and framing lumber, allowing easy vibration and multiple castings per batch. Ensure super sturdy bracing to withstand pressure from poured concrete without bulging.
Mold Design Considerations
Create overlapping segments with indexing notches, allowing sequential pouring and then disassembly for countertop removal post-curing. Strategically placed bevels simplify alignment. To prevent surface defects, generously round over and lubricate all interior forms using commercial mold release agents and damp cloths during assembly.
Incorporating Realistic Textures
Further, mimic stone tooling by lining molds with decorative pressing mats. Flexible urethane and silicon sheets introduce patterns like rough-hewn planking when concrete cures impress against its surface. Use mats selectively, not across entire slabs, which appear too uniform. Strategically placed tile, lace or burlap layers also convince as marble.
5. Mixing and Pouring
A suitable marble concrete recipe combines white cement, fine aggregates, and oxides, delivering buff coloration with other admixtures, introducing delicate veining, mottling, and translucent depth. Carefully layer tinted batches, preserving wanted randomness.
Ideal Concrete Consistency
Aim for a flowable, lava-like consistency – not overly wet and soupy, which risks component separation when poured. Use the least amount of water, allowing cohesive flow to fill intricate mold details without requiring vibrating pumps. Countertop mix recipes indicate ideal ratios. Tweak based on humidity.
Pouring Sequence
Plan the pouring sequence to prevent splash contamination across layers. First, evenly establish a neutral base layer. Then, selectively pour contrasting secondary hues into partially cured sections to suggest veining with muted marbling at boundaries as the new pour displaces portions below into fractal patterns resembling natural stone. Proceed incrementally.
6. Creating Marble-Like Patterns
The illusion centers on skillfully integrating artist pigments and trace additives during pouring or directly on the drying concrete surface to mimic qualities of authentic marble until the decorative treatment becomes indistinguishable from the real thing.
Pigments and Colorants
Liquid concrete pigments blend far more convincingly than powder alternatives within countertop mixes. Layer colors in thin ribbons – undiluted intensifies hues. Misting water after application softens edges. Accent neutral tones with bolder yet sparse veins in azure, crimson, or ebony. Limit contrasting pigments to avoid garishness.
Textures and Effects
Marbling colorants like feather veins dissolved in acetone skillfully suggest delicate stone patterns. Trace hairline crackling agents embed fissures resembling weathered marble. Light abrasion with wire brushes or files exposes aggregate colors where desired. Patina develops wonderfully if facilitated gently by acid washes after sealing.
7. Curing and Drying
Allowing concrete adequate protected cure time enables complete hydration, essential for achieving desired strength, finishability, and longevity in service. Insufficient curing risks physical defects down the road. Manage moisture levels carefully over weeks.
Curing Considerations
Prevent surface drying prematurely before deep hydration completes – wrapping in damp burlap assists—discoloration results from non-uniform shrinkage. Optimize temperature between 60-75°F. Colder conditions greatly extend curing periods, which disrupt working timelines. Account for seasonal changes when planning pours and mold usage to prevent rushed or botched jobs.
Drying Conditions
Gradually ease moisture reduction over days before removing from molds to prevent cracking. Mist lightly rather than soaking concrete if rewetting becomes necessary. Expect countertop surfaces to lighten as residual moisture still within the slab evaporates weeks later as installment approaches. Account for this color shift when designing pigmentation.
8. Polishing and Finishing
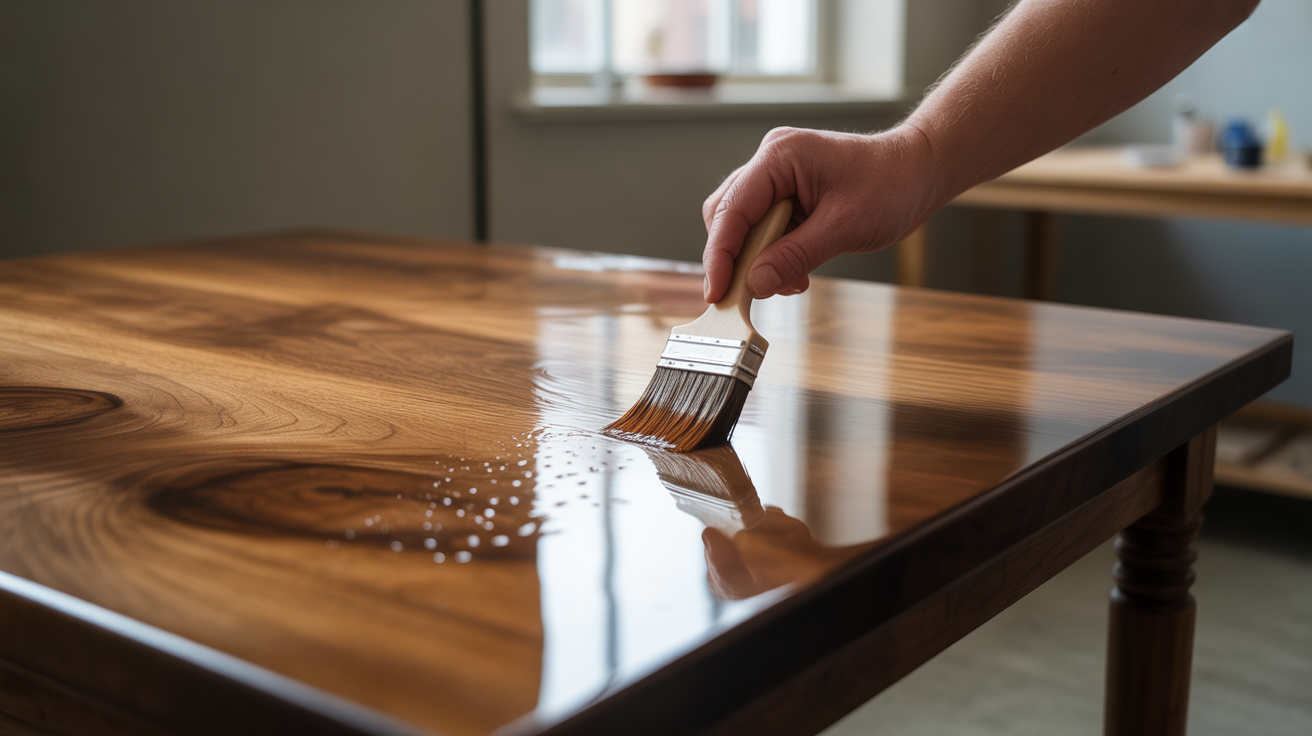
Applying suitable protective treatments post-curing enhances concrete creations’ overall appearance and resilience against abrasion, impacts, stains, and other environmental threats. Well-chosen finishes maximize decorative shine.
Enhancing Visible Depth
Multi-step mechanical polishing using progressively finer grit pads opens the concrete subsurface, exposing richness while smoothing the facade. Further treatment with lithium silicate hardeners densifies the exterior paste. Limiting polishing stages prevents diminishing faint veining details. Clean pad buildup.
Sealing Options
Topical impregnating sealants guard against penetrative damage without sacrificing appearance. Silane/siloxane or acrylic-based waterborne blends suit decorative concrete applications. Limit solvent-based varieties that block wanted vapor transmission, causing unsightly efflorescence and destroying marble realism. Reapply sealants every 2-3 years.
Installation Tips
Carefully transport finished countertops to avoid cracks or chips before permanently adhering tops to cabinetry. Shimming ensures flawless alignment and levelness across divided slabs. Expect total installation to take several days, factoring in adhesive cure times.
Installation Best Practices
Temporary support bracing prevents shifts during the curing of bonding mortars, which compromise the seamless illusion across segmented slabs. Mark plumbing openings precisely beforehand – drilling concrete risks ugly blowout damage. Tolerances approach 1/8 inch. Expect to finesse fit along the journey.
Maintenance Reminders
Avoid abrasive cleaners that dull luminous polish. Blot spills quickly before seeping stains develop. Reseal surfaces routinely to nourish protection against oils and acidic substances. The rewards for diligent upkeep are years of uninterrupted elegance and stone-like durability from your DIY marvel. Cherish it.
Conclusion
Do-It-Yourself concrete projects can seem daunting for beginners facing numerous new skills, but complex goals become achievable by breaking processes down into manageable steps. This guide outlined critical milestones in an accessible way for backyard artisans inspired to recreate luxurious marble without formal training.
While early attempts may show imperfections as skills develop through trial and error, natural stone also glories in its flaws. With growing mastery over concrete materials and techniques, future projects will match early pioneers in creativity and confidence, cementing this passion permanently.

