A Guide for Kitchen with a Shiplap Backsplash
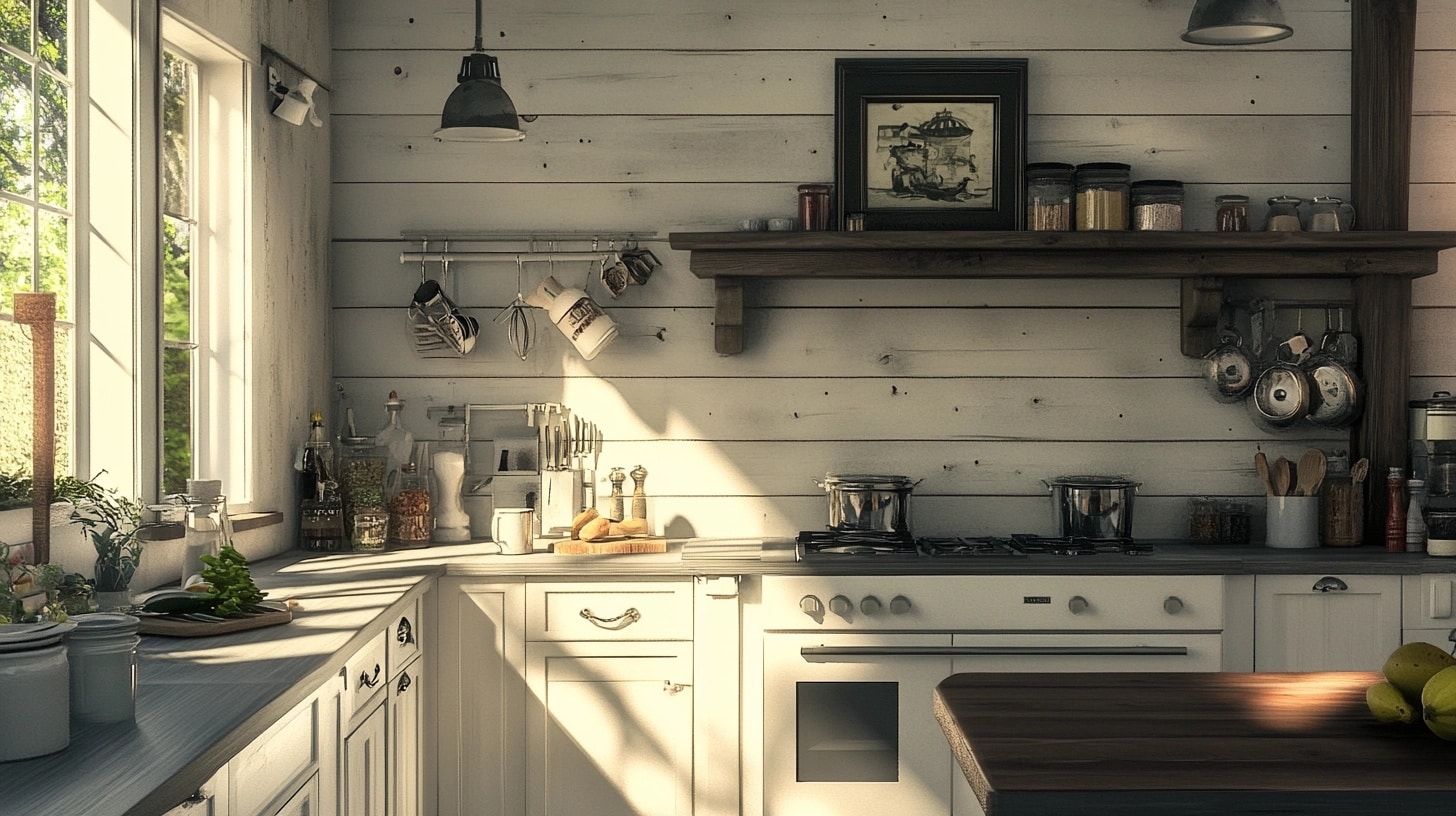
A shiplap backsplash adds a clean, fresh look that works in any kitchen style.
This guide walks you through everything you need to know about shiplap, from picking the right boards to keeping them looking good.
You’ll learn how to put up shiplap yourself, save money compared to other options, and make smart choices about sealing and care.
We’ll show you how to lay boards flat or stand them tall, pick colors that work, and keep your kitchen walls looking their best.
Let’s look at how to bring this timeless wood style into your kitchen.
What is Shiplap Backsplash?
Shiplap consists of wooden boards that fit together with overlapping joints, making a tight seal between each piece.
Originally, builders used this method to construct ships and barns to keep water out. Today, it’s a popular choice for home decoration, especially in kitchens, bathrooms, and living spaces.
These boards typically have a distinctive groove cut into their edges, which creates small gaps between the panels.
This design makes interesting shadows and adds depth to your walls. While traditional shiplap comes in natural wood, modern versions offer many options:
- White painted finish
- Weathered gray look
- Natural wood tones
- Dark stained varieties
Common Places You’ll Find Shiplap
- Kitchen backsplashes
- Bathroom walls
- Living room accent walls
- Bedroom feature walls
- Laundry rooms
- Mudrooms
Horizontal Shiplap vs. Vertical Shiplap
Choosing between horizontal and vertical shiplap can change how your room feels and looks.
The direction of these wooden boards does more than create different patterns.
It can make spaces feel bigger, cozier, or more put-together, depending on how you use them.
Horizontal Shiplap
Horizontal shiplap features boards that run from side to side across your wall.
When installed this way, the boards create clean, straight lines that draw your eye across the space.
The look is simple yet eye-catching, with slight shadows between each board adding visual interest.
Benefits of horizontal placement:
- Makes rooms look wider
- Creates a sense of more space
- Fits naturally with how we scan a room
- Works well in small spaces
- Easy to install
Common uses:
- Living room walls
- Kitchen backsplashes
- Bedroom headboard walls
- Entryways
- Small bathrooms
- Home offices
Vertical Shiplap
Vertical shiplap runs from floor to ceiling, with boards standing upright. This arrangement creates strong vertical lines that pull your eyes upward.
The boards’ overlapping edges still create the characteristic shiplap shadow lines but in an up-and-down pattern.
Benefits of vertical placement:
- Makes ceilings seem higher
- Adds a formal touch
- Stands out as less common
- Creates a strong visual statement
- Good for narrow spaces
Best places to use vertical shiplap:
- Bathrooms
- Narrow hallways
- Small reading nooks
- Behind beds
- Fireplace surrounds
- Powder rooms
DIY Guide to Install a Vertical Shiplap in Your Kitchen
Materials and Tools
| Category | Items Needed |
|---|---|
| Materials | Shiplap Boards, Nails, White Putty, Caulk, Wall Trim, Paint |
| Tools | Level, Nail Gun, Jigsaw, Tape Measure, Pencil |
Step 1. Prepare the Starting Point
Begin the installation at the start of the longest wall in your kitchen. Position the first boards along this wall before reaching the countertop area, ensuring they align perfectly.
Step 2. Ensure Alignment
Use a level to check that the first few boards are perfectly straight. This is crucial for maintaining an even application across the entire wall.
Step 3. Secure the Shiplap
Attach each shiplap board using nails. If the nails do not hit a stud, angle the nail gun up and down to secure the boards firmly to the wall.
Step 4. Measure and Mark for Cuts
When you reach the countertop, use a scrap piece of shiplap to measure the necessary depth for any cuts. Mark the full piece based on this template to know exactly where to cut.
Step 5. Cutting Outlets and Notches
Use a jigsaw to cut out notches for the countertops and any electrical outlets. The jigsaw will allow for precise cuts and easy handling.
Step 6. Fill Nail Holes and Caulk Seams
After all the shiplap is installed, fill in all nail holes with white putty and caulk the seams to create a smooth, seamless appearance.
Step 7. Add Finishing Touches
Install a small piece of wall trim across the top of the shiplap. This trim will provide a polished, finished look to the installation.
Step 8. Paint the Shiplap
Match the paint color to your cabinets and apply it to the shiplap, enhancing the cohesion and elegance of your kitchen’s new look.
Useful Maintenance Tips for Shiplap Backsplash
Routine Cleaning
Simple cleaning tools you’ll need: a soft cloth or sponge, mild soap and water, and a soft brush.
For daily care, wipe with a dry cloth, and do a deeper clean weekly with a damp cloth. Make sure to get between the boards and dry completely after washing.
Addressing Spills and Stains
When spills happen, blot them right away – don’t rub, as this can spread the stain. Start with plain water first, then pat dry.
For tough stains, try a mix of water and dish soap for oil marks or a white vinegar solution for food spots. For grease, make a paste with baking soda and water.
Protection Against Moisture
Start by cleaning the surface well and letting it dry completely. Apply a thin coat of sealant, making sure to cover all exposed areas.
Good options include clear polyurethane or wood sealer. Give each coat time to dry, and check the seal once a year for wear.
Repairing Damage
Watch for water spots, small cracks, and loose boards. For repairs, first clean the damaged area. If needed, sand lightly, then fill any small holes.
Match the paint or stain to your existing finish, and always reseal fixed areas to prevent future damage.
13 Unique Shiplap Backsplash Ideas to Compliment Your Kitchen
1. Transitional Kitchen with Black Cabinets and Vertical Shiplap Walls
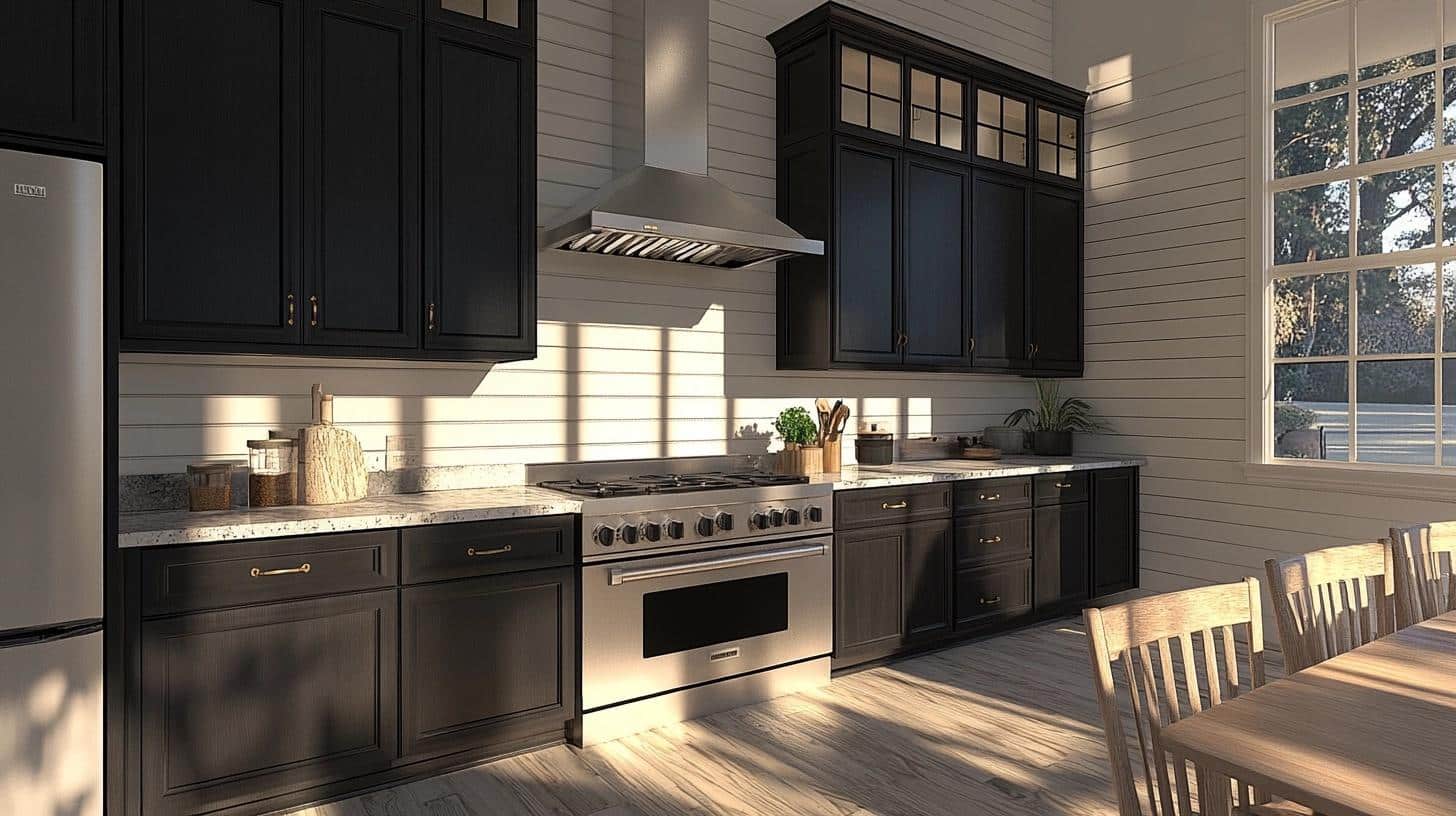
Elevate your kitchen’s style with sleek black cabinets contrasted against vertical shiplap walls.
This design merges modern, clean lines with traditional textures, creating a striking, sophisticated space.
The vertical lines add height and depth, making the space feel larger while maintaining an elegant, timeless appeal.
This design is perfect for those who appreciate a bold yet refined aesthetic in their cooking area.
2. Gray Shaker Cabinets with Yellow Subway Tiles and White Shiplap Backsplash

Combine the classic appeal of gray shaker cabinets with the bright vibrancy of yellow subway tiles, all set against a serene white shiplap backsplash.
This color palette brings warmth and lightness, enhancing the kitchen’s welcoming feel and spaciousness.
The yellow tiles inject a cheerful pop of color, invigorating the space without overwhelming the senses.
3. Cherry Kitchen Cabinets with Wood Countertop and Shiplap Kitchen Backsplash
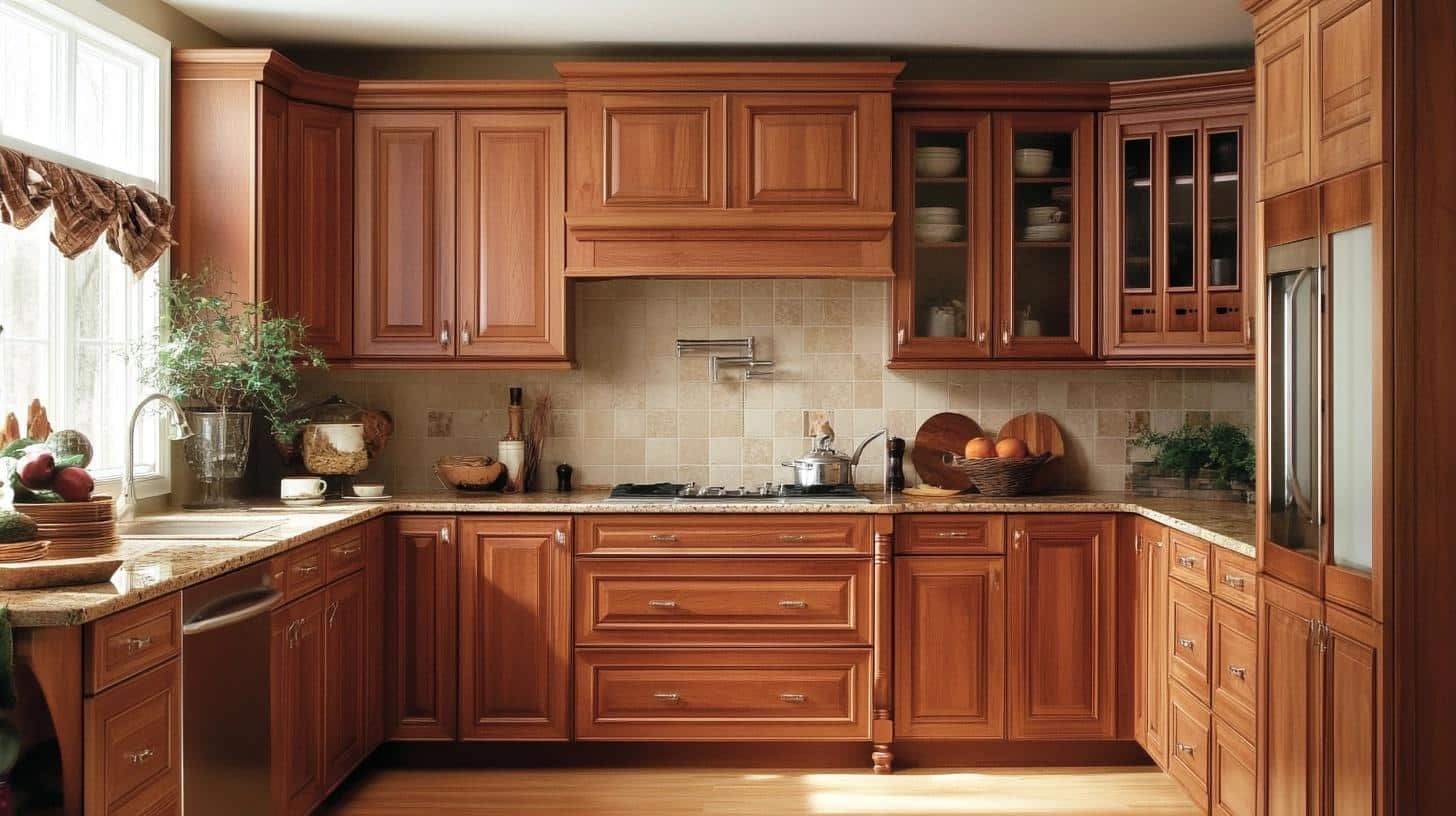
Rich cherry cabinets, a sturdy wood countertop, and a shiplap backsplash create a cohesive, earthy look.
This combination exudes natural warmth and rustic charm, ideal for a homey, inviting kitchen environment.
The wood elements introduce a sense of continuity and flow, making the kitchen a central gathering spot in the home.
4. Rustic Shiplap Backsplash
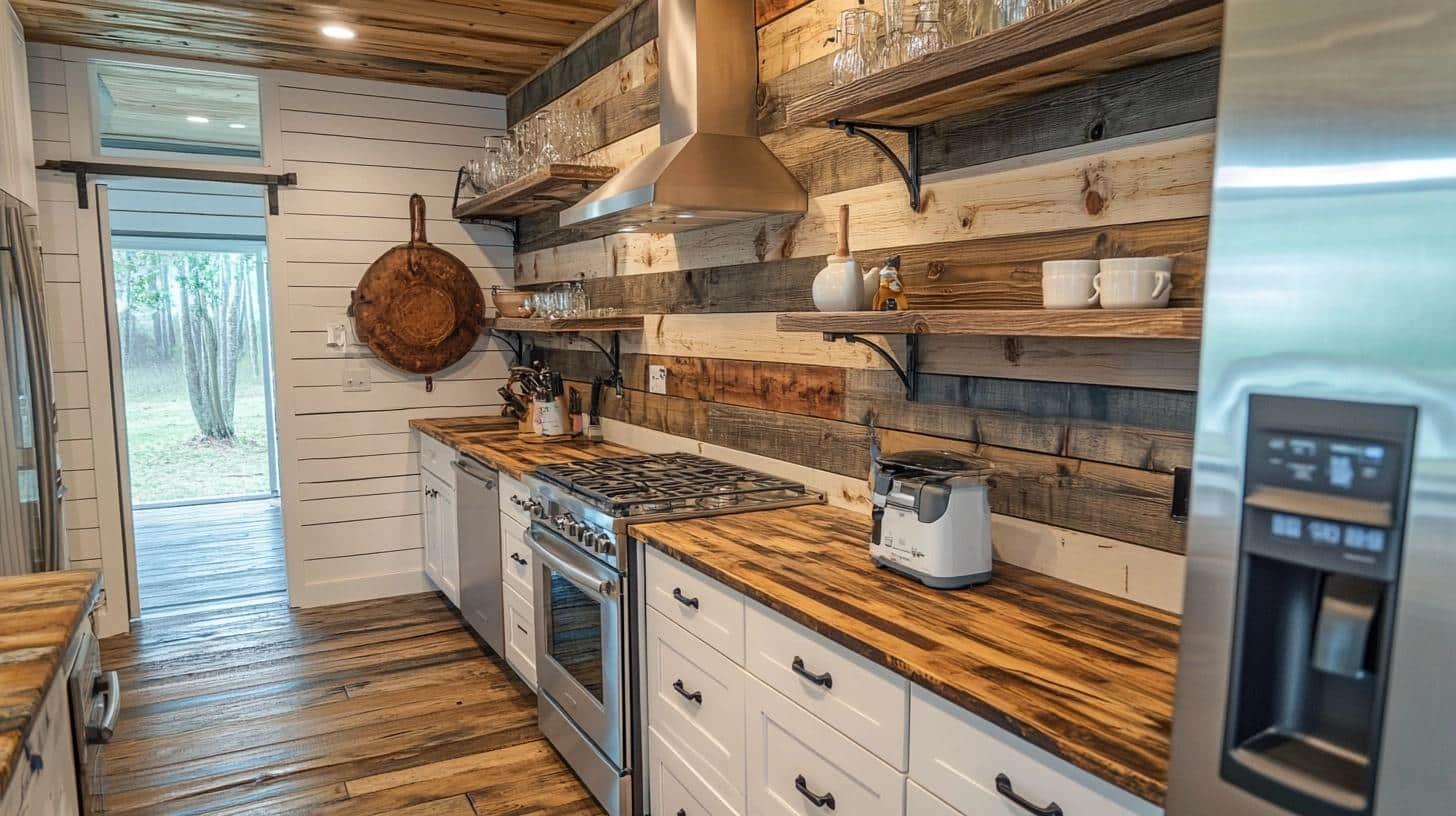
Channel rustic vibes with a shiplap backsplash that showcases natural wood finishes and imperfections.
This style adds a rugged beauty to any kitchen, complementing modern appliances and traditional setups.
The wood’s texture and grain give it an organic, earthy feel, making it a perfect backdrop for a warm, welcoming kitchen.
5. Bright Neon Shiplap
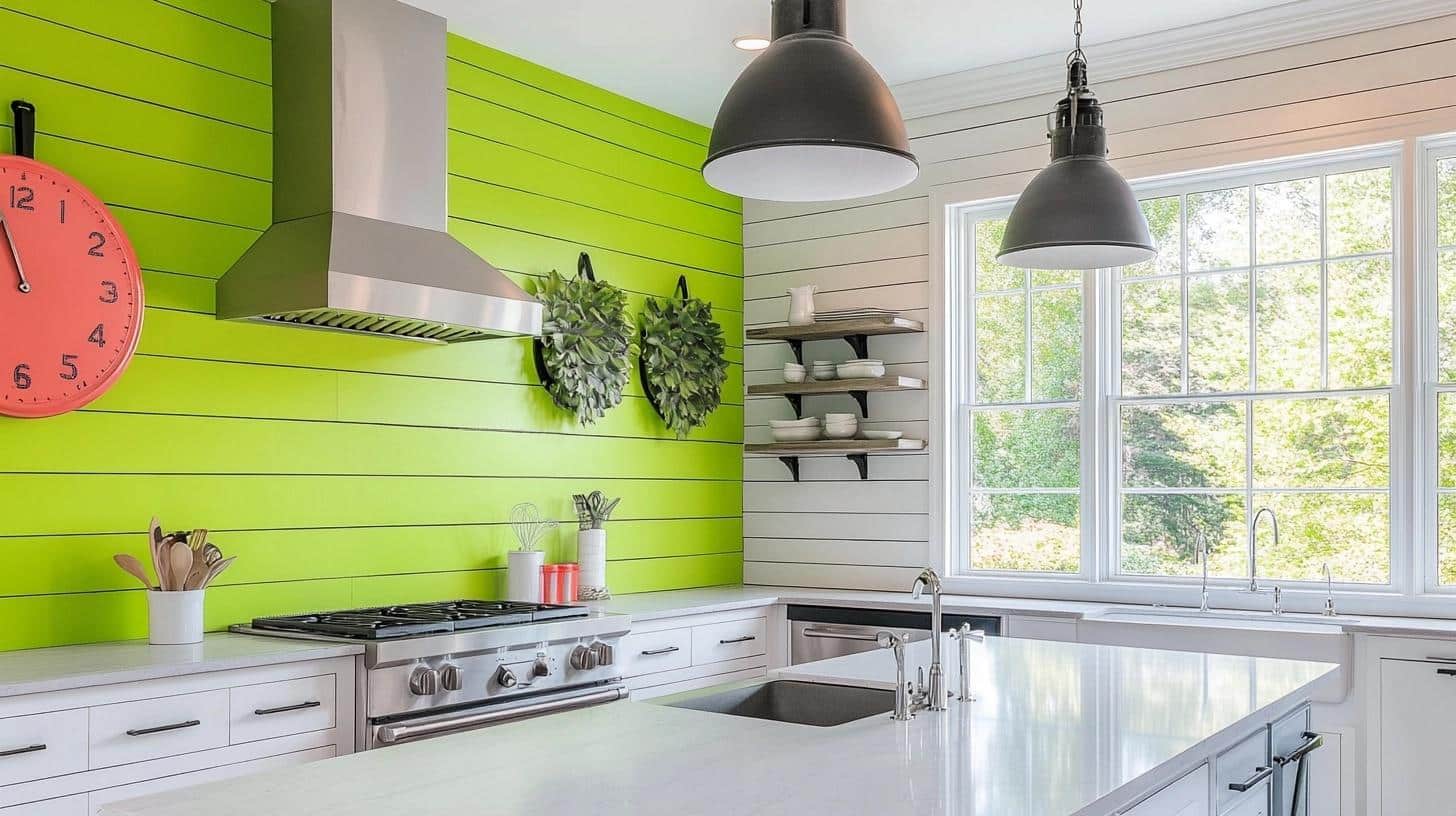
Opt for a neon-colored shiplap to bring a vibrant, contemporary flair to your kitchen backsplash.
These bold hues transform the space, drawing the eye and serving as a striking focal point.
Ideal for modern kitchens, this style adds a playful, energetic vibe that enlivens the room, making it functional and a piece of art.
Perfect for those looking to make a daring style statement in their culinary space.
6. Beach Style Home Bar with Black Shiplap Backsplash and Gray Countertops
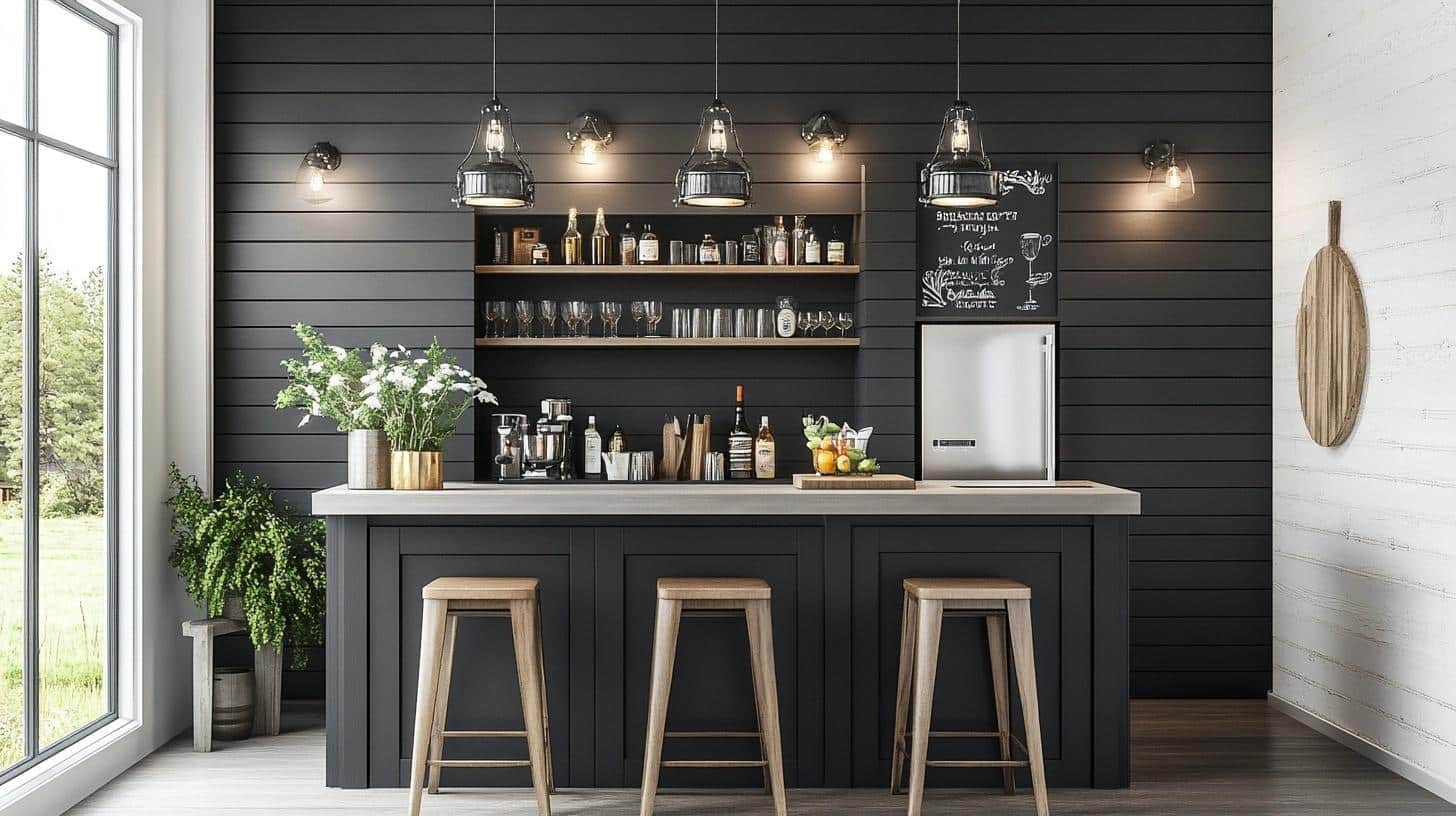
Transform your home bar into a chic beach-style retreat with a black shiplap backsplash and sleek gray countertops.
This design creates a striking contrast, perfect for a relaxed yet elegant entertainment area.
The dark shiplap adds a sophisticated edge, while the gray tops keep the space light and airy.
7. Stained Glass Shiplap
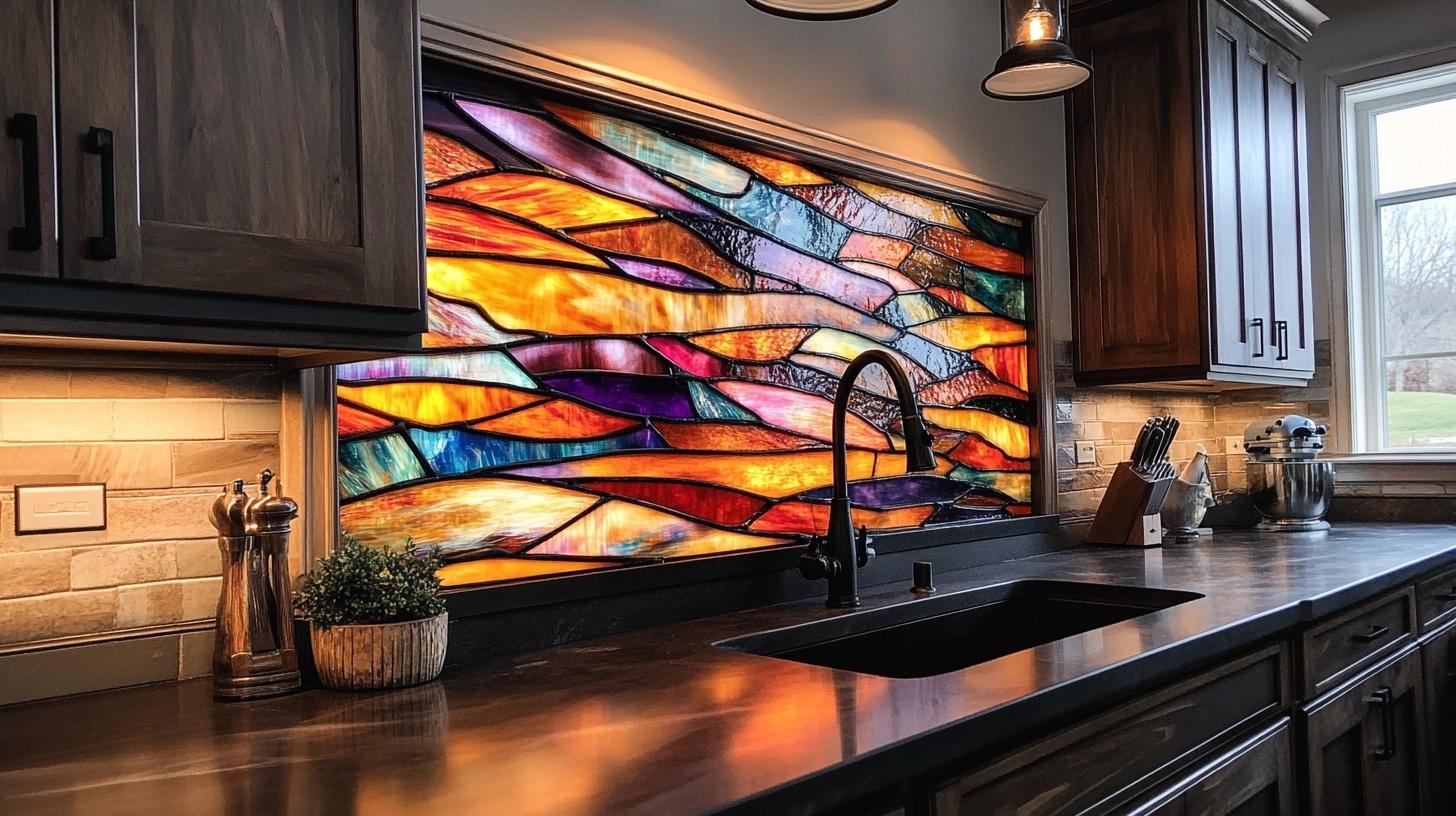
Enhance your kitchen with a stained glass shiplap backsplash that intertwines colorful glass elements with traditional wood.
This unique blend infuses the space with both color and light, reflecting artfully throughout the kitchen.
It’s an exquisite choice for those who appreciate the beauty of handcrafted artistry and want to integrate it into their home décor.
This design serves as a functional backsplash and transforms your kitchen into a vibrant, visually captivating environment.
8. Shaker cabinets finished off with an off-white shiplap backsplash
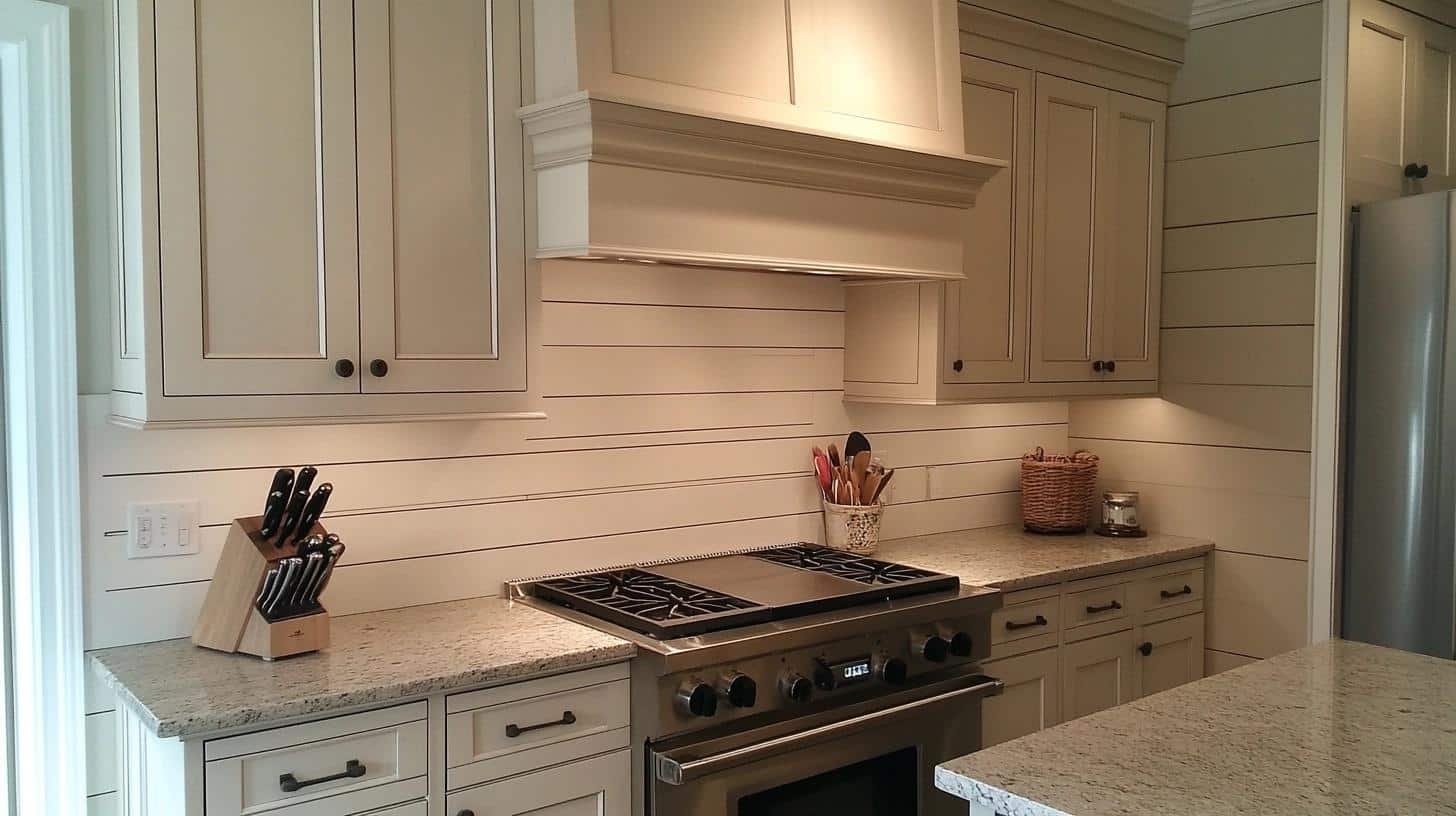
Pair classic shaker cabinets with an off-white shiplap backsplash for a clean and timeless kitchen design.
This combination offers a fresh and airy feel, making your kitchen appear brighter and more spacious.
The off-white color of the shiplap also helps create a soft, inviting ambiance that complements the solid structure of the shaker cabinetry.
9. Two-Tone Shiplap
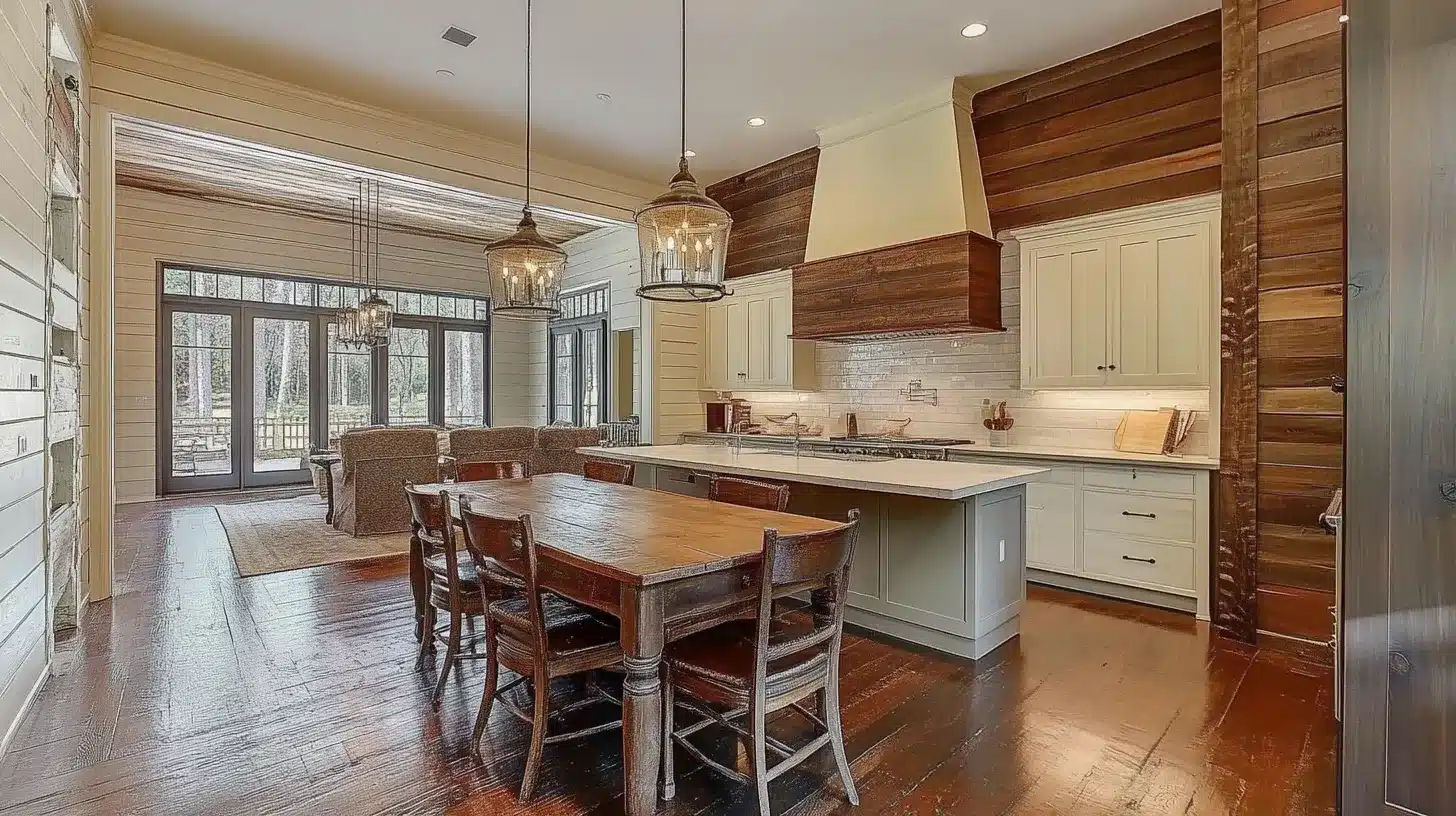
Add visual interest to your kitchen with a two-tone shiplap backsplash that features contrasting colors.
This dynamic design element can be tailored to match your color scheme, offering a custom look that’s both unique and stylish.
It’s a great way to integrate personality into your kitchen while keeping the space modern and vibrant.
10. Metallic Finish Shiplap
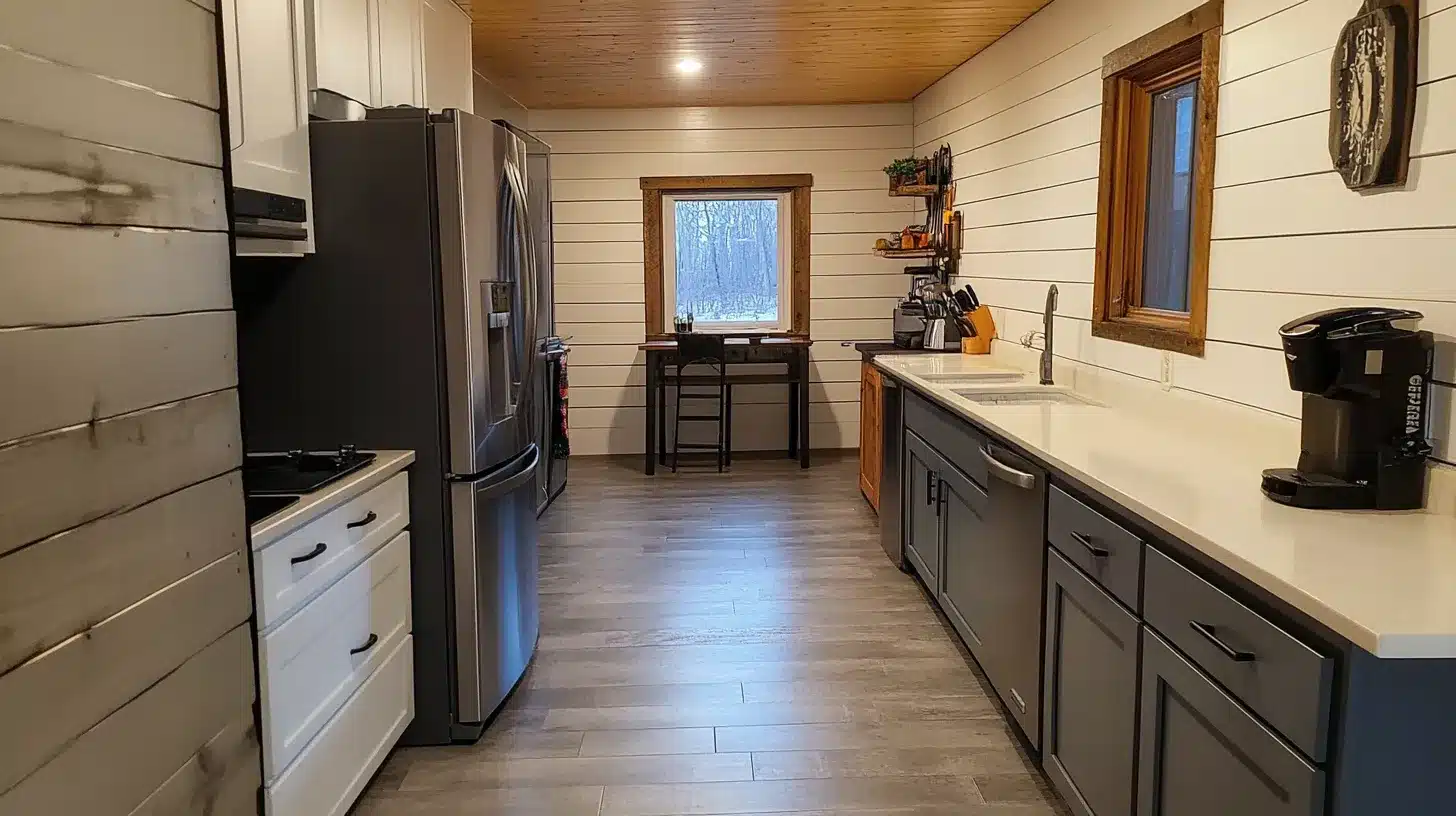
Give your kitchen a modern upgrade with a metallic finish shiplap that reflects light and adds a touch of glamour.
This eye-catching backsplash is perfect for those looking to inject a bit of luxury and shine into their culinary space.
The metallic finish complements both light and dark cabinetry, providing a versatile option for any design aesthetic.
11. Chevron Pattern Shiplap
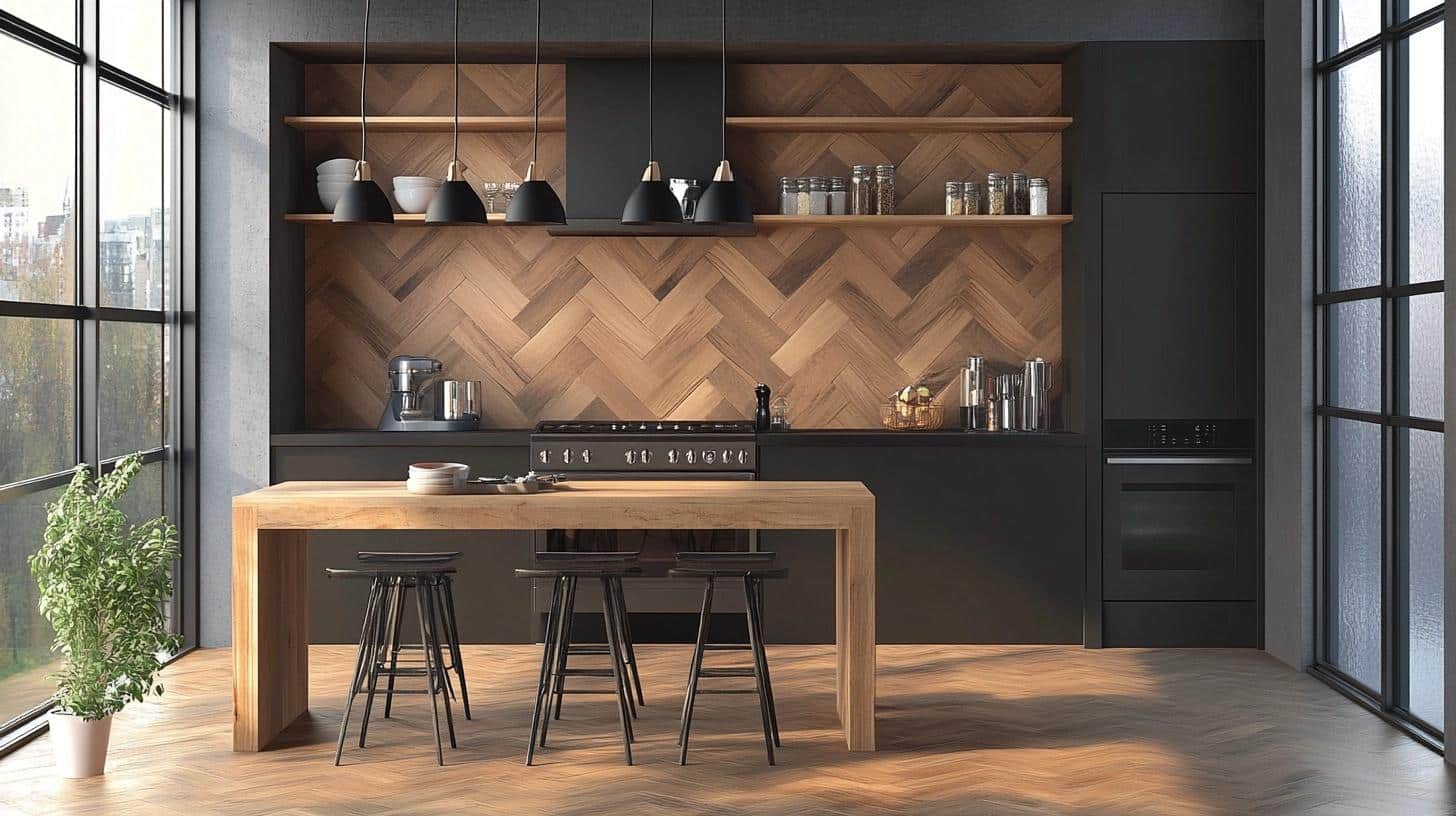
Incorporate a chevron pattern with your shiplap to create movement and add a contemporary geometric twist.
This pattern not only enhances the visual depth but also introduces a modern artistic flair to the kitchen’s overall design.
It’s a great choice for anyone looking to add a statement piece that draws attention and admiration.
12. Embossed Shiplap
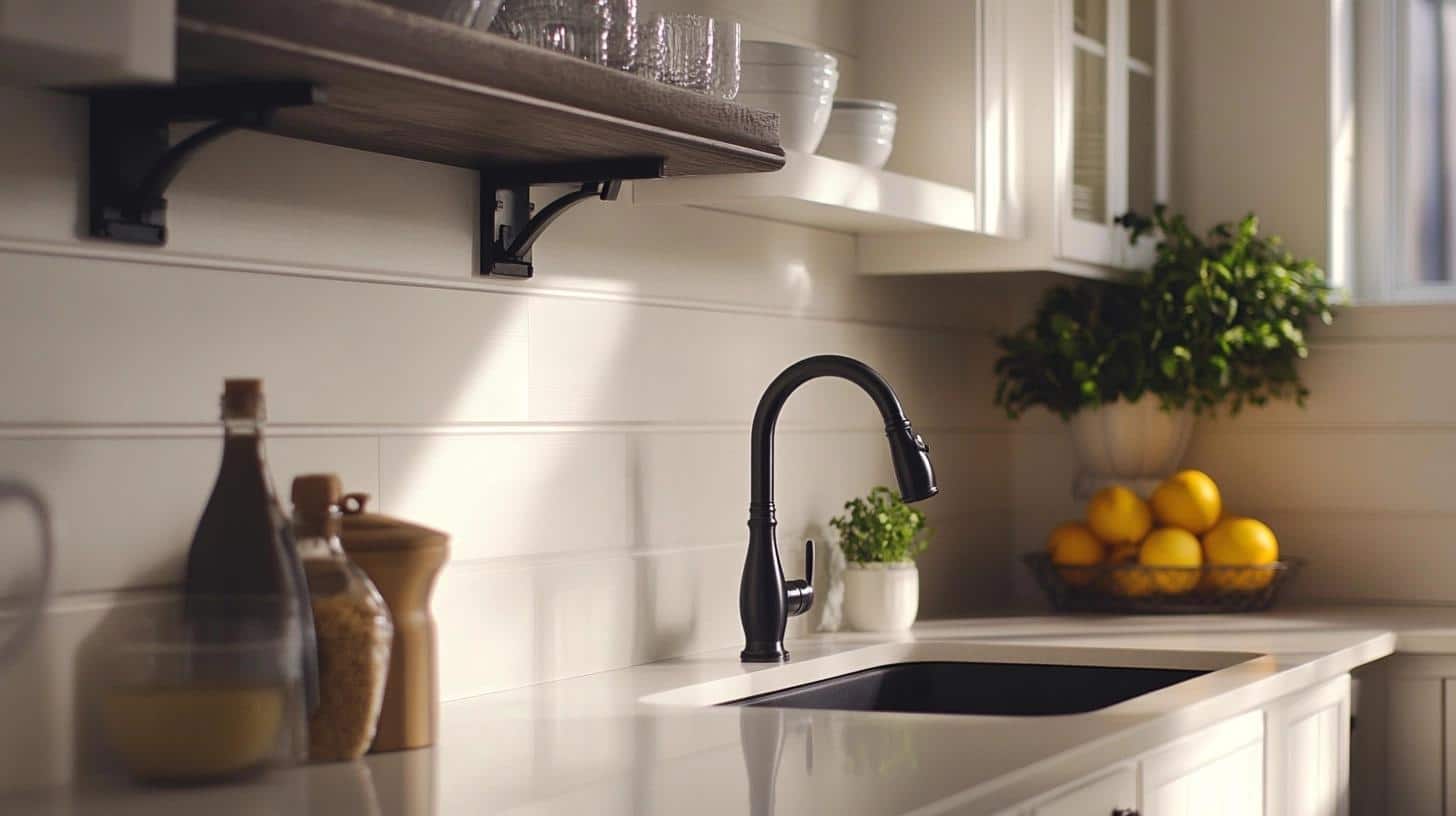
Opt for an embossed shiplap to bring texture and sophistication to your kitchen backsplash.
The raised patterns can catch light and shadow differently throughout the day, adding an element of interest and elegance.
This detailed approach to shiplap allows for a more decorative and intricate backdrop that enhances both modern and traditional kitchens.
13. Mosaic Shiplap
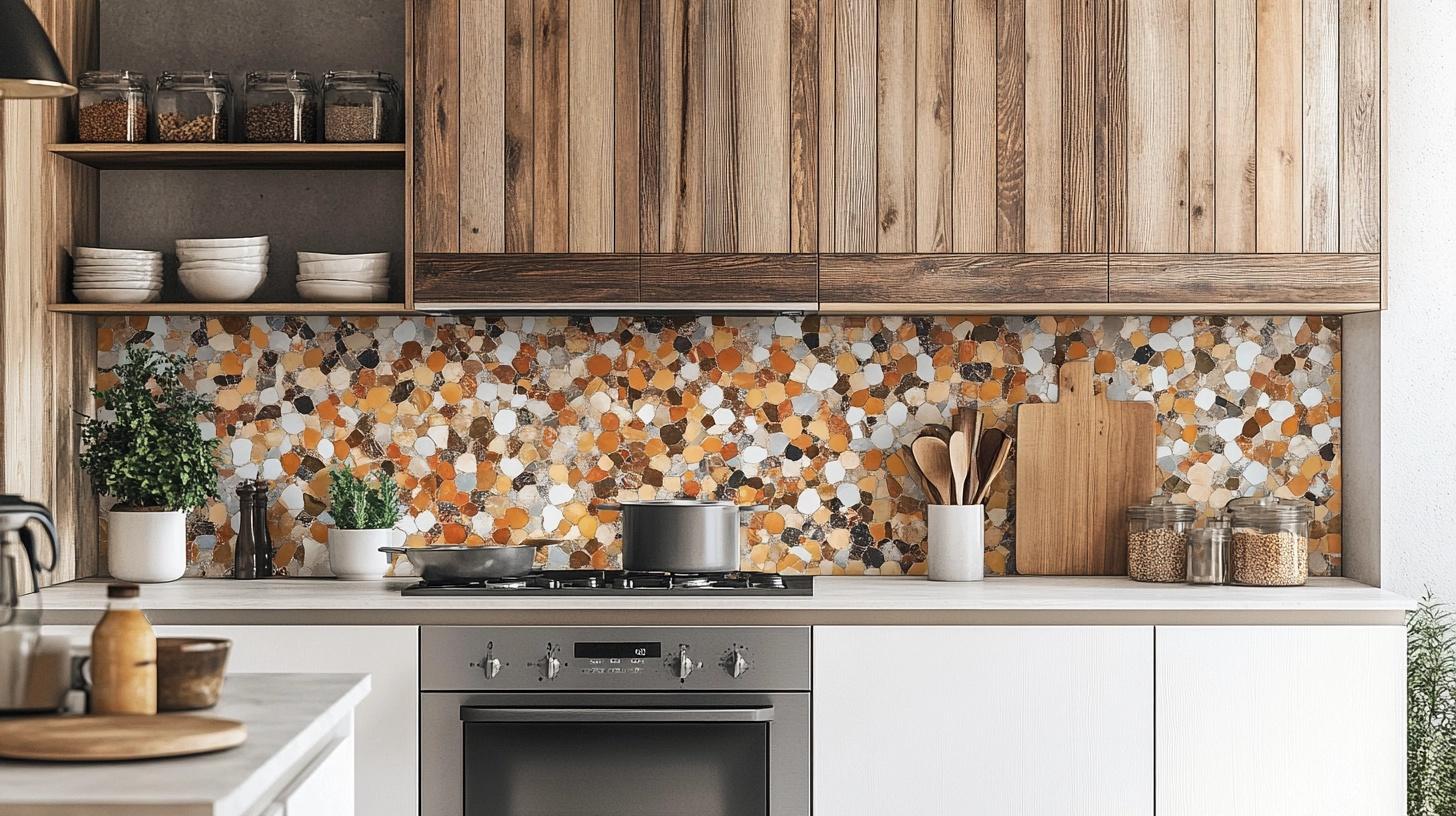
Craft a unique and captivating kitchen backsplash with mosaic shiplap pieces that combine different colors, textures, or wood stains.
This creative use of shiplap adds a personalized and artistic touch to your cooking space, standing out as a focal point.
It’s perfect for those who cherish a one-of-a-kind design that reflects personal style and culinary creativity.
Benefits of Getting a Shiplap Backsplash
1. Simple Good Looks
Shiplap adds warmth and a welcoming feel to your kitchen. The clean lines of the boards create a tidy, put-together look that works in any kitchen style.
The slight gaps between boards add just enough detail to make your walls interesting without being too busy.
2. Kind to Your Wallet
Compared to tile or stone, shiplap is a money-saver. The boards cost less than most tiles, and putting them up takes less time and skill.
Many people can do it themselves, which saves even more money on paying someone to install it.
3. Easy to Change
You can do so much with shiplap to get the look you want. Paint it any color to match your kitchen style, and when you want something new, just paint it again.
The boards work well laid flat across the wall or standing up straight – you pick what looks best in your space.
Cost Comparison Between the Backsplash
| Backsplash Type | Material Cost | DIY Potential | Professional Installation Cost | Total Cost (with DIY/Professional) |
|---|---|---|---|---|
| Shiplap | $5-10 per sq ft | High (Basic tools) | None | $150-300 |
| Basic Tile | $15-30 per sq ft | Low (Special tools) | $8-25 per sq ft | $450-900 |
| High-End Tile | $50+ per sq ft | Low (Special tools) | $8-25 per sq ft | $1,500+ |
Conclusion
A shiplap backsplash is a versatile and cost-effective option for transforming your kitchen.
Its array of designs and colors offers a unique aesthetic appeal and significant cost savings, especially for DIY enthusiasts.
By choosing shiplap, you can create a stylish focal point in your kitchen while keeping within budget.
Whether you prefer the rustic charm of natural wood or a bold, contemporary look with neon colors, shiplap makes it possible to achieve your dream kitchen with ease and affordability.
Feel free to Explore the possibilities and make a lasting impact with this functional upgrade.
FAQ (Frequently Asked Questions)
Is Shiplap Safe Behind the Stove?
Yes, shiplap can go behind a stove if you seal it well and keep it at a proper distance. Use fire-resistant sealants and check local building codes for safety rules first.
Can You Install Shiplap in a Bathroom?
Shiplap works in bathrooms when properly sealed against moisture. Use water-resistant wood and quality sealant, focusing on gaps between boards to stop water damage.
How to Make Shiplap Backsplash Waterproof?
Apply multiple thin coats of clear polyurethane or marine-grade sealant. Cover all sides of the boards, including edges and gaps. Let each coat dry fully before adding the next.

