A Complete Guide to Waterlox Butcher Block Finish
Waterlox is a popular finish for butcher blocks because it’s durable, easy to apply, and upgrades the natural look of wood.
Made from tung oil, it protects your kitchen surfaces from moisture and wear while bringing out the beauty of the wood grain.
If you’re working on a new butcher block or giving an old one a fresh look, Waterlox provides a strong, food-safe finish that lasts for years.
In this guide, we’ll cover the benefits of using Waterlox, how to apply it, and tips for maintaining your butcher block to keep it looking its best.
Benefits of Waterlox for Butcher Blocks
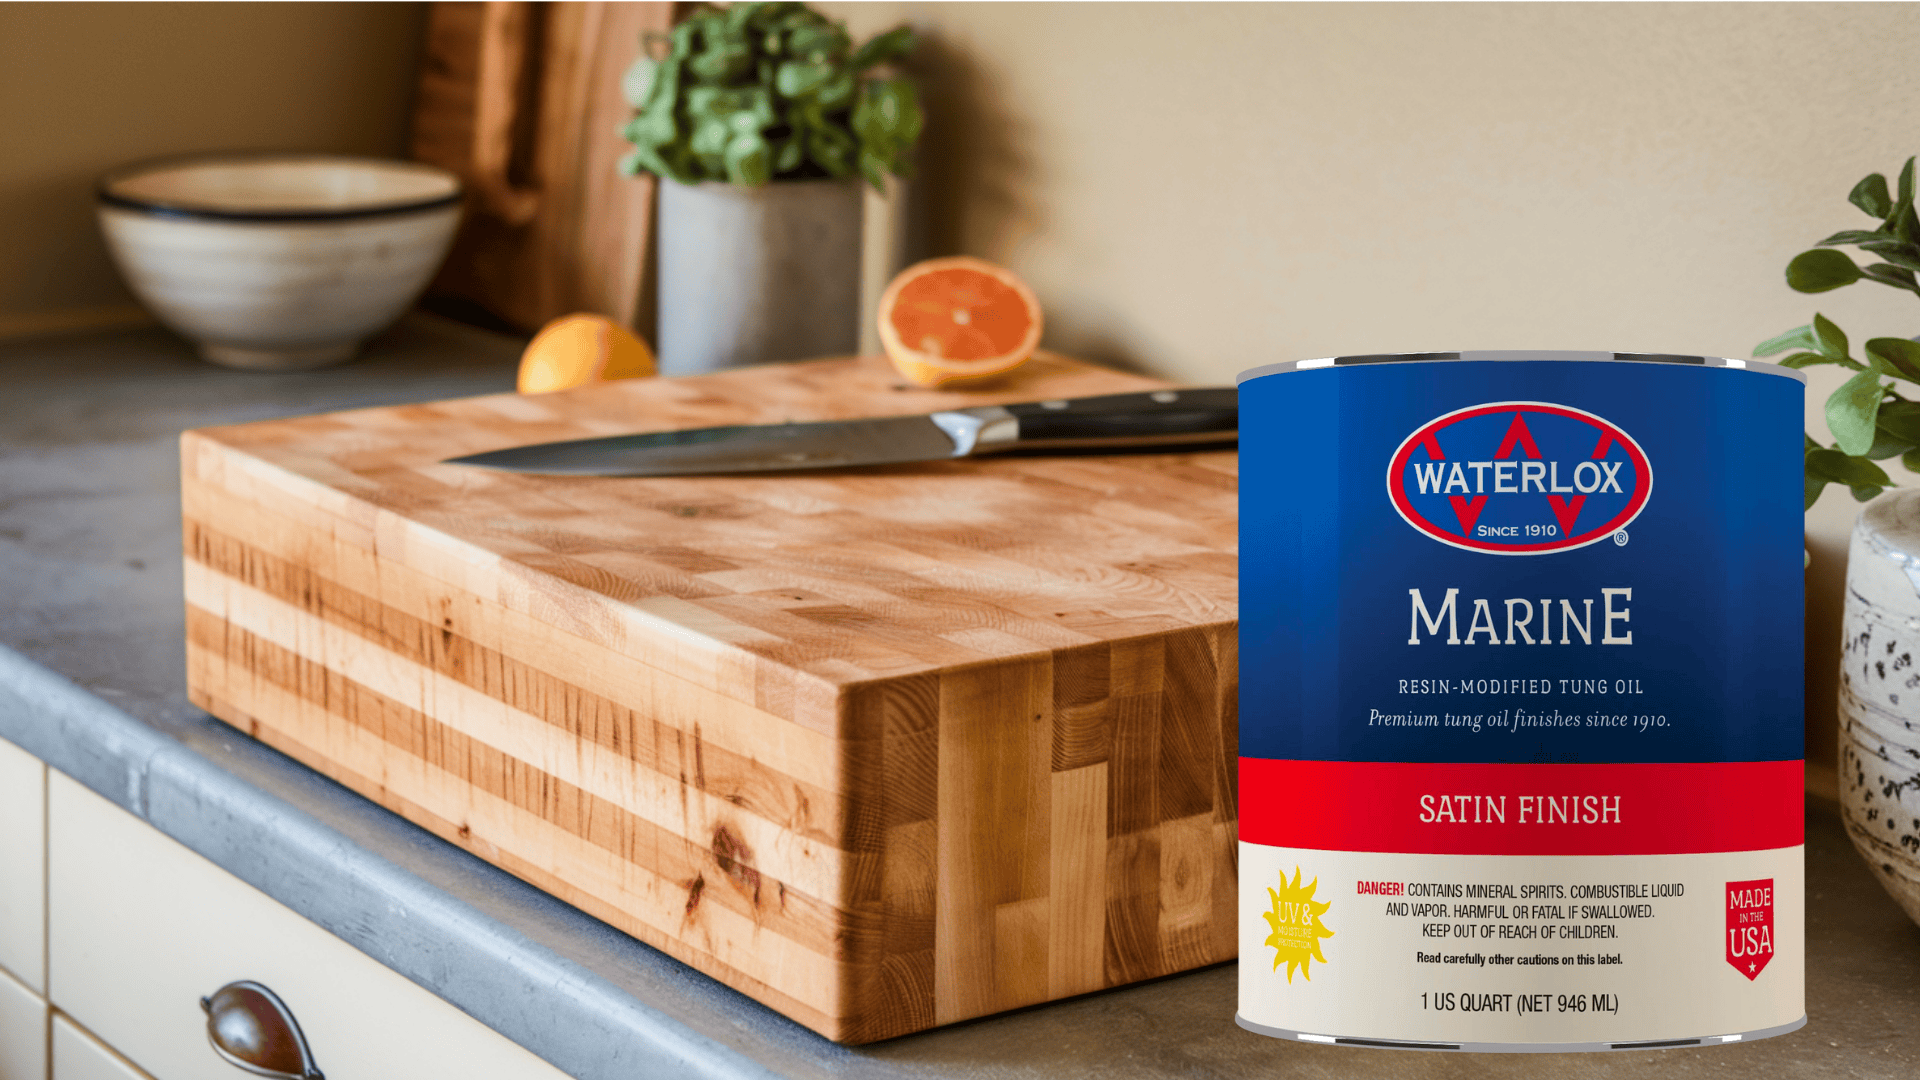
Waterlox is a great choice for butcher blocks because it offers several important benefits:
-
Waterproofing: It forms a strong, water-resistant layer that protects the wood from spills and moisture. This is especially important in a kitchen where liquids are often present.
-
Food-Safe: Once fully cured, Waterlox is safe to use on surfaces where food is prepared. It doesn’t release harmful chemicals and keeps your kitchen safe for cooking.
-
Enhances the Wood: Waterlox brings out the natural beauty of the wood. It deepens the color and highlights the grain, making your butcher block look more vibrant.
These benefits make Waterlox one of the best options for finishing butcher blocks, providing both protection and beauty.
Materials Needed
- Waterlox Original Sealer/Finish: The main product used to seal and protect the wood.
- Sandpaper: Use medium-grit for the initial sanding and fine-grit for the final smooth finish.
- Clean rags or lint-free cloth: To wipe away dust after sanding and to apply Waterlox.
- Brush or foam applicator: For evenly applying the Waterlox to the surface.
- Gloves: To protect your hands while applying the finish.
Having the right tools is essential for achieving a smooth and durable finish. Once you have everything prepared, you’ll be ready to start applying Waterlox to your butcher block.
How to Apply Waterlox to Butcher Blocks
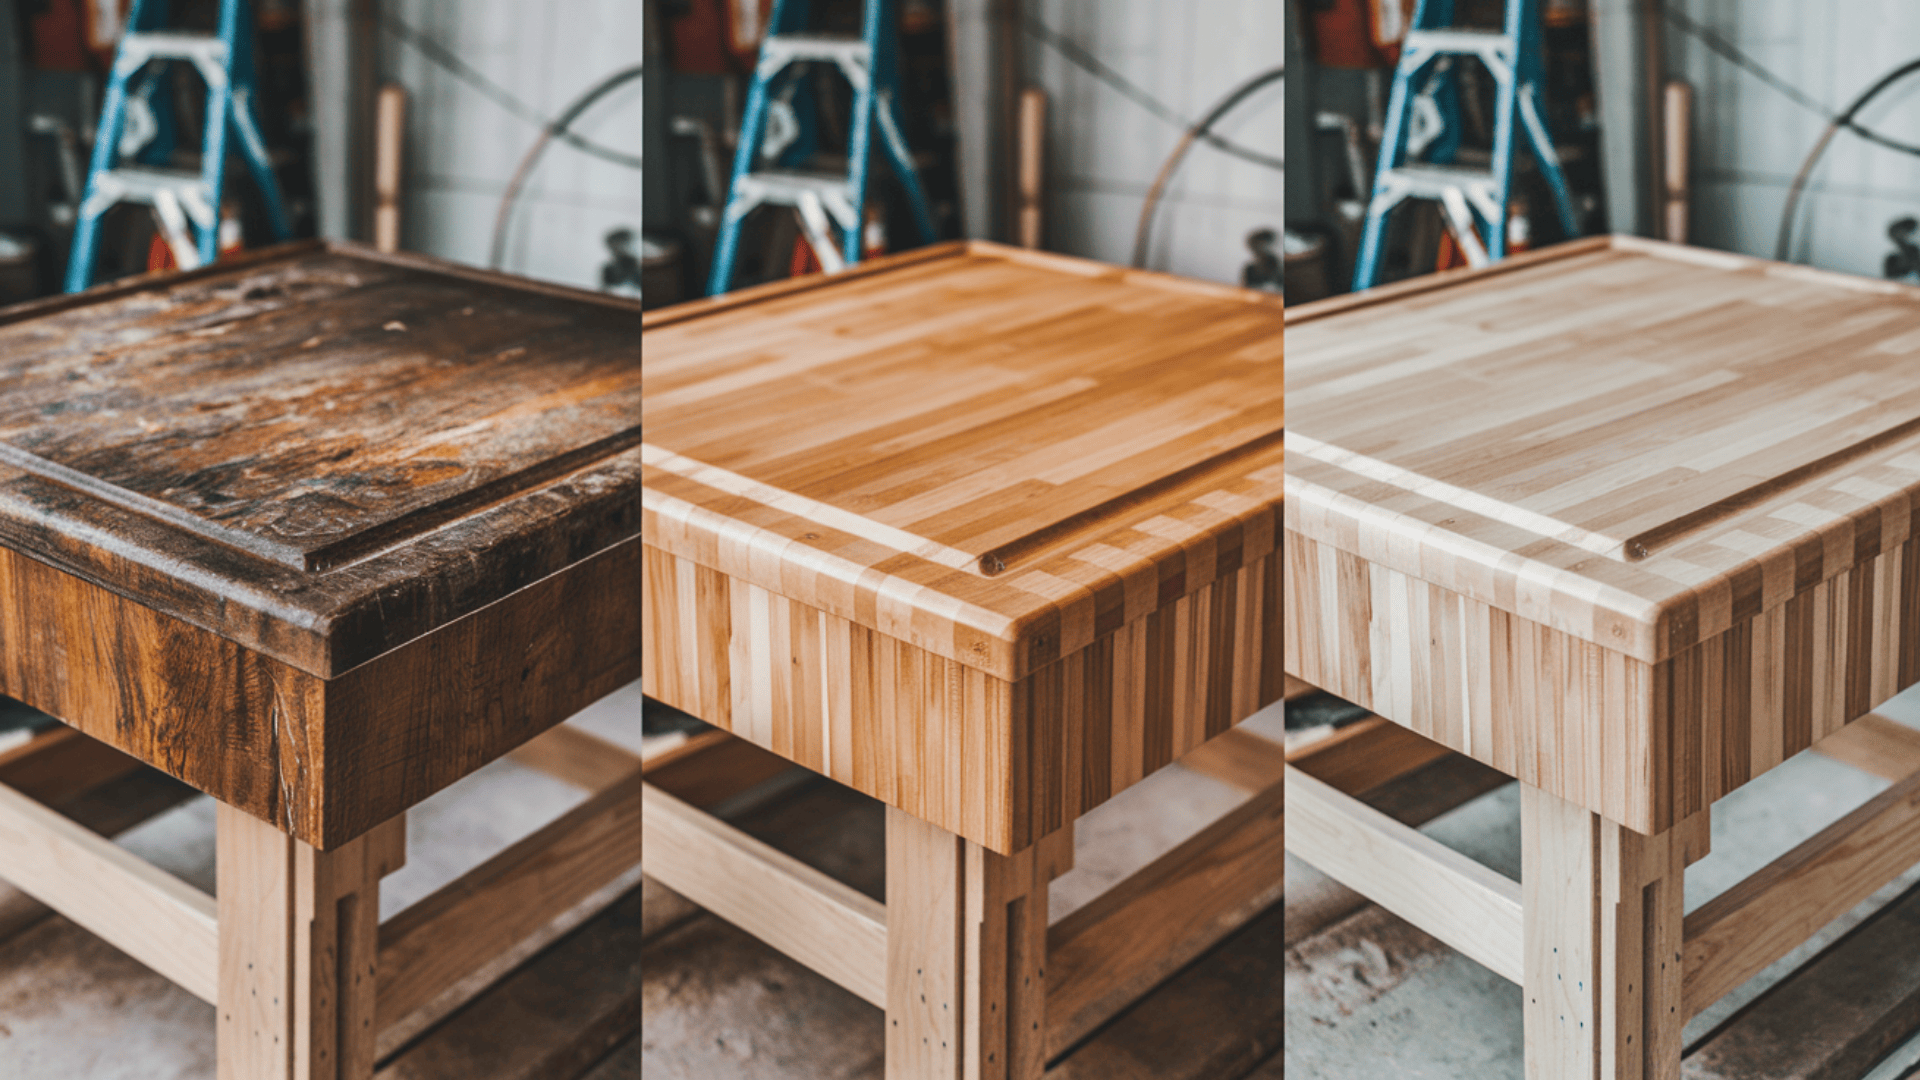
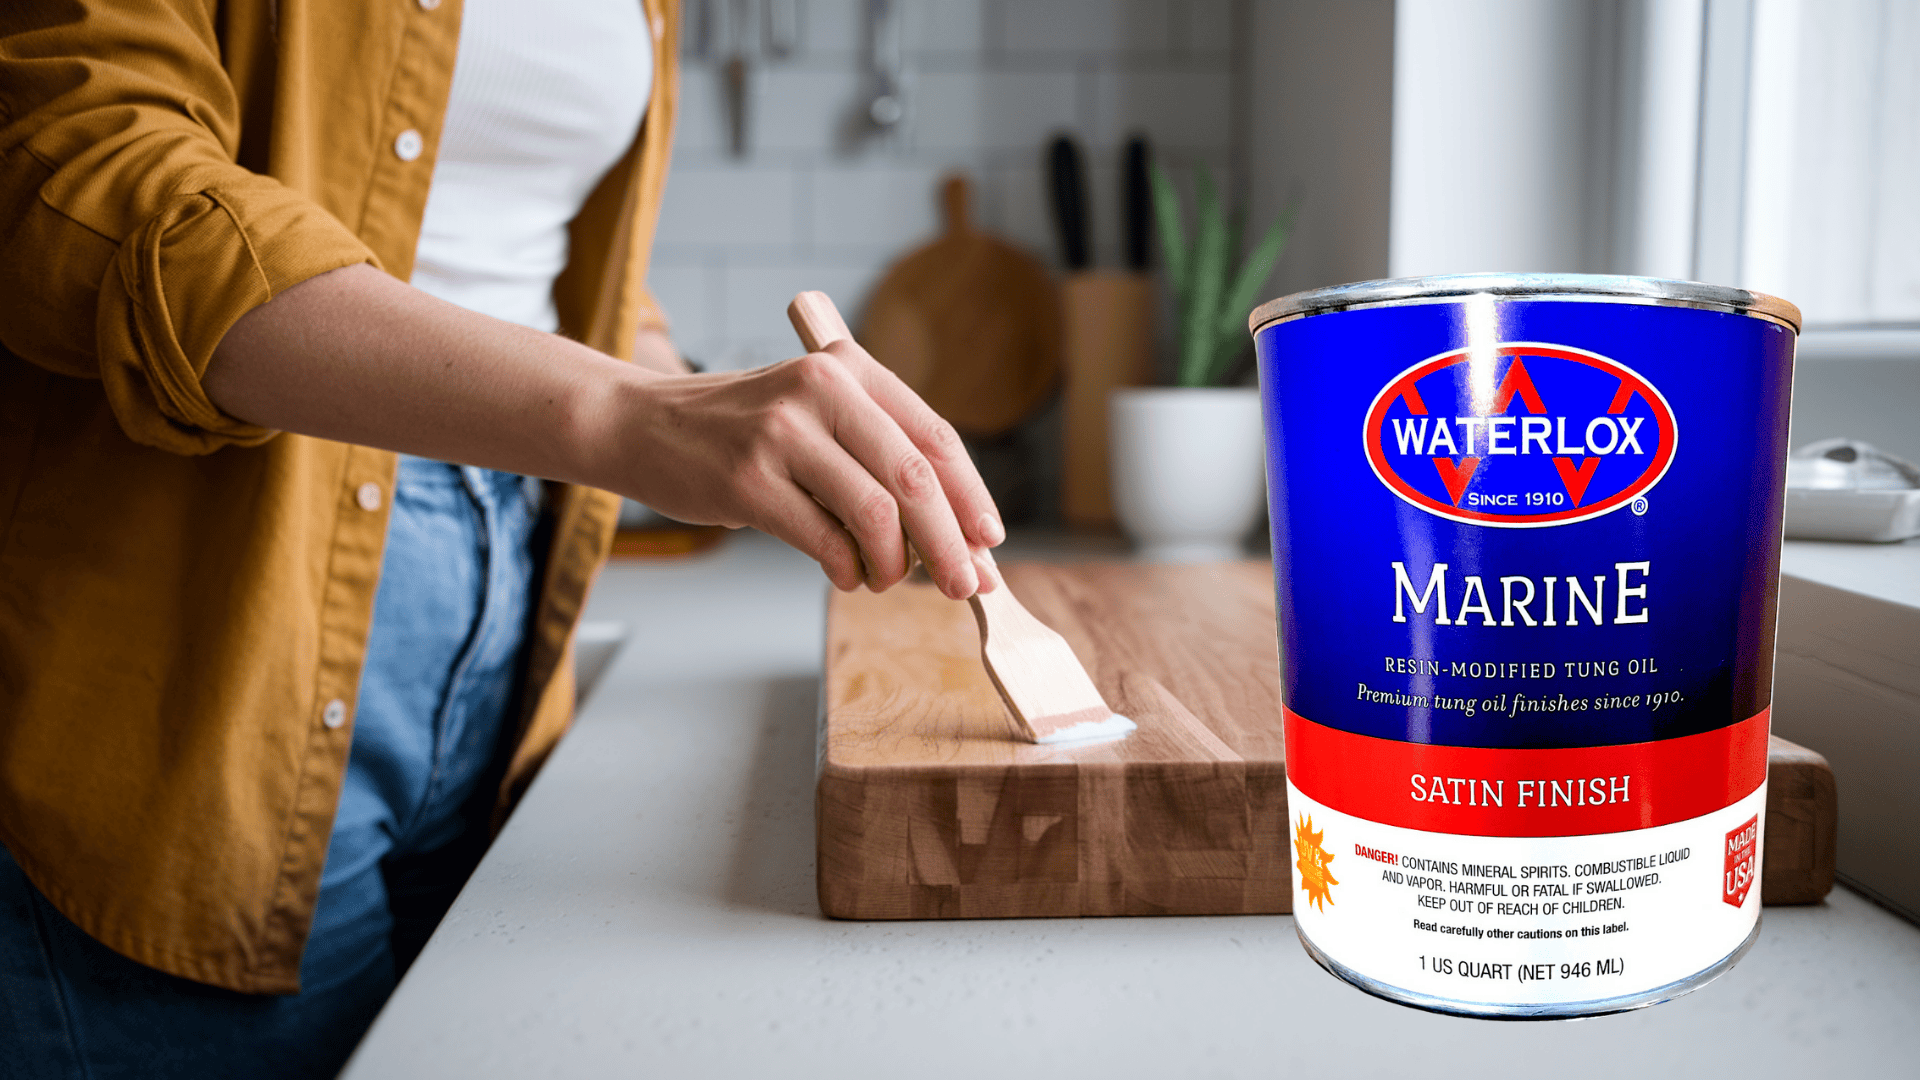
Applying Waterlox is simple, and with a little time and patience, you can achieve a beautiful, durable finish on your butcher block.
Step-by-Step Guide
Prep the Surface
- Sand the Butcher Block: Start by sanding the butcher block with medium-grit sandpaper. This removes any old finish or rough patches.
- Finish Sanding: Switch to fine-grit sandpaper to smooth the surface. This will help the Waterlox absorb better and give you a smoother finish.
- Clean the Surface: After sanding, use a clean, dry cloth to wipe away all the dust. A dust-free surface is important for a smooth application.
Apply the First Coat
- Use the Right Tool: Choose a brush or foam applicator to apply the Waterlox evenly. This helps avoid streaks and ensures a smooth finish.
- Thin Coats Work Best: Don’t use too much Waterlox. Apply a thin, even coat. It’s better to add more coats later than to overload the surface.
- Let It Set: Allow the first coat to dry for at least 6–8 hours or until it feels dry to the touch.
Sand Between Coats
- Light Sanding: Once the first coat is dry, lightly sand the surface with fine-grit sandpaper. This step helps smooth out any imperfections or bumps.
- Wipe-Off Dust: Use a clean rag to remove the dust before applying the next coat.
Apply Additional Coats
- More Coats for Durability: Apply 2–3 more coats of Waterlox, following the same steps: brush on thin coats, let them dry, and sand lightly between each coat.
- Even Coverage: Make sure each coat is even and smooth to get the best finish.
Curing Time
- Let It Cure: After the final coat, let the surface cure for 7–10 days. This allows the finish to fully harden and become water-resistant.
- Avoid Use: During this curing time, try not to use the butcher block so the finish can be fully set.
By following these simple steps, you’ll have a durable, water-resistant, and easy-to-clean butcher block countertop. The process might take some time, but the results are worth it.
Wood Finish Comparison: Waterlox vs. Others
When it comes to finishing your butcher block, it’s important to know how Waterlox compares to other popular finishes.
Each option has its own strengths, and understanding these differences can help you make the best choice.
| Factor | Waterlox | Polyurethane | Mineral Oil | Watco Danish Oil |
|---|---|---|---|---|
| Composition | Tung oil-based resin with solvents | Synthetic polymer resin | Pure petroleum-derived oil | A blend of oils, varnish, and solvents |
| Appearance | Amber color, satin to glossy | Clear, matte to high gloss | Enhances grain with slight darkening | Warm, natural look with grain enhancement |
| Durability | High-forms protective film | Very high – hardest finish | Low – requires frequent reapplication | Medium – partially penetrating |
| Water Resistance | Excellent | Excellent | Poor | Good |
| Heat Resistance | Good | Good to fair | Good | Good |
| Chemical Resistance | Good | Excellent (especially water-based) | Poor | Moderate |
| Application | Easy to medium, brush or wipe on | Moderate to difficult, brush or spray | Very easy, wipe-on | Very easy, wipe-on |
| Drying Time | 24 hours between coats, 7-30 days full cure | 2-24 hours between coats, 21 days full cure | No cure time soaks in | 6-10 hours between coats, 72 hours full cure |
Common Issues and Their Solutions
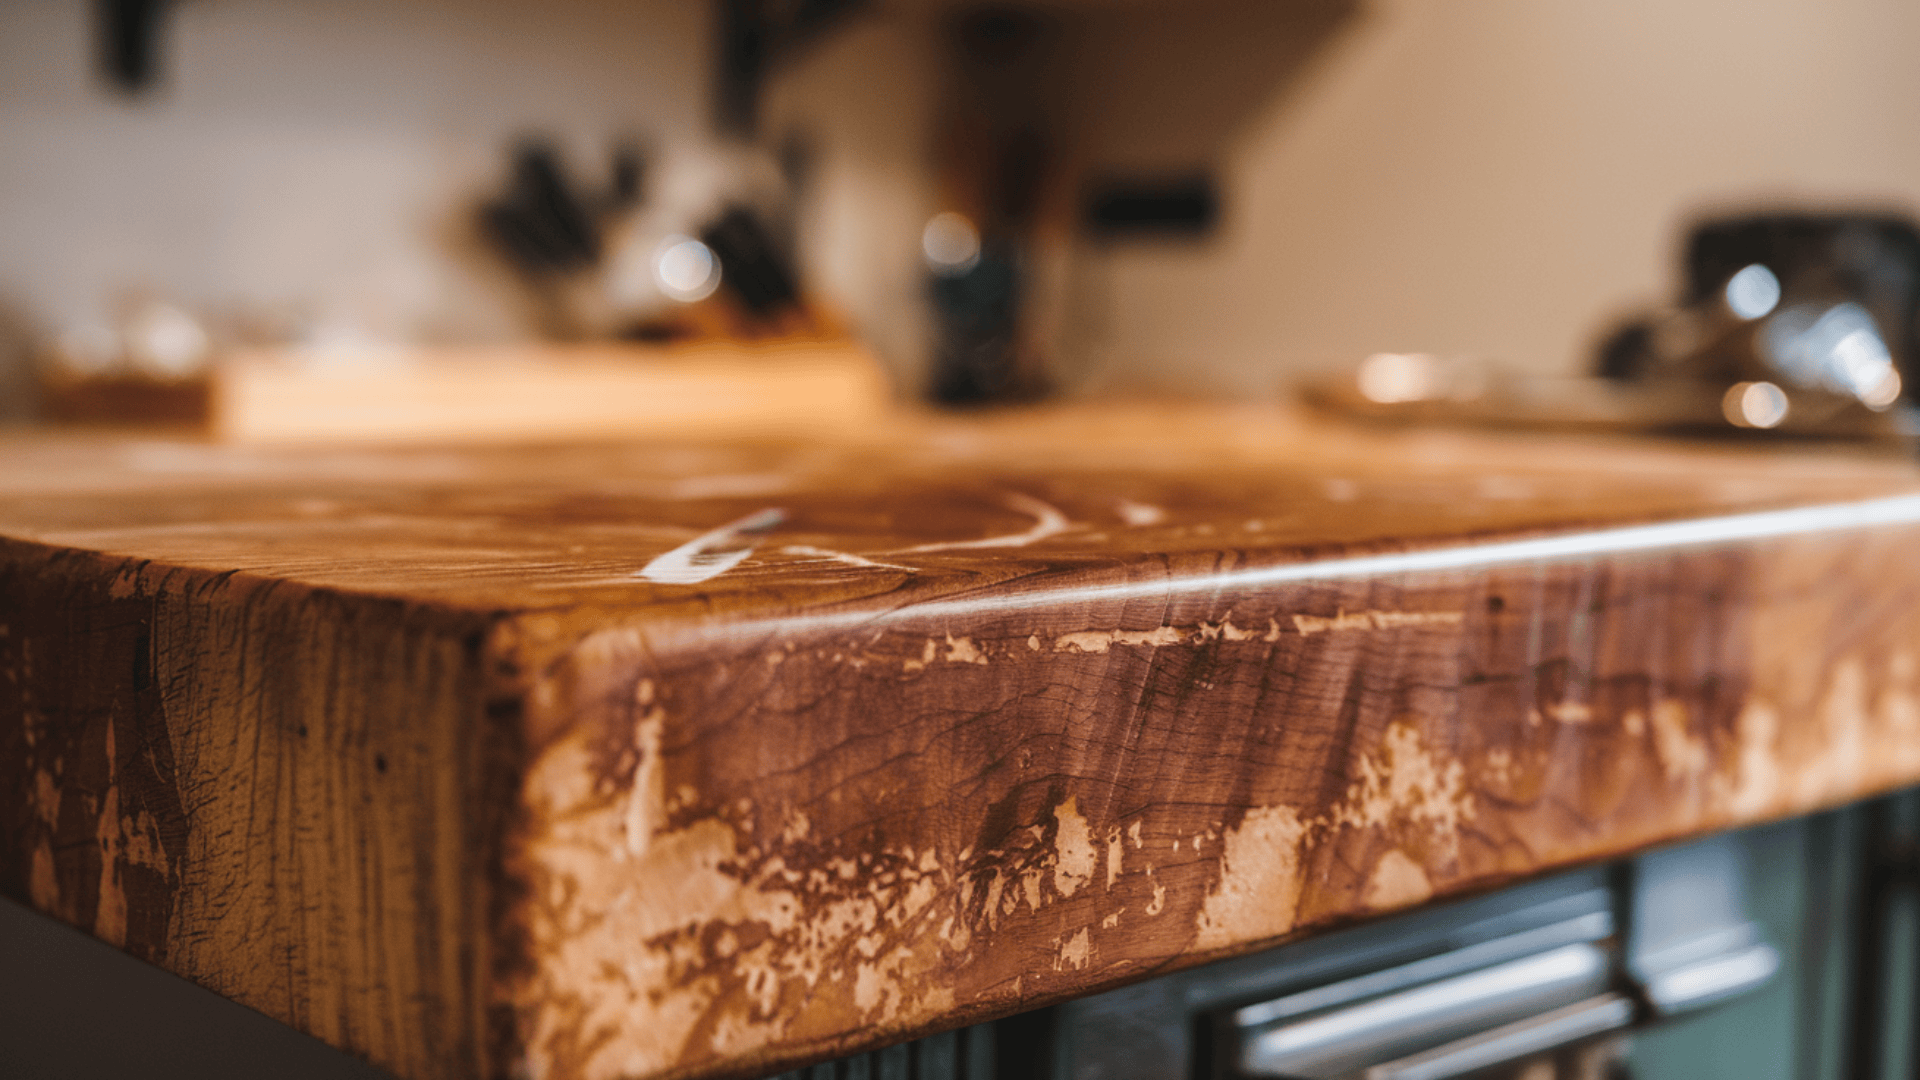
While applying Waterlox to your butcher block, you may run into some issues.
Here are some common problems and how to fix them:
Uneven Coverage or Streaking
Cause: Applying too much Waterlox at once can cause streaks or uneven coverage.
Solution: Always apply thin, even coats. If streaking occurs, sand the area lightly and apply another thin layer to even it out.
Bumps or Imperfections
Cause: Dust or dirt on the surface before application can cause bumps.
Solution: Make sure the surface is clean and dust-free before applying each coat. Lightly sand the surface between coats to smooth out any imperfections.
Scratching or Dulling
Cause: Heavy use or improper maintenance can lead to scratches or a dull finish over time.
Solution: To prevent scratches, always use cutting boards and trivets. If the surface becomes dull, lightly sand it and reapply a fresh coat of Waterlox.
Finish Not Drying Properly
Cause: High humidity or insufficient drying time can cause the finish to remain tacky.
Solution: Ensure proper ventilation and wait the full recommended drying time between coats. If the finish remains tacky, allow more time to cure.
By addressing these common issues, you can ensure your butcher block stays in great condition and maintains its beautiful finish for years to come.
Long-Term Maintenance of Waterlox-Finished Butcher Blocks
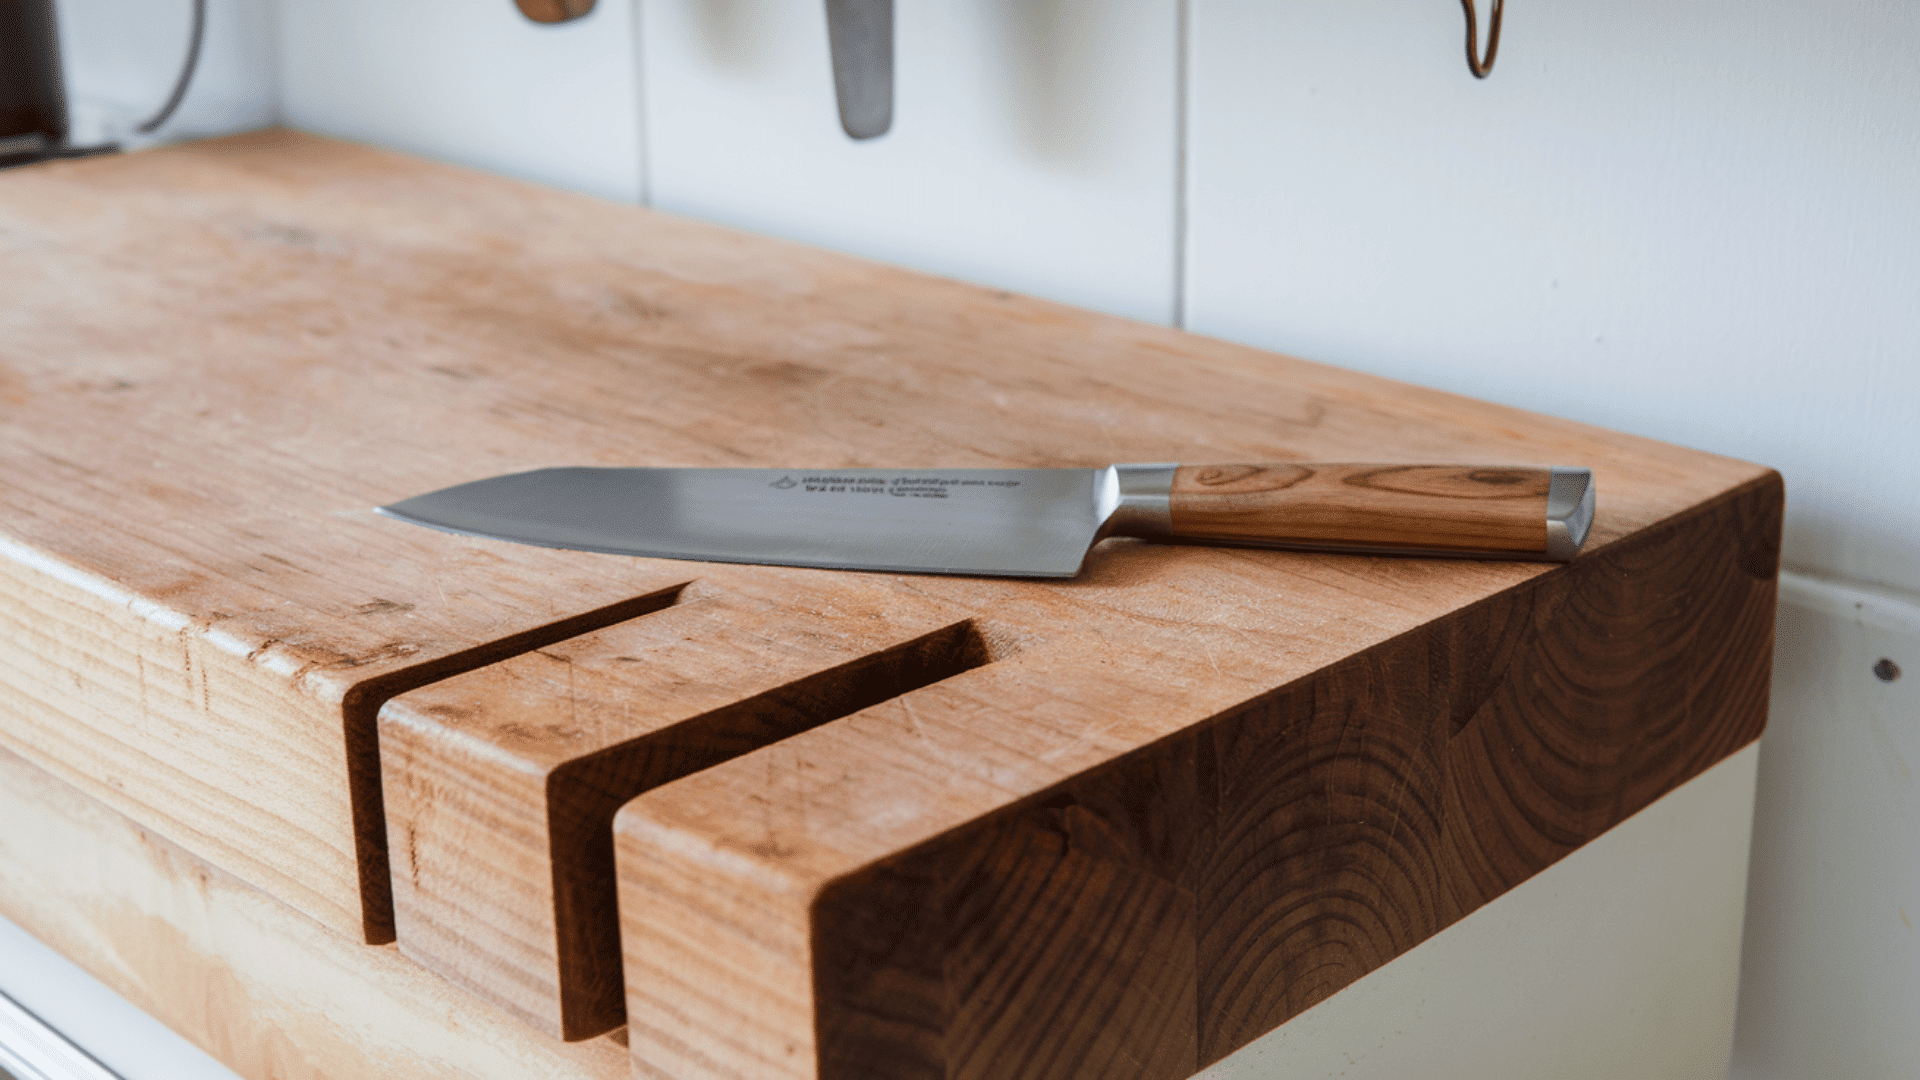
Once your butcher block is finished with Waterlox, proper maintenance is essential to keep it looking great and ensure its durability.
Here are some tips for long-term care:
How to Clean and Care for the Finish
To clean your butcher block, wipe it down with a mild soap and water solution. Avoid using harsh chemicals that can damage the finish.
After cleaning, make sure to dry the surface thoroughly to prevent any water from soaking into the wood.
It’s also important not to let water sit on the surface for long periods, as this could cause damage over time.
Reapplication
Over time, the finish on your butcher block may wear down, especially in areas that get a lot of use.
If you notice signs of wear, such as dull spots or water absorption, it’s time to reapply a fresh coat of Waterlox.
To do this, lightly sand the surface to remove any imperfections and then apply a thin layer of Waterlox, following the same steps you used for the initial application.
Protecting the Surface
To keep your butcher block looking its best, always use cutting boards and trivets when preparing food. This will help prevent scratches and protect the finish from wear.
For a refreshed appearance, you can buff the surface with a clean, soft cloth to maintain its natural shine.
With regular care and occasional reapplication, your Waterlox-finished butcher block will stay beautiful and functional for years.
Waterlox Application for DIY Projects
Waterlox is not only great for finishing butcher blocks but also works wonderfully for a variety of DIY projects.
If you’re refinishing an old piece of furniture or creating something new, Waterlox can provide a durable and beautiful finish.
Refinishing Old Butcher Blocks
If you have an old butcher block that’s scratched or worn down, Waterlox can help bring it back to life.
By sanding down the surface and applying Waterlox, you can restore its natural beauty and make it look new again.
The finish will protect the wood and provide a long-lasting, water-resistant surface.
DIY Kitchen Upgrades
Waterlox is perfect for many DIY kitchen projects.
If you’re working on countertops, tables, or cutting boards, Waterlox provides a professional-looking finish that enhances the wood’s natural grain.
It’s a great option for homeowners who want to upgrade their kitchen without the cost of replacing entire surfaces.
Budget-Friendly Option
For DIYers and homeowners looking for an affordable yet high-quality finish, Waterlox is a great choice.
Unlike some other finishes that need frequent reapplication, Waterlox lasts longer and helps your projects stay beautiful for years without costing too much.
Using Waterlox for DIY projects can elevate the look of your creations while ensuring durability and protection.
If you’re restoring old furniture or completing a kitchen upgrade, Waterlox can help achieve a high-quality, professional finish.
Conclusion
Waterlox is an excellent choice for finishing butcher blocks and many other DIY projects.
It provides a durable, water-resistant finish that adds to the wood’s natural beauty while being easy to apply and maintain.
If you’re restoring an old butcher block or working on a new project, Waterlox will ensure long-lasting protection and a professional-looking result.
With the proper application, regular care, and occasional reapplication, your Waterlox-finished butcher block will stay beautiful and functional for years.
Ready to start your next project? With Waterlox, you can create stunning, durable surfaces that will stand the test of time!
For more helpful tips and DIY ideas, be sure to check out other blogs on our website!
Frequently Asked Questions
How Long Does It Take for Waterlox to Fully Cure?
Waterlox usually takes 7–10 days to cure fully. Avoid using the surface during this time to ensure the finish hardens completely.
Can I Apply Waterlox in a High-Humidity Environment?
It’s best to apply Waterlox in a well-ventilated area with moderate humidity. High humidity can affect drying and curing times.
Can I Speed Up the Curing Process?
The curing process can’t be rushed. Ensure good ventilation and low humidity for the best results, but patience is key.

