A Complete Guide to Cap and Trim Fences
A cap and trim fence adds a finished look to your yard with its top cap and side trim pieces.
These fences last longer, look better, and shield your property from weather damage.
More and more people choose cap and trim fences because they combine good looks with practical benefits.
They make your home stand out while keeping it safe.
In this guide, we’ll cover everything you need to know:
- Why these fences are worth it
- The different types available
- How to put them up
- Ways to keep them looking good
Let’s get started!
What is a Cap and Trim Fence?
A cap and trim fence is a wooden privacy fence with extra pieces that make it stronger and better-looking.
The cap sits on top of the fence posts, while trim boards run along the sides.
A cap and trim fence is the perfect mix of style and strength for your yard.
Let’s look at what makes these fences special.
How It’s Different
Unlike basic fences, cap and trim styles have these added pieces that create a cleaner look.
The extra wood also helps the fence last longer by keeping water away from the main parts.
Main Purpose
These fences make your yard look more finished and put-together.
The cap and trim parts also shield the fence from rain and sun, helping it stay strong for many more years.
Benefits of a Cap and Trim Fence

These fences offer more than just privacy for your yard. Here’s why many homeowners choose this style.
1. Aesthetic Appeal
Cap and trim fences give your home a more complete and balanced look. You can add special post caps and trim patterns to match your home’s style.
2. Durability
The top cap stops rain from soaking into fence tops, blocking rot. Bottom trim pieces keep out ground moisture, helping your fence last years longer.
3. Stability
These fences stand strong against wind and weather. Adding a middle rail helps keep everything straight, especially in stormy areas.
4. Customization Options
You can pick different woods, stains, and trim styles to create exactly the look you want for your yard.
5. Increased Property Value
A good-looking, long-lasting fence adds to your home’s worth. Buyers notice quality outdoor features when house-hunting.
Types of Cap and Trim Fences
Let’s look at the different materials you can choose for your cap and trim fence. Each has its own benefits that might work better for your needs and budget.
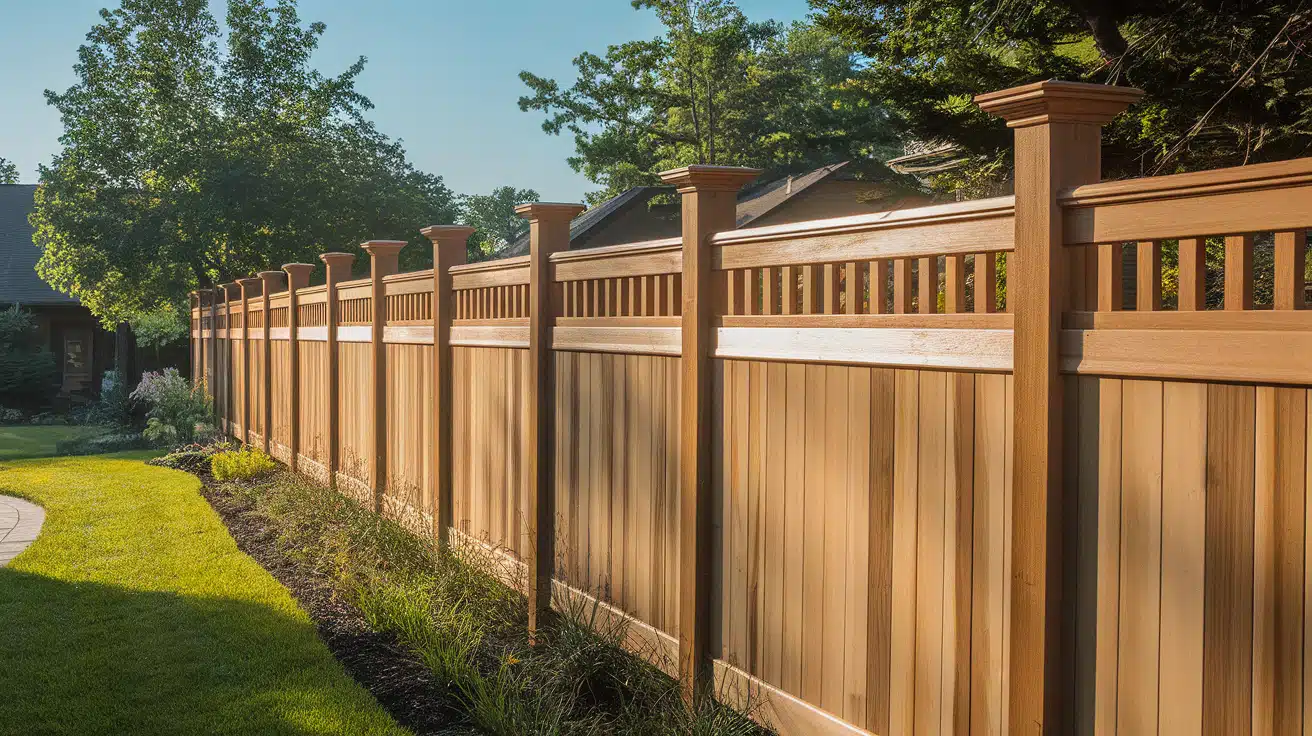
1. Wooden Cap and Trim Fence
Cedar, redwood, and pressure-treated pine are top picks for wooden cap and trim fences. I love how these woods give your yard a warm, natural feel that just can’t be matched.
You can stain or paint these fences to match your home or leave them natural to weather over time.
Wood fences need some care, but many homeowners feel the classic look is worth it.
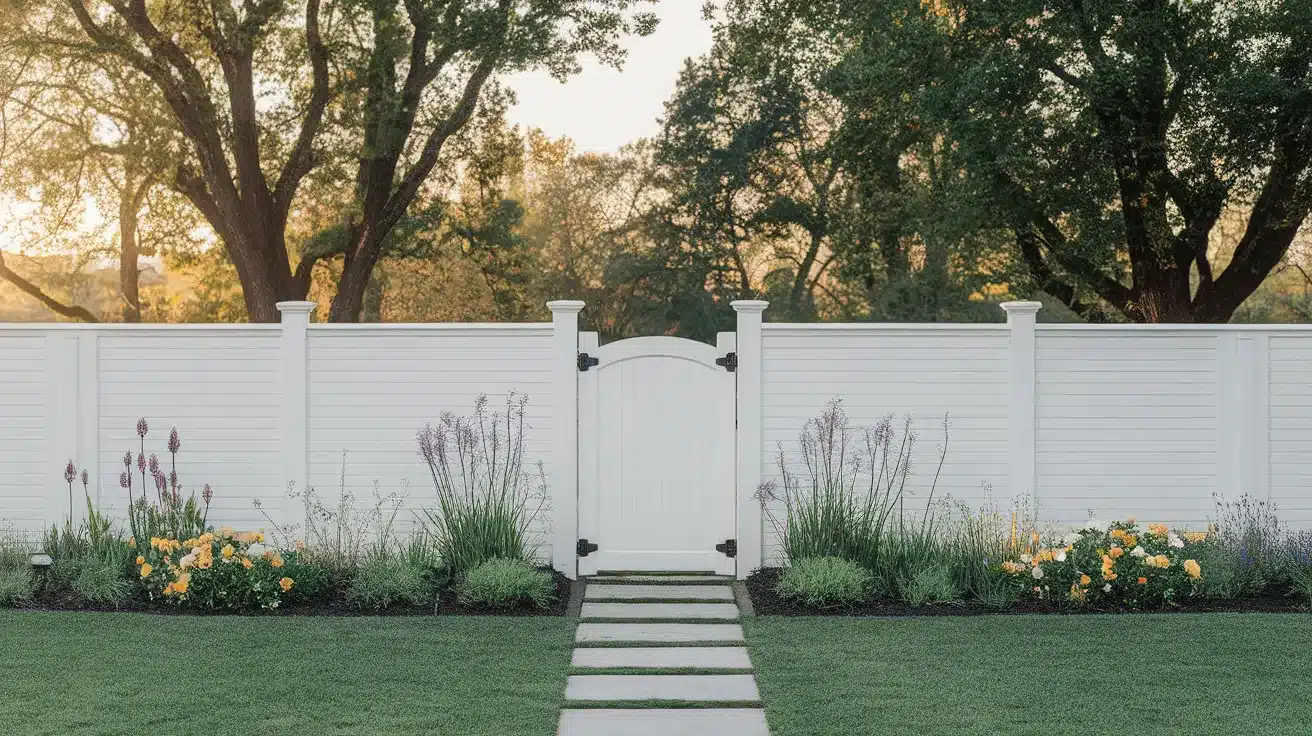
2. Vinyl Cap and Trim Fence

If you hate outdoor maintenance, vinyl might be your best friend! These fences come in white and other colors that won’t fade or need painting.
When it rains or snows, just let nature wash your vinyl fence clean. No more weekends spent scrubbing and staining!
They cost a little bit more upfront but save you time and money over the years.
3. Pressure-Treated Cap and Trim Fence
For wet climates or areas near pools, pressure-treated wood stands up to moisture better.
The special treatment keeps bugs and rot away from your fence.
Adding gravel boards at the bottom lifts the fence slightly off the ground, giving extra protection where moisture often causes problems first.
Cap and Trim Fence Styles
Your fence style says a lot about your home’s personality.
Here are some popular options to consider when planning your project.
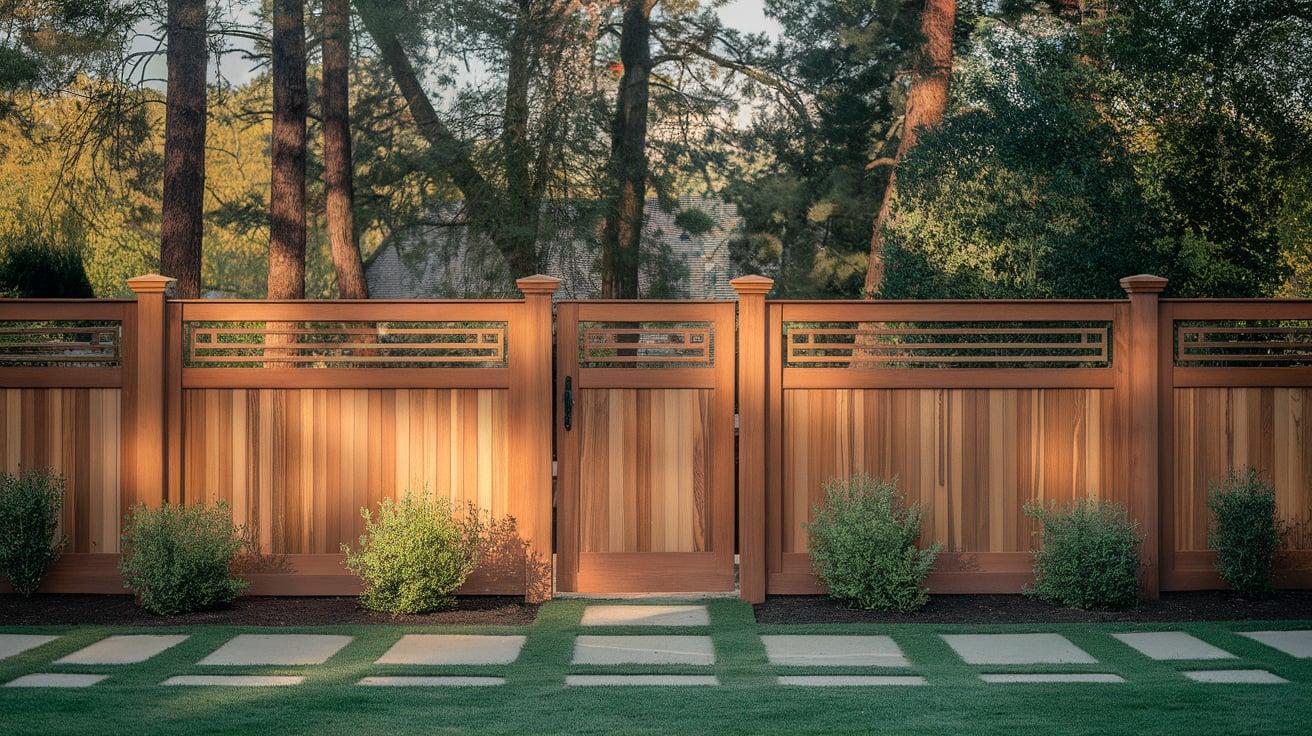
Flat Cap and Trim
The flat cap style gives your yard a neat, tidy look that fits with most homes.
I like how it creates clean lines that don’t draw attention away from your landscaping or home design.
Lattice Cap and Trim
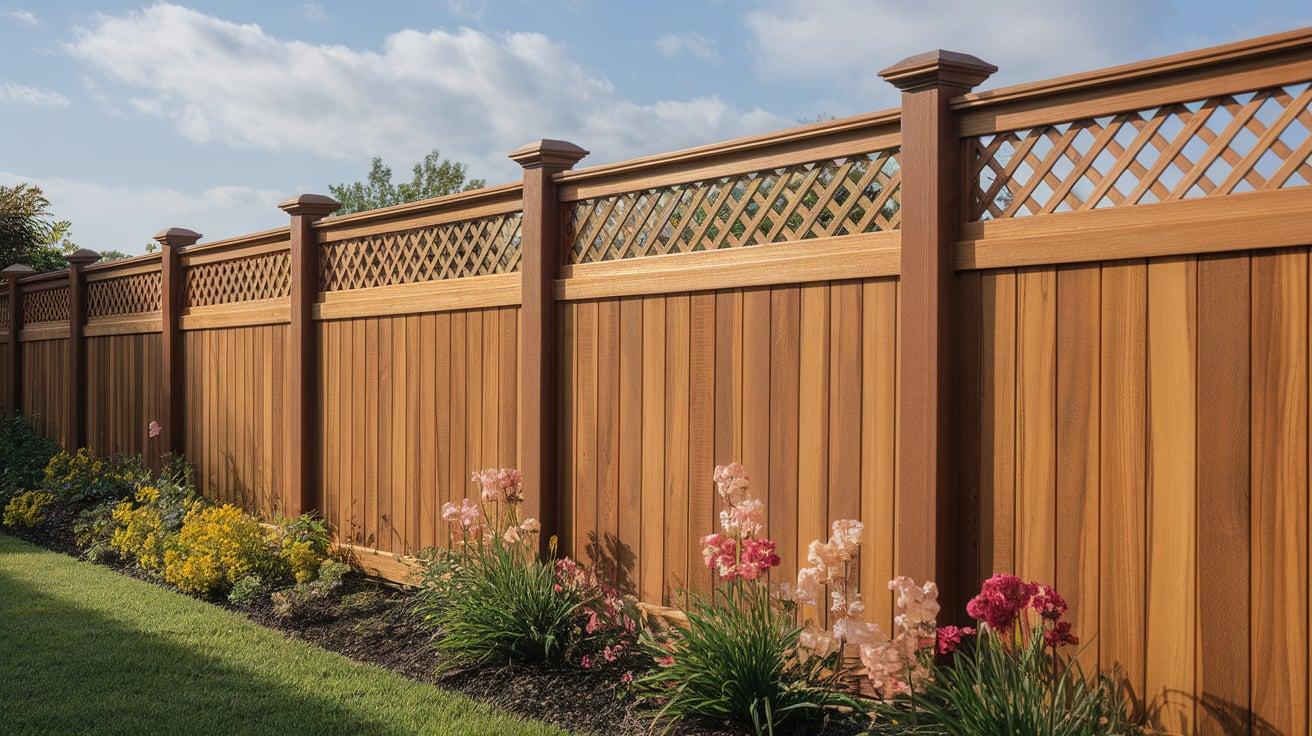
Adding lattice to your fence top brings a touch of charm while letting light and breeze pass through.
It’s a friendly middle ground between privacy and openness that many of my neighbors have chosen.
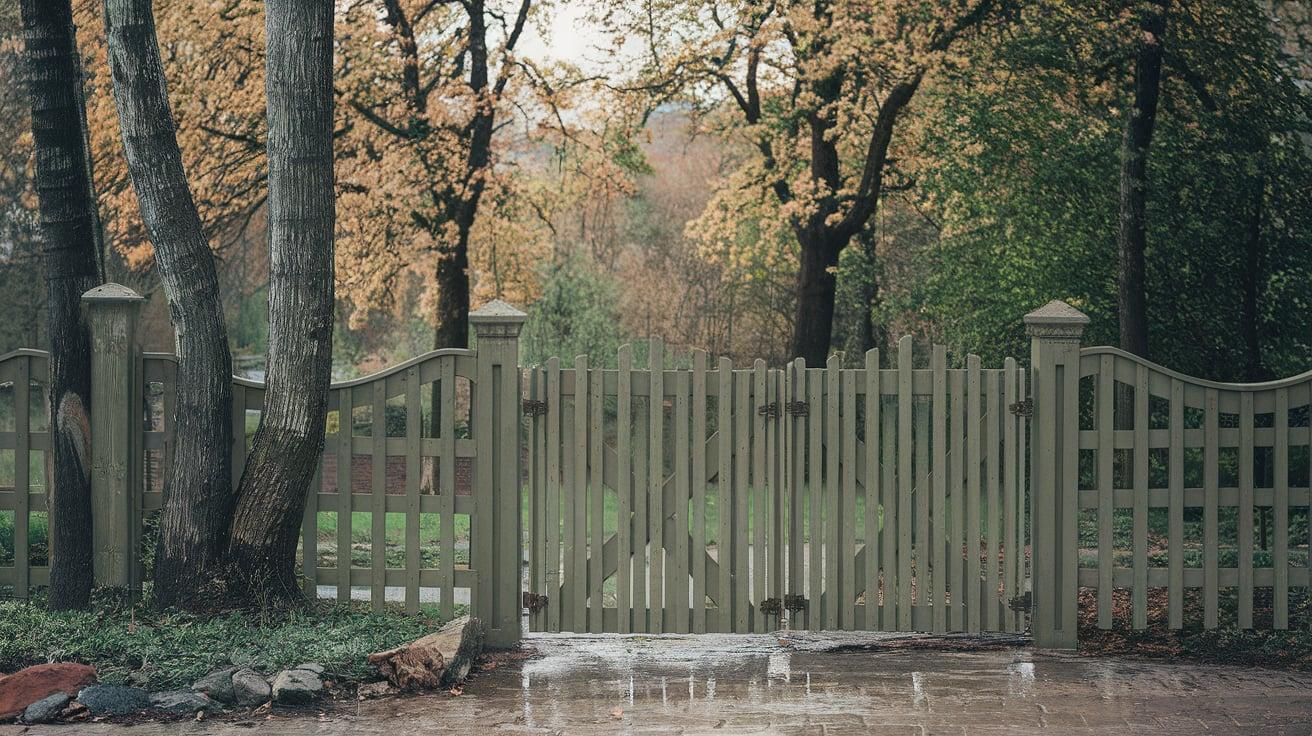
Scalloped Cap and Trim
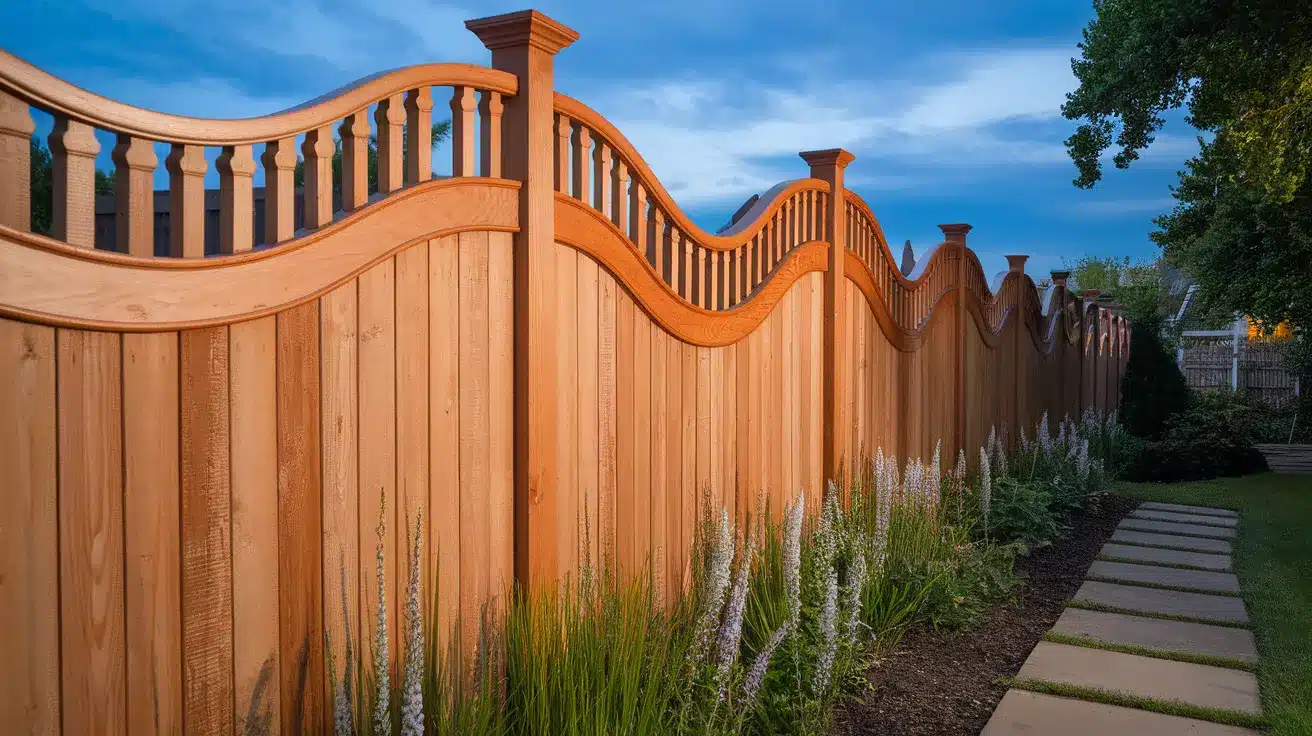
The gentle curves of a scalloped fence top soften the look of your yard.
Each section dips in the middle, creating a wave pattern that feels more playful than a straight edge.
Gothic and French Gothic Styles
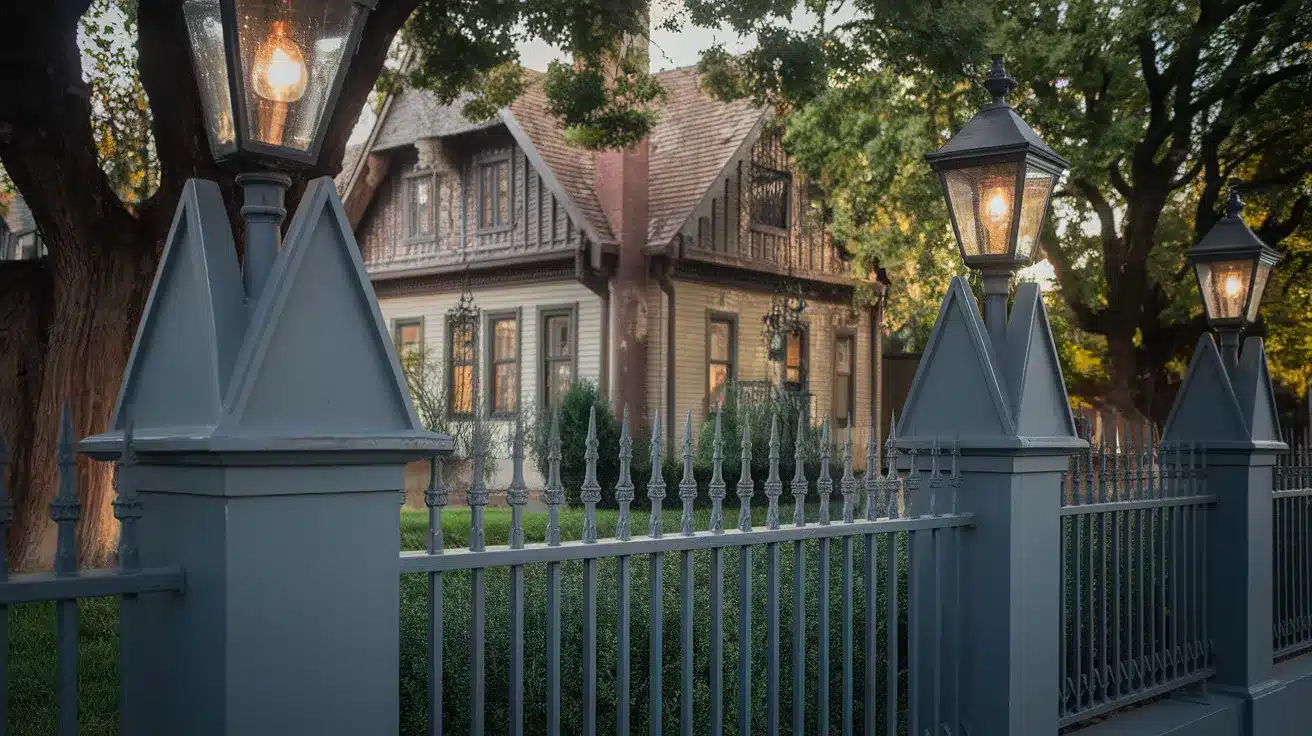
These styles feature pointed tops that remind me of old European gardens.
The sharp peaks add a touch of class that makes your fence stand out from others on the block.
Pyramid Cap and Trim
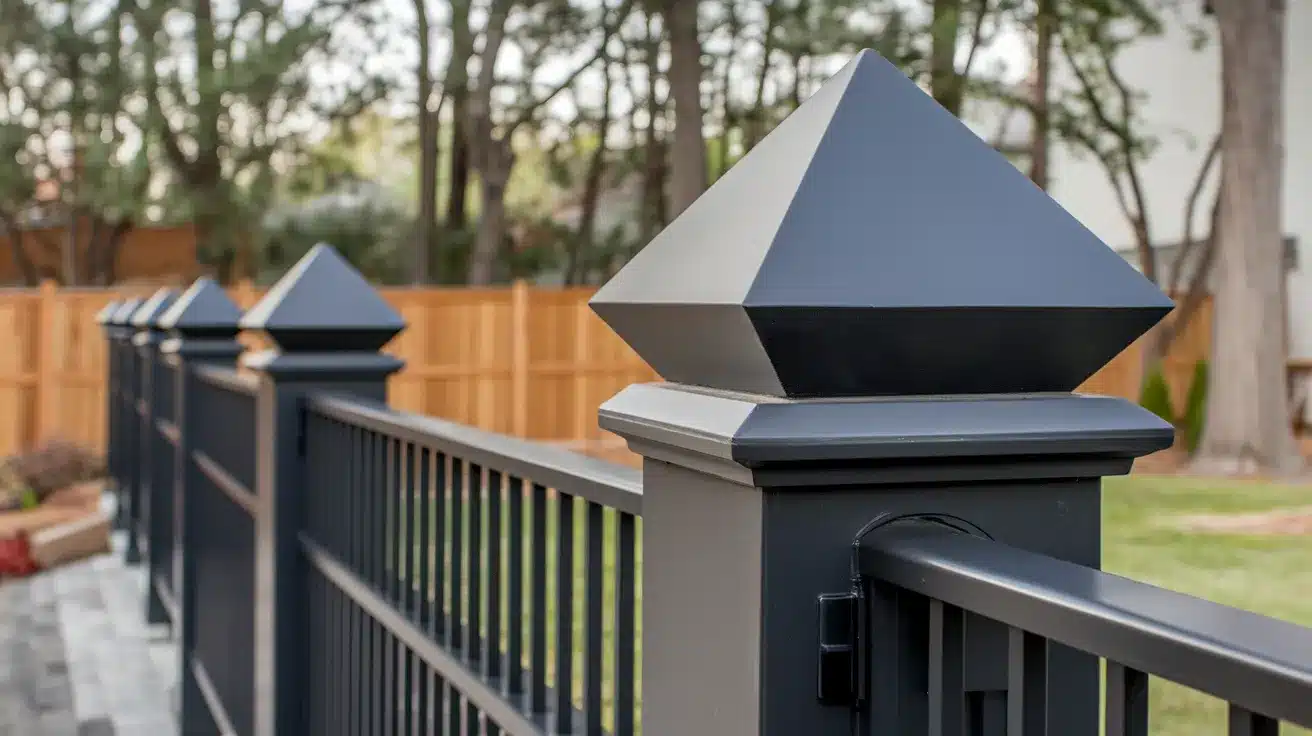
Pyramid caps create a finished look with their four-sided peaks on each post.
They catch the light in interesting ways and give your fence a more substantial feel.
Cap and Trim Fence vs. Other Fence Types
|
Feature |
Cap and Trim Fence |
Dog Ear Fence |
Stockade Fence |
Board-on-Board Fence |
|
Appearance |
Clean, finished look with top cap and side trim |
Rounded tops on pickets create a softer look |
Simple, basic design with pointed pickets |
Overlapping boards create depth and texture |
|
Cost |
Higher initial cost due to extra materials |
More budget-friendly option |
Most affordable option |
Mid-range cost |
|
Durability |
Top cap protects wood ends from water damage |
Rounded tops help shed water but less protection |
Basic design with minimal weather protection |
Overlapping design helps with wind resistance |
|
Maintenance |
Less rot at top, longer lifespan |
Needs more frequent sealing at tops |
Requires regular maintenance to prevent rot |
Needs standard maintenance, less warping |
|
Privacy |
Complete privacy with finished look on both sides |
Good privacy with small gaps as wood shrinks |
Basic privacy that may show gaps over time |
Best privacy due to overlapping boards |
|
Lifespan |
15-20+ years with proper care |
10-15 years typically |
8-12 years typically |
12-18 years typically |
|
Wind Resistance |
Strong structure with reinforced top |
Standard resistance, may warp in high winds |
Less stable in strong winds |
Excellent wind resistance due to design |
|
Best For |
Homeowners wanting long-term value and curb appeal |
Budget-conscious homeowners |
Basic privacy needs on a tight budget |
Areas with high winds or where maximum privacy is needed |
DIY Guide: How to Build a Cap and Trim Fence
Building your own cap and trim fence can be a rewarding weekend project. Here’s what you need to know to get started.
Materials Needed
- Fence posts
- Pickets
- Cap boards
- Trim pieces
- Concrete
- Galvanized nails or screws
- Level
- Post hole digger
- Saw
- Drill
Step 1: Measuring and Planning

- Sketch your fence layout first.
Check with your city about permits and rules. Talk to neighbors too—it’s just good manners!
Step 2: Setting Posts
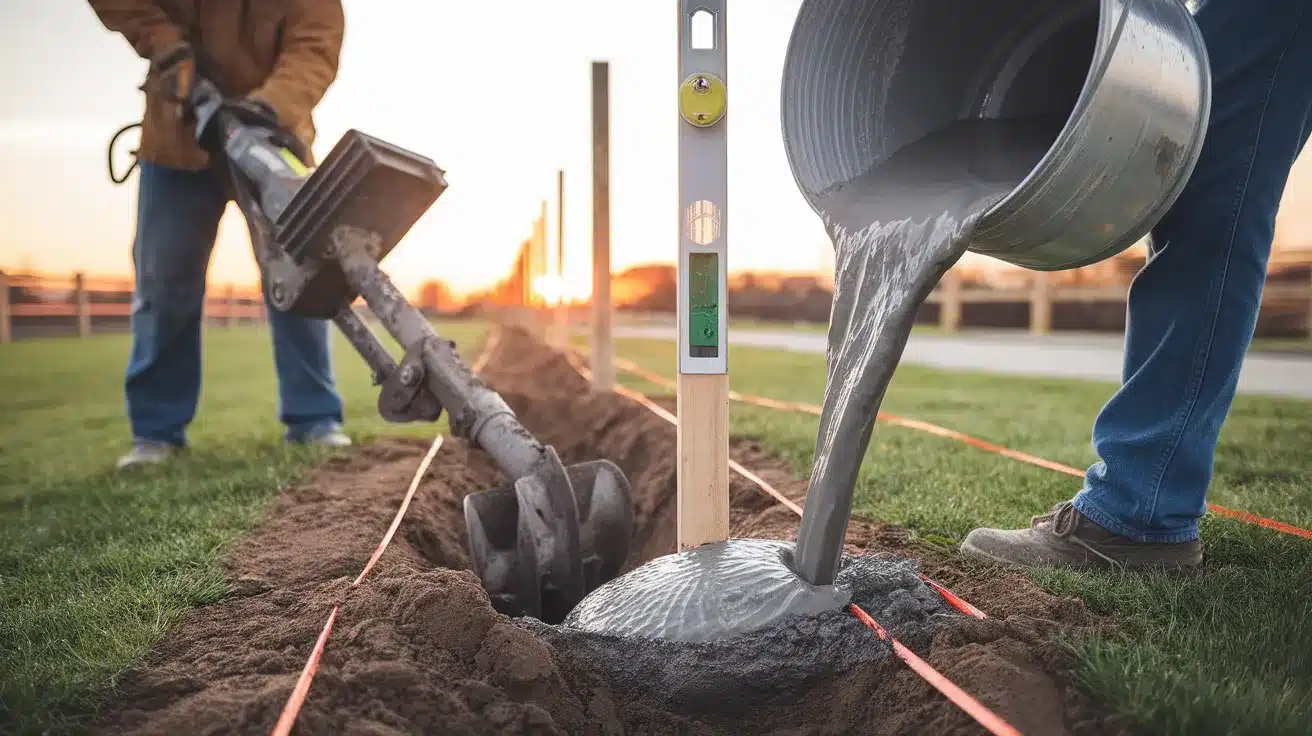
- Dig holes 1/3 the post height deep.
- Mix concrete and set posts, checking they’re straight with your level.
- Let them dry overnight.
Step 3: Installing Pickets
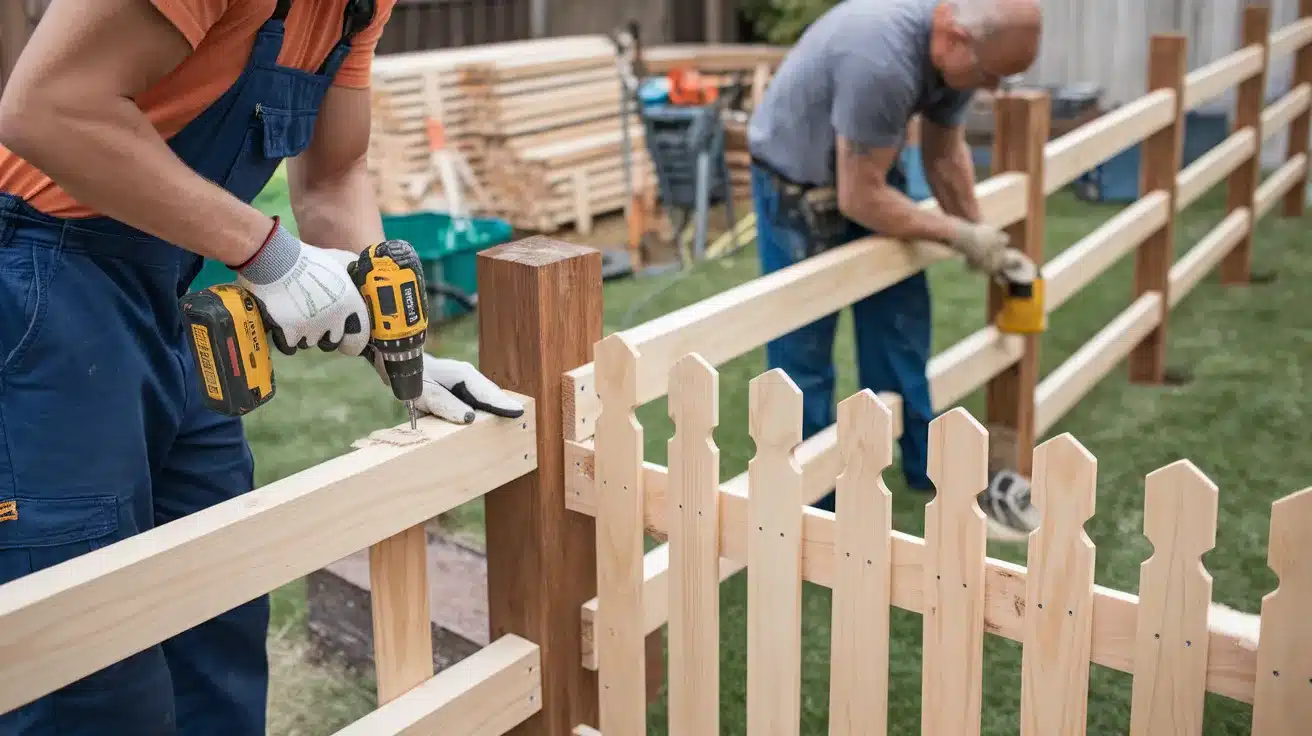
- Attach rails to posts, then nail pickets to rails.
- Leave small gaps between boards for when wood swells in wet weather.
Step 4: Adding Cap and Trim Boards
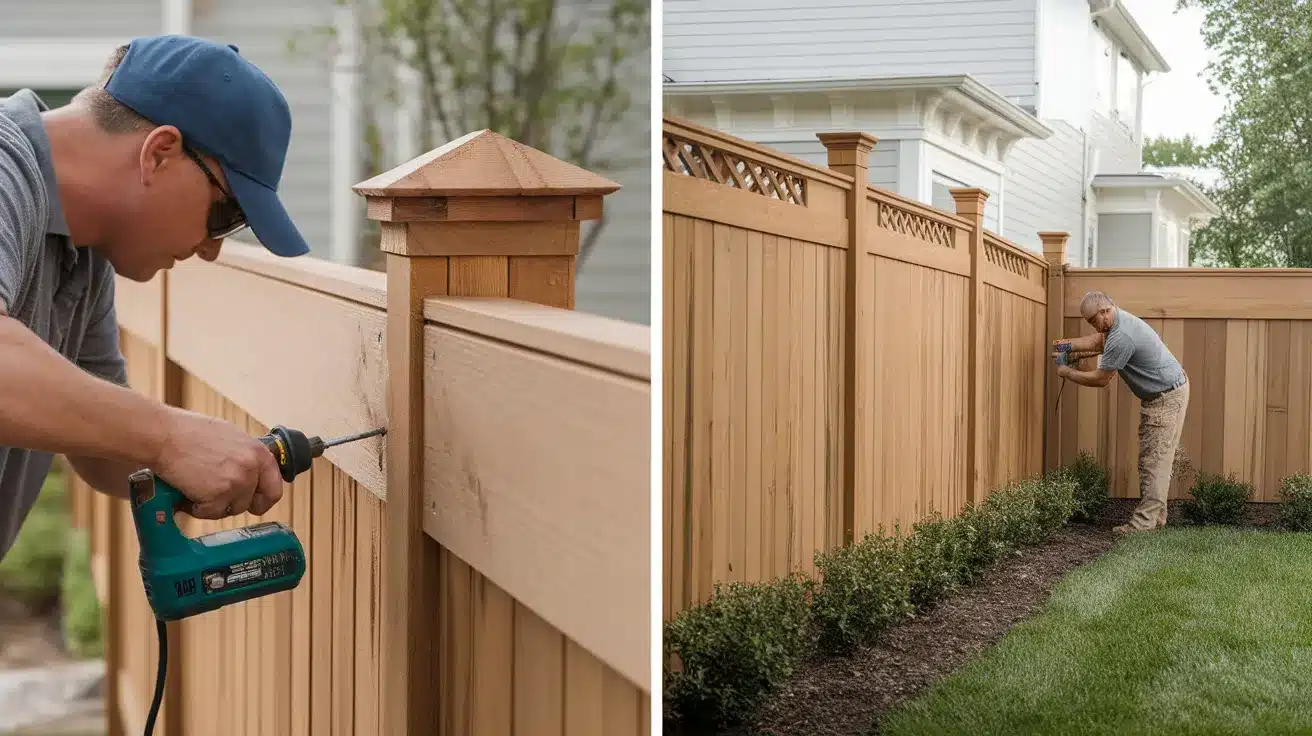
- Place cap boards on top of your fence line
- Then add trim to the sides.
These parts make your fence look finished and keep water out.
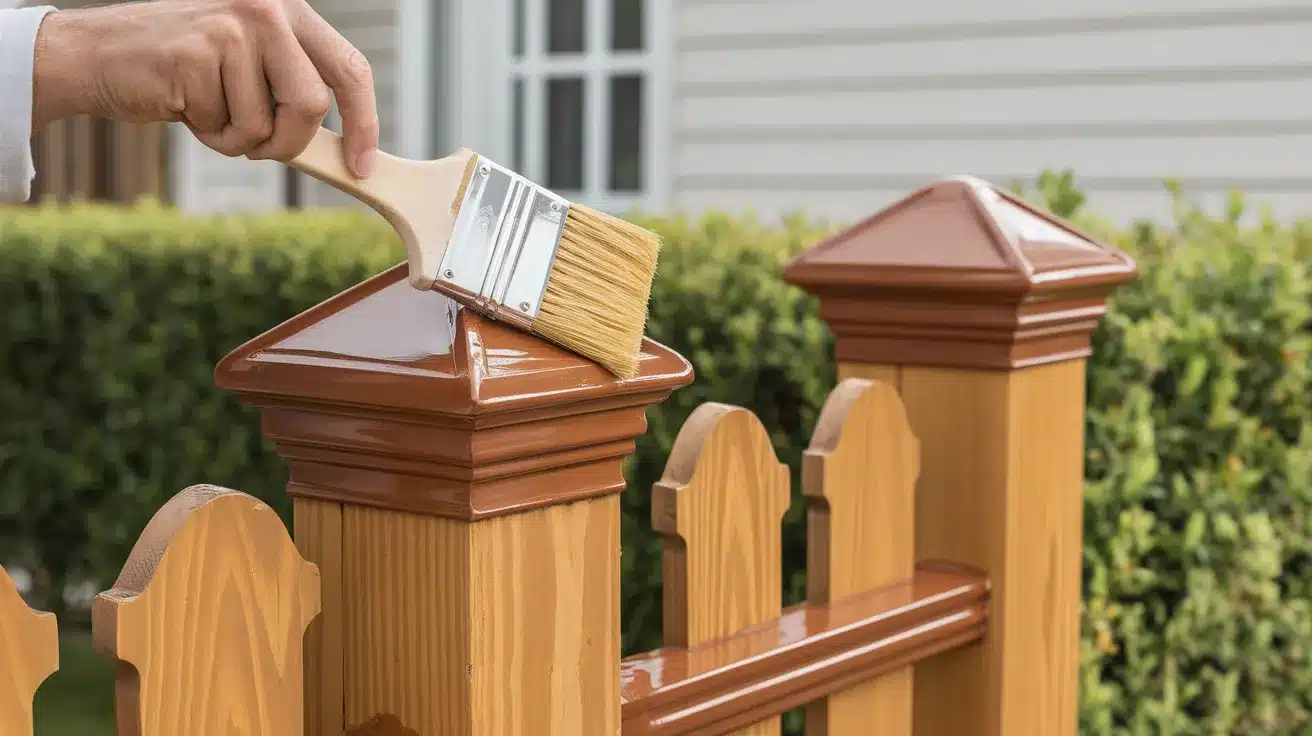
Step 5: Sealing and Finishing
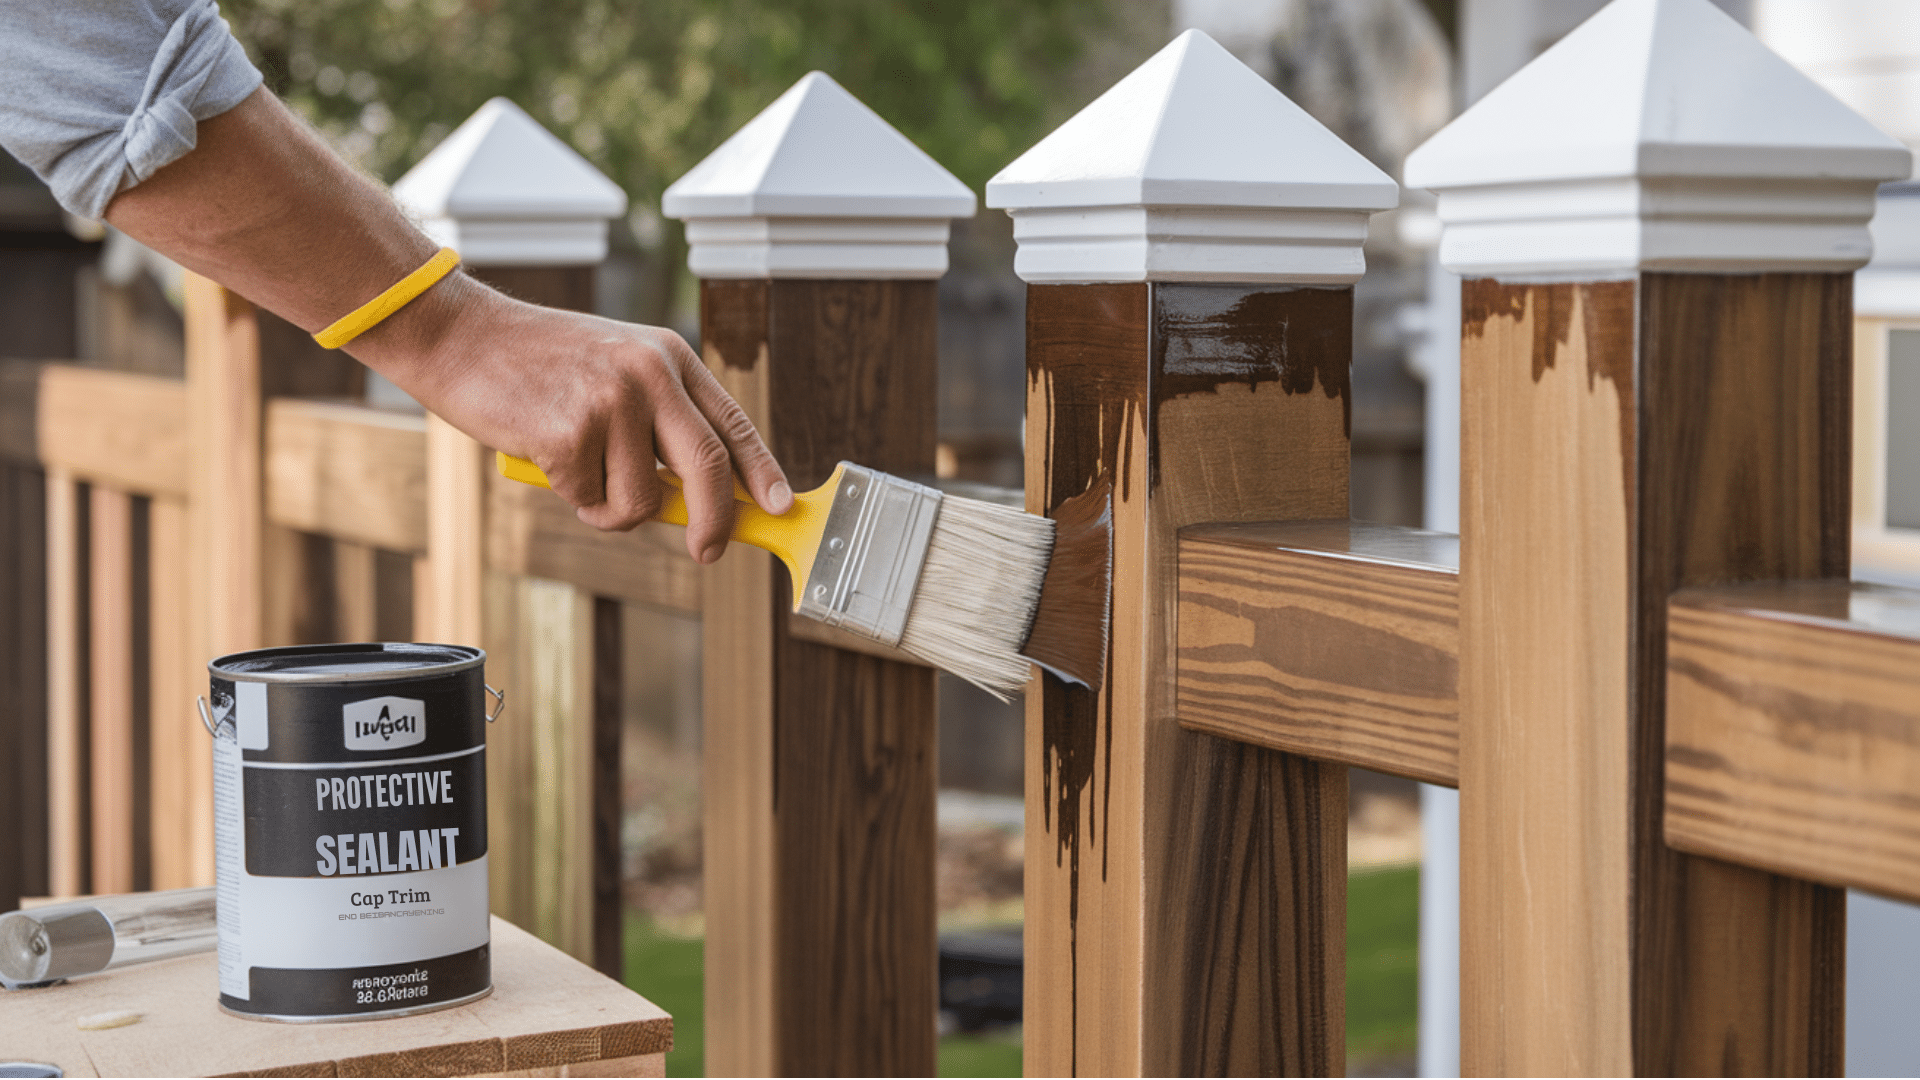
- Brush on a good wood sealer to protect your hard work.
This helps fight off rain, sun, and bugs that can damage your fence.
Maintenance and Longevity Tips
Taking care of your cap and trim fence doesn’t need to be hard. A little attention keeps it looking good for many years.
Preventing Damage
- Inspect your fence twice yearly.
- Look for loose boards and fix them right away.
- Clean off dirt and moss with a soft brush and mild soap.
Best Stains and Sealants
- Choose oil-based stains for deeper wood protection.
- Water-based sealants work well too and dry faster.
- Apply a new coat every 2-3 years for best results.
Seasonal Maintenance Checklist
Spring
- Check for winter damage.
- Wash off dirt with gentle pressure.
- Fix any boards that shifted during freeze-thaw cycles.
Summer
- Apply fresh stain or sealant on a dry, mild day.
- Trim back plants that touch the fence and hold moisture against the wood.
Fall
- Clear leaves and debris from the fence base.
- Check that drainage near the fence keeps water flowing away from posts.
Winter
- Remove heavy snow from the top cap.
- Keep sprinklers aimed away from the fence during freezing weather.
Conclusion
We’ve walked through everything you need to know about cap and trim fences in this guide.
From the basics of what makes them special to the different styles and materials, you now have the info to make smart choices for your home.
Though they cost a bit more at the start, these fences pay you back by lasting longer and looking better year after year.
The right fence can make your whole yard feel more finished and personal.
Pick a style that makes you smile when you pull into your driveway.
With the maintenance tips we’ve shared, your fence will stand tall through many seasons of family barbecues, kids playing, and quiet evenings.


lmao at the AI slop images