Plumeria Plant Care: Sun, Soil, Water, and More
Plumeria is one of those plants that looks like it belongs in a resort garden, yet it is surprisingly manageable once you understand what it actually responds to.
I have found that most people either overwater it early on or underestimate how much sun it genuinely needs.
This blog covers everything you need to grow and maintain plumeria successfully – from choosing the right plant and soil to watering, fertilizing, pruning, propagating, and managing dormancy.
If you are starting from a cutting or an established plant, you will find practical guidance for each stage of plumeria plant care, along with what healthy growth actually looks like and how to spot problems early.
Is Plumeria Easy to Grow?
Yes, plumeria is generally easy to grow if you can give it warm conditions and enough light. It does especially well in tropical and subtropical climates, where it may grow as a shrub or small tree.
In colder regions, you can still grow plumeria successfully in a container. Just move it somewhere protected when temperatures drop.
Pairing it with other resilient indoor plants through the winter months keeps your growing space active even when plumeria goes dormant.
What surprises many new growers is how much the plant changes with the seasons.
Summer brings active growth, while winter often brings dormancy and leaf loss. Plumeria is much easier to manage once you expect that seasonal shift.
Supplies for Growing Plumeria
You only need a few basic supplies to get started. Choose items that support healthy planting and make the setup easy to manage from the beginning.
| Item | Best Choice | Purpose |
|---|---|---|
| Plumeria plant or cutting | Firm, healthy stem with no soft spots | Gives you strong starting material |
| Container | Pot with open drainage holes | Prevents water from collecting around roots |
| Potting mix | Loose, fast-draining mix | Supports root growth without staying soggy |
| Drainage material | Perlite or coarse bark | Improves airflow through the soil |
| Hand trowel | Small garden trowel | Helps place and adjust soil |
| Gardening gloves | Water-resistant garden gloves | Protects skin from plumeria sap |
| Watering tool | Watering can or gentle hose | Makes watering easier to control |
| Pruning shears | Clean, sharp blades | Useful for later pruning or propagation |
How to Grow a Plumeria Plant
Growing plumeria starts with proper planting. These five steps take you from choosing the plant to placing it where it can begin establishing healthy roots and new growth.
Step 1: Choose a Healthy Plant or Cutting

Look for a firm trunk and healthy growth if starting with a rooted plant. A few imperfect leaves aren’t necessarily a problem on their own.
Widespread spotting, pest activity, or soft stem sections point to deeper trouble and are worth skipping at the nursery.
- Cutting Selection: Choose a thick, mature piece rather than very soft new growth.
- Dormant Appearance: Sparse leaves can reflect a normal seasonal cycle, not plant death.
- Propagation Note: Established cultivars are commonly maintained through stem cuttings.
Step 2: Choose a Pot or Outdoor Planting Spot

Climate shapes this decision more than anything else. Containers need open drainage holes and a size that roughly matches the current root system.
Outdoor planting calls for a warm, open spot where rainwater doesn’t linger on the surface. This also helps in maintaining a healthy outdoor garden.
- Container Sizing: Oversized pots hold unused, damp soil longer than the roots need.
- Zone Guidance: UF/IFAS lists USDA Zones 10B to 11 as suited for permanent outdoor growing.
- Cold Climate Option: Container growing lets you move the plant indoors before freezing weather hits.
Step 3: Prepare Fast-Draining Soil

Wet roots for extended periods work against plumeria, not for it. A loose, cactus-style potting mix works well in containers.
Skip using soil dug straight from the yard, since it tends to hold far more moisture than the plant actually wants.
- Drainage Additions: Perlite or coarse bark can further improve drainage when needed.
- Landscape Test: Standing water after rain signals a location isn’t well suited.
- Mix Simplicity: A basic, well-draining blend usually outperforms an elaborate homemade recipe.
Step 4: Plant the Plumeria Correctly

Position the root ball at roughly the depth it was growing at previously, then fill in around it with soil. Leave a small gap below the container’s rim, since that space keeps water from spilling over right after watering.
- Firmness Balance: Press soil enough to hold the plant steady, without compacting it hard.
- Cutting Prep Step: Let a fresh cutting’s cut end dry before placing it into rooting medium.
- Sap Caution: Wear gloves, since plumeria’s milky sap can irritate skin on contact.
Step 5: Place It in a Warm Location

Full sun supports healthy growth and better blooming once the plant’s settled into its container or bed. A bright patio corner or open garden spot works well, as long as the light stays consistent throughout the day.
- Light Transition: Move plants gradually into strong sun if they came from shade or indoors.
- Repositioning Advantage: Potted plants can shift locations as seasonal sunlight patterns change.
- Diagnostic Tip: Weak or slow growth during the active season often traces back to insufficient sun exposure.
How Long Does Plumeria Take to Grow?
Growth speed depends on several factors working together.
| Starting Point |
What to Expect |
Growth Pace |
|---|---|---|
| Fresh cutting |
Needs time to root before active growth |
Slow at first |
| Rooted young plant |
Begins establishing in its new spot |
Moderate |
| Established container plant |
Produces stronger seasonal growth |
Faster in warm weather |
| Mature outdoor plant |
Can develop into a large shrub or small tree |
Steady over years |
How to Maintain a Healthy Plumeria Plant
Once established, good plumeria plant care doesn’t ask for much, but a few habits make a real difference. Here’s what ongoing care actually looks like through the seasons.
1. Water When the Soil Begins to Dry

Check the soil with a finger before watering, rather than following a fixed calendar. Water thoroughly once the upper layer starts to dry, then allow the excess to drain away fully before the next session.
Hot weather usually means container plants need more frequent checks, while cooler or rainy stretches extend the gaps between waterings.
If the soil stays wet for several days regardless, look at the drainage setup rather than simply watering less.
2. Fertilize During Active Growth

Feed plumeria during spring and summer, when new leaves and branches are actively developing. Use a suitable fertilizer at the rate listed on its label.
Overfeeding stresses the roots and tends to push leafy growth rather than actually improving the plant’s health. Hold off on fertilizer right after repotting or when the plant shows visible signs of stress, and taper feeding as growth slows toward dormancy.
3. Prune Only When Necessary

Plumeria doesn’t need regular shaping to stay healthy. Pruning mainly removes dead, damaged, diseased, or awkwardly placed branches.
Repeatedly trimming healthy branch tips can delay flowering, since blooms typically form at those same tip locations.
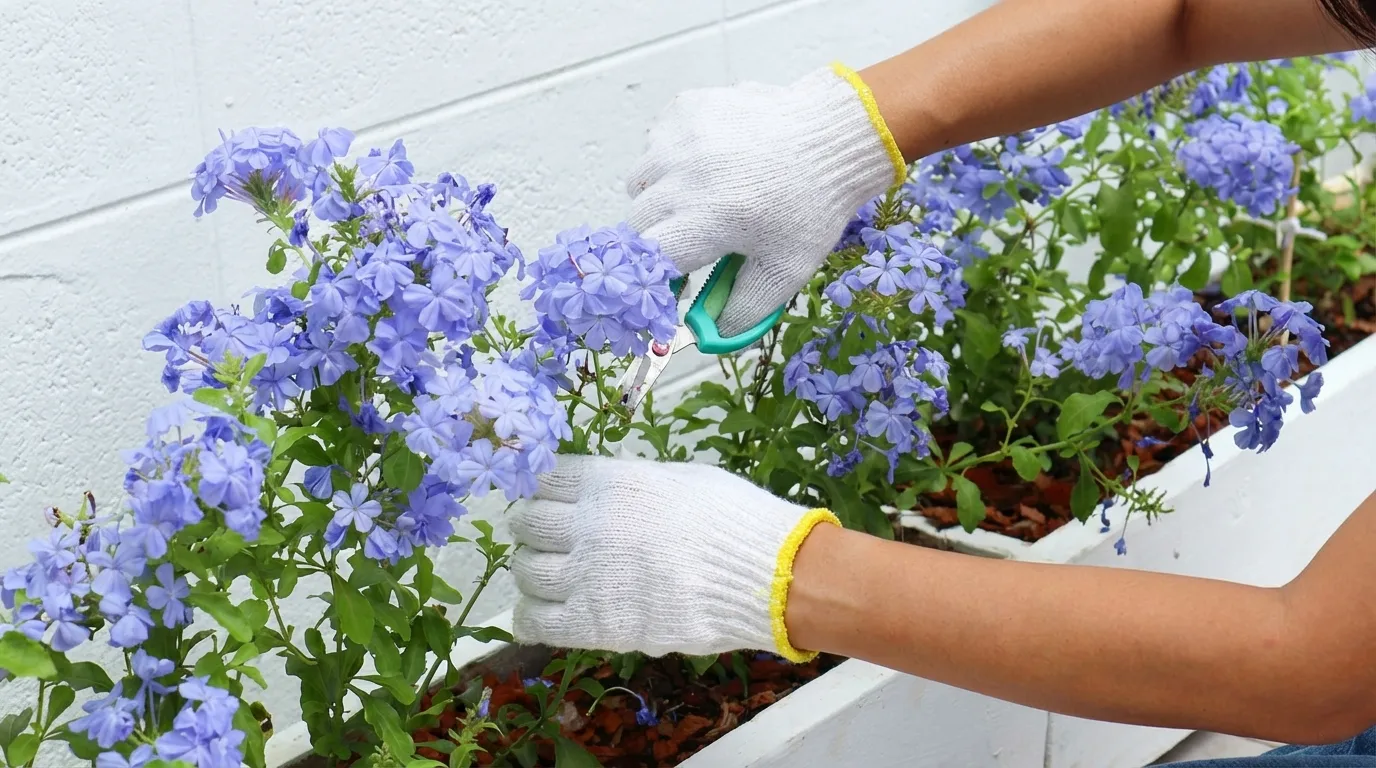
Use clean, sharp shears to avoid tearing stems, and wear gloves while working, since plumeria sap can irritate skin on contact.
These disciplines carry over to pruning any flowering shrub or climber, where clean cuts directly affect how quickly the plant recovers.
4. Support Better Plumeria Flower Production

A healthy plumeria may still take time to bloom, particularly if it’s young or recently established in its current spot.
Flowering can slow after heavy pruning, repotting, pest damage, or another stressful event, so recovery time matters before making further changes.
Bloom timing also varies with the plant’s maturity and local climate, so a lack of flowers doesn’t always signal a problem worth fixing.
5. Adjust Care During Dormancy

Once dormancy sets in, reduce watering and stop regular feeding altogether. A leafless plumeria uses far less moisture than one actively growing through summer.
In colder regions, move container plants to a frost-free location before freezing temperatures arrive. When new growth returns in spring, increase watering gradually and restart feeding only once the plant is actively growing again.
How to Propagate Plumeria from Cuttings
Stem cuttings taken in spring are the most reliable way to propagate plumeria and preserve a cultivar’s traits.
Choose a healthy, mature stem section 12 to 18 inches long, and let the cut end dry for several days before planting.
Prepare a container with a free-draining rooting mix and insert the cutting deep enough to stay stable.
Keep it in a consistently warm spot and water sparingly – excess moisture causes rot before roots can form – a challenge that water-based growing methods address through precise moisture control from the start.
Resist pulling the cutting to check progress. Firm soil and new leaf growth are the clearest signs that rooting is underway.
How to Tell if Your Plumeria is Growing Well
Healthy plumeria usually shows several positive signs at the same time. Use the plant’s overall growth pattern rather than judging it from one leaf.
| Healthy Sign | What It Looks Like | What It Suggests |
|---|---|---|
|
Firm stems |
Stems stay solid and upright | Branches are developing normally |
| Fresh leaf growth | New leaves appear and expand during active growth | The plant is actively growing |
|
Healthy branch tips |
Tips remain firm with no dieback | New growth is progressing well |
|
Stable root growth |
Plant sits firmly in the container | Roots are anchoring the plant properly |
| Normal seasonal changes | Some leaves yellow or drop as dormancy nears | The plant is following its natural cycle |
| Developing flower buds | Buds form near mature branch tips | The plant may be entering a blooming period |
Plumeria Health Problems and Symptoms
Checking leaves and stems regularly helps catch problems early. A few common issues and what they typically point to are worth knowing.
- Yellow Leaves: Often means the soil is holding too much moisture, though seasonal aging can look similar.
- Soft Stem: Usually signals rot setting in, or physical damage from handling or weather.
- Orange Spots: Typically points to plumeria rust, especially when found on leaf undersides.
- Sticky Foliage: A common sign that pests have moved in on the plant.
- Weak Growth: Often traces back to insufficient light, root problems, or unstable temperatures.
- No Plumeria Flower: Can reflect a plant that’s still maturing or recovering from recent stress.
Wrapping It Up
Plumeria rewards consistency more than complicated care. Once you understand its seasonal rhythm and give it the right conditions, it becomes one of the more straightforward tropical plants to manage long-term.
I find that most issues trace back to two things: too much water or too little sun. Correcting either one usually makes a noticeable difference within a few weeks.
Start with the basic plumeria plant care covered in this blog, make one adjustment at a time, and give the plant time to respond before changing anything else.
If you are growing plumeria in a container or an outdoor bed, the same principles apply. Get the fundamentals right, and the plant will do most of the work from there.
Frequently Asked Questions
How Long Does a Plumeria Flower Last?
A single plumeria flower typically lasts one to two weeks on the plant, though cut flowers usually wilt faster once removed from the stem.
Is Plumeria Toxic to Pets?
Plumeria sap contains irritating compounds, and ingestion can be harmful. Keep the plant away from pets that may chew leaves or stems.
Can You Grow Plumeria From Seeds?
Yes. Plumeria can grow from seed, but seedlings may differ from the parent plant and usually take longer to flower.
What is the Typical Plumeria Blooming Season?
In warm climates such as Florida, plumeria commonly flowers from May through November, although exact timing varies by cultivar and conditions.