DIY Spice Rack: Ideas, Plans, and Easy Build Guide
A cluttered kitchen often comes down to one small problem: spices with no proper place. That is where a DIY spice rack can make a real difference.
Instead of forcing your space to fit a standard product, you build something that works exactly how you need it to. I have seen even simple setups improve daily cooking just by making spices easier to see and reach.
In this blog, you will get a clear understanding of different build options, how to plan correctly, and what actually matters before you start.
Let’s begin by understanding what makes a DIY setup worth building in the first place.
What a DIY Spice Rack is and Why People Build One
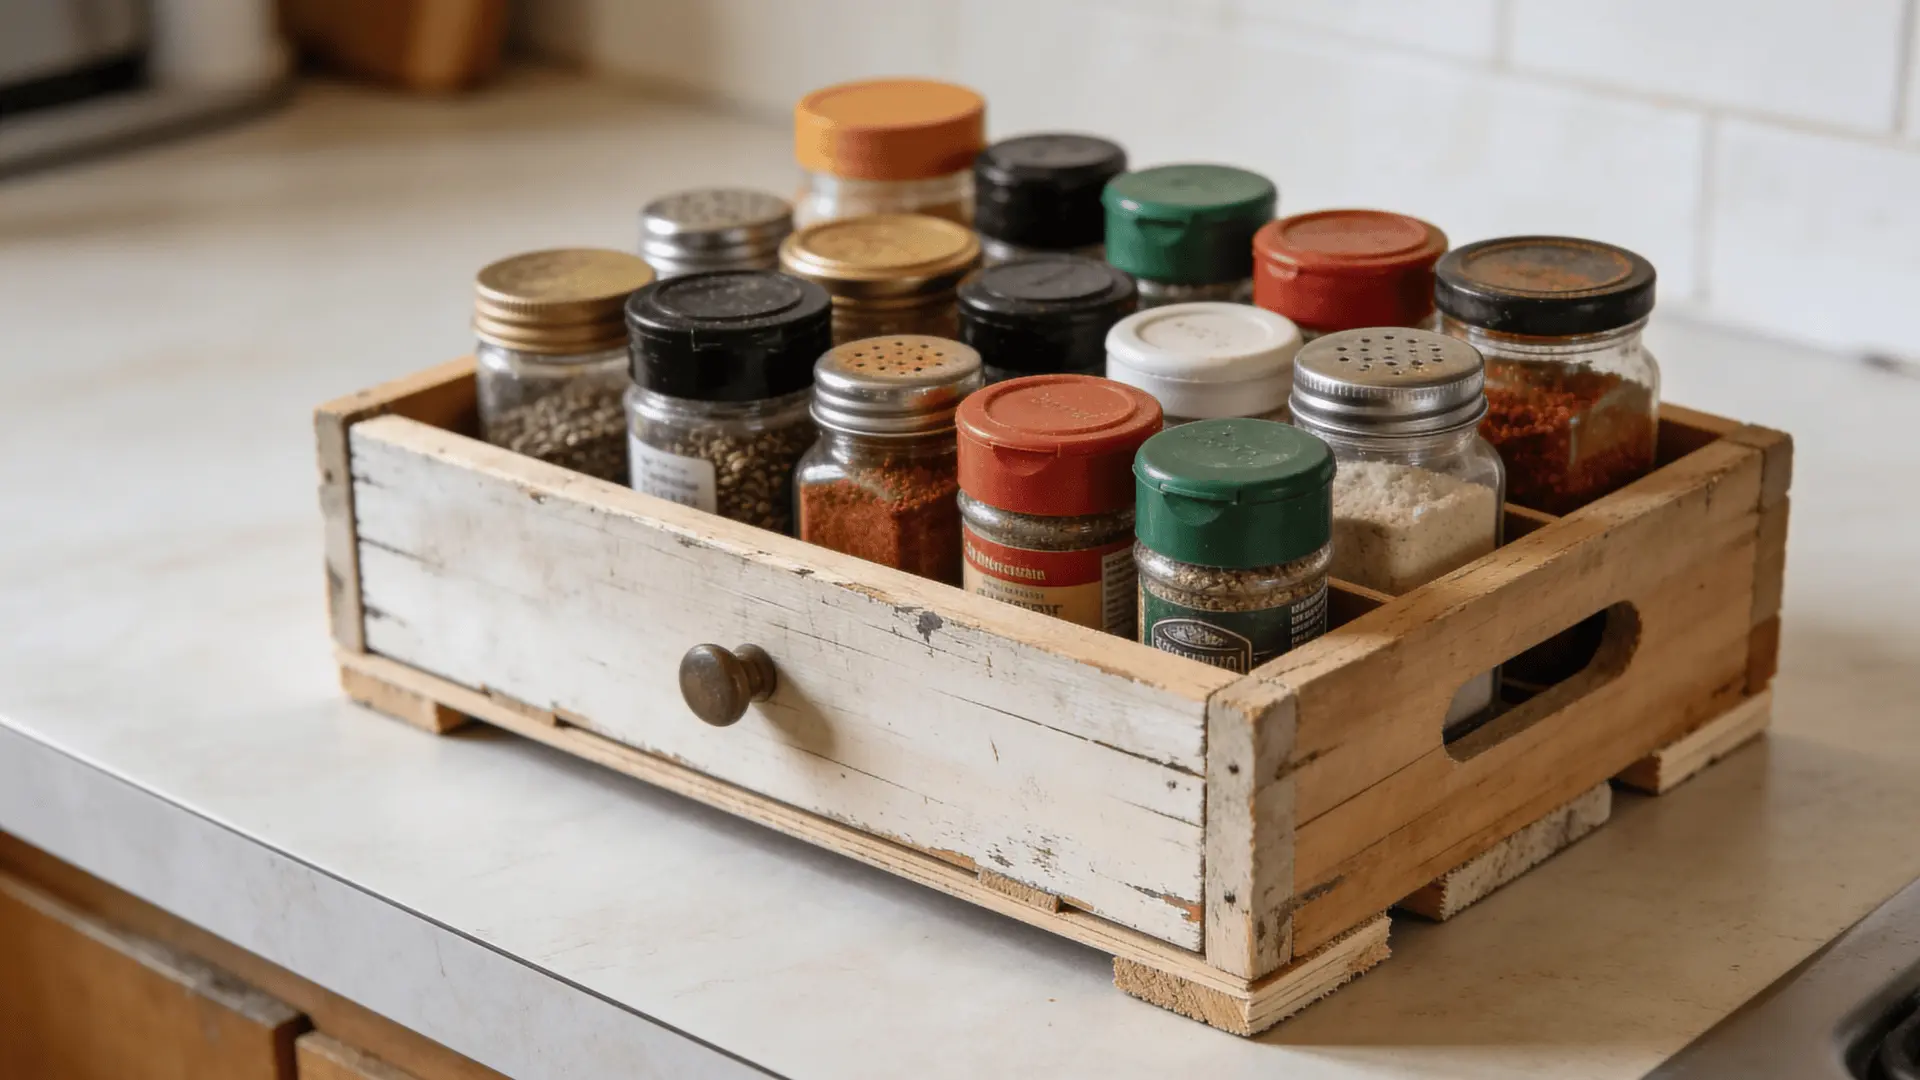
A DIY spice rack is a simple, homemade setup used to store spices so they stay neat, visible, and easy to reach.
Instead of buying a ready-made rack, you build one that fits your kitchen space and how you actually use your spices.
It does not have to follow any fixed design. Any handmade setup that helps organize spices counts. It can be wall-mounted, placed inside a drawer, or kept on a countertop.
You can use wood, metal, plastic, or even reused items like trays or boxes. The structure can include shelves, tiers, rails, or compartments based on your needs.
Common Reasons People Choose DIY Over Buying
People usually go the DIY route because standard options do not always fit their space or needs.
- Better Fit for Your Space: Store-bought racks come in fixed sizes. A DIY version can match your exact wall, cabinet, or drawer.
- Lower Cost: Many builds use scrap wood or budget materials, which makes them cheaper than buying a new rack.
- More Control Over Design: You can choose the size, number of shelves, spacing, and style based on how many spices you have.
- Improved Space Use: DIY racks help use unused areas like cabinet doors, narrow gaps, or empty walls.
- Flexibility for Future Changes: If your spice collection grows, you can adjust or rebuild without being stuck with one design.
DIY makes the most sense when your kitchen has limited space, unusual dimensions, or when you want a setup that feels more practical than standard options.
Types of DIY Spice Racks You Can Build
There is no single “best” spice rack. The right choice depends on your space, spice count, and daily use.
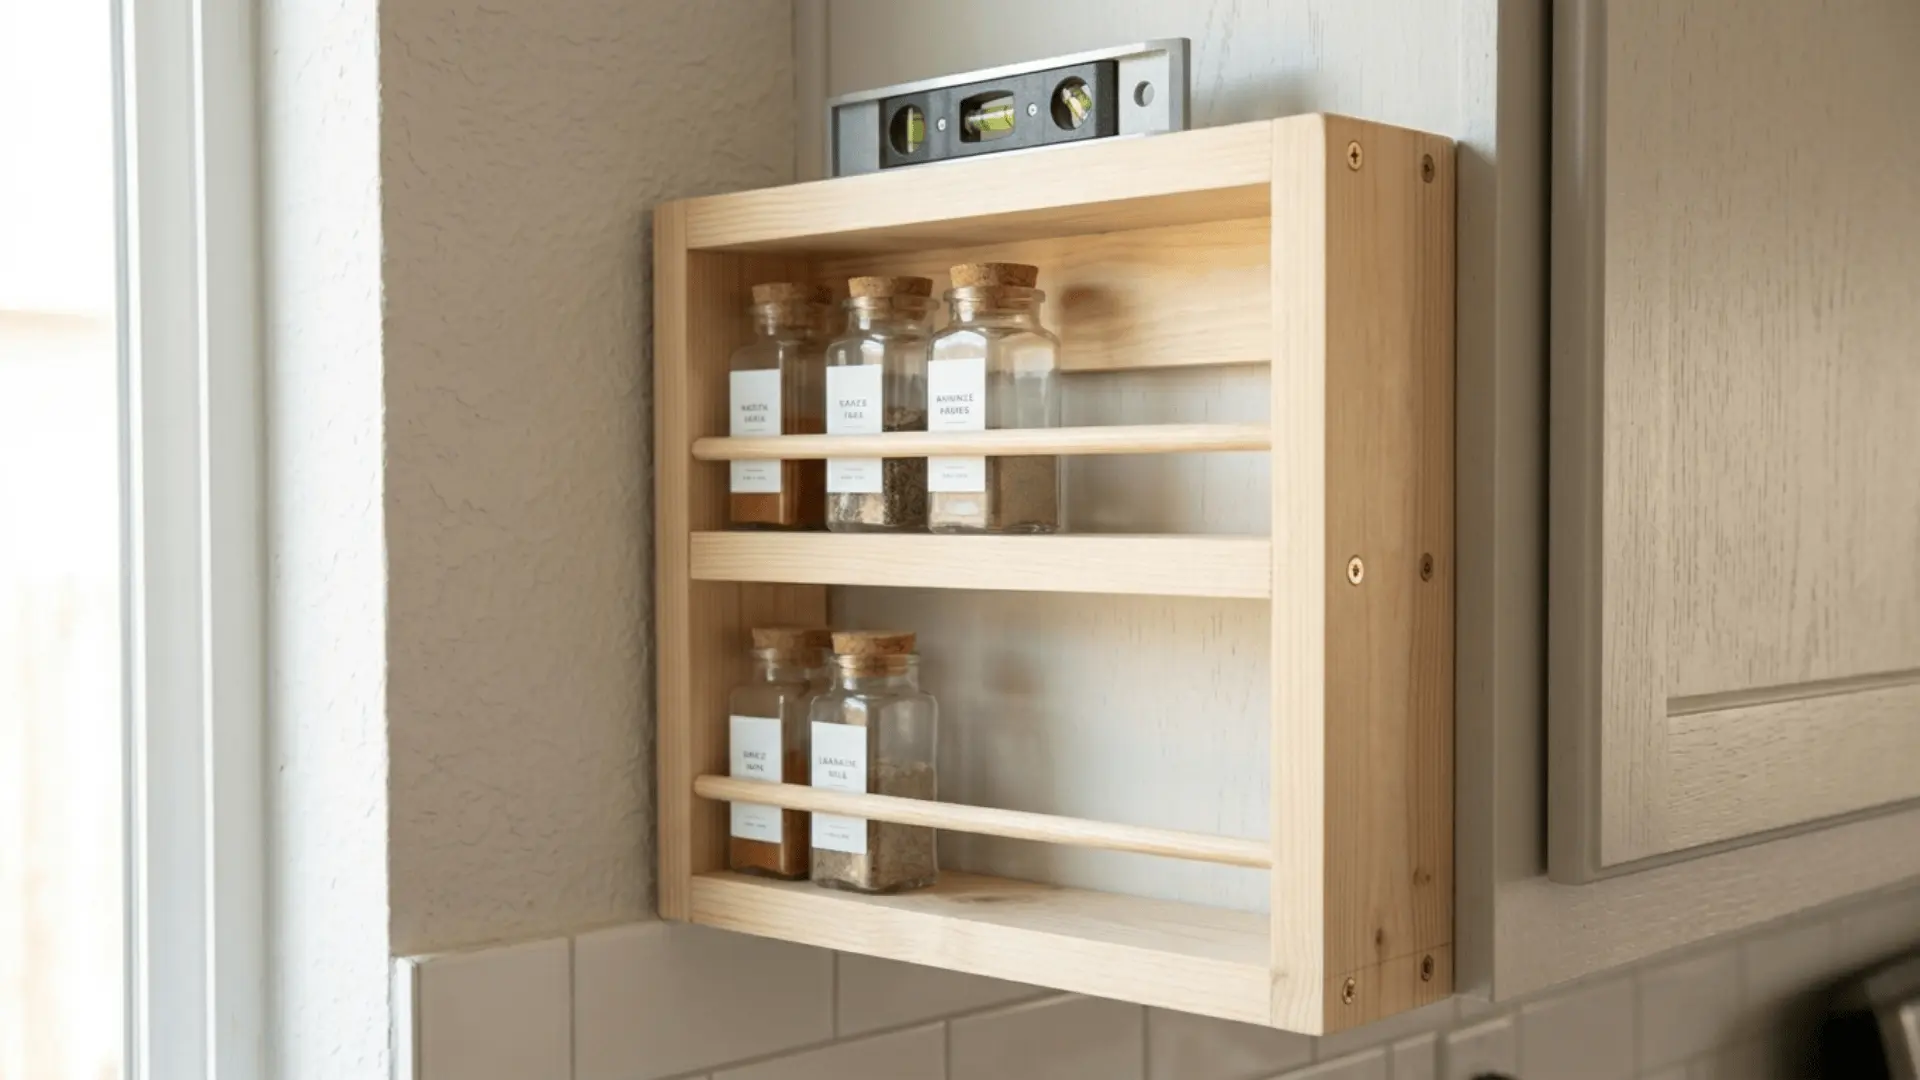
1. Wall-Mounted Spice Racks
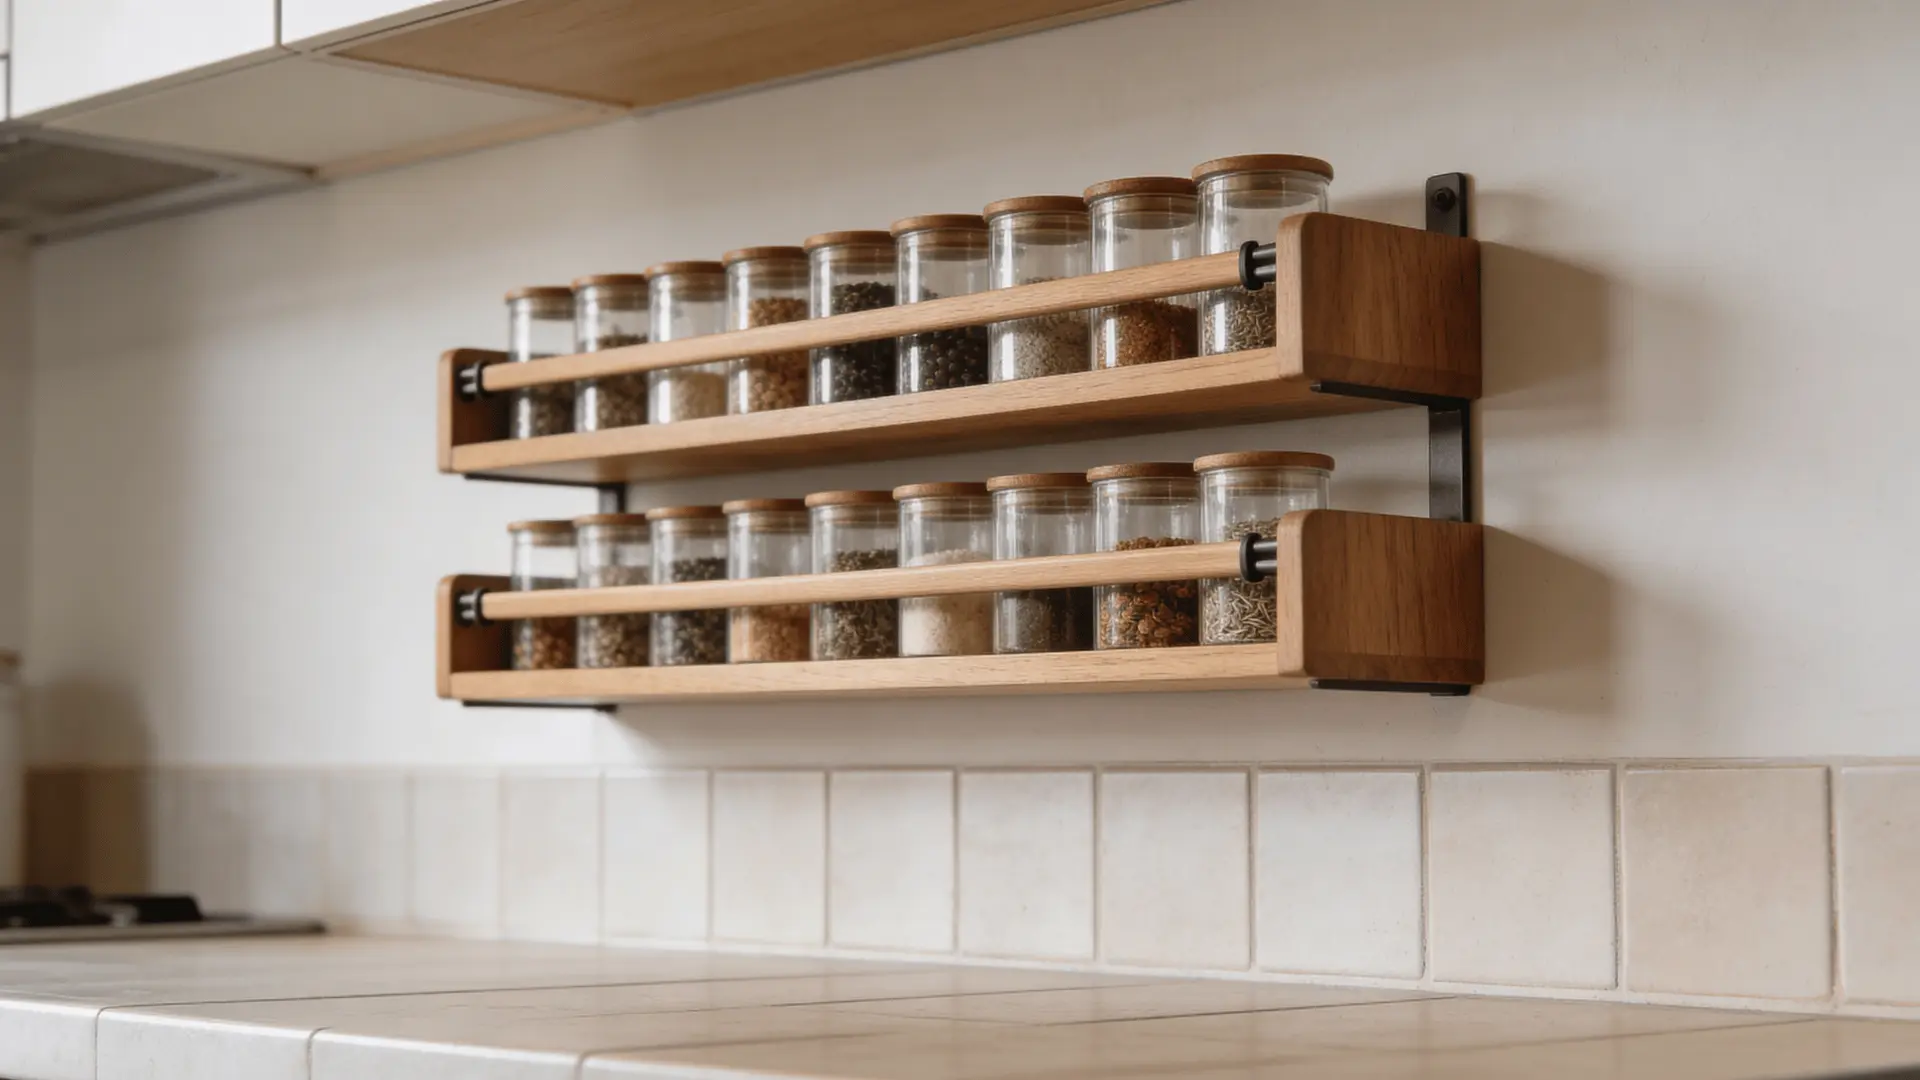
These racks are fixed to a wall, backsplash, or pantry door. They are a strong choice for small kitchens because they free up counter space while keeping spices visible and easy to grab.
You can build them as simple shelves or add rails to hold jars in place. They work well if you cook often and want quick access, but they do require wall space and can look cluttered if not arranged neatly.
2. Pull-Out Cabinet Spice Racks
These are narrow racks that slide in and out of a cabinet, similar to a hidden drawer. They are ideal for tight gaps between cabinets and can store a large number of spices in a compact area.
This type keeps everything out of sight while still being easy to access. It suits kitchens where you want a clean look, though it usually takes more effort to build than simpler options.
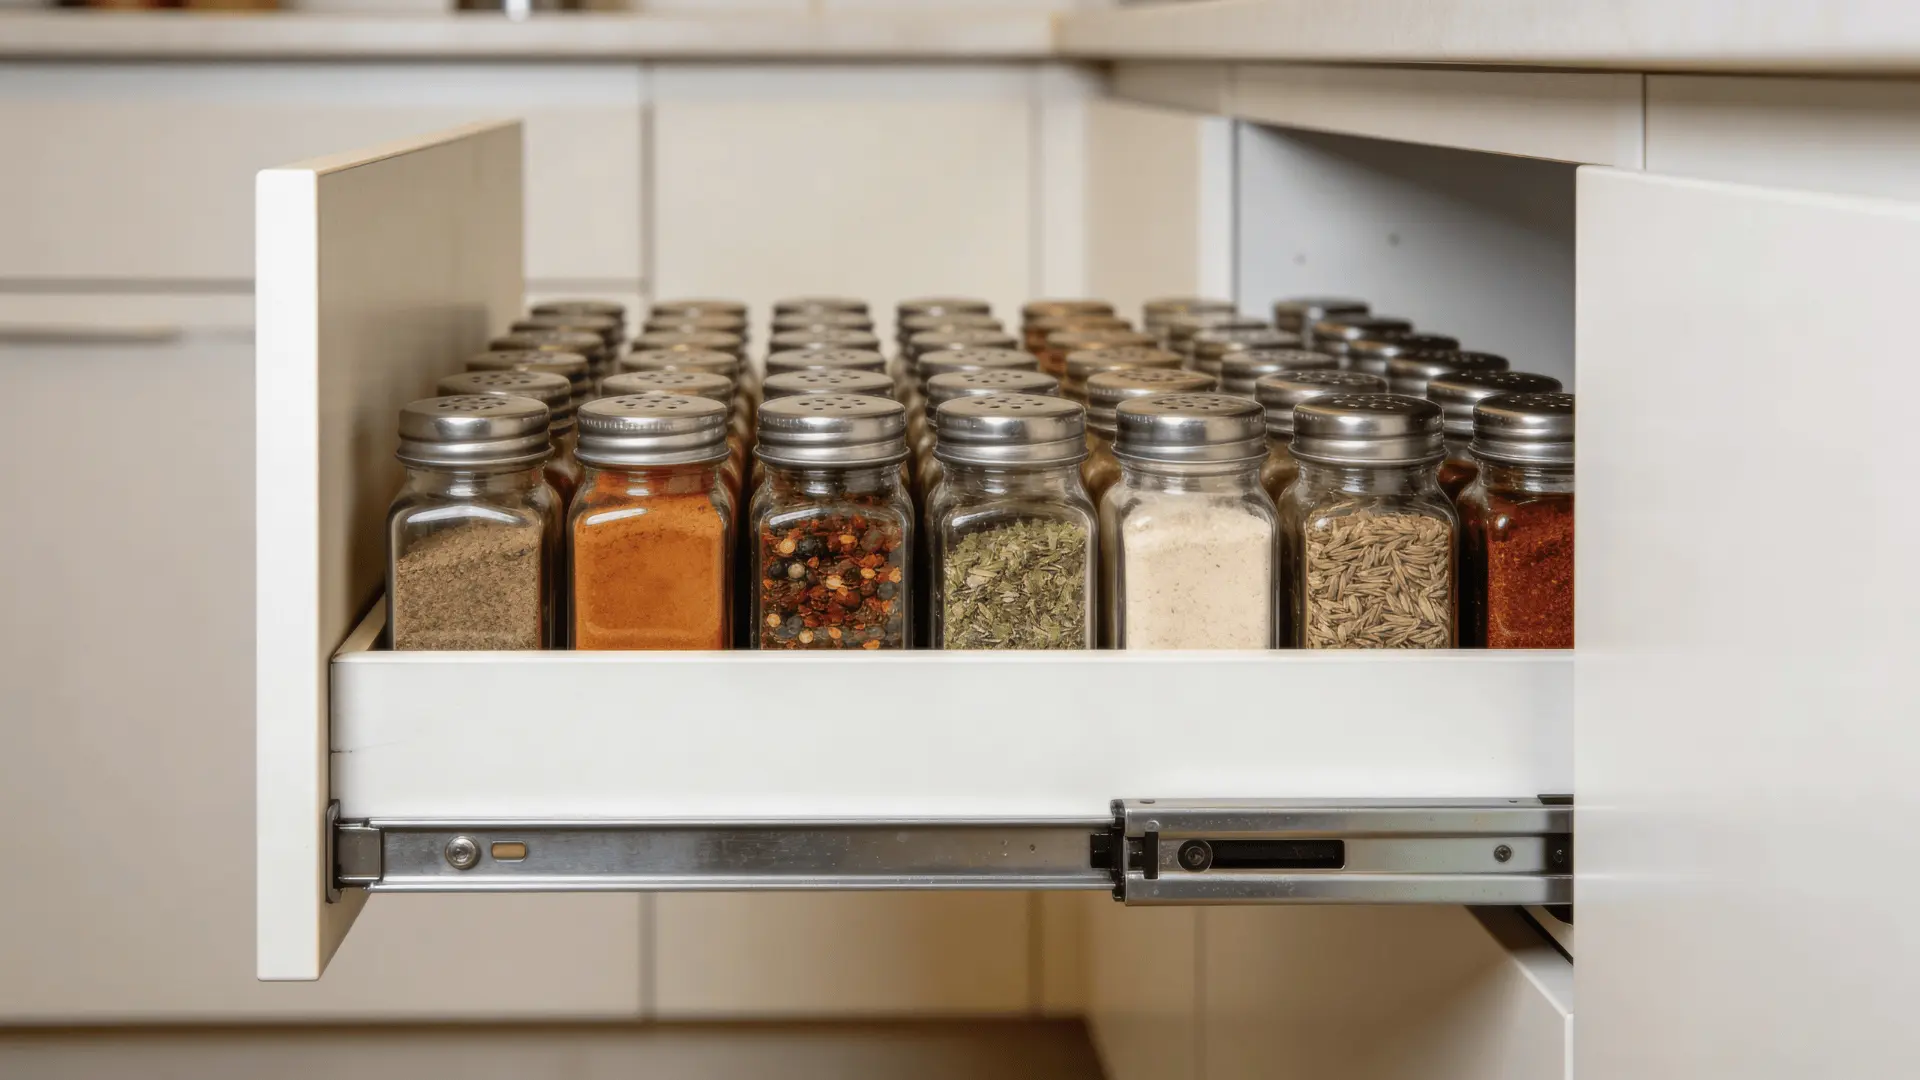
3. Drawer Spice Organizers (Tiered Designs)

These sit inside a drawer and use stepped levels so you can see labels from above. They are useful if you already have a spare drawer and want to keep your counters and walls clear.
This design keeps spices hidden but neatly arranged, making it easy to find what you need. The only limitation is that it depends on having enough drawer depth and space.
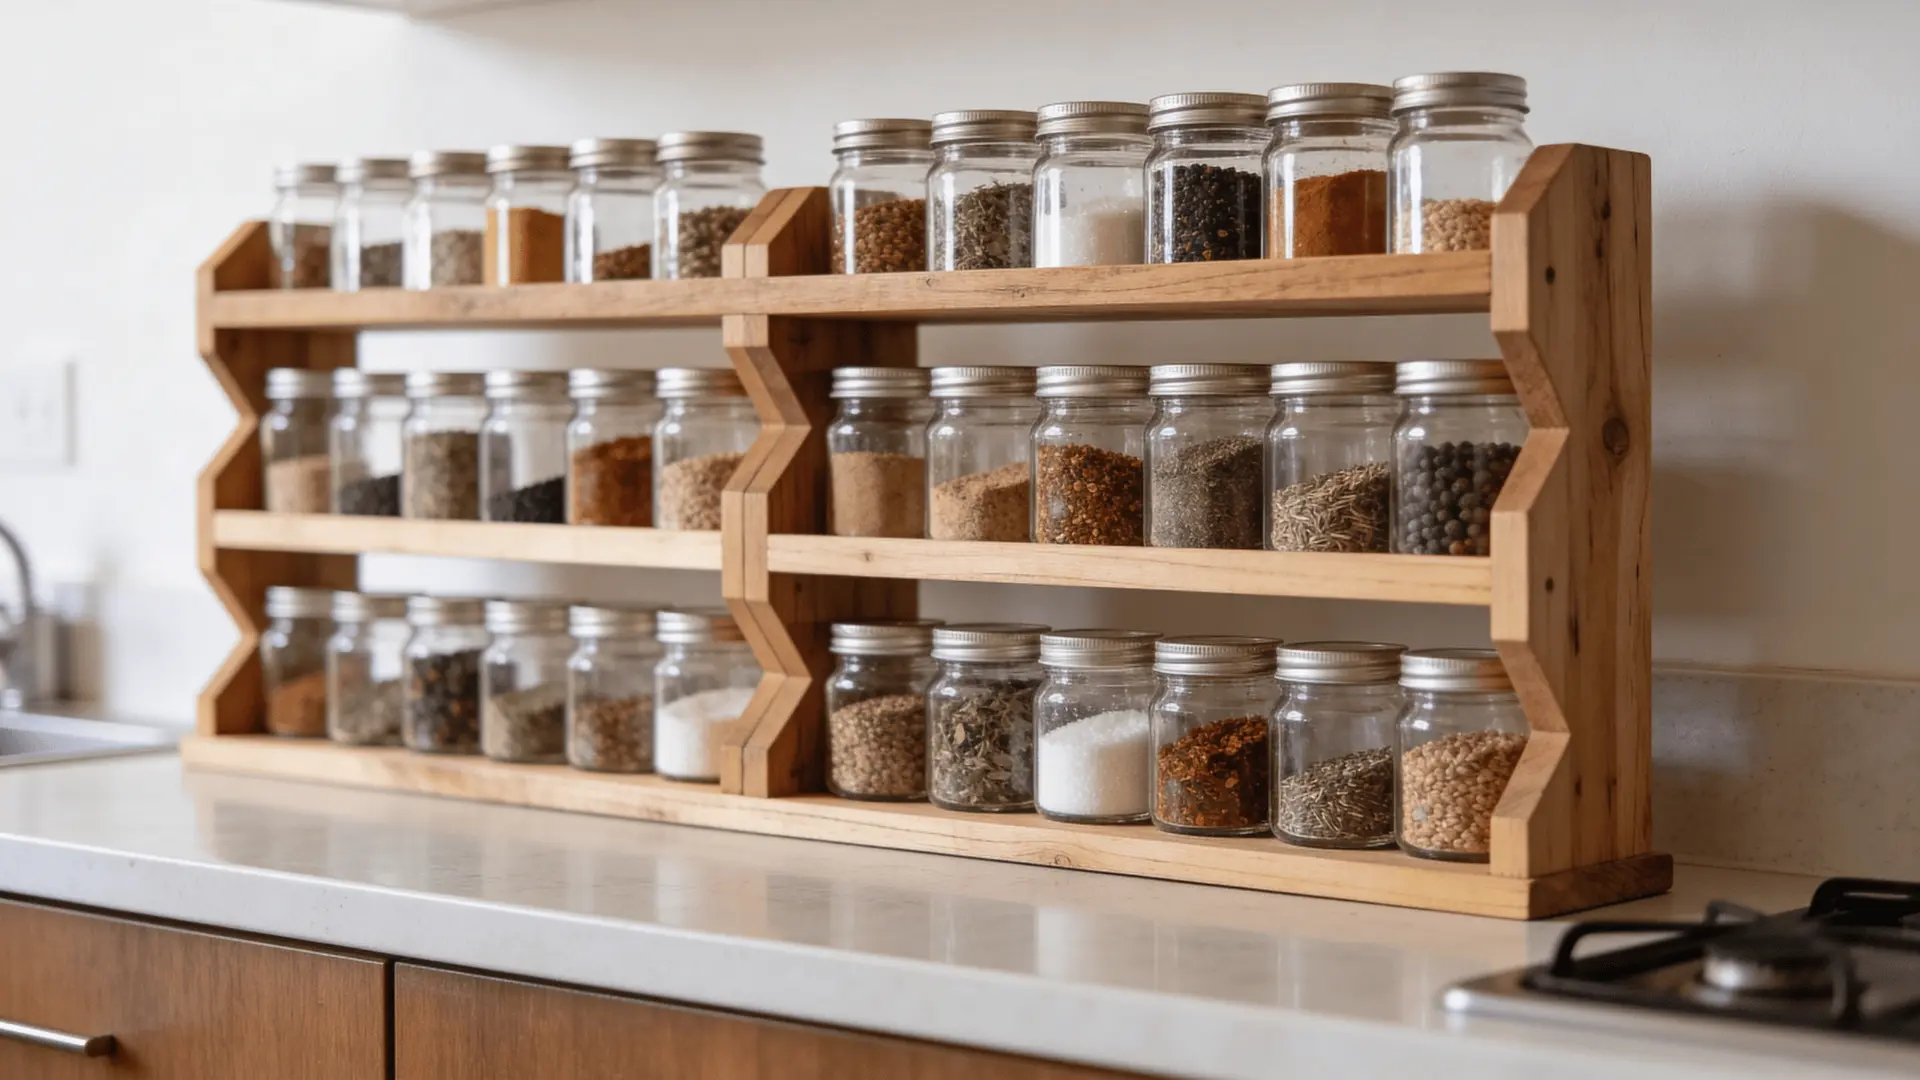
4. Countertop and Freestanding Racks
These racks sit directly on your kitchen counter or shelf. They are easy to build, require no installation, and can be moved around as needed.
This makes them a good option for small spice collections or quick setups. However, they do take up counter space, which may not work well in compact kitchens.
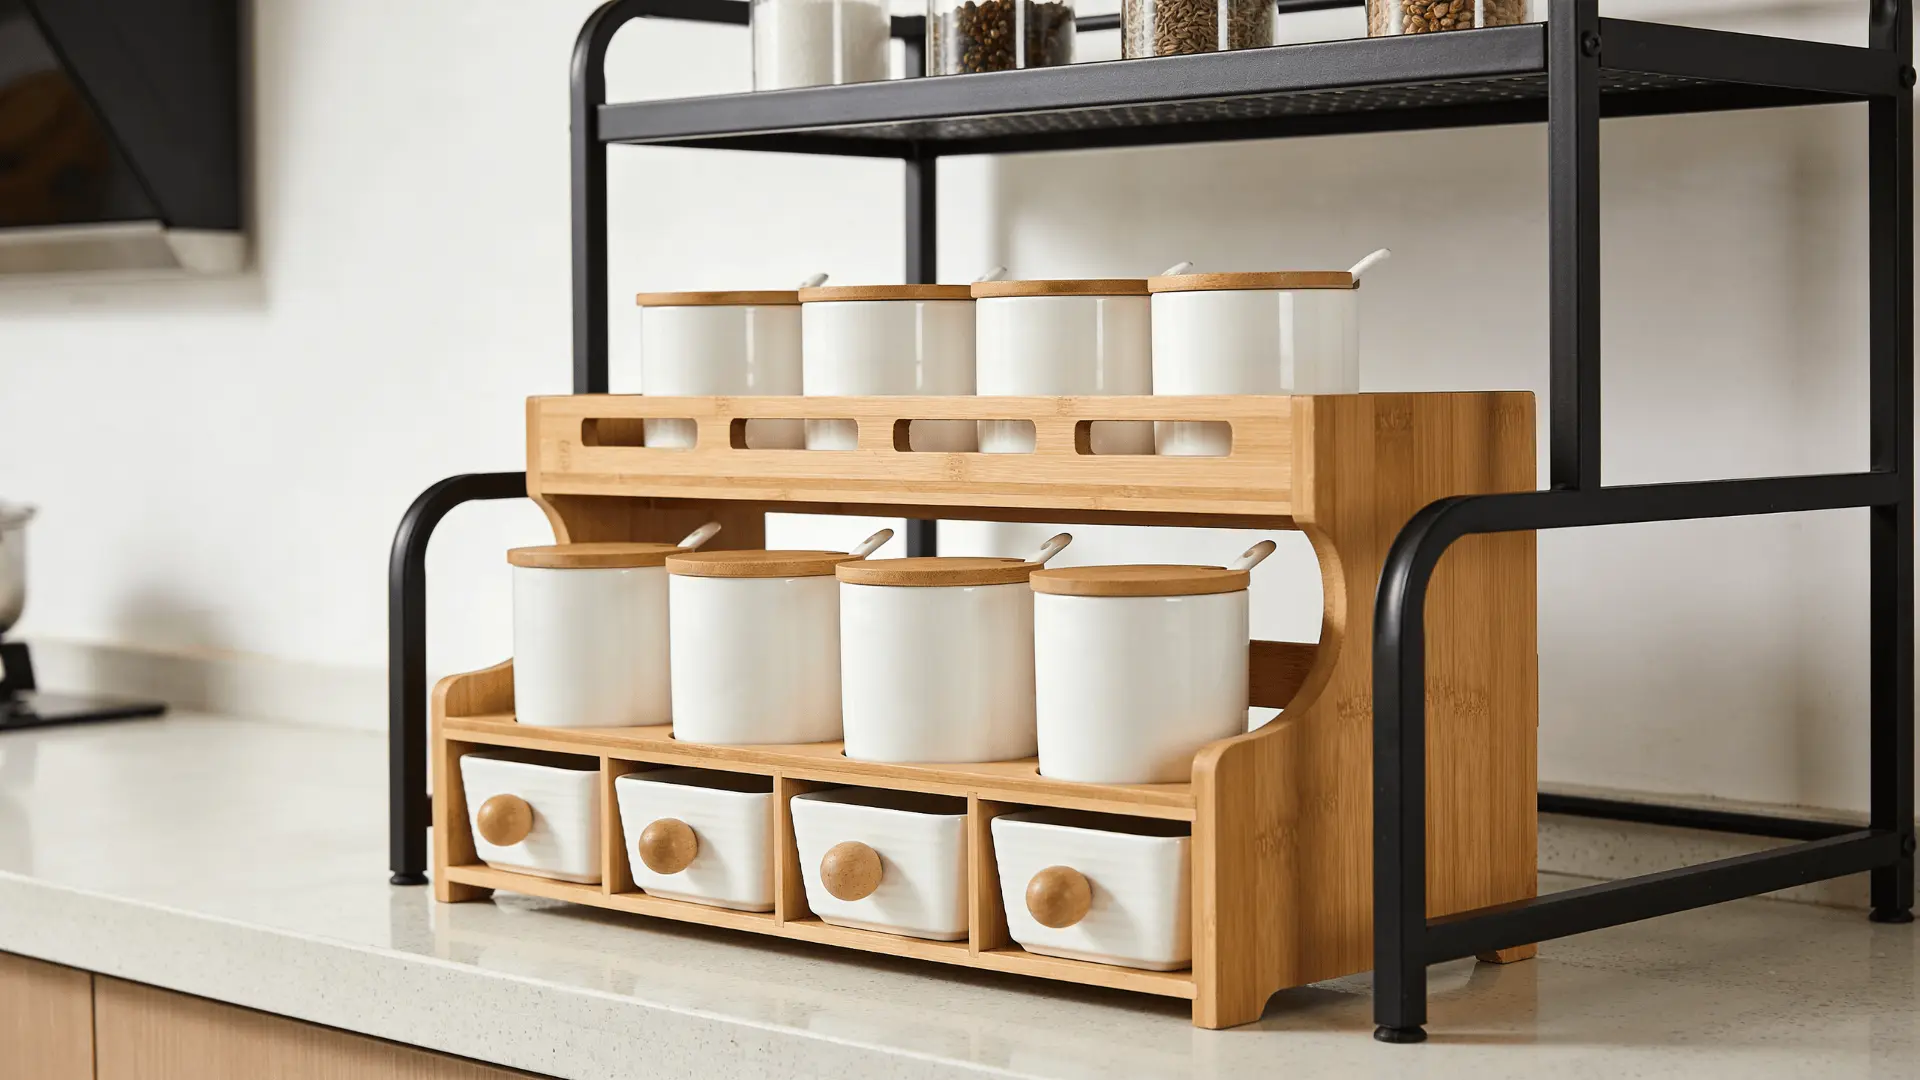
5. Upcycled and Budget-Friendly Options
These use reused or low-cost materials like old drawers, trays, or scrap wood. They are ideal if you want to save money or keep the project simple.
Most of these builds require minimal tools and can be put together quickly. While they may not look as polished as a full wood build, they are practical and work well for beginners or temporary setups.
How to Choose the Right Type for Your Space
- Small kitchens: Wall-mounted or pull-out racks save space
- Hidden storage preference: Drawer or pull-out designs work best
- Easy access: Wall-mounted or countertop racks are quicker to use
- Large spice collection: Pull-out or wall racks with multiple shelves
- Beginner-friendly build: Countertop or upcycled options
The main trade-off is simple. Visible racks give faster access, while hidden ones keep the kitchen looking clean but may take an extra step to use.
How to Plan Your Spice Rack Before Building
Planning can make or break your DIY spice rack. Small mistakes here can waste materials or lead to a setup that doesn’t work well.
1. Measuring Your Space Correctly
Start by measuring the exact spot where the rack will go. Check width, height, and depth, and look for obstacles like switches or cabinet doors.
Leave a little extra clearance so the rack is easy to use. Even small measurement errors can make the rack too tight or unusable.
2. Choosing the Right Size for Your Spice Jars
Not all spice jars are the same, so your rack should match what you use. Standard jars are usually 4 to 5 inches tall and 1.5 to 2 inches wide.
Some jars may be larger, so measure a few and use the biggest one as your reference to avoid fitting issues.
3. Deciding Shelf Depth, Height, and Spacing
Getting these dimensions right makes the rack easier to use. Shelf depth should be around 2 to 3 inches, with at least 5 to 6 inches of height spacing.
Leave small gaps so jars are easy to grab. Proper spacing keeps jars visible and avoids crowding.
4. Safety and Stability Considerations
A spice rack should be stable and secure in daily use. Add rails or lips to prevent jars from falling and keep shelves level.
Use proper anchors for wall racks and match the design to its location so it stays steady and easy to use.
A well-planned rack fits your space, holds jars securely, and stays easy to use every day.
Step-By-Step Guide to Building a Basic Wooden Spice Rack
This is a simple, beginner-friendly process you can follow from start to finish. The goal is to keep things clean, functional, and easy to build without overcomplicating it.
Materials and Tools Required
- 1×3 and 1×4 boards
- Plywood (¼-inch or ¾-inch)
- Wooden dowels or thin strips
- Brass rods or metal rails
- Wood glue, nails, or screws
- Scrap wood pieces
- Dollar store trays or bins
- Old drawers or boxes
- Cooling racks or metal holders
- Measuring tape and pencil
- Hand saw or circular saw
- Drill or screwdriver
- Sandpaper or sanding block
- Level
- Pre-cut wood (instead of power tools)
- Nails (instead of screws for light builds)
- Wooden rails (instead of metal rods)
- Optional paint or stain
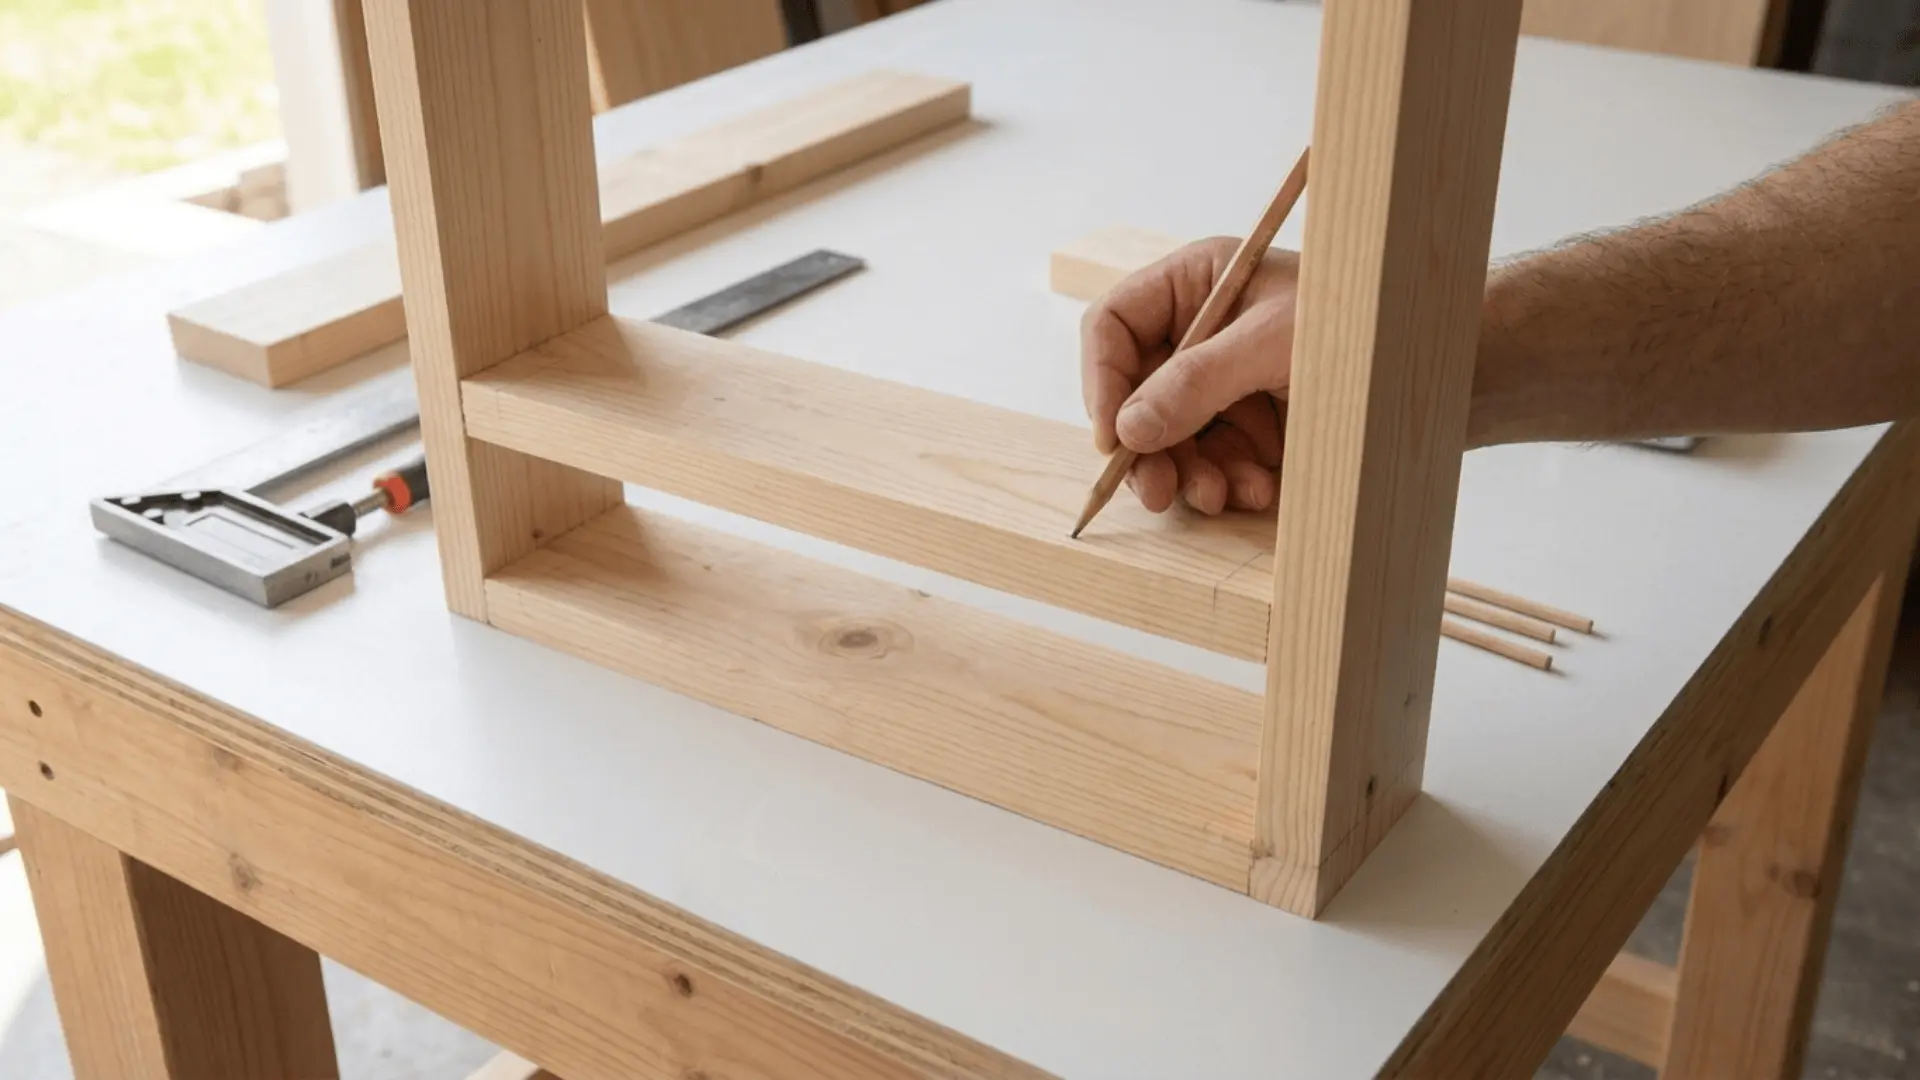
Step 1: Cutting the Wood Pieces

Start by cutting all your pieces to size based on your plan. Cut two side supports using 1×4 boards and shelves using 1×3 boards, depending on your required length.
You can also add a plywood back panel for extra support if needed. Always mark your cuts clearly before using a saw, as uneven cuts are a common beginner issue.
If you are unsure, getting wood pre-cut from the store can help avoid mistakes. Taking time here ensures all parts fit properly during assembly and reduces the need for rework later.
Step 2: Assembling the Frame and Shelves
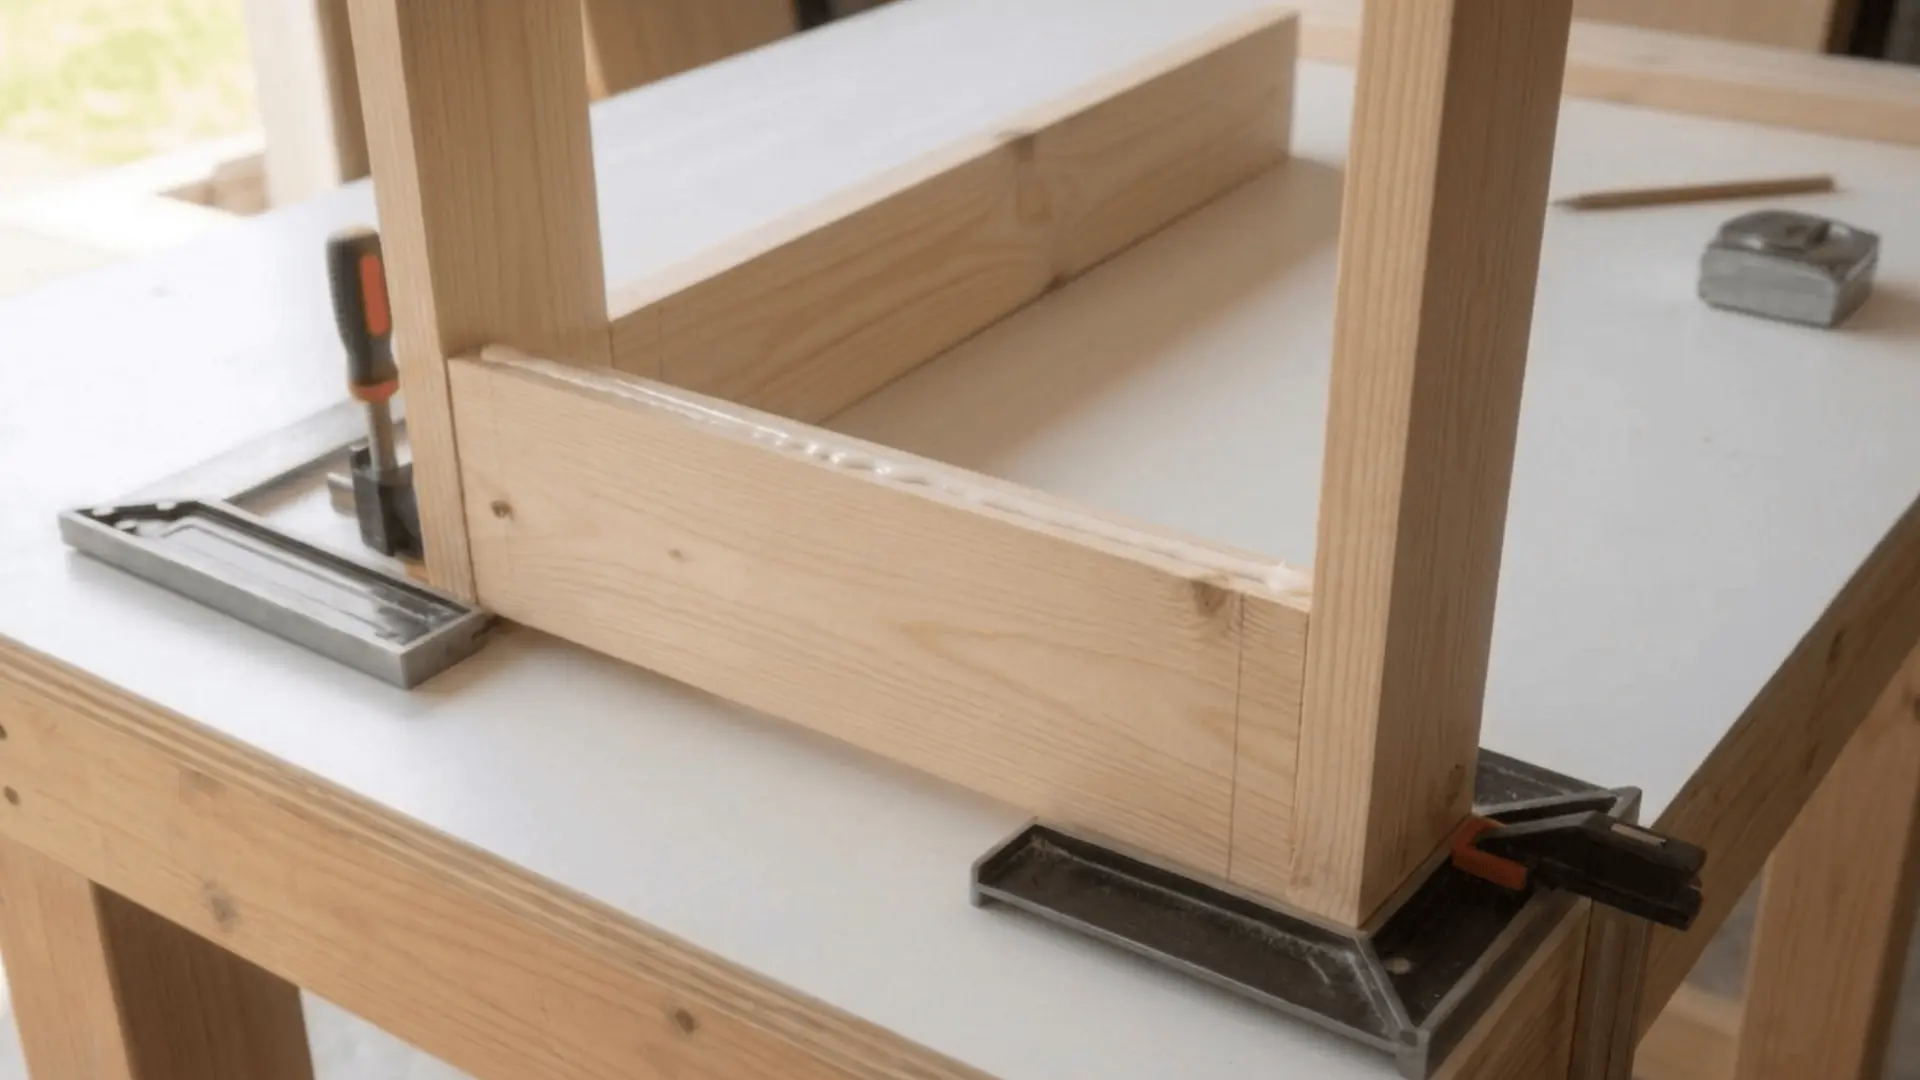
Build the main structure by laying the side pieces flat and marking shelf positions. Attach the shelves between the sides using wood glue along with nails or screws.
Start from the bottom and move upward to keep spacing consistent. Make sure each shelf is level before fixing it in place, since misalignment is difficult to fix later.
Avoid rushing, as uneven spacing can affect how your jars fit. Double-check alignment as you go to keep the overall structure straight and balanced.
Step 3: Adding Rails or Guards
Add a front barrier to prevent jars from falling. Use wooden dowels, thin strips, or metal rods and attach them slightly above each shelf.
Leave enough gap so jars can slide in and out easily. This step is often skipped, but it improves safety and makes the rack more practical, especially for wall-mounted designs.
It also helps keep jars stable when the rack is moved or slightly bumped. Choosing the right height for the rail ensures jars stay secure without blocking easy access.
Step 4: Sanding and Finishing
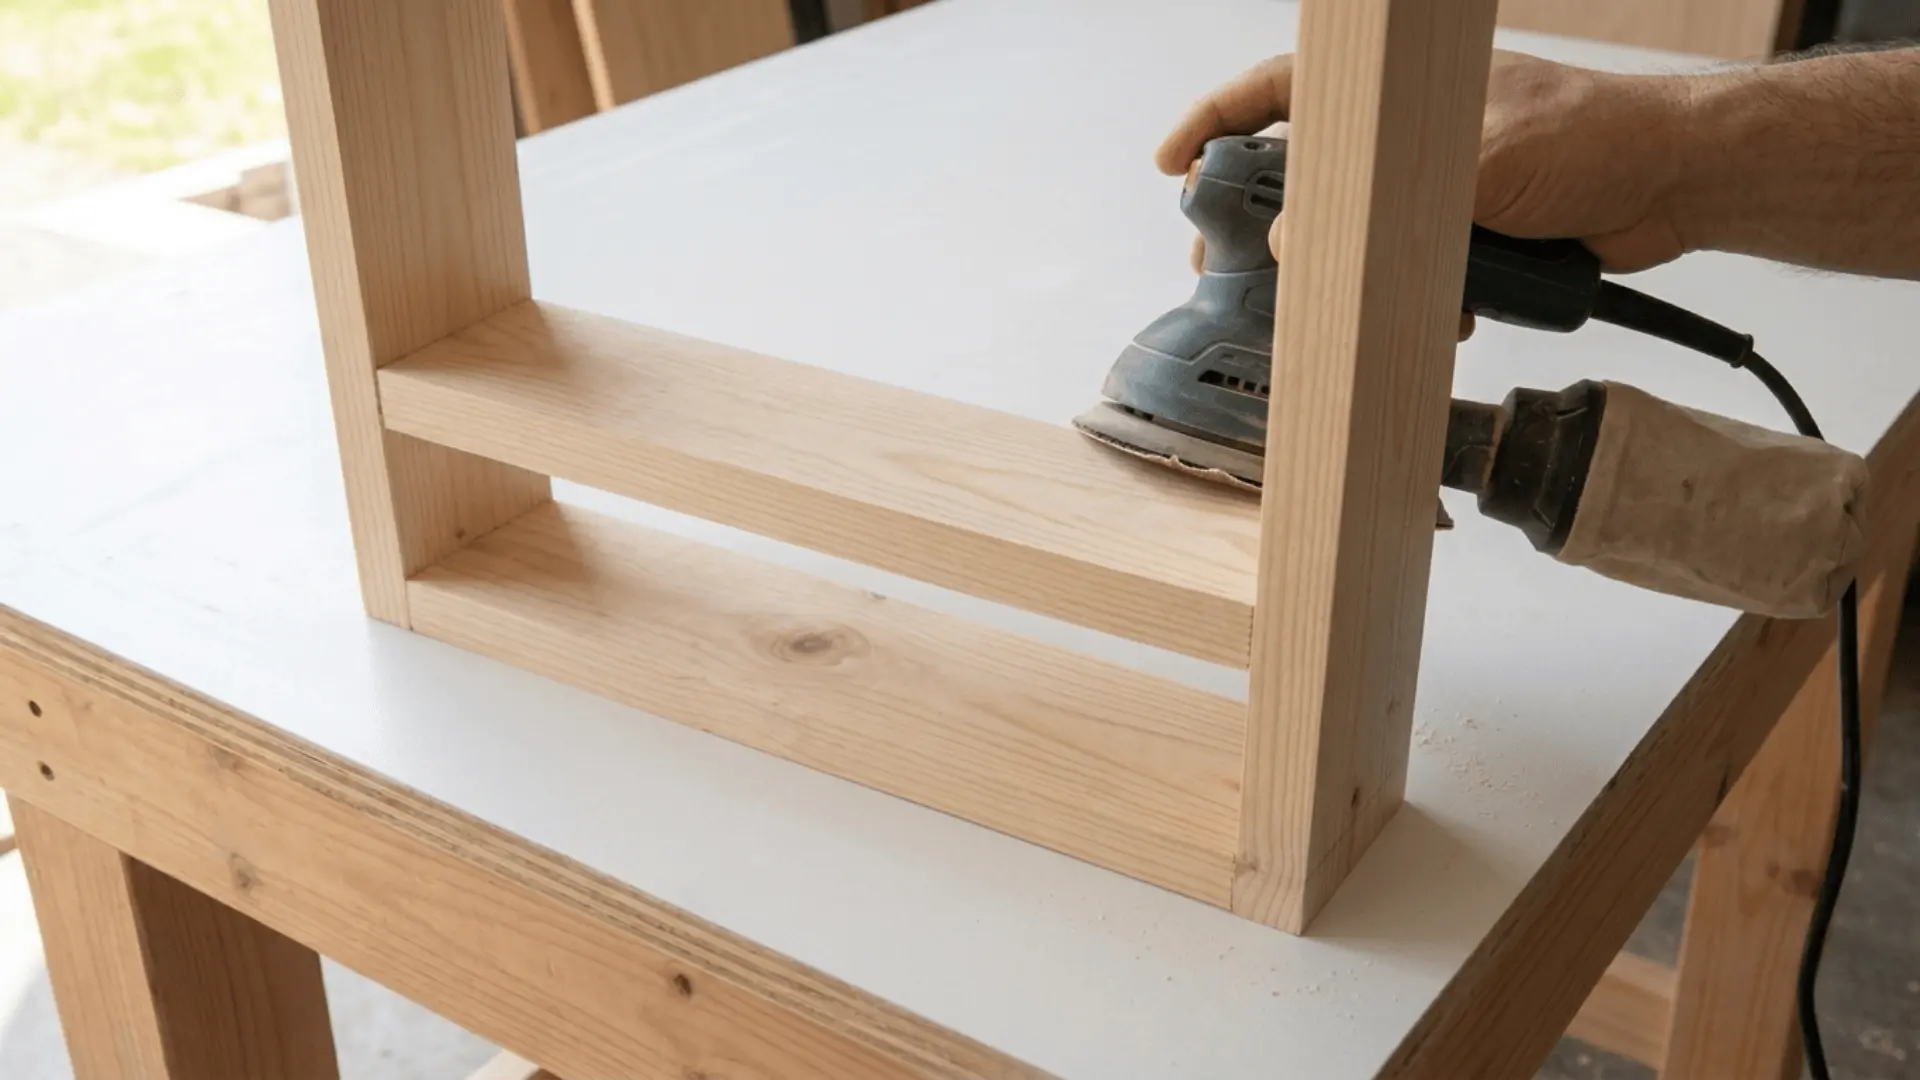
Smooth and finish the rack to improve both look and durability. Sand all surfaces and edges to remove rough spots, and fill any gaps or nail holes if needed.
You can then choose a finish like paint for a clean look, stain to highlight the wood grain, or a clear seal for a natural finish. Skipping sanding can leave rough edges that affect usability.
A good finish also protects the wood from moisture and daily wear. Let the finish dry properly before using the rack to avoid marks or damage.
Step 5: Mounting or Installing the Rack
Place the rack in its final position. For wall-mounted racks, use screws and proper wall anchors for strong support, and check alignment with a level before tightening.
For cabinet or drawer setups, ensure the rack fits snugly and test movement if it is a pull-out design.
Weak mounting is a common mistake, so make sure everything is secure before adding jars. Test the rack with a few jars first to confirm stability before fully loading it.
This step-by-step approach keeps the build simple and reliable, making it easier to improve or adjust your design later.
How to Customize Your Spice Rack for Your Kitchen
A DIY spice rack works best when it fits your kitchen, not just in size but also in how you use it every day. Small adjustments can make a big difference in both function and appearance.
1. Adjusting for Small Kitchens and Tight Spaces
If space is limited, the design needs to work around what is already there. You can use vertical space like walls, cabinet sides, or pantry doors to free up counters.
It also helps to fit racks into narrow gaps between cabinets or appliances where nothing else fits. Choose slim shelves so they do not stick out too much.
Consider pull-out or drawer designs if you want to keep things hidden. The goal is to use the unused space without making the kitchen feel crowded.
2. Matching Kitchen Style and Finish
Your spice rack should blend in with the rest of the kitchen so it does not look out of place. You can paint it the same color as your cabinets for a clean look.
You can also use a wood stain that matches your shelves or countertops. If your kitchen already has a lot going on, keep the design simple to avoid visual clutter.
Choose metal rails or accents if your kitchen has modern finishes. A matching finish helps the rack feel like part of the kitchen instead of something added later.
3. Maximizing Storage Capacity
A good design stores more without making access harder. Adding multiple shelves works well if you have vertical space.
Tiered designs help keep labels visible and easy to read. Keep spacing tight but still comfortable so jars are easy to grab.
Place frequently used spices at eye level for quick access. Avoid packing too much into one level, because it makes jars harder to see and reach.
4. Practical Upgrades that Make a Difference
- Labeling jars for quick identification
- Uniform containers to save space and improve layout
- Adjustable shelves for different jar sizes
- Front rails or lips to keep jars secure
These small upgrades improve daily use and make the rack feel more organized without adding much effort.
Common Mistakes and How to Avoid Them
Most DIY spice rack problems come from small mistakes during measuring, assembly, or planning. The good part is that these are easy to avoid if you focus on a few key areas.
- Incorrect Measurements and Spacing: Shelves that are too tight or uneven make jars hard to fit and use. Measure carefully and test spacing before final assembly.
- Weak Mounting and Poor Stability: Loose anchors or weak materials can cause the rack to tilt or fall. Use proper wall anchors and reinforce with screws.
- Ignoring Jar Size and Accessibility: Shelves that are too deep or shallow make jars hard to reach or easy to fall. Match shelf size to your jars and leave enough space.
- Overcomplicating the Design: Adding too many features increases mistakes and slows the build. Keep the design simple and functional.
- Rushing the Build Process: Working too fast leads to uneven cuts and weak assembly. Take your time for a better result.
Stick to straight cuts, use fewer parts, and keep spacing clear to make the build easier and more reliable. Focus on fit, strength, and ease of use so the rack works well every day.
How to Choose the Best DIY Approach for Your Needs
With so many options, it can be hard to know where to start. The best choice depends on your skill level, budget, and available space.
| Factor | Category | What to Choose | Why It Works |
|---|---|---|---|
| Skill Level | Beginner | Countertop racks, drawer inserts, basic wall shelves, pre-cut wood | Simple builds reduce errors and make the process easier |
| Intermediate | Wall-mounted racks with rails, small cabinet inserts | Allows more precision without being too complex | |
| Advanced | Pull-out cabinet racks, fully custom builds | Gives full control over design, size, and finish | |
| Budget | Low Budget | Scrap wood, repurposed materials, basic tools | Keeps cost low, focuses on function |
| Mid-Range Budget | Standard wood (1×3, 1×4), basic hardware | Better durability and cleaner finish | |
| Higher Budget | Premium wood, metal rails, finishing materials | Strong, polished, and long-lasting result | |
| Kitchen Space | Small Kitchen | Wall-mounted or pull-out racks | Saves space and reduces clutter |
| Medium Kitchen | Drawer organizers, compact wall racks | Balanced storage and easy access | |
| Large Kitchen | Larger wall racks or combined systems | Maximizes storage and flexibility |
Quick Decision Guide
If you are unsure, use this simple approach:
- Want something fast and easy → go with a countertop or budget build
- Need to save space → choose wall-mounted or pull-out designs
- Want a clean, hidden look → use drawer or cabinet options
- Care about durability and finish → choose a proper wood build
Pick one clear direction before you start. This keeps the project focused and avoids unnecessary changes midway.
Conclusion
Building a DIY spice rack is not just about storage; it is about making your kitchen work better for you. When the design fits your space and habits, even a small change can improve how you cook every day.
From choosing the right type to planning and avoiding common mistakes, each step helps create something practical and long-lasting.
I’ve found that simple designs often work best when done right
If you have been thinking about organizing your spices, this is a good time to start. Pick a design, plan it well, and build your own DIY spice rack that actually fits your kitchen.


