How to Install a Drip Irrigation System
Drip irrigation is an efficient, water-saving method to keep your plants hydrated. Whether you’re looking to install a system in your outdoor garden or for your indoor plants, drip irrigation ensures a consistent and controlled water supply. Below, we break down how to set up a drip irrigation system for both your garden and indoor plants.
Outdoors Garden
1. Planning Your System
Start by planning out your garden and water needs. Consider the layout of your garden beds or rows of plants, as well as the water source you’ll be using. You’ll also want to determine the type of tubing and emitters you’ll need based on the size and water needs of your plants. Take note of your garden’s size to ensure you have enough tubing and connectors to cover all areas.
2. Setting Up the Tubing
After gathering your materials—such as tubing, emitters, connectors, and a pressure regulator—lay the tubing along the garden beds. Secure it with stakes or clips to keep it in place. You can connect the tubing to a water source, such as a faucet or hose, using a filter to prevent debris from clogging the system. Install the pressure regulator to control the water flow.
Cut the tubing to the appropriate lengths for each plant row or bed, and install drip emitters along the lines. Place the emitters close to the root zones of your plants to ensure they get the water they need. For larger garden setups, consider adding branching lines with tees or elbows.
3. Testing and Adjusting the System
Once the system is set up, turn on the water and check the flow. Ensure that each emitter is delivering water properly. If any emitters are clogged or not providing enough water, clean or adjust them. You may also need to fine-tune the flow of water by adjusting the emitters or using different ones based on plant needs.
Consider adding a timer to automate the system. Timers allow you to set regular watering schedules, ensuring that your plants receive the right amount of water at the right time, even when you’re not around.
Indoors Garden
1. Choosing the Right Kit
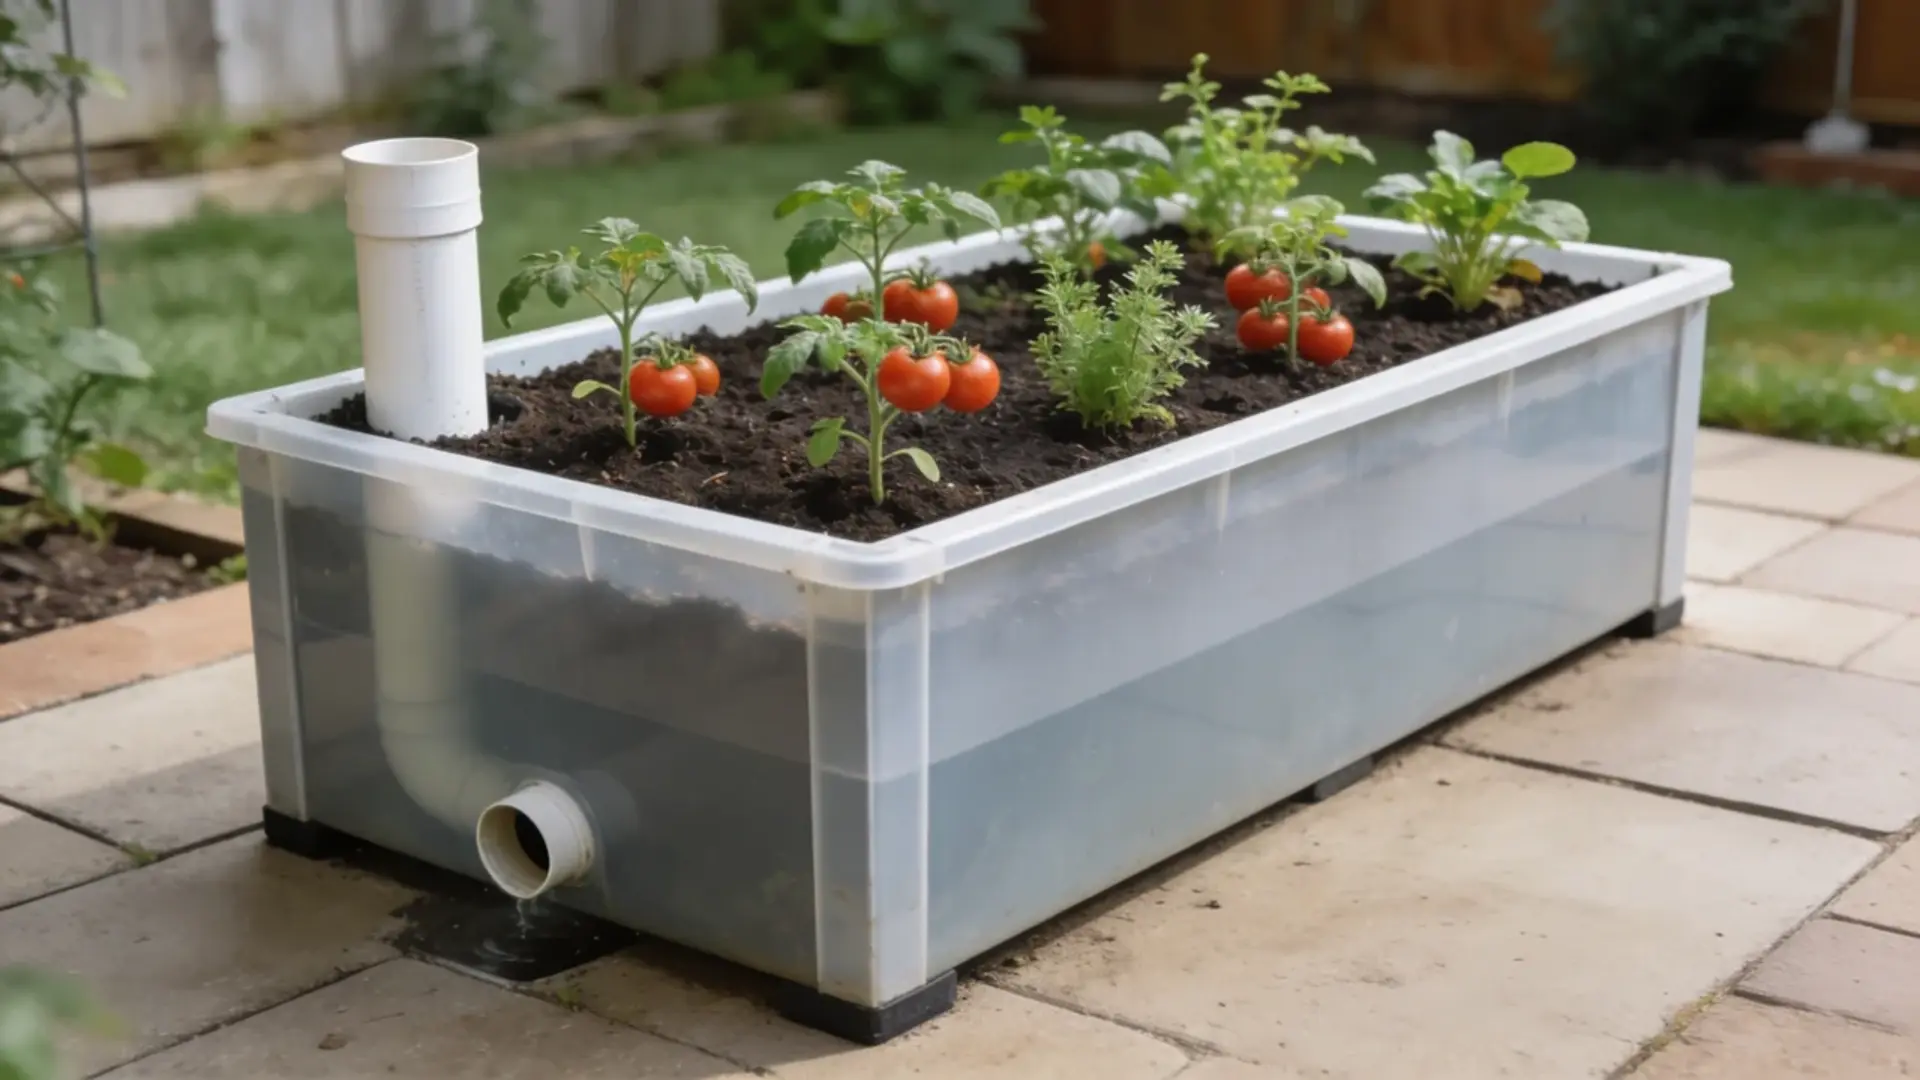
For an indoor garden, you can either purchase a pre-made drip irrigation kit or build your own with basic components. A typical kit will include tubing, emitters, a water source adapter, and a timer. If you’re taking the DIY route, a small submersible fountain pump placed in a water reservoir works well for small setups.
2. Setting Up the System
Begin by positioning the tubing around your indoor garden. If you’re using a pre-made kit, follow the instructions to attach the tubing to the water source and run it to each plant. Use emitters that deliver water directly to the root zone of each plant. For smaller setups like potted plants, you can run individual drip lines to each pot.
For a DIY setup, place the fountain pump in the reservoir, connect it to the tubing, and set it up with a timer that will turn the pump on at regular intervals. The water will travel through the tubing, and emitters will release it at a steady, controlled rate, helping prevent overwatering.
3. Fine-Tuning and Maintenance
Once the system is set up, test the water flow. Check that the water is reaching all your plants and that there are no leaks or clogs. If necessary, adjust the emitters to control the water flow or reposition them for better coverage.
Over time, check the system for any blockages or buildup, especially in the tubing and emitters. Clean out any debris and make sure the pump and filter are working efficiently. Adding a timer to your indoor system is highly recommended to maintain a consistent watering schedule, which is essential when you’re not home or busy.