How to Build a DIY Sandbox: Step-by-Step Backyard Guide
You don’t need fancy equipment or an expensive backyard setup to give your kids hours of outdoor fun. With just a little space, a few basic tools, and some creativity, you can build a sandbox that becomes the centerpiece of your yard.
A DIY sandbox is a space where your kids can dig, scoop, and build for hours while soaking up sunshine and fresh air. And the best part? You can build it yourself, even if you’ve never tackled a woodworking project before.
In this guide, I’ll show you exactly how to plan, build, and customize a sandbox that fits your yard, your budget, and your kids’ imagination.
You’ll learn how to choose the perfect spot, gather safe materials, and add smart extras like lids, seating, and shade.
By the end, you’ll have everything you need to create a safe, simple, and lasting sandbox that brings playtime outside, without breaking the bank.
Benefits of Building a Sandbox Yourself
Building your own sandbox comes with several practical and creative advantages:
- Full control over design: Choose the exact size, shape, and depth to fit your yard and your kids’ play space.
- Budget-friendly option: Save money by using leftover lumber, recycled wood, or repurposed materials instead of buying a pre-made sandbox.
- Custom features: Add extras like a lid, seating, shade cover, or drainage system based on your needs.
- Encourages outdoor play: Kids spend more time outside digging, scooping, and building, reducing screen time naturally.
- Hands-on learning: You get experience with basic tools and simple carpentry, making it an educational DIY project.
Decide the Best Spot and Size for Your DIY Sandbox
Pick a level, sunny area that drains well and is easy to monitor. Choose a size based on the space and the number of kids.
Choose a Safe, Sunny, and Drained Location
Pick a spot that gets sun but isn’t too exposed. Avoid areas where water tends to collect after rain. Wet spots can lead to soggy sand or mold. Avoid deep shade, as it can make the sand damp and cold.
The sandbox should also be easy to see from the house or porch. That way, you can keep an eye on the kids while they play. A level, open area works best and saves you prep time.
Pick the Right Dimensions
Think about how many kids will use the sandbox and how much space you have. A 4×4 ft box works well for one or two children. If you have more space or more kids, consider a larger size, such as 6×6 or 8×8 ft.
Larger sandboxes offer more room to dig and play, but need more materials and sand. Keep the size manageable so you can maintain it easily and fit it nicely in your yard without taking up too much space.
How to Build a DIY Sandbox (Step-by-Step)
Before you start building, it’s important to gather every tool and material so your DIY sandbox project goes smoothly from the start.
Tools and Materials You’ll Need
To get started on your project, gather these essential tools and materials to ensure a smooth and safe build.
- Pressure-treated 4×6 boards (for the frame)
- Weed barrier or landscape fabric
- Rake
- Tape measure
- Level
- Drill and timber screws
- Router (optional, for rounded edges)
- Play sand
- Sandpaper (for smoothing edges)
- Safety gear (gloves, goggles, etc.)
Step 1: Pick a Good Spot for Your Sandbox

Choose a flat area that’s already used for play. Avoid spots where water builds up or grass struggles to grow. Shady areas can help keep the sand cool, and it’s a bonus if toys are already nearby.
You don’t want to dig too deep or bring in filler to level the ground, so finding a spot that’s already flat will save time. Once you’ve chosen the space, clear out all the toys or debris to prep for building.
Step 2: Lay Out and Level the Ground

Once the area is cleared, use a rake to lightly smooth and level the surface. This step ensures your sandbox frame will sit flat and stay sturdy. If the ground rises in any corner, rake that spot until it’s even.
You don’t need to dig a big hole; just make the ground firm and even across the whole area. Doing this now means your sandbox will look neat and hold its shape for a long time.
Step 3: Build the First Frame Layer

Use 4×6 pressure-treated boards for durability. Lay out the first course of wood to form a square or rectangle. Fasten the corners with timber screws using your drill.
Check that the frame is level, then measure both diagonals to make sure it’s square. The goal is to keep each side even, so it looks neat and lasts longer. Once square, check the distance from nearby features like fences so it looks balanced in the yard.
Step 4: Add Weed Fabric to the Base

Roll out a weed barrier across the inside of your frame. This helps keep the play sand from mixing with soil and mulch underneath. While weed growth isn’t the primary concern here, keeping the sand clean and dry is key.
Make sure the fabric lies flat without folds or bumps. Have one person hold the end while the other rolls it across. Smooth it out before adding the next board layer on top.
Step 5: Build the Second Frame Layer

Stack a second layer of boards on top of the first. This makes the sandbox deeper and sturdier. For this course, rotate the boards so the joints don’t line up with the first layer. This overlapping pattern strengthens the frame.
Stand on each board while securing it with screws to lock everything tightly. This step gives the sandbox solid sides that won’t shift over time, even when kids are leaning or sitting on them.
Step 6: Add a Corner Seat (Optional)

To give your sandbox a spot for sitting, attach a small board across one corner. This simple seat gives kids or adults a place to rest or supervise. It also adds a finished look to the sandbox without needing extra pieces.
If you have extra wood from your cut pieces, this is a smart way to use it. Just make sure it’s secure and sanded smooth so there are no sharp edges.
Step 7: Round the Edges for Safety

Before filling with sand, take a router and run it along the top edges. This will smooth and round the corners, which helps prevent splinters and scrapes.
If you don’t have a router, sandpaper will work, but it may take longer. This small extra step makes the whole box safer for little hands. It also gives your project a cleaner finish and helps protect the wood from damage over time.
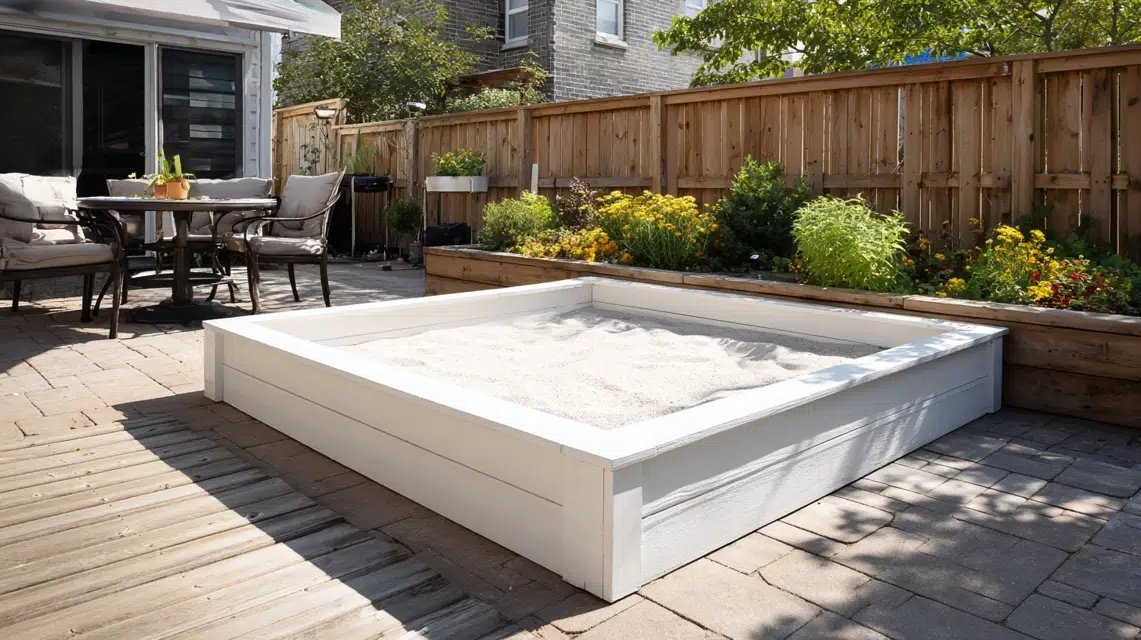
Step 8: Add the Sand and Let the Fun Begin

Open up your bags of play sand and pour them inside the finished box. Spread it out evenly using your hands or a small shovel. Aim to leave a couple of inches from the top so sand doesn’t spill over easily.
Once the sandbox is filled, grab some simple toys or buckets and enjoy. Just remind kids to keep the sand inside the box, which helps reduce mess and allows more play for everyone.
Watch the complete process in action to see each step come together and make building your DIY sandbox even easier:
Features You Can Add to Your DIY Sandbox
Upgrade your sandbox with simple features like lids, shade, or storage to make it more practical and enjoyable for kids.
Lids that Turn into Benches
A folding lid can double as two small benches when open. It protects the sand when closed and offers a place to sit during playtime.
This is great for keeping the sandbox covered without extra parts. You can build it with basic hinges and boards. Just make sure it’s sturdy and safe for kids to use.
Slatted Roofs for Shade
Adding a roof with spaced wooden slats helps block direct sun while keeping airflow. It keeps the sand cool and protects little ones during hot days.
Use four corner posts and attach the slats across the top. This simple feature makes summer play safer and more comfortable without needing extra umbrellas or tents.
Built-in Storage or Toy Bins
You can add small built-in bins along the sides of your sandbox to hold toys like shovels, buckets, or rakes. This keeps everything tidy and close by.
Use plastic containers or build wooden cubbies. Just make sure they drain well and are easy to reach. Built-in storage helps kids stay organized and shortens cleanup time
Sandbox Design Ideas for Every Yard
No matter your yard size, there’s a sandbox style that fits. Choose one that matches your space, tools, and time.
1. Modern Look with Painted Wood
Use clean, straight boards and paint them in solid colors like white, navy, or soft gray. Add smooth edges and simple lines for a tidy finish. This style works well in updated outdoor spaces and blends with patio furniture. Stick with outdoor-safe paint and make sure it’s non-toxic for kid safety.
2. Rustic Build Using Logs
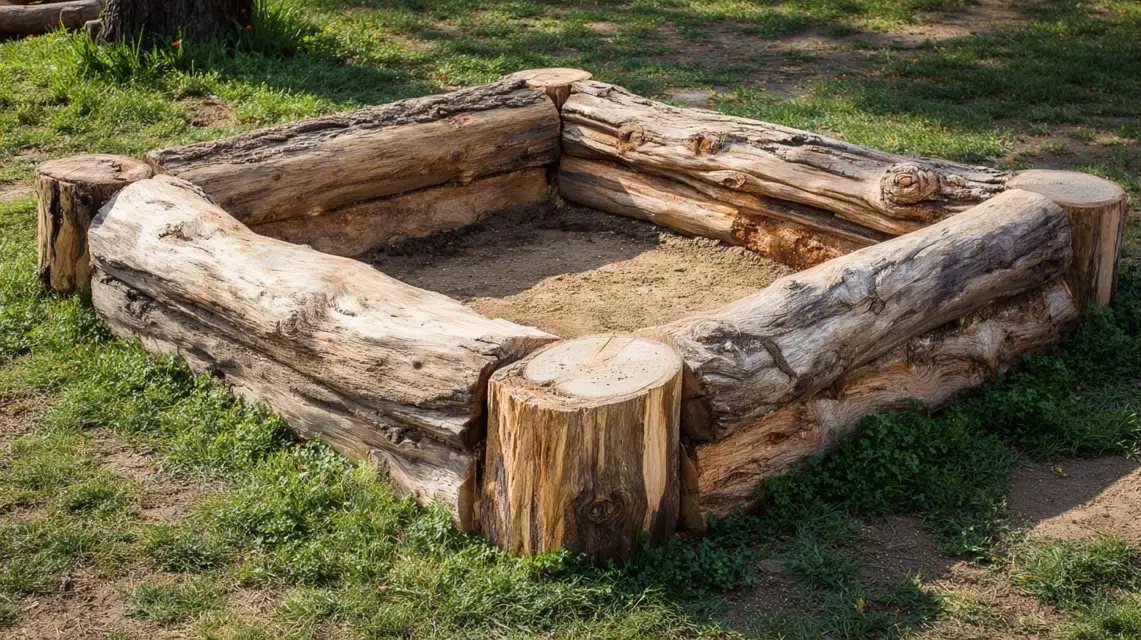
If you want a natural look, build your sandbox using cut logs or thick branches. Lay them out in a square or oval shape and secure them with spikes or screws. This style blends into wooded backyards and feels sturdy underfoot. Just make sure to smooth any rough bark or cut surfaces.
3. Portable Sandbox for Small Spaces
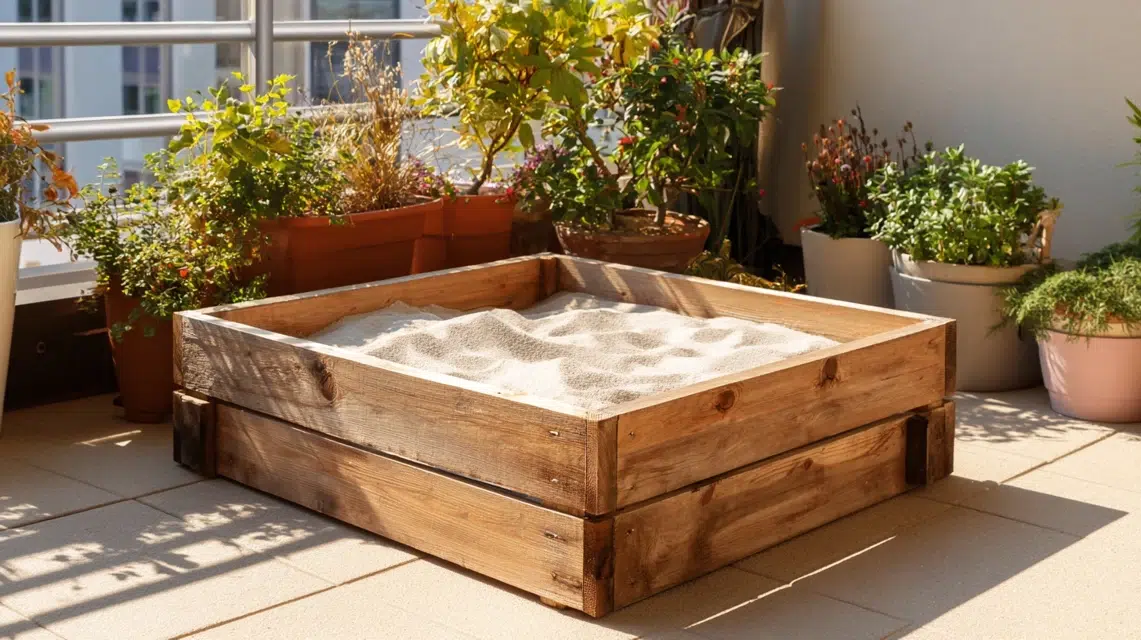
Great for patios or renters, this sandbox is built in a raised frame or storage tub. You can move it when needed and store it during bad weather. Use a plastic bin, planter box, or shallow wooden crate. Keep it lightweight but sturdy enough for digging and scooping.
4. Sandbox With Bench Seats
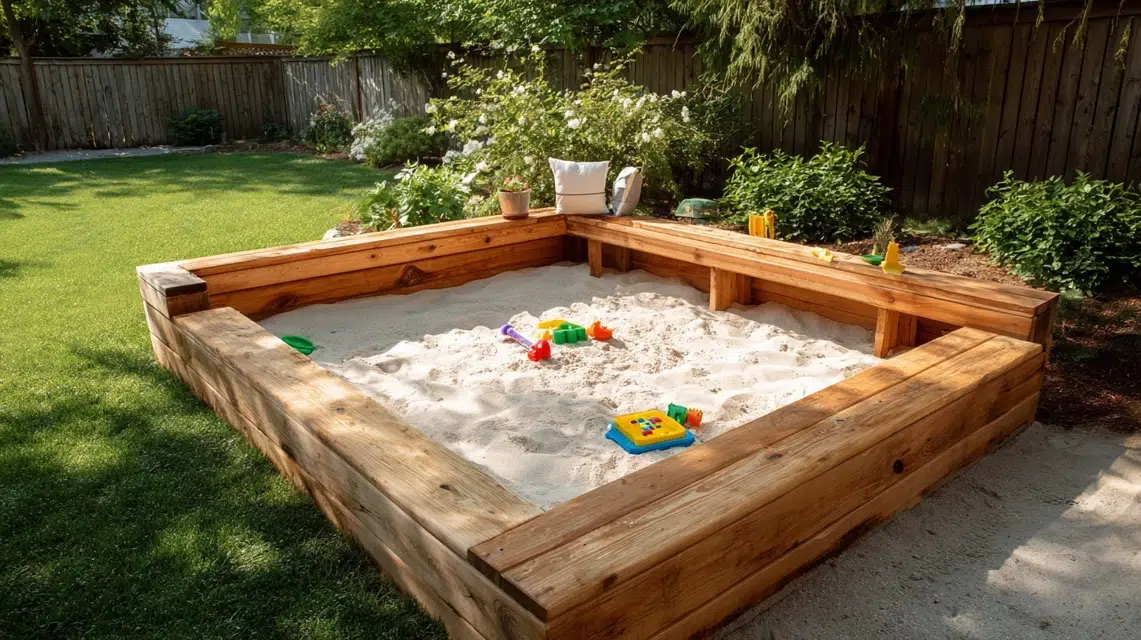
Add flat boards along the edges or corners to create seating. This gives kids or adults a place to sit while playing. Some designs turn the lid into fold-out benches. It’s a smart way to add comfort without taking up extra space or using many extra materials.
5. Corner Sandbox for Tight Spots
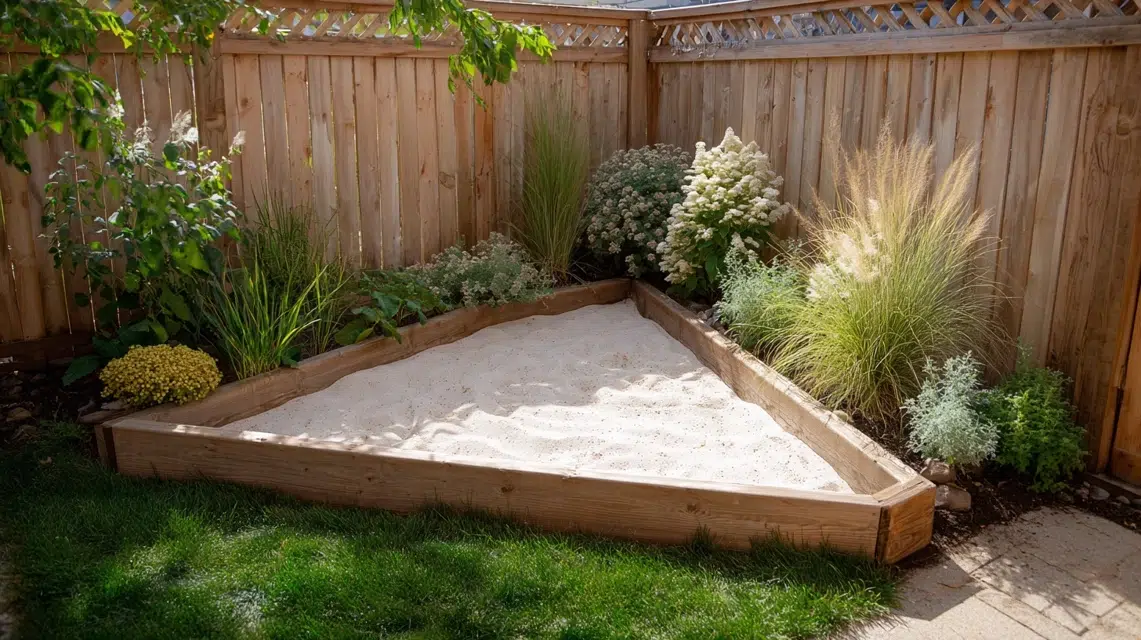
If your yard is small or oddly shaped, build your sandbox to fit into a corner. Use two solid sides and fill in the triangle with sand. It saves space while still giving kids a place to dig. This design also looks tidy and stays out of the main yard path.
Save Money and Keep Your Sandbox Safe with These Tips
You can build a safe, fun sandbox without spending much. Use basic materials, follow safety steps, and keep things kid-friendly.
- Build a sandbox for under $50 by using scrap wood and skipping extras like lids or seating
- Reuse leftover boards, pallets, or old fencing for the frame
- Download free sandbox plans and printable PDFs to guide your build
- Always choose non-toxic wood, stain, or paint to protect kids from harmful chemicals
- Round all corners and sand every edge to prevent cuts and splinters
- If your yard stays wet, make sure your sandbox has a bottom layer that drains well
- Avoid sealing the bottom with plastic—use landscape fabric or slatted wood instead
- Keep the design simple to cut costs while still making it safe and long-lasting
How to Maintain Your Sandbox
Regular care keeps your sandbox in good shape. Cover it, refresh the sand, and check for weeds to keep things tidy.
1. Cover It to Keep Out Rain and Animals
Use a fitted tarp, wooden lid, or hinged cover to protect the sandbox when not in use. This keeps out water, leaves, bugs, and animals.
A simple cover also helps the sand stay dry and clean longer. Always secure the cover well so it doesn’t blow off in strong winds or storms.
2. Change the Sand Every Few Months
Fresh sand keeps your sandbox safe and enjoyable. Over time, debris, bugs, and moisture can build up. Replace the top few inches every few months, or fully empty and refill it if the sand looks dirty.
Raking and turning the sand regularly helps keep it fresh between full replacements.
3. Keep It Weed-Free
Even with a liner, weeds might grow around the edges. Check the area weekly and pull any plants you see.
If you spot weeds coming through the liner, patch that spot or add a second layer. Keeping weeds out helps protect the sand from dirt and keeps bugs from nesting nearby
Conclusion
And there you have it! A complete guide to building a DIY sandbox that’s fun, affordable, and easy to maintain.
You’ve learned how to plan the layout, pick the best spot, choose safe materials, and even upgrade your design with smart extras like seating, lids, and shade.
The beauty of this project is that it’s entirely yours. You decide the size, the look, and the little details that make it special. More importantly, it’s a chance to create something with your own hands that your kids will enjoy every day.
Keep it clean, cover it when not in use, and refresh the sand regularly to make it last for years. With a little care, your sandbox will stay a favorite outdoor spot for play, laughter, and creativity.
If you enjoyed this project, explore my other DIY guides for more simple builds that make your home and yard more family-friendly—one weekend at a time.