Backsplash Installation Cost: A Simple Guide
Have you been thinking about updating your kitchen but aren’t sure how much a backsplash installation will cost you?
You’re not alone. I’ve helped numerous homeowners who felt overwhelmed trying to estimate the price, select materials, and determine when to hire a professional or tackle the project themselves.
In this guide, I’ll walk you through everything you need to know, from square foot pricing to hidden costs and innovative ways to save.
By the end, you’ll feel more confident and ready to plan your backsplash project without guesswork.
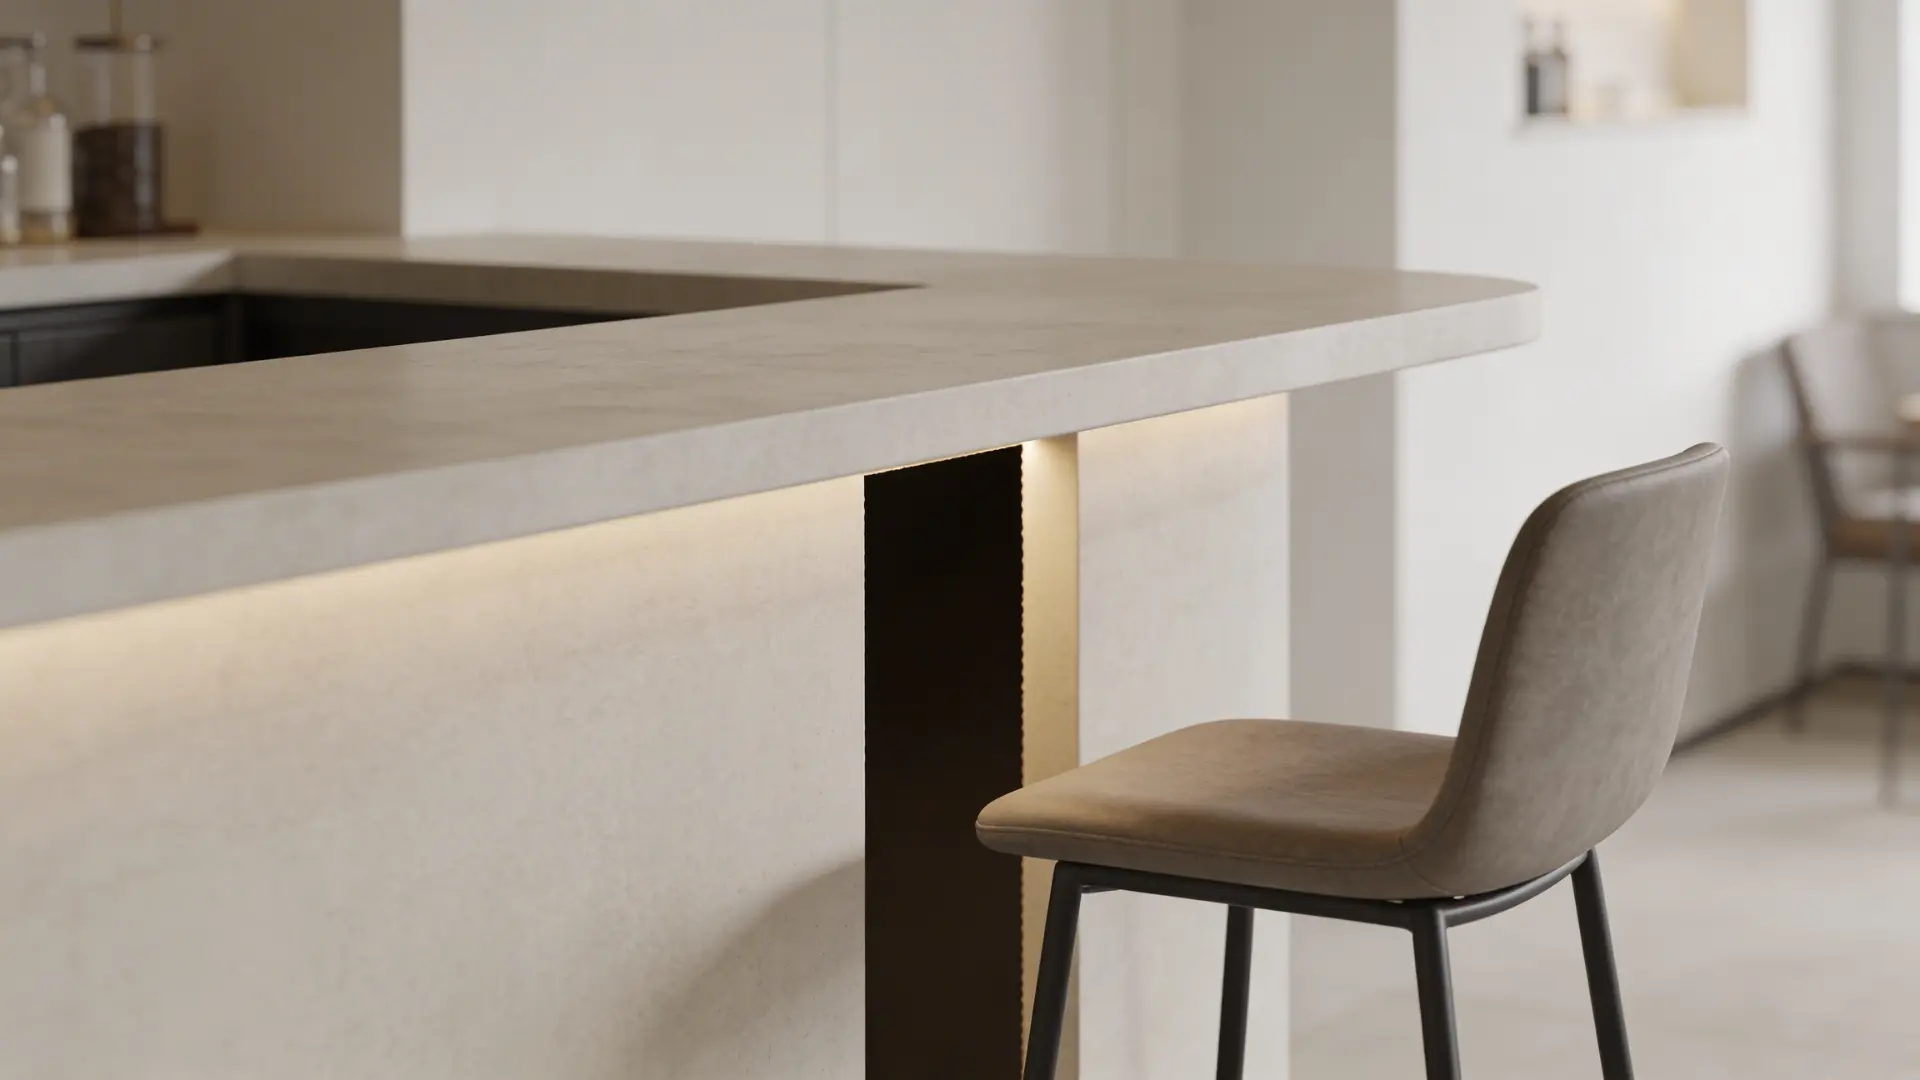
Understanding Kitchen Backsplashes
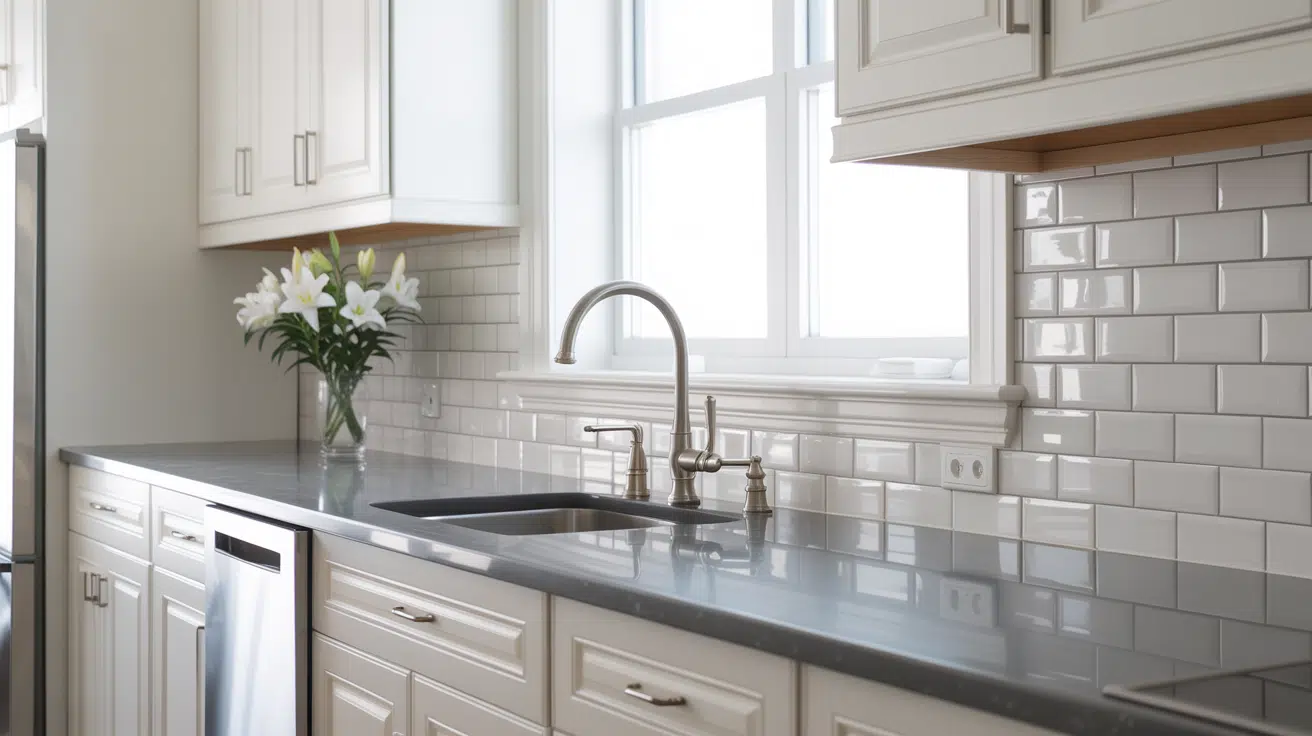
A kitchen backsplash is the vertical surface between the countertop and cabinets, designed to protect the wall from water, grease, and food splatter.
It also provides a clean, durable finish behind sinks and stoves, where spills are everyday. Materials vary from basic ceramic to high-end stone or glass, depending on budget and style preference.
While originally installed for function, backsplashes are now a standard part of kitchen upgrades.
Their ease of maintenance and long-term durability make them a practical improvement in both small and full-scale remodels.
Average Backsplash Installation Cost
The average cost of backsplash installation ranges from $10 to $55 per square foot, depending on the material, layout, and labor involved.
A typical 25 sq. ft. project may cost between $500 and $1,375, combining both materials and professional installation.
Smaller kitchens with basic tile can stay on the lower end, while larger or more intricate designs will raise the total.
Here’s a quick breakdown of standard project sizes and what homeowners can expect to pay.
Backsplash Installation Cost by Project Size
Installation costs depend on the size of the backsplash. Below is a breakdown based on small, medium, and large project estimates.
|
Kitchen Size |
Approx. Area (sq. ft.) |
Cost Range (Materials + Labor) |
|
Small Backsplash |
10–15 sq. ft. |
$150 – $825 |
|
Medium Backsplash |
20–30 sq. ft. |
$400 – $1,650 |
|
Large Backsplash |
35–50 sq. ft. |
$700 – $2,750 |
What Affects the Cost of Installing a Backsplash?
Several factors influence the cost of a backsplash project, including the type of material, labor complexity, wall preparation, and the overall project size.
Type of Tile Material
The material you choose plays a significant role in the cost.
- Ceramic is typically the least expensive and easiest to install.
- Glass tiles cost more but offer a sleek finish.
- Natural stone is often the most expensive and requires sealing.
- Peel-and-stick options are inexpensive and quick to install, but they are less durable.
Each material varies in terms of price, appearance, and maintenance needs, which affects both upfront and long-term costs.
Labor and Installation Complexity
Labor rates may be charged hourly or per square foot. A simple, straight tile layout costs less to install than a detailed pattern like herringbone or mosaic.
Layout complexity impacts the amount of time and precision required. Features like multiple outlet cuts, corner trims, or precise tile spacing increase both time and cost.
The more intricate the design, the more skilled the installer must be, which also influences labor pricing.
Wall Prep & Demo Work
If there’s an existing backsplash, it needs to be removed before new tile can be installed, adding time and labor charges.
In some cases, wall surfaces underneath need patching or leveling, especially if there’s damage. Clean and smooth surfaces help tiles bond better and last longer.
Skipping proper prep can lead to problems later, so it’s a critical cost factor in both DIY and professional installations.
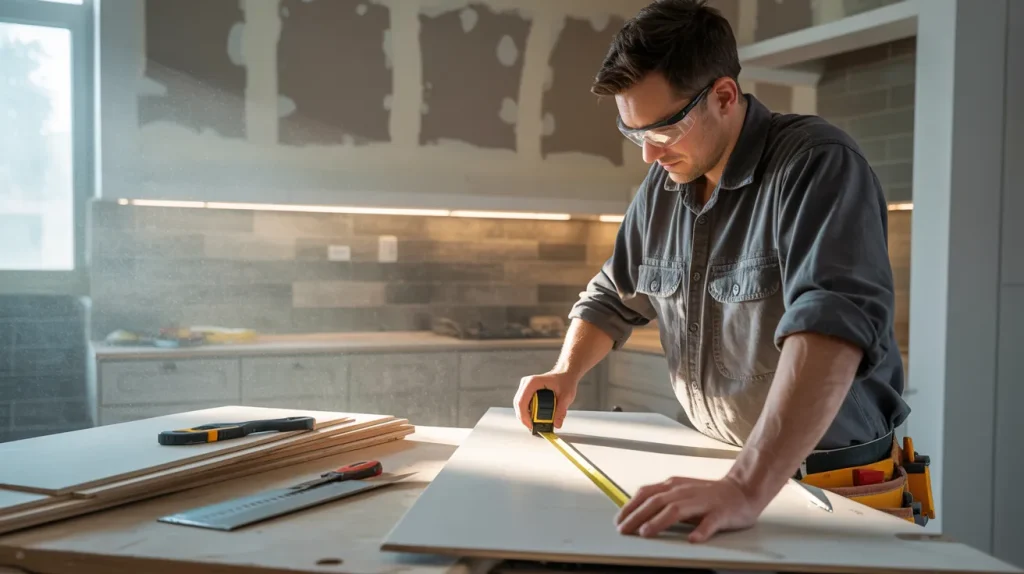
DIY vs. Professional Backsplash Installation
Choosing between doing it yourself and hiring a professional comes down to budget, time, experience, and project complexity.
DIY vs. Professional Backsplash Installation: Cost and Key Differences
Comparing cost, time, and results can help you decide whether to install the backsplash yourself or hire a professional.
|
Factor |
DIY Approach |
Professional Installation |
|
Estimated Cost |
$200 – $600 |
$1,000 and up |
|
Includes |
Tools, materials, and adhesives |
Labor, prep, finishing |
|
Skill Required |
Moderate to high |
Handled by trained installers |
|
Time Needed |
2–3 days |
Typically 1 day |
|
Risk |
Higher chance of errors |
Minimal if using an experienced pro |
|
Finish Quality |
Depends on your experience |
Consistent and polished results |
When to Hire a Professional?
If your backsplash design involves complex tile patterns, fragile or expensive materials, or close proximity to electrical outlets or plumbing, it’s best to work with a licensed installer.
They bring the tools, skills, and safety experience needed to manage these challenges efficiently.
While the upfront cost is higher, a professional job ensures the finish is smooth, secure, and long-lasting, avoiding costly corrections later.
For homeowners prioritizing precision, timelines, and fewer headaches, professional help is often the better option.
Step-by-Step Guide to Installing a Kitchen Backsplash Safely
Installing a kitchen backsplash requires patience, planning, and safety awareness. Follow these steps to ensure a clean, durable, and secure finish.
Step 1: Shut Off Power and Remove Outlet Covers

Before you begin, always turn off the power to the backsplash wall to avoid an electric shock. Remove all outlet covers and switches.
This protects you from wiring behind the drywall and gives full access to the tile edges later. Safety comes first, especially when working around outlets, electrical boxes, or appliances that draw heavy voltage.
Step 2: Score and Remove Existing Backsplash Carefully

Don’t just smash the old backsplash off the wall. Score edges with a utility knife to avoid tearing out more drywall than intended.
Controlled demo helps preserve the surrounding surfaces, especially near cabinets, corners, or doors. Avoid power tools around wires; use manual tools to gently pry tiles and remove remaining adhesive or backer board.
Step 3: Cut Drywall with Precision and Prep the Wall
Measure carefully and use existing studs for support when patching with new drywall. Score and snap drywall using a straight edge and utility knife.
Fill larger gaps with smaller pieces if needed. Focus on structural integrity, and the art tile will hide seams. Use mold-resistant drywall if available, especially in areas near stoves or where moisture is present.
Step 4: Apply Joint Compound and Smooth All Seams

Once your drywall is in, scrape off any loose debris, then apply joint compound to all seams and edges. Smooth out with a wide drywall knife.
Tape any outside seams or potential transition points to prevent future cracking. Let it dry fully, then sand it for a flat, even surface where tile can bond properly.
Step 5: Choose Starting Point and Confirm Level Surface

Check your countertop for level with a bubble level. Start your first row at the most visible area, like near the sink or stove. Mark a layout line so your tile remains straight.
For a brick pattern, begin with half-tile cuts. A clean, level start ensures your rows stay even across the full backsplash area.
Step 6: Cut and Dry-Fit Edge Tiles First

Use a tile snap cutter or saw to trim edge tiles to fit your layout. Snap cutters offer cleaner cuts for visible tiles. Dry-fit edge tiles to test spacing and alignment before applying adhesive.
Always cut slightly beyond your mark to account for blade width. Use spacers to test grout gaps and final placement visually.
Step 7: Spread Adhesive and Install in Small Sections

Use the recommended trowel size listed on your tile adhesive container. Spread in small sections to avoid drying out before tile placement.
Press tiles firmly and evenly into place, adding extra adhesive to the backs if needed to correct for uneven walls. Work from bottom up in a stair-step pattern for better alignment.
Step 8: Work Around Outlets and Obstacles Neatly

Cut tiles to fit around outlets using a tile saw or grinder with a diamond blade. Mark outlet positions clearly and cut notches as needed.
Slight imperfections are fine; they’ll be hidden behind outlet covers. Always test fit before applying adhesive. Leave adequate space around outlets for box extenders and clean tile lines.
Step 9: Clean Excess Adhesive and Let Tiles Set

Immediately wipe off excess adhesive with a damp cloth or sponge. Clean gaps between tiles to ensure proper grout adhesion later. Work neatly to avoid hardened residue on tile faces.
Let tiles set overnight or according to the adhesive’s instructions before moving on to grout. Don’t rush this step; let it fully cure.
Step 10: Apply Grout and Clean in Sections

Use a rubber float to press grout into tile joints. Work diagonally to fill evenly. Clean the tile surface after 5–10 minutes with a damp sponge using circular motions.
Switch to clean water and sponges frequently. After haze forms, use a dry cloth and a raking light to buff. Premixed grout often doesn’t need sealing. Check your label.
Step 11: Caulk Edges and Paint Patched Wall Areas

Apply color-matched caulk along the countertop edge, corners, and under cabinets for a seamless, water-resistant finish. Use a caulk-smoothing tool for clean lines.
Paint any patched drywall areas around the tile to blend with the rest of the wall. Touch up corners or trim for a polished, professional-looking result.
Additional Costs Often Overlooked in Backsplash Installation
Backsplash installation costs can go beyond tile and labor. If an old backsplash needs to be removed, demolition and debris disposal add time and expense.
Surface repairs may also be necessary if the wall underneath is damaged. Finishing materials, such as edge trims, grout, caulk, and sealants, can increase the total cost.
Some contractors charge travel or minimum labor fees, especially for smaller jobs. Extra outlets, windows, or uneven walls can also raise costs.
Accounting for these items upfront helps avoid budget surprises during or after installation.
How Long Does Backsplash Installation Typically Take
The time required to install a kitchen backsplash depends on the method and complexity. A professional can usually complete the job in 4 to 8 hours, depending on the tile type and layout.
DIY projects often take 2 to 3 days, especially for first-timers managing layout, cutting, and cleanup. Additional time may be needed for demolition, surface preparation, adhesive drying, and grout curing.
Planning for the full timeline helps avoid rushed results and ensures everything sets properly for a lasting, high-quality finish.
Cost-Saving Tips for Backsplash Projects
Even a small backsplash project can add up quickly, but wise choices can help you stay within budget without cutting quality.
- Buy tiles in bulk or look for clearance deals.
- Choose simple layouts like subway instead of intricate designs.
- Reuse existing wall substrates when possible.
- Combine backsplash work with a full kitchen renovation to reduce labor overlap.
- Schedule installation during the off-season when contractor rates may be lower.
Conclusion
Installing a kitchen backsplash doesn’t have to be complicated or out of reach.
With the right planning and a clear understanding of the backsplash installation cost, you can approach your project with confidence, whether you decide to hire a pro or do it yourself.
Stick to the tips I’ve covered, and you’ll avoid common budget surprises while getting a result you’ll be happy with.
Ready to take the next step? Continue looking for more practical blogs on my website for comparisons and cost-saving ideas to help you get the most from every home upgrade.