How to Paint a Dresser Without Sanding: Easy DIY Makeover
If you’ve ever wondered how to paint a dresser without sanding or how to paint furniture without sanding, you’re in for a treat!
I know how tempting it is to skip the sanding process and jump straight into making your furniture look fresh and new.
That’s why I’m sharing this simple, no-sanding technique that I’ve personally tried and loved.
It’s an easy way to convert your old furniture, if it’s a dresser, table, chair, or cupboard, without the hassle of prepping for hours.
Trust me, with just a few simple steps, you can achieve a smooth, professional-looking finish. So, if you’re ready to revamp your furniture with minimal effort, keep reading, and let’s jump in!
Understanding Painting a Dresser Without Sanding
Painting a dresser without sanding is a creative and practical DIY technique that allows you to refresh the look of old furniture without the need for time-consuming sanding or stripping.
Traditionally, preparing furniture for painting involved sanding down the old finish to help the new paint adhere properly.
However, this step can be messy, labor-intensive, and often requires a lot of prep work.
The concept of painting a dresser without sanding has gained popularity because it offers an easier, quicker, and cleaner alternative.
Thanks to advancements in specialized paints, primers, and surface preparation products, you can now achieve a smooth, durable finish without having to sand down the dresser.
Why No-sanding Painting is Loved
Painting a dresser without sanding is a quick and easy DIY method that saves time and effort. It’s perfect for beginners and budget-conscious crafters who want a clean, mess-free project.
- Saves Time and Effort: Skip the lengthy sanding process for faster project completion.
- Minimal Mess: No dust or debris, keeping your workspace cleaner.
- Cost-Effective: No need for sanding tools, making it budget-friendly.
- Beginner-Friendly: Easy for DIYers with limited tools or experience.
- More Eco-Friendly: Reduces waste by eliminating sandpaper and other materials.
In essence, painting a dresser without sanding is a game-changer for those who want to convert their furniture with minimal effort, mess, and expense.
Guide to Painting a Dresser Without Sanding
Follow these easy steps to achieve a smooth, professional-looking finish without the hassle of sanding.
Tools and Materials Required
Painting a dresser without sanding is a quick and easy DIY project that doesn’t require complicated prep work. With the right tools and materials, you can achieve a smooth, professional-looking finish in just a few simple steps.
- Heirloom Traditions All-in-One Paint (or similar no-sanding paint)
- Paintbrush (for detailed areas)
- Foam Roller (for smooth, even coverage)
- Paint Tray
- Tack Cloth (to remove dust after sanding, if needed)
- 220-Grit Sandpaper (optional for texture removal)
- Cleaning Solution (e.g., Crud Cutter or dish soap and warm water)
- Screwdriver (to remove drawer pulls)
- Moving Blanket (to protect floors)
- Tin Foil (to line the paint tray for easy cleanup)
- Polyurethane or Clear Coat (for sealing, optional)
Painting a dresser without sanding is an efficient way to refresh old furniture with minimal effort.
By following the right steps and using the appropriate materials, you can enjoy a beautiful, smooth finish without the hassle of sanding.
Step 1: Remove Hardware

Begin by using a screwdriver to carefully remove the drawer pulls from the dresser. This will make painting easier and prevent any paint from accidentally covering the hardware.
Set the pulls aside in a safe place so they can be reattached later. Removing hardware ensures that the paint covers the surface of the dresser entirely without obstruction, and you’ll be left with a clean, smooth surface for painting.
Step 2: Clean the Dresser

Before painting, thoroughly clean the dresser using a degreaser like Crud Cutter or a simple mixture of dish soap and warm water. Cleaning removes dirt, dust, and oils that can prevent the paint from adhering properly.
Using a damp rag, wipe down all surfaces of the dresser, paying special attention to any areas with grease or grime. This ensures that the paint will stick better and result in a smooth, even finish.
Step 3: Prepare the Workspace

Protect your floors and work area by laying down a moving blanket or drop cloth. This step keeps paint drips and spills from damaging the floor.
Make sure you have enough space around the dresser to work freely, and if necessary, remove the drawers to make the painting process more comfortable.
Setting up your workspace ahead of time helps prevent messes and allows for a smooth, uninterrupted project flow.
Step 4: Apply the Paint

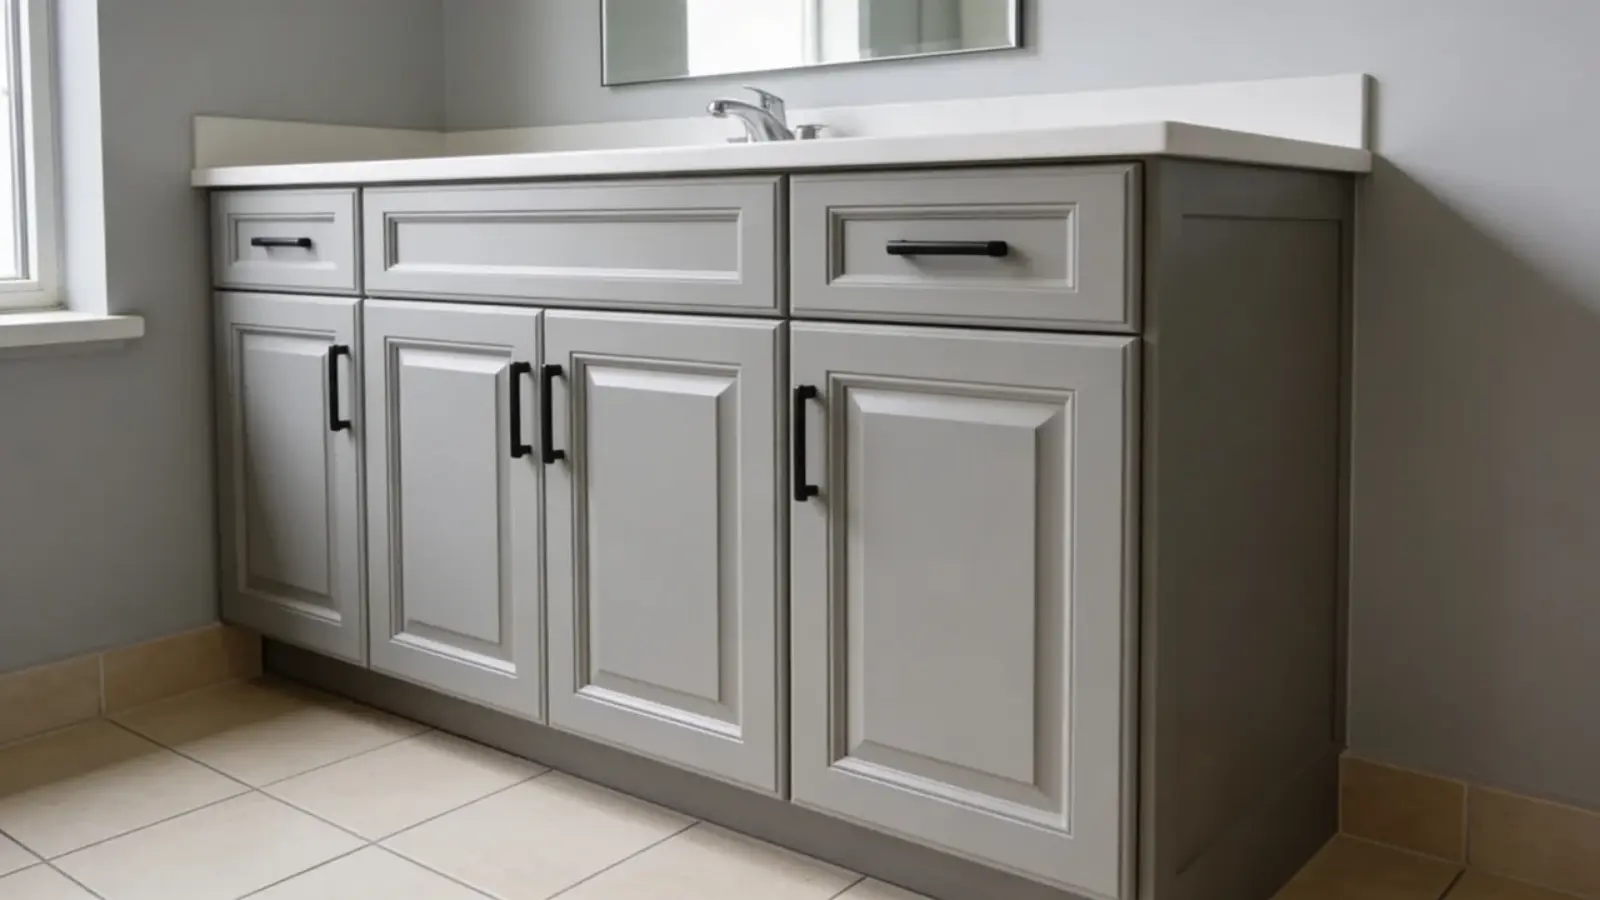
Use Heirloom Traditions All-in-One Paint in the color Oyster for a smooth, durable finish. This paint is perfect for a no-sanding project, as it doesn’t require a primer. Apply the paint using a combination of a brush and a foam roller.
Start by brushing the paint on, then roll over it with the foam roller to smooth out any imperfections. The combination ensures an even coat and helps avoid brush strokes or roller lines.
Step 5: Work in Small Sections

To avoid the paint drying too fast and leaving visible marks, work in small sections. Start by applying a thin coat of paint to one area, then use a roller to smooth it out.
The roller should have minimal paint on it to prevent excess buildup. Work quickly so you can roll over the surface while it’s still wet. This method helps achieve a smoother finish and reduces the chances of texture or bubbles.
Step 6: Let the First Coat Dry

After applying the first coat, allow it to dry thoroughly before moving on to the next. Depending on the weather, drying time may vary, but expect at least 2-3 hours for the first coat to dry completely.
Once the paint is dry, check the surface for any uneven spots or areas that may need a touch-up.
Letting the paint dry properly before applying additional coats ensures the finish remains smooth and durable.
Step 7: Apply Additional Coats of Paint

Apply a second coat of paint, making sure to wait for the first coat to dry completely before starting. Depending on the coverage from the first coat, you may need a third coat for full opacity.
Allow 2-3 hours of drying time between each coat. Make sure to use the same technique: brush the paint on and then roll it for an even finish.
Applying multiple thin coats helps achieve a smooth and professional-looking result.
Step 8: Reattach Hardware

Once the paint has dried completely, reattach the drawer pulls or knobs.
While some may opt to replace hardware for a fresh look, reusing the old hardware is a quick and cost-effective way to complete the makeover.
If desired, you can paint the hardware to match the dresser’s new look. Attaching the hardware back onto the dresser gives it a finished, polished appearance.
Make sure everything is securely fastened to ensure functionality and a neat final touch.
To watch the full tutorial and see how this step-by-step guide works, watch the complete video here:
How to Paint Furniture Without Sanding in Simple Steps

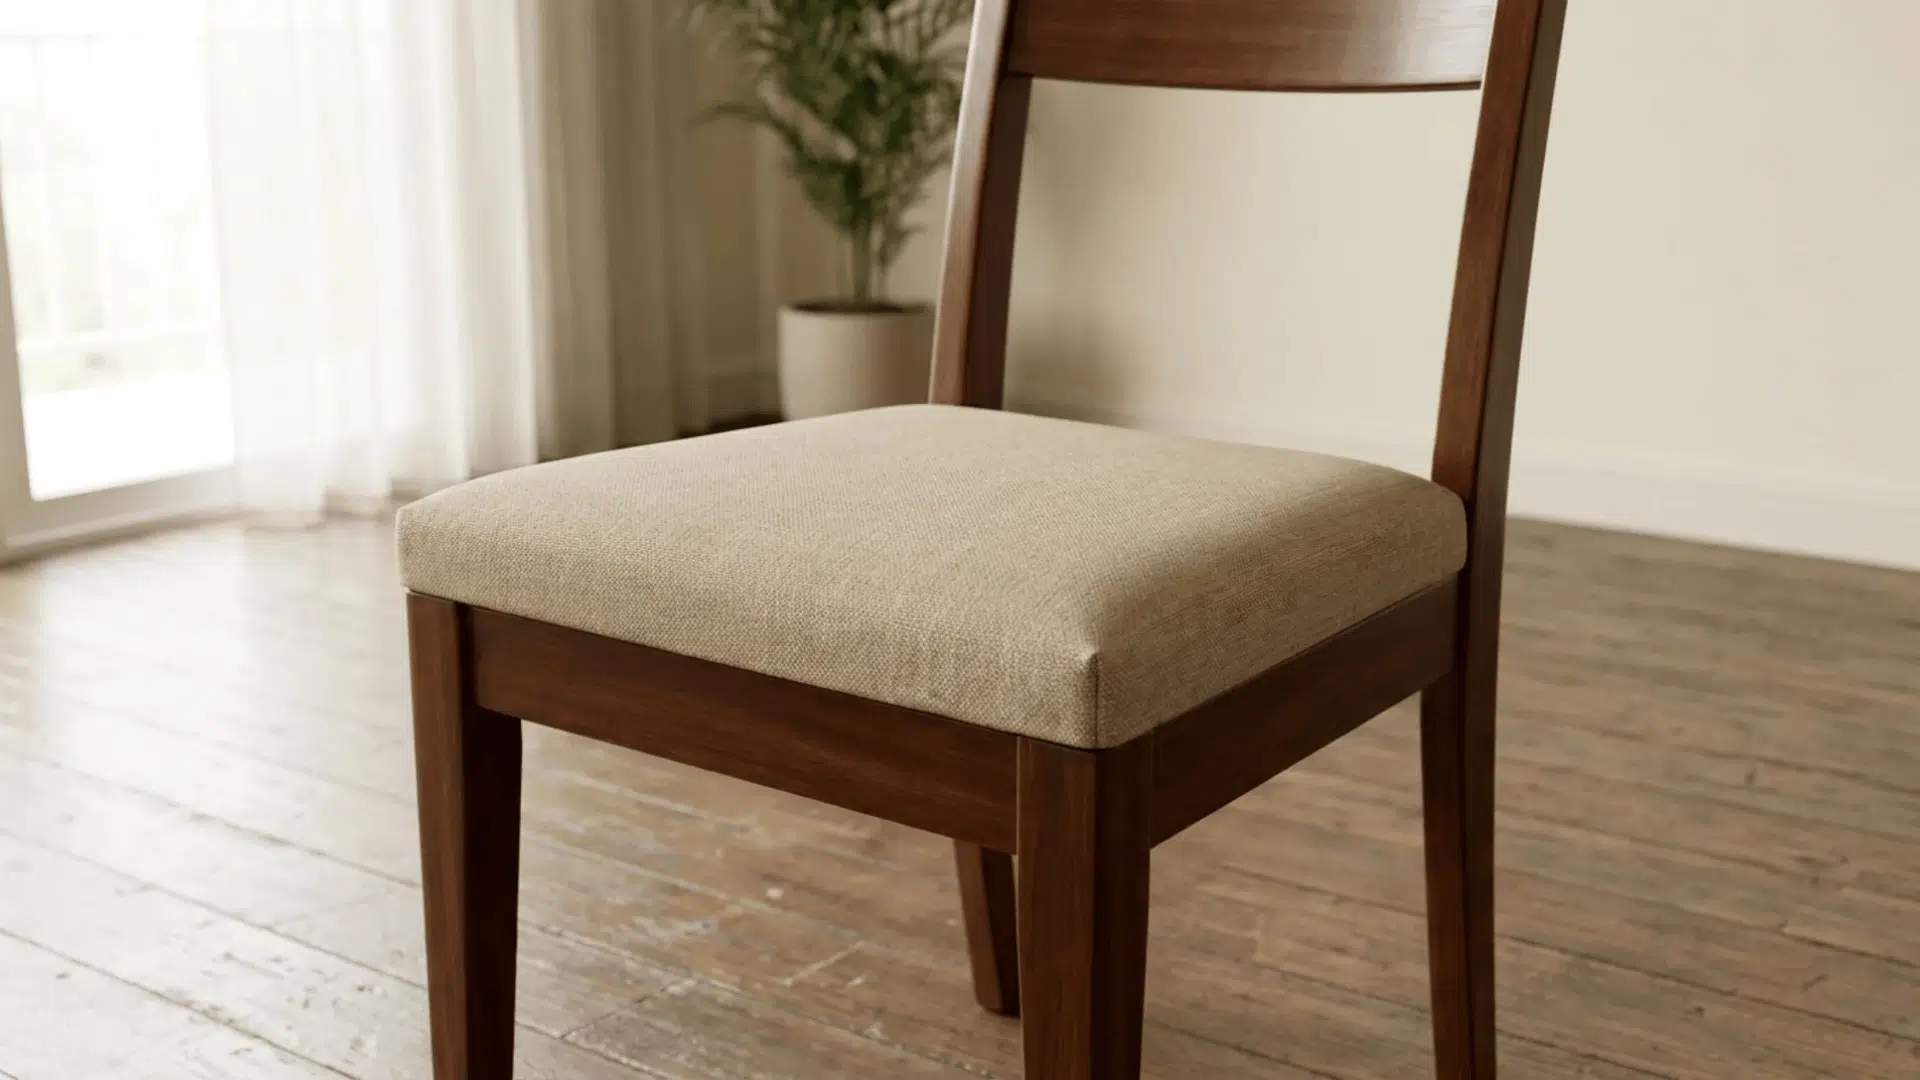
Painting furniture without sanding is an easy way to refresh pieces without prep work. Follow these simple steps for a smooth, professional finish, with additional tips for chairs, tables, and cupboards.
Most of the steps are the same as those covered for the dresser. However, for furniture like chairs, tables, or cupboards, here are some new steps to follow.
Step 1: Apply a small amount of paint to different areas to ensure adhesion without sanding or priming.
Step 2: Use a brush to apply the first coat of paint, adding water to thin it out for a smoother finish.
Step 3: Watch for drips during application and brush them out immediately.
Step 4: Apply additional coats of paint, allowing each to dry before applying the next.
Step 5: Lightly sand any drips or uneven areas, though sanding is optional.
To watch the full tutorial and see how this step-by-step guide works, watch the complete video here:
Cleaning Tips to Prevent Damaging the Paint
Proper cleaning is essential to maintaining the beauty and longevity of your painted dresser. By following a few simple tips, you can keep the paint intact and looking fresh for years to come.
- Use a soft, lint-free cloth to avoid scratching the paint.
- Avoid harsh chemicals that can damage the paint surface.
- Wipe with a damp cloth, not a soaking wet one.
- Test any cleaners on a small area first.
- Dust regularly to prevent dirt buildup.
- Avoid scrubbing the painted surface aggressively.
- Use mild dish soap and warm water for cleaning.
- Keep the dresser out of direct sunlight to prevent fading.
- Apply a clear sealant to protect the paint.
- Clean spills immediately to prevent staining.
By using the right cleaning techniques, you can preserve the smooth, vibrant finish of your painted dresser.
With regular care and attention, your furniture will remain looking beautiful and well-maintained for an extended period.
Recommended Products for Sealing
When sealing your painted dresser, two common options are Polycrylic and Wax.
Polycrylic is a clear, water-based finish that provides strong protection against scratches, stains, and moisture. It dries quickly and offers a durable, smooth finish.
Wax gives a softer, matte look, adding a subtle sheen while offering some protection. It’s perfect for creating a vintage or rustic appearance.
Polycrylic Recommended Products:
- Minwax Polycrylic Protective Finish: A popular choice for wood surfaces, offering a durable, clear finish that’s easy to apply and dries quickly.
- Varathane Water-Based Polyurethane: Known for its scratch-resistant finish and quick drying time, this product is ideal for furniture and floors.
- Rust-Oleum Varathane Polyurethane: A water-based polyurethane that provides excellent protection while maintaining a clear, non-yellowing finish.
- General Finishes High-Performance Water-Based Topcoat: Offers superior durability and resistance to water, heat, and chemicals.
- Behr Premium Water-Based Polyurethane: Provides a tough, protective finish that enhances the beauty of your wood projects without the yellowing over time.
Wax Recommended Products:
- Annie Sloan Chalk Paint Wax: A highly regarded product for adding a smooth, protective finish to chalk-painted furniture, available in clear and dark options.
- Minwax Paste Finishing Wax: A durable paste wax that provides a rich, satin finish while protecting your painted furniture from wear and tear.
- Rust-Oleum Chalked Ultra Matte Clear Sealer: Provides a wax-like finish with added durability for chalked paint projects.
- Johnson’s Paste Wax: A classic, easy-to-apply wax that delivers a beautiful shine and added protection for painted and bare wood surfaces.
- Fiddes & Sons Supreme Wax Polish: A high-quality, versatile wax that works well with chalk paints and provides a durable, natural finish.
Mistakes to Avoid Painting Furniture without Sanding
When painting a dresser without sanding, there are a few common mistakes that can affect the final result. By avoiding these pitfalls, you can achieve a smooth, long-lasting finish with minimal effort.
- Skipping surface preparation leads to poor adhesion.
- Using the wrong paint that’s not suitable for furniture.
- Applying thick coats of paint, causing drips and uneven coverage.
- Not allowing proper drying time between coats.
- Ignoring roller texture or brush marks results in a rough surface.
- Skipping the sealing step leaves the paint vulnerable to damage.
By being mindful of these common mistakes, you can ensure a smoother and more successful dresser makeover. With the right techniques, your painted dresser will look professional and last for years.
Conclusion
If you’re ready to give your furniture a fresh look without the hassle of sanding, painting a dresser without sanding is perfect for you.
If it’s a dresser, chair, or table, I promise you’ll be able to convert it in no time with just a few easy steps and the right tools.
There’s no need for hours of prep work or expensive supplies; just follow the straightforward process, and you’ll have beautiful, newly painted furniture that feels brand new. Skip the sanding and get started today to create a space you love.
Convert your furniture, without sanding options, today and create the perfect retreat! Check out my other blogs for more tips on making your workspace better for you.