Stained Concrete Floors in a House: Complete Guide
Stained concrete floors in houses are becoming a top choice for homeowners looking for an affordable, stylish, and durable flooring solution.
If you’re renovating or building a new home, these floors offer a sleek, modern look that can fit any space.
You may ask: Are stained concrete floors a good idea? The answer depends on your needs and preferences.
In this blog, I’ll share with you the benefits, drawbacks, and maintenance tips for stained concrete floors in your house. By the end, you’ll know if this option is the right fit for your home.
Understanding Stained Concrete Floors
Stained concrete floors are treated with a special stain that reacts with the concrete to create beautiful, rich color variations. This flooring option offers a stylish, durable solution for homeowners looking to enhance their home’s design.
Key Benefits Include:
- Cost-Effectiveness: Stained concrete is an affordable option that still provides a sleek, modern look.
- Durability: Concrete’s strength makes it perfect for high-traffic areas. With proper care, stained concrete can last for decades.
- Design Flexibility: Stained concrete can mimic the appearance of other materials like wood, tile, or stone, allowing you to customize the look to fit your space.
Types of Concrete Stains
There are several types of concrete stains, each with its own unique qualities. The most common types are acid-based, water-based, and dye-based stains. Here’s a quick look at each:
| Stain Type | Benefits/Pros | Process/Cons | Ideal Use Cases |
|---|---|---|---|
| Acid-Based | Vibrant, variegated color; permanent; won’t fade | More complex application process; reacts with concrete’s minerals | Basements, living rooms, outdoor spaces (natural, earthy look) |
| Water-Based | Broader color palette, easy to apply, more control | Less depth/variation; requires more resealing | Interior spaces (controlled, customizable finish) |
| Dye-Based | Intense, vibrant color; bold look | Less durable; requires more maintenance; fades quickly | Large, open spaces (modern, bold look) |
Each type of concrete stain offers unique advantages depending on your project needs.
Acid-based stains are perfect for natural, earthy aesthetics, while water-based stains provide a broader range of colors with easier application.
If you’re after a vibrant and bold look, dye-based stains are ideal, though they may need more maintenance. Select the option that best aligns with your design goals and maintenance preferences.
DIY Guide: Stained Concrete Floors in Your House
Staining your concrete floors can be a fun and rewarding DIY project. Here’s a step-by-step guide to help you get started.
Tools and Materials Required
Before starting the stained concrete floor project, gather the following materials:
- Concrete Stain (Acetone-based or Water-based)
- Floor Grinder (20-inch machine with diamond polishing pads)
- HEPA Vacuum
- Water-based Sealer
- Pump-up Sprayer
- Polyethylene Sheeting (for wall protection)
- Painter’s Tape (for baseboards and edges)
- Brushes and Rollers
- Sandpaper (fine grit)
- Floor Finish or Wax (optional)
- Ventilation Equipment (fans or windows for air circulation)
Step 1: Preparation

Before starting the staining process, clear the area of all furniture and obstacles to ensure you have ample space.
Next, cover the walls and baseboards with polyethylene sheeting and secure it with painter’s tape to protect them from accidental stains.
Clean the concrete thoroughly using a degreaser and a scrubbing brush to remove dirt, grease, or wax. If the floor has been previously sealed, use a stripper to remove old finishes.
Once the surface is clean, inspect it for any cracks or damage and repair if necessary. Lastly, ensure the room is well-ventilated by opening windows and setting up fans to minimize fumes while staining.
Step 2: Clean and Inspect

Thoroughly vacuum the floor with a vacuum to remove any dust or particles left from grinding. Inspect the concrete for any damage, cracks, or stains.
If needed, clean the floor with a degreaser to remove grease or oils. Ensure the floor is completely dry before starting the staining process.
Step 3: Apply the Stain

Using a pump-up sprayer, apply a coat of acetone-based or water-based stain evenly across the floor. The stain will penetrate into the concrete, creating rich color variations. Allow the first coat to dry before applying a second coat if desired.
After applying the stain, allow the surface to dry thoroughly. This process can take several hours, depending on the type of stain and the ventilation conditions.
Avoid walking on the floor until the stain is dry to prevent smudging or uneven coverage. Check if a second coat is needed after the first coat has dried.
Step 4: Seal the Floor

Once the stain has dried, apply a water-based sealer using the pump-up sprayer to protect the concrete and stain.
Apply two to three coats of sealer, allowing each coat to dry before applying the next. The sealer will provide a glossy finish and durability. Make sure the floor is evenly coated and sealed.
Step 5: Final Touches

After the final coat of sealer or finish has dried, inspect the floor for any touch-ups. Clean any splashes or mess around the edges carefully.
Make sure the floor is dry, even, and smooth before use, and enjoy the long-lasting and stylish look of your freshly stained concrete floor.
For an in-depth tutorial, watch the video here:
Common Mistakes to Avoid
Here are some mistakes you should avoid during staining:
- Uneven Application: Be cautious not to apply too much stain in one area, as this can result in streaks or blotches.
- Skipping the Prep Work: Proper surface cleaning and preparation are key to achieving a smooth, uniform color.
- Using the Wrong Sealer: Always use a sealer that’s compatible with your chosen stain.
To ensure the best results, take your time with preparation, application, and sealing to avoid common staining mistakes.
DIY vs. Professional Hire: Cost Breakdown
Stained concrete is a budget-friendly flooring option, but the cost can vary depending on whether you choose a DIY approach or hire professionals.
DIY: Tackling stained concrete floors yourself can save you money and give you control over the design process. However, it requires significant time and effort, plus some skill to avoid common mistakes like uneven application or poor sealing. If you’re not experienced, results may not be as polished.
Professional Hire: Hiring a professional ensures expert results with minimal effort on your part. They handle all the preparation, application, and sealing, providing consistent and high-quality work. The downside is the higher cost, especially for intricate designs or larger areas.
Here’s a quick look at the cost comparison between DIY and professional stained concrete floor options to help you make an informed decision:
| Option | Estimated Cost (per sq. ft.) | Notes |
|---|---|---|
| DIY (Materials Only) | $2 – $4 | Includes stains, sealers, and tools. Requires your time for preparation and application. |
| Professional Hire (Basic) | $5 – $10 | Includes basic stain application and sealing by a professional. |
| Professional Hire (Mid-Range) | $10 – $15 | Includes more detailed staining techniques and higher-quality materials. |
| Professional Hire (High-End) | $15 – $25 | High-quality finishes, intricate designs, and a professional touch. |
Consider your budget, skill level, and desired outcome to choose the best option for your stained concrete floors.
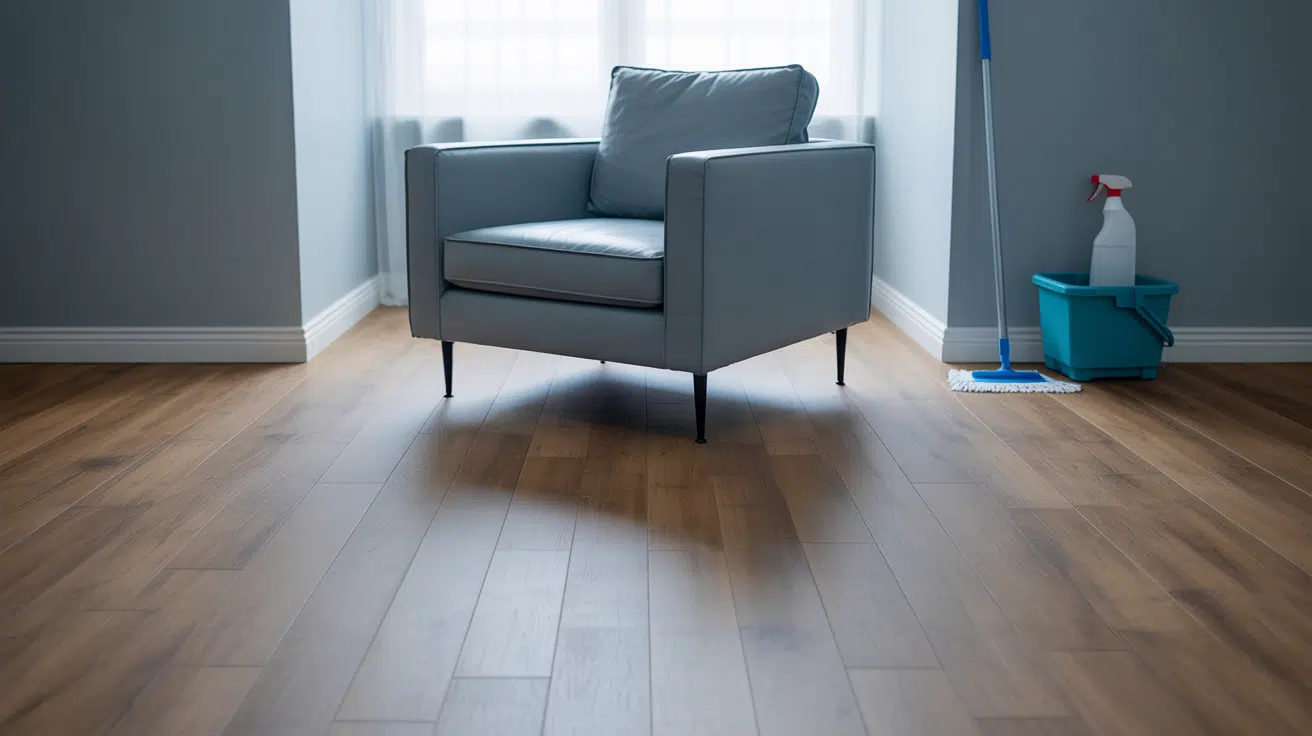
Maintenance and Longevity of Stained Concrete Floor
To keep your stained concrete floors looking beautiful for years, follow these simple maintenance tips:
- Regular Cleaning: Sweep or vacuum regularly to remove dust and debris, preventing scratches and preserving the finish.
- Damp Mopping: Use a damp mop with a pH-neutral cleaner for deeper cleaning to remove spills and stains without damaging the surface.
- Avoid Harsh Chemicals: Steer clear of abrasive cleaning products, as they can discolor the floor or damage the protective sealer.
- Importance of Sealing: Sealing protects your floors from dirt, moisture, and wear while keeping the color vibrant and enhancing durability.
- When to Reseal: Reseal every 1-3 years, or sooner if the floor appears dull or no longer repels water effectively.
Regular cleaning and sealing are essential for maintaining the beauty and longevity of your stained concrete floors. By following these simple steps, your floors will continue to shine for many years.
Conclusion
Stained concrete floors in a house are a durable, affordable, and stylish option that can really improve any space.
I’ve noticed that with the right care and maintenance, these floors can last for decades, making them a smart choice for high-traffic areas.
After reading this guide, you should have a better sense of whether stained concrete floors are the right fit for your home.
Just remember to consider factors like cost, design preferences, and how much upkeep you’re willing to do.
If you want more home improvement ideas, check out my other blogs on the website for tips and inspiration.