
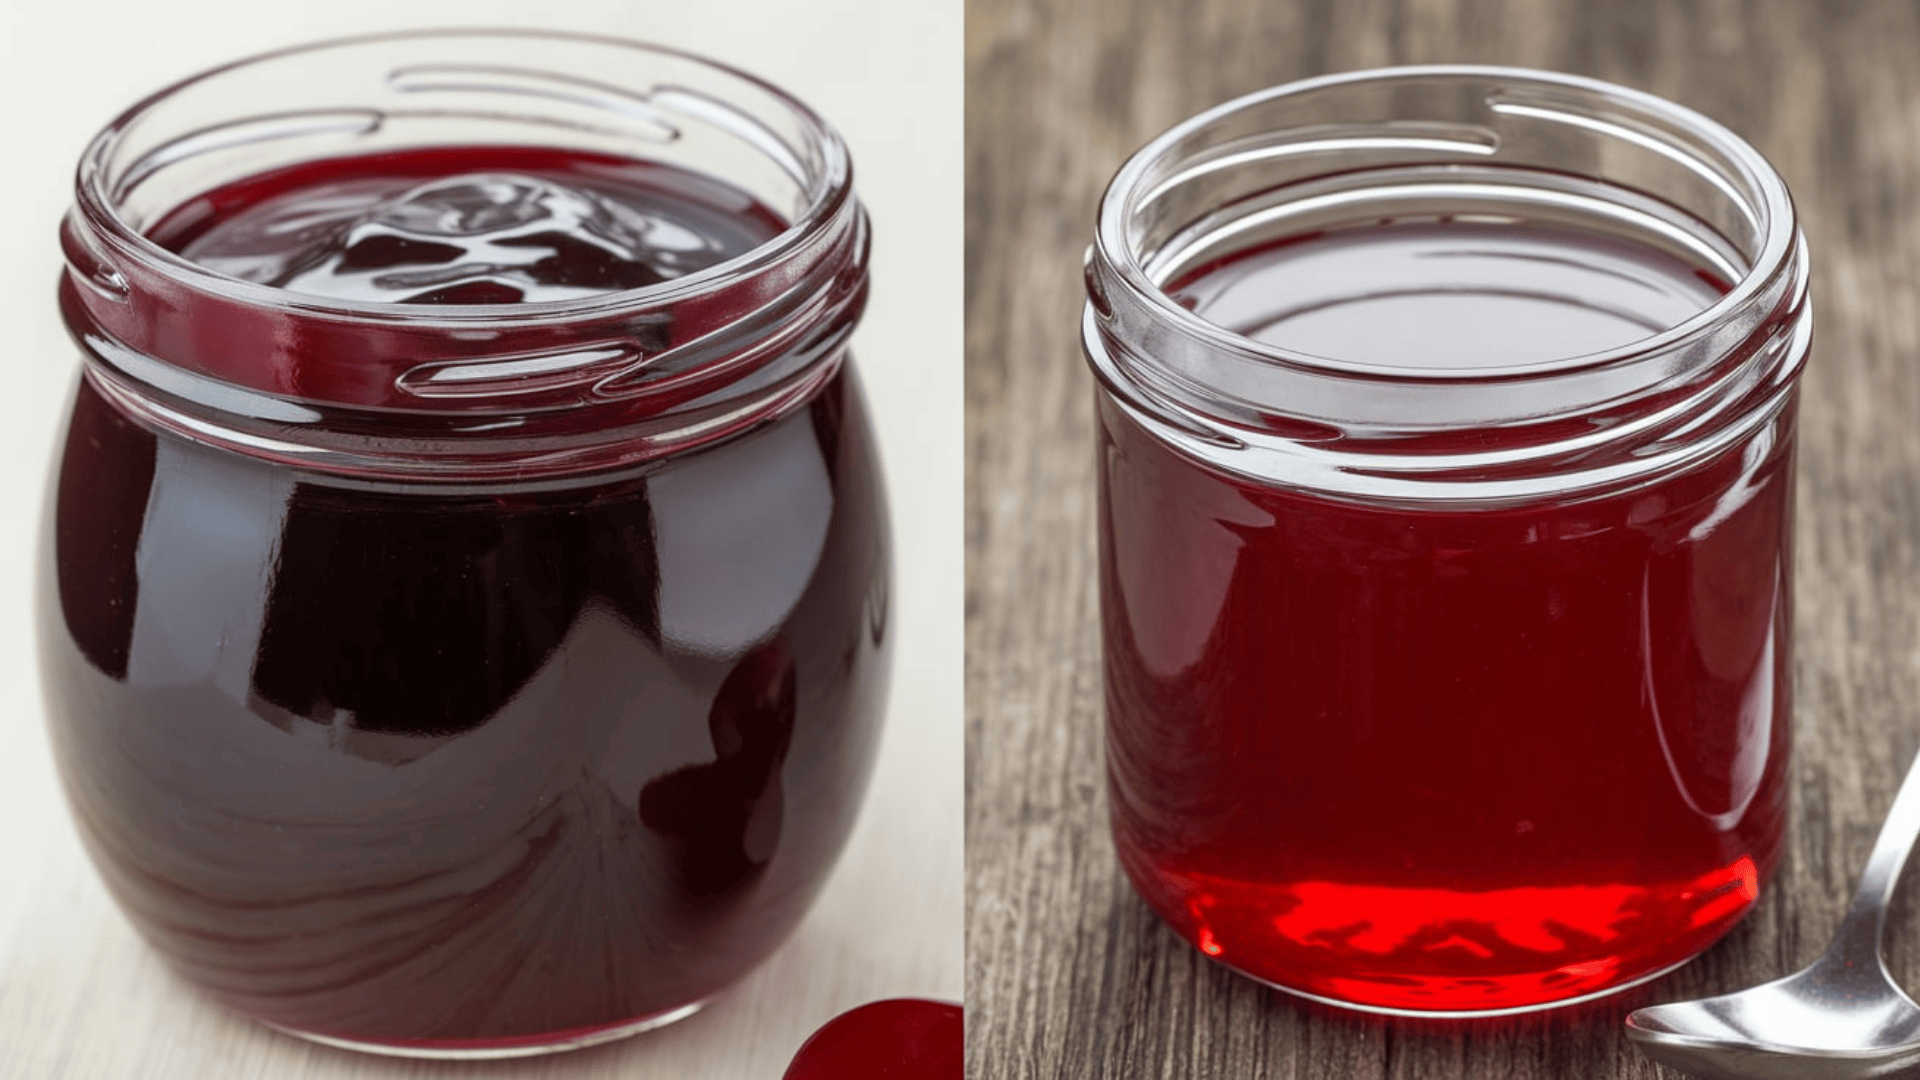
Easy Homemade Plum Jelly Recipe
Homemade plum jelly is a sweet and flavorful treat that’s easy to make. Store-bought options often contain preservatives, but making it yourself gives you fresh, natural flavors.
You can create a smooth, spreadable jelly that pairs perfectly with toast, biscuits, or even desserts with just a few ingredients.
There are two ways to make plum jelly—using added pectin for a quicker set or relying on the fruit’s natural pectin for a traditional method. Both produce a delicious result with slightly different textures.
If you’re new to jelly-making or already experienced in canning, this recipe will guide you through each step.
Follow along for simple instructions, helpful tips, and ways to adjust the recipe to suit your taste.
Ingredients and Tools Needed
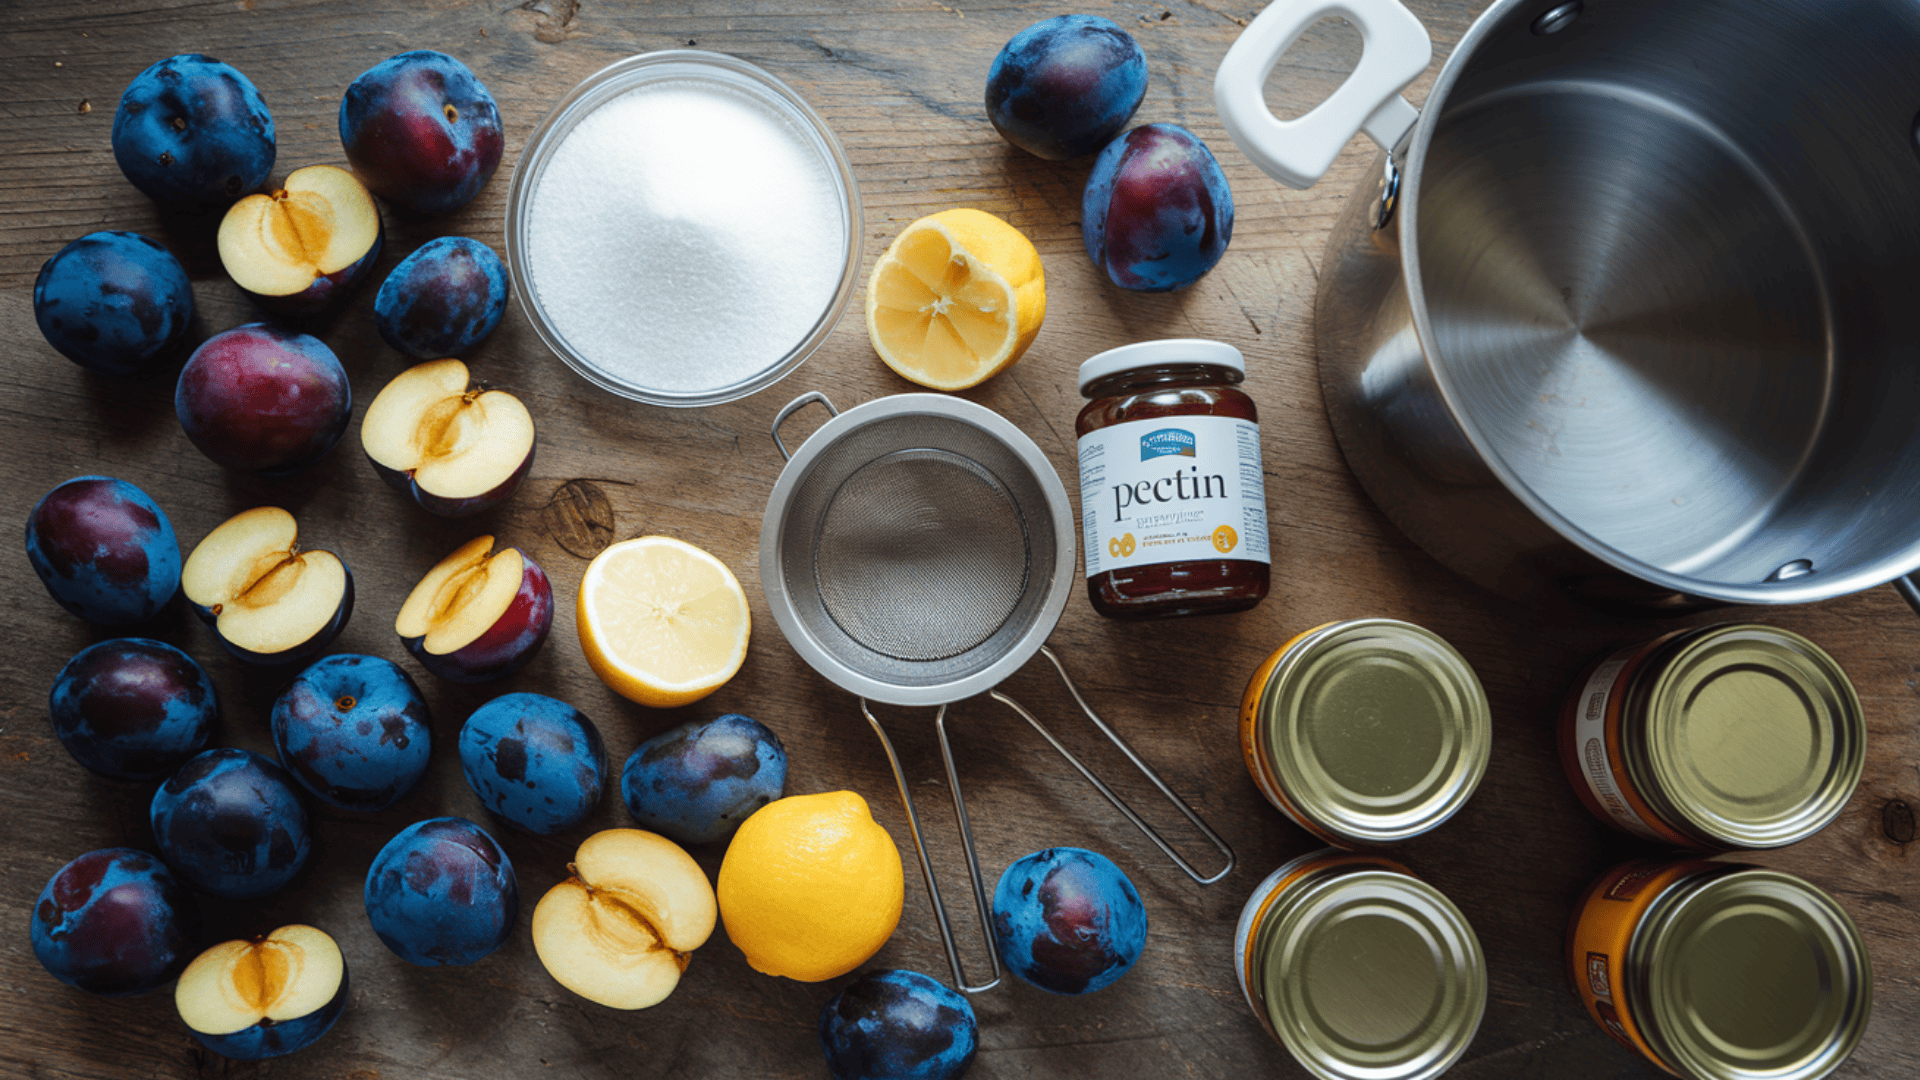
Essential Ingredients
- Plums: Fresh, ripe plums give the best flavor and color.
- Sugar: Helps sweeten and preserve the jelly.
- Water: Extracts juice from the plums.
- Pectin: Helps the jelly set properly (optional if using natural pectin).
- Lemon juice: Adds acidity to balance the sweetness and improve texture.
Equipment Needed
- Large pot: For cooking the plums and jelly mixture.
- Strainer or cheesecloth: To separate the juice from the pulp.
- Canning jars with lids: For storing the jelly.
- Thermometer: Helps check the right temperature for setting.
- Ladle and funnel: This makes pouring the jelly into jars easier.
Preparing the Jars
- Wash jars and lids with hot, soapy water.
- Sterilize them by boiling for 10 minutes.
- Keep warm until ready to use.
Now that everything is ready, let’s start making the jelly!
Step-by-Step Guide to Making Plum Jelly
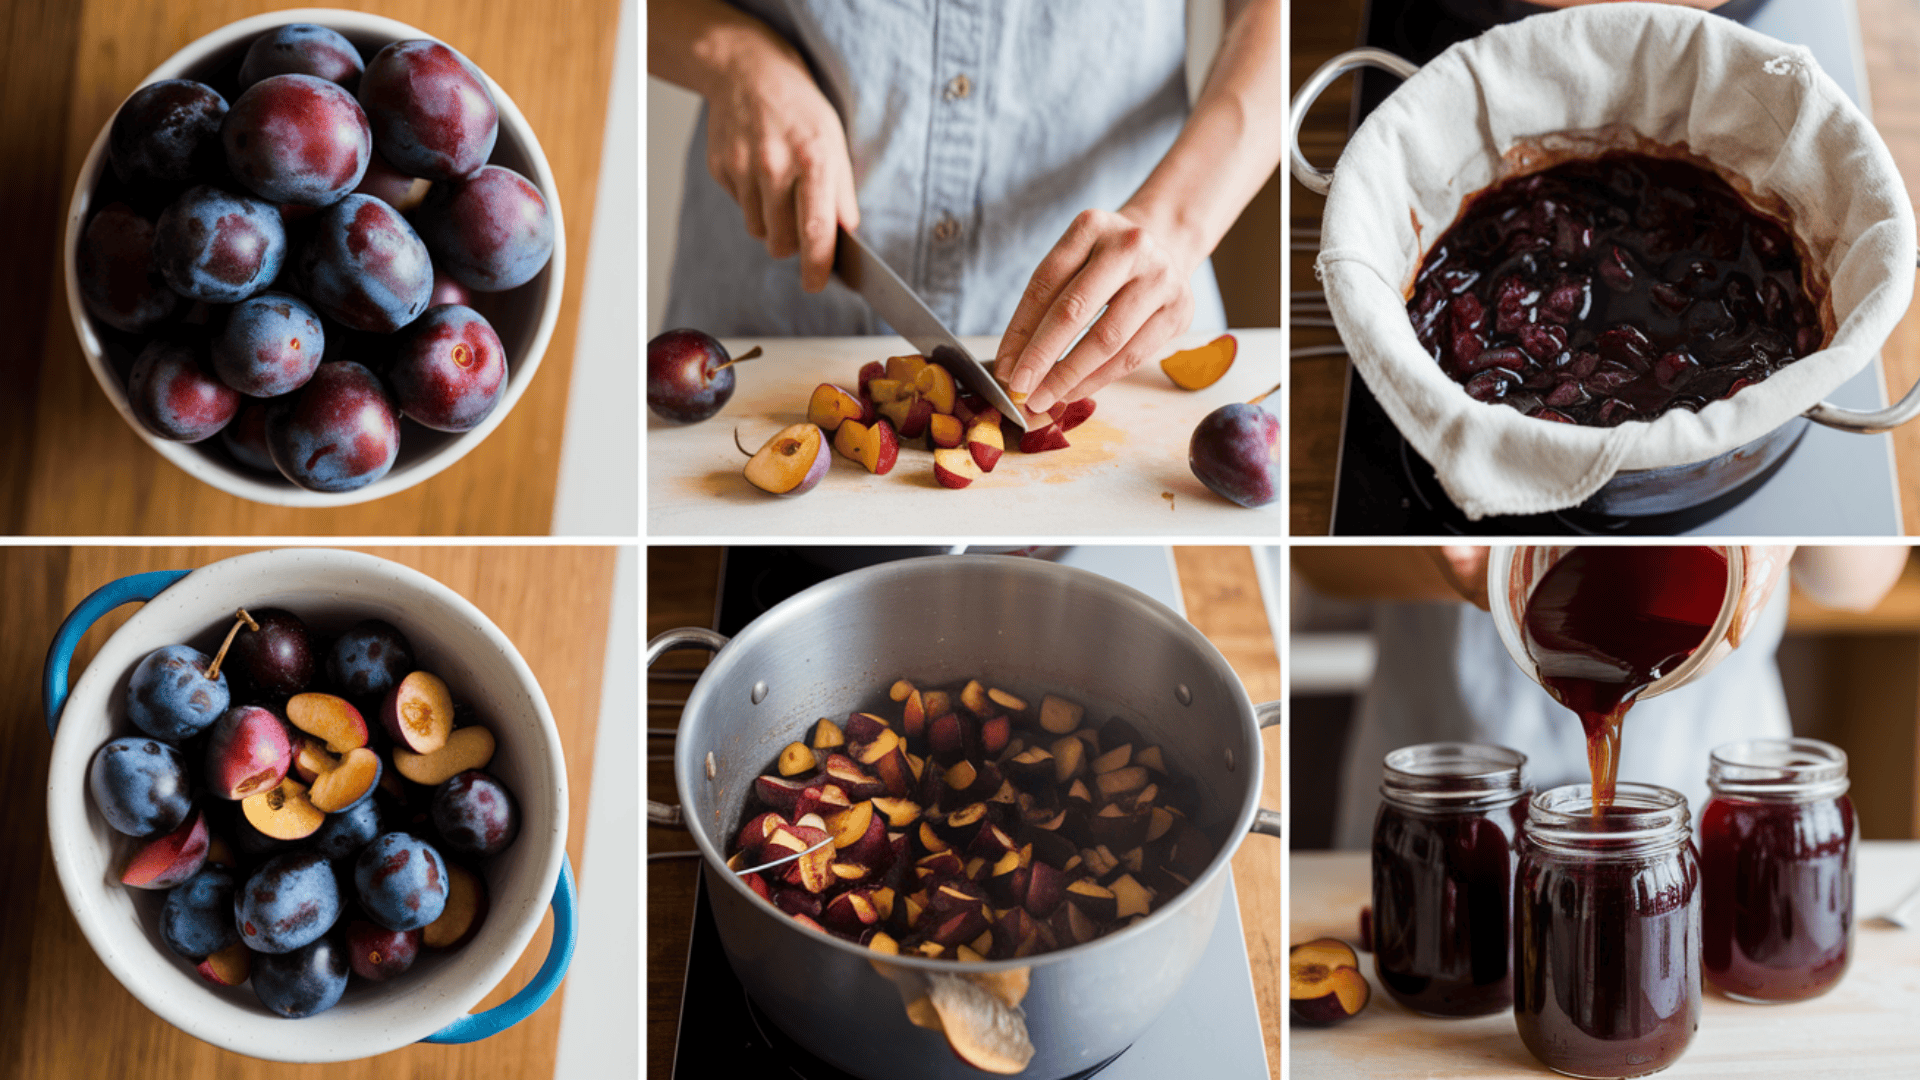
Prepare the Plums
- Wash thoroughly: Rinse the plums under running water to remove dirt and debris.
- Cut and remove pits: Slice each plum in half and remove the pits. There’s no need to peel the skin, which adds color and natural pectin to the jelly.
Extract the Juice
- Cook the plums: Place them in a large pot with water. Simmer over medium heat for about 20 minutes, stirring occasionally, until they soften.
- Mash gently: Use a spoon or potato masher to break them down and release more juice.
- Strain the mixture: Place cheesecloth or a fine strainer over a bowl and pour in the cooked plums. Let the juice drip naturally for a few hours, or gently press the pulp to speed up the process.
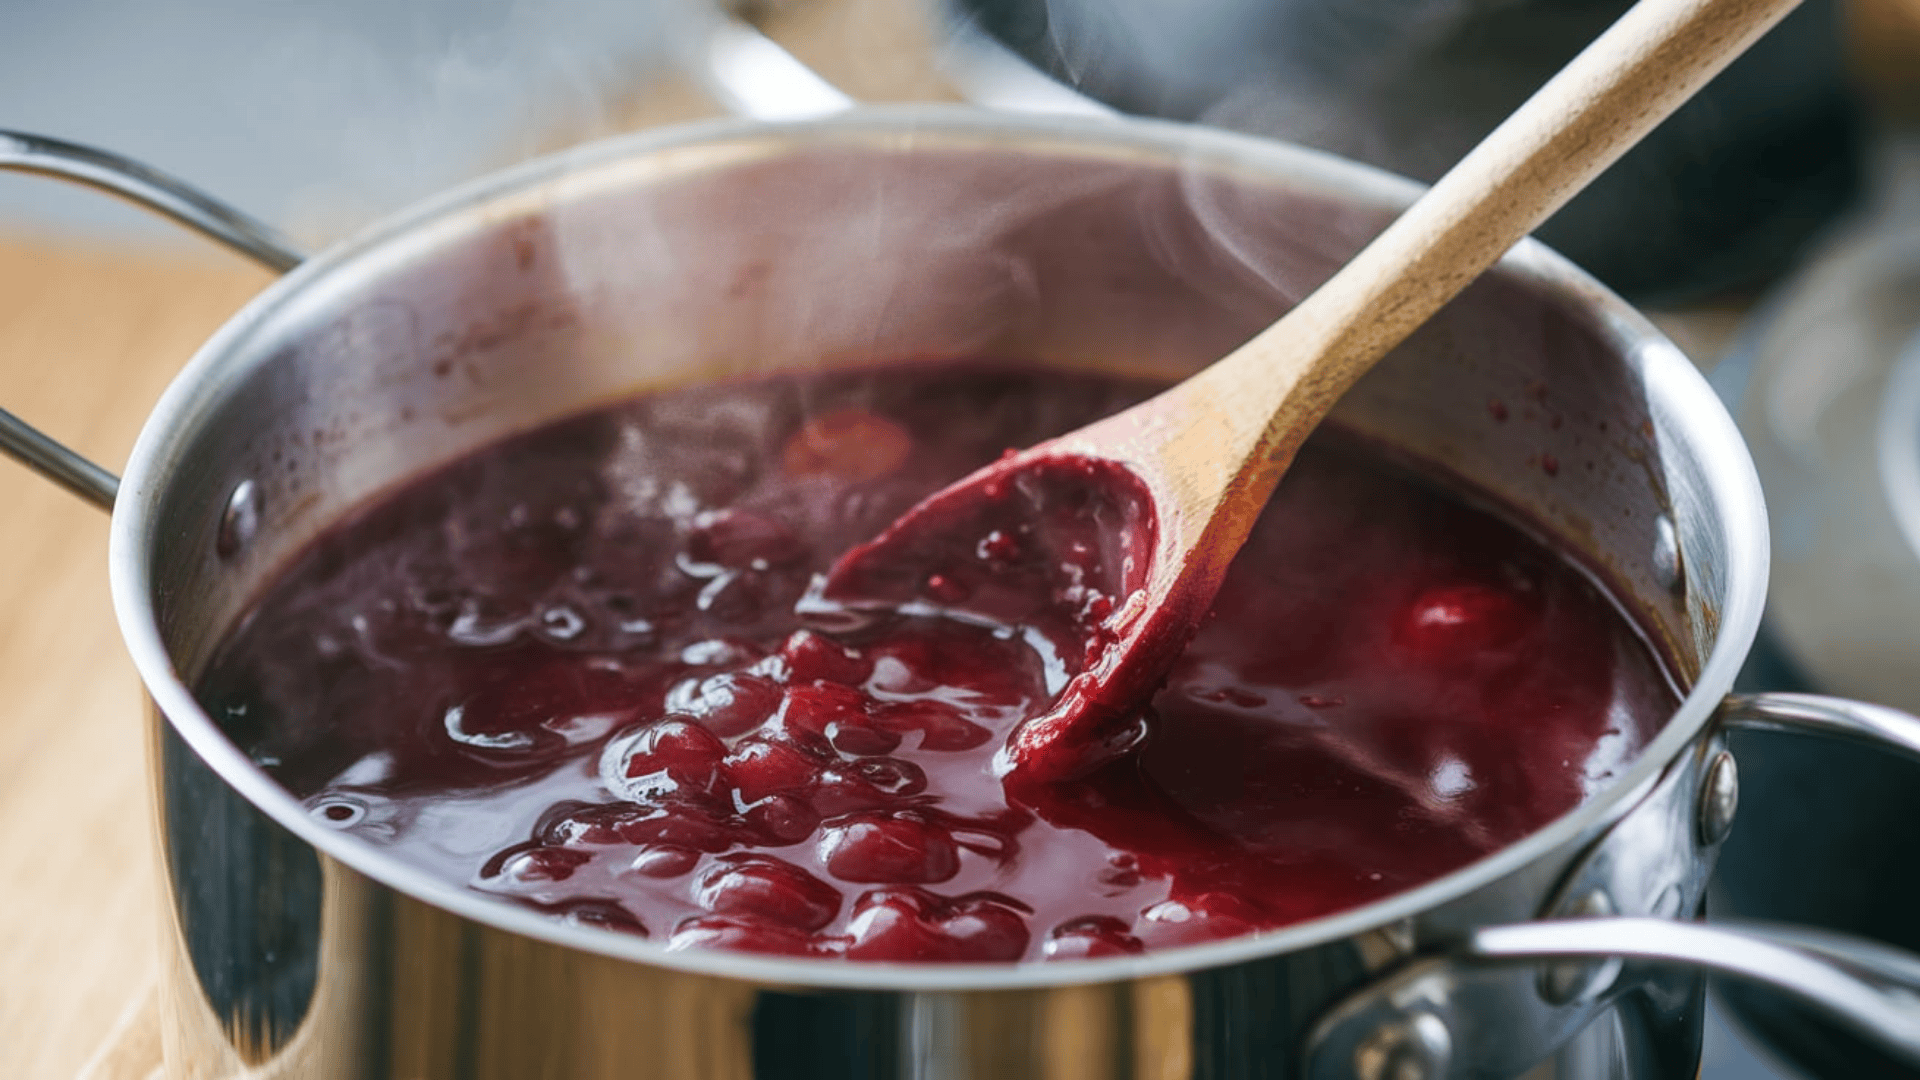
Cook the Jelly
- Measure the juice: Pour the strained juice back into the pot and measure the exact amount needed for the recipe.
- Add sugar and lemon juice: Stir well to dissolve the sugar completely.
- Mix in pectin: If using, stir it in and bring it to a rolling boil over high heat. Stir constantly to prevent burning.
Test for Doneness
- Spoon test: Drop a small spoonful of jelly onto a cold plate. If it thickens and wrinkles when pushed, it’s ready.
- Check the temperature: Use a thermometer to ensure the jelly reaches 220°F (104°C), the ideal setting point.
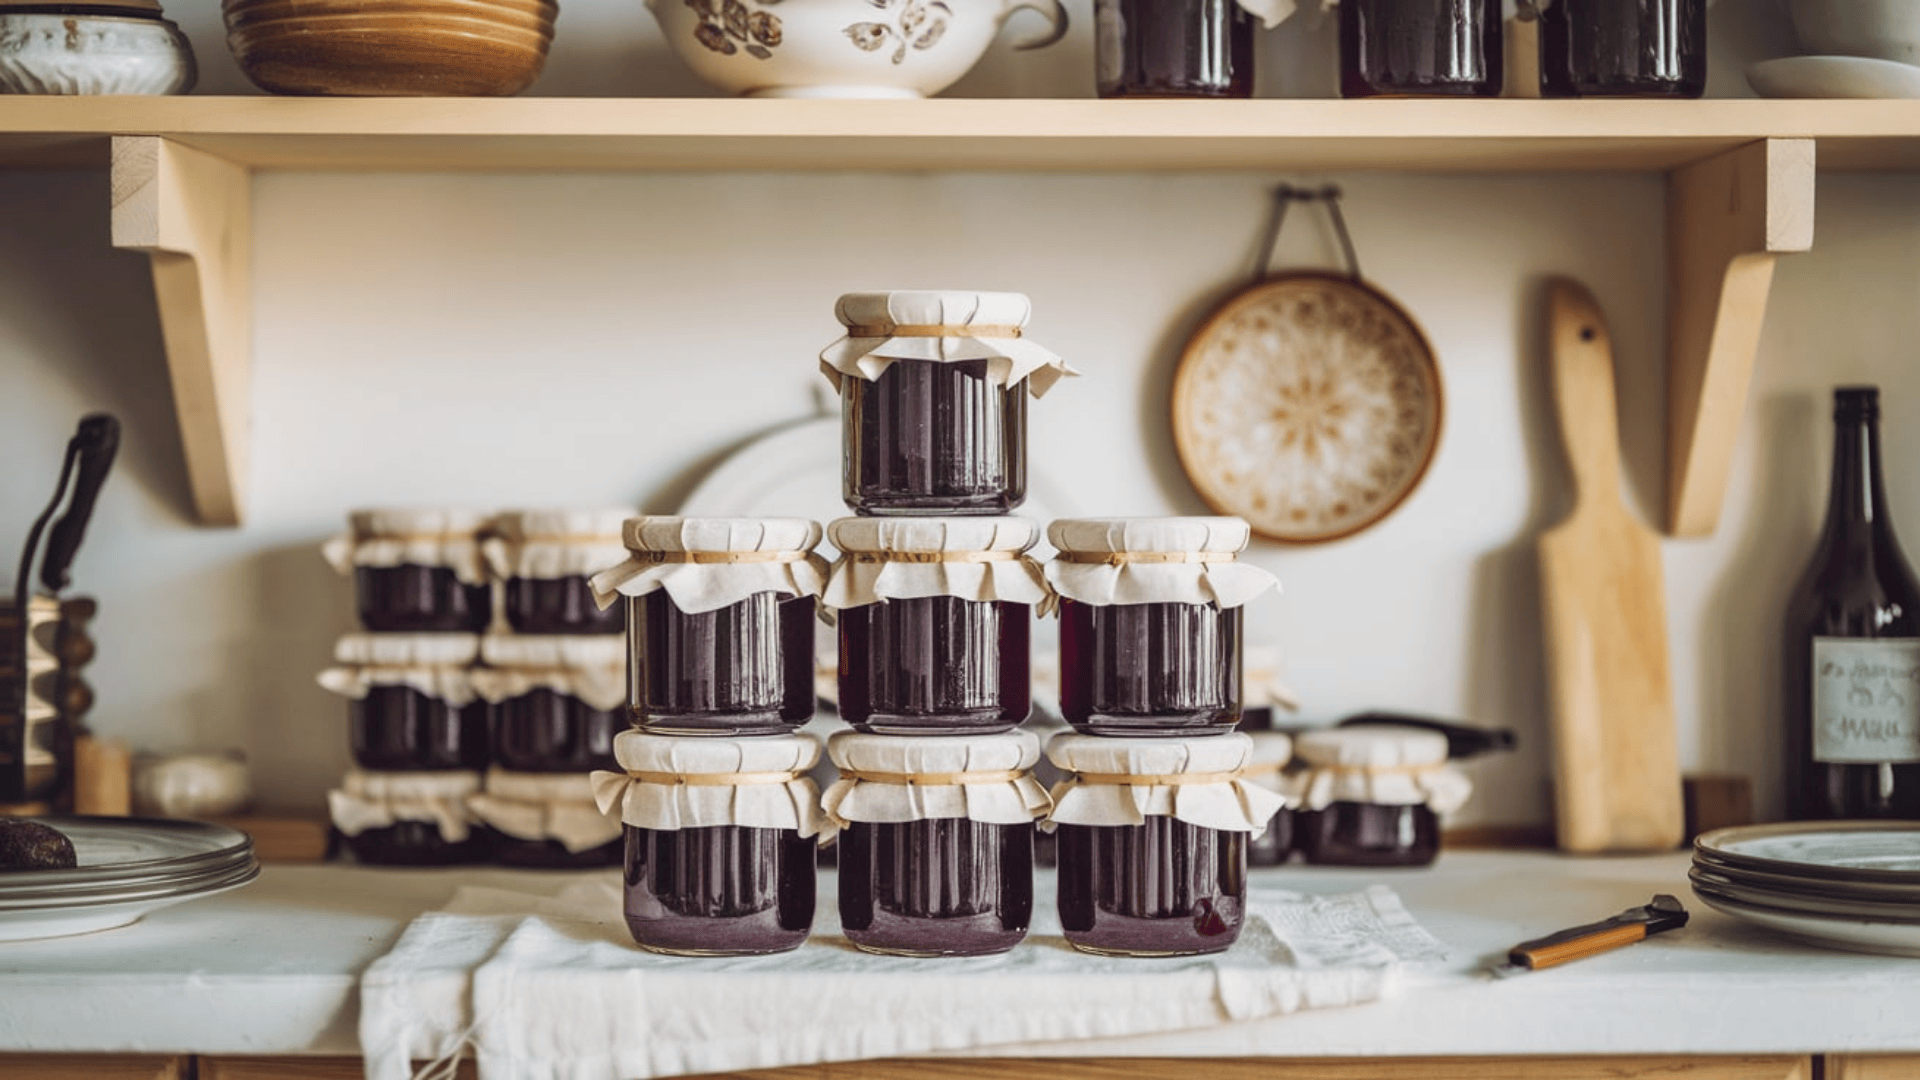
Canning the Jelly
- Pour into jars: Use a funnel to fill sterilized jars, leaving about ¼-inch of space at the top.
- Seal tightly: Wipe the rims clean, then place the lids and screw them on firmly.
- Process in a water bath: Place jars in a boiling water bath for 10 minutes to ensure proper sealing and long-term storage.
- Cool and store: Remove jars from the water bath and let them cool completely. Store in a cool, dark place.
Once set, your homemade plum jelly is ready to enjoy on toast, biscuits, or even as a glaze for meats!
Plum Jelly Without Pectin: A Natural Alternative
If you prefer a more traditional method, you can make plum jelly without adding pectin. Plums naturally contain pectin, but the process takes a little longer to achieve the right consistency.
Follow these steps to ensure your jelly sets properly.
Increase the Cooking Time
- After straining the juice, return it to the pot.
- Simmer the juice over low heat for about 30–45 minutes, stirring occasionally.
- The longer cooking time helps concentrate the natural pectin and thicken the jelly.
Adjust the Sugar Ratio
- Use a 1:1 ratio of sugar to juice for proper thickening.
- If the jelly seems too thin, add a little more sugar and cook longer.
Add Lemon Juice for Better Setting
- Lemon juice helps boost natural pectin levels and improves the jelly’s texture.
- Use about 1 tablespoon per cup of juice for the best results.
Test for Doneness
- Use the same spoon test or temperature check (220°F or 104°C) to ensure the jelly is ready.
- If it doesn’t set, continue cooking for a few more minutes and test again.
Follow the Same Canning Process
Once thickened, pour the jelly into sterilized jars, seal tightly, and process in a water bath for safe storage.
Plum jelly without pectin has a slightly softer texture, but it’s just as delicious. This method works best with ripe, high-pectin plums for a naturally thick jelly.
Storage and Preservation Methods
Proper storage keeps your plum jelly fresh and safe to eat. The method you choose depends on how long you plan to keep it.
Short-Term Storage (Refrigerator)
If you plan to use the jelly within a few weeks, store it in a sealed jar in the refrigerator. It will stay fresh for up to three weeks. Always keep the lid tightly closed to prevent moisture buildup. If the jelly becomes too firm, let it sit at room temperature for a few minutes before using.
Freezing for Longer Storage
For longer storage, you can freeze plum jelly in freezer-safe containers. Leave about ½ inch of space at the top to allow for expansion. Frozen jelly can last up to a year. When ready to use, thaw it in the refrigerator overnight.
Long-Term Storage (Canning)
Process the jars in a boiling water bath for 10 minutes to store plum jelly for months without refrigeration. Once sealed, keep them in a cool, dark place like a pantry or cupboard. Properly canned jelly can last up to a year.
Checking for Spoilage
Before using, always check the jelly for signs of spoilage. If a jar has mold, an off smell, or a broken seal, discard it immediately. Always use clean utensils to keep your jelly fresh and avoid introducing moisture into the jar.
Following these storage methods ensures your plum jelly stays fresh and delicious for months!
Common Plum Jelly Problems and Fixes
Even with careful preparation, jelly doesn’t always turn out as expected. Here’s how to fix some common issues.
Jelly Is Too Runny or Not Setting
The jelly may not have cooked long enough or reached the right temperature if it is too thin. Let it simmer for a few more minutes and test again using the spoon test or temperature check (220°F or 104°C).
If it still doesn’t set, try these fixes:
- Add a little more pectin or lemon juice and cook again.
- Let the jelly sit for 24 hours—it may thicken as it cools.
- If it remains too runny, use it as a syrup for pancakes or desserts.
Jelly Is Too Thick or Hard
Overcooking can make jelly too stiff. If this happens, gently reheat it with a small amount of water or fruit juice. Stir until it loosens to the right consistency.
Cloudy Jelly
Cloudiness is often caused by improper straining. Let the juice drip naturally through a cheesecloth without pressing the pulp to get a clearer jelly.
If your jelly is cloudy, don’t worry—it’s still safe to eat. The texture may not be perfect, but the flavor will still be great.
Crystallized Sugar
Sugar crystals form when the mixture is stirred too much or when sugar doesn’t fully dissolve before boiling. To prevent this, stir gently and make sure the sugar is completely dissolved before bringing it to a boil.
If crystallization happens, you can fix it by gently reheating the jelly until the sugar dissolves.
Adjusting Sweetness or Tartness
If the jelly is too sweet, add a small amount of lemon juice to balance the flavor. If it’s too tart, stir in a bit more sugar. Always adjust in small amounts and taste as you go.
Knowing how to fix these common issues ensures your plum jelly turns out just right!
Fun Variations and Recipe Adjustments
Plum jelly is delicious on its own, but you can easily change the flavor or adjust the recipe to suit your taste. Here are some creative ways to make it your own.
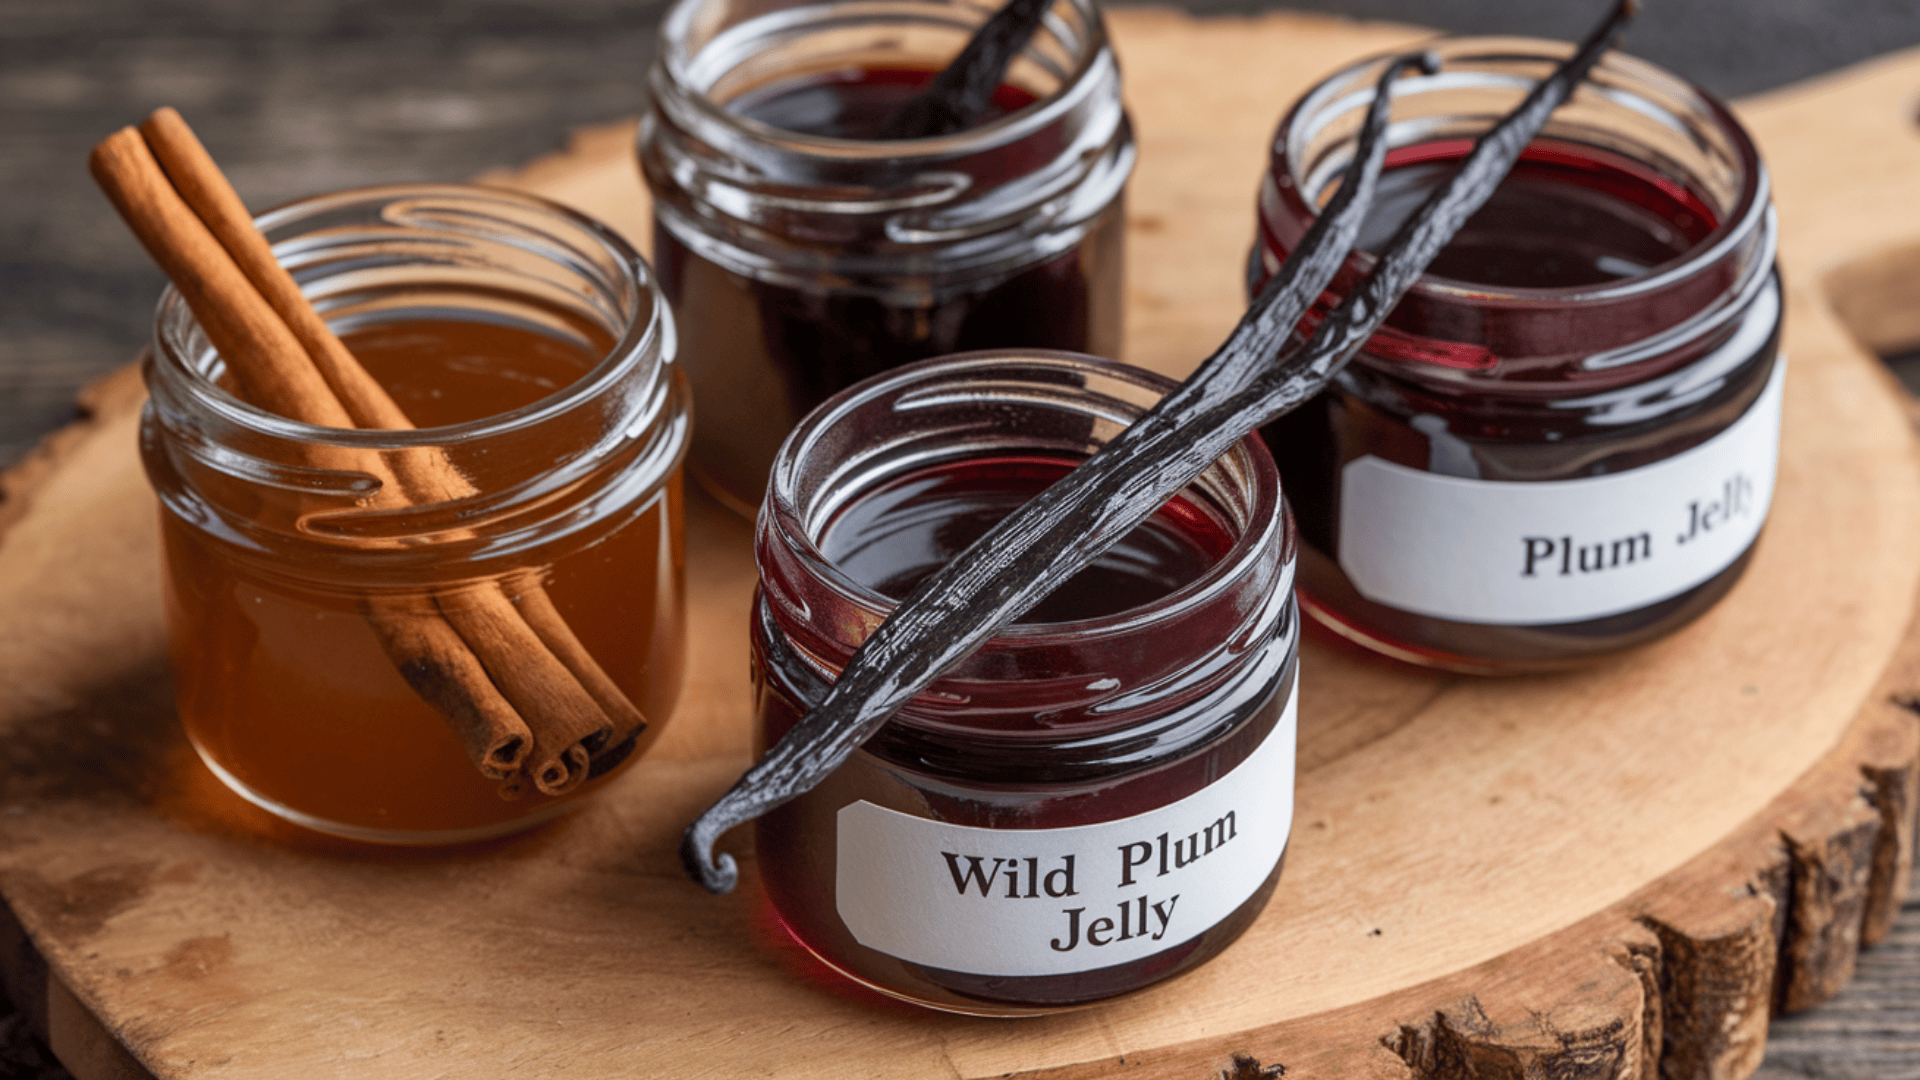
Wild Plum Jelly
Wild plums have a natural tartness that gives jelly a bold flavor. Since they contain more natural pectin, you may not need to add extra. To balance the tartness, use a little more sugar or add honey for a smoother taste.
Low-Sugar and Sugar-Free Options
If you prefer a jelly with less sugar, try these adjustments:
- Use less sugar: Reduce the amount, but keep in mind that it may affect the texture.
- Swap sugar for honey: Honey adds natural sweetness and a slight floral flavor.
- Try a sugar substitute: Stevia or monk fruit sweeteners can work, but the jelly may have a softer set.
Infused Plum Jelly
Adding extra flavors can take plum jelly to the next level. Try mixing in:
- Cinnamon sticks for warmth and spice.
- Vanilla extract for a smooth, sweet twist.
- Ginger or cloves for a bolder, slightly spiced flavor.
To infuse, add whole spices while cooking the jelly, then remove them before straining the juice. If using extracts, stir them in at the end before pouring the jelly into jars.
These simple adjustments let you customize your plum jelly while keeping the process just as easy.
Conclusion
Making plum jelly at home is simple and rewarding. You can create a sweet, flavorful spread for months with just a few ingredients.
You can use added pectin for a quicker set or rely on the fruit’s natural pectin for a traditional texture.
You can customize the flavor to your liking by adjusting sugar levels, adding spices, or trying wild plums.
Proper storage keeps your jelly fresh, and simple fixes can help if things don’t go as planned.
Now that you know the steps, give it a try! Enjoy it on toast, pair it with desserts, or gift a jar to someone special.
For more homemade recipes and kitchen tips, check out other blogs on our website!
Frequently Asked Questions
Why Didn’t My Jelly Set?
It may not have reached 220°F (104°C) or been cooked long enough. Let it rest for 24 hours. If it is still runny, reheat it and add more pectin or lemon juice.
Can I Use Frozen Plums?
Yes, frozen plums work well. Thaw them completely before cooking to release their juice. They may have slightly more liquid, so adjust the cooking time.
How Do I Fix Jelly That’s Too Sweet or Too Tart?
If it’s too sweet, add lemon juice. If it’s too tart, stir in more sugar. Adjust in small amounts and taste before making further changes.
How Long Does Homemade Plum Jelly Last?
Refrigerated jelly lasts 3 weeks, frozen jelly lasts 1 year, and properly canned jelly stays fresh for up to a year in a cool, dark place.


