How to Fix Chipped Wood at Home?
Chipped wood can be pretty annoying, whether it’s on your furniture, door frames, or wooden floors. But don’t worry—it’s easier to fix than you might think!
You don’t need to be a woodworking expert or have fancy tools to get the job done. With a few simple materials like wood filler, sandpaper, and paint, you can make chipped wood look as good as new.
In this blog, I’ll walk you through the simple steps to fix chipped wood, from cleaning the damaged area to applying filler and finishing it off smoothly.
You’ll learn quick and easy ways to repair it without spending a lot of money in no time.
How to Check the Damage Before Fixing
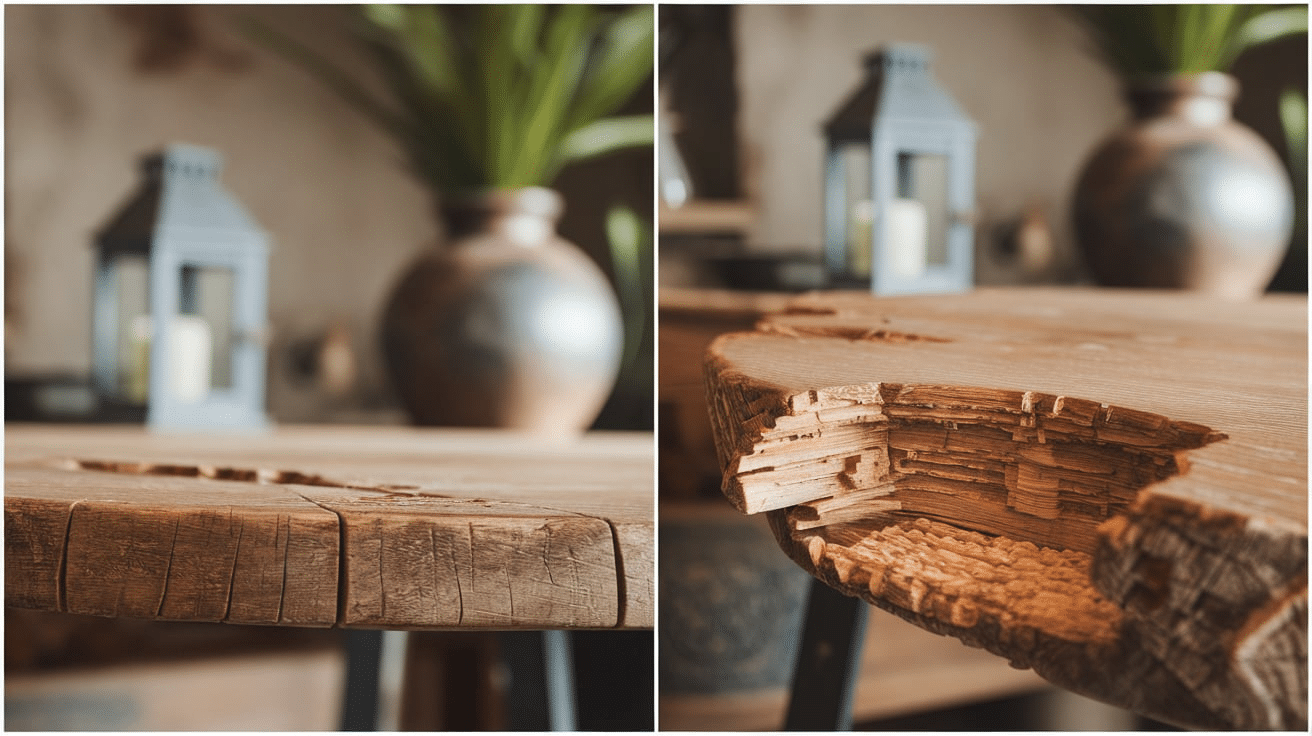
Before you start fixing chipped wood, it’s important to figure out how bad the damage is. This helps you choose the right tools and methods to get the best results.
1. Look at the Size of the Chip: Is the chip small, like a tiny dent or scratch? Or is it a larger chunk missing? Small chips are easier to fix with wood filler, while bigger chips may need extra steps like using wood glue and adding layers of filler.
2. Check How Deep It Is: Press gently around the chipped area. If it feels soft or the wood is cracked deeper, the damage might go beyond the surface. Deeper chips may need more filling and sanding.
3. Decide if It’s a DIY Job: If the damage is minor, you can fix it yourself. But if the wood is rotting, badly cracked, or part of a heavy structure, you might need help from a professional.
Tools and Supplies You’ll Need to Fix Chipped Wood
Before you start fixing chipped wood, make sure you have the right tools and supplies. Having everything ready will make the process quicker and easier. Here’s what you’ll need:
- Wood Filler or Wood Putty: This helps fill in the chipped area and smooth it out.
- Putty Knife: Used to spread the wood filler evenly.
- Sandpaper (Fine Grit): Helps smooth the surface after the filler dries. Look for sandpaper with a grit of 120–220.
- Wood Glue (for Bigger Chips): If a large piece has broken off, wood glue can help reattach it.
- Cloth or Rag: To clean dust and dirt before and after the repair.
- Paint or Wood Stain: To match the repaired area with the rest of the wood.
- Protective Gear (Optional): Gloves and a dust mask can help keep your hands clean and protect you from dust when sanding.
Preparing the Wood Before Fixing
Before you start fixing the chipped wood, you need to get the area ready. This will make the repair process smoother and help the materials stick better. Here’s How to Prepare:
-
Clean the Damaged Area: Use a cloth to wipe away any dust, dirt, or old paint. You want the area to be clean so the filler can stick properly.
-
Sand the Edges: Gently sand around the chip. This helps smooth out the edges and makes the filler blend better with the rest of the wood.
-
Dry the Area: Make sure the area is dry before you apply anything. If it’s wet, the wood filler or glue might not stick properly.
Repairing the Chips
1. For Small Chips
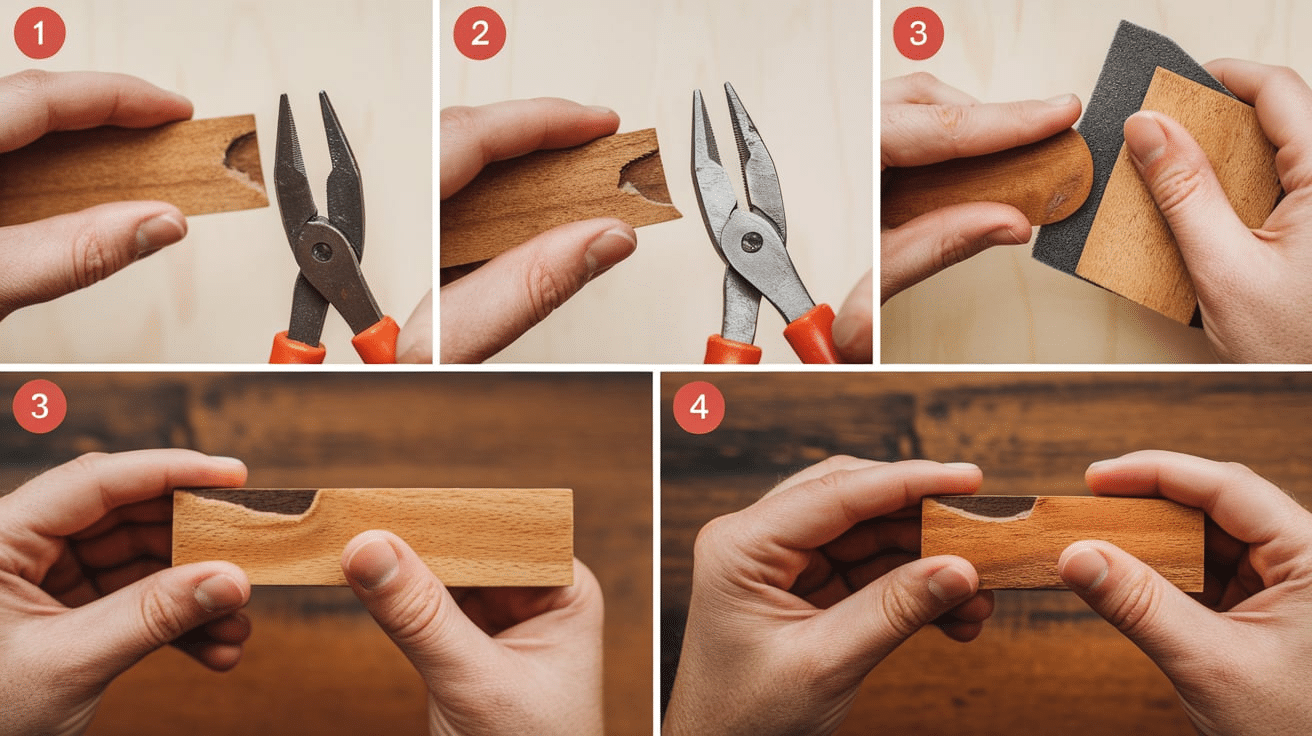
Apply Wood Filler
For minor chips, wood filler is the easiest and most common solution. Use a putty knife to scoop out a small amount of filler. Gently press the filler into the chipped area, making sure it fills the whole space. Try to push it into the edges of the chip to ensure it stays in place. You can apply extra filler if needed, but avoid using too much at once.
Smooth the Surface
After filling the chip, use the putty knife to smooth the surface of the filler. Try to make it as even as possible with the rest of the wood so you don’t have to sand too much later. If the filler comes out a little higher than the surrounding wood, don’t worry—it’ll shrink as it dries. Let the filler dry completely according to the manufacturer’s instructions, usually about 1–2 hours.
Light Sanding
Once the filler is dry, lightly sand the repaired area using fine-grit sandpaper (around 220 grit). Sand gently until the surface is smooth and level with the rest of the wood. Be careful not to sand too much or too hard, as it could remove some of the filler.
2. For Larger Chips
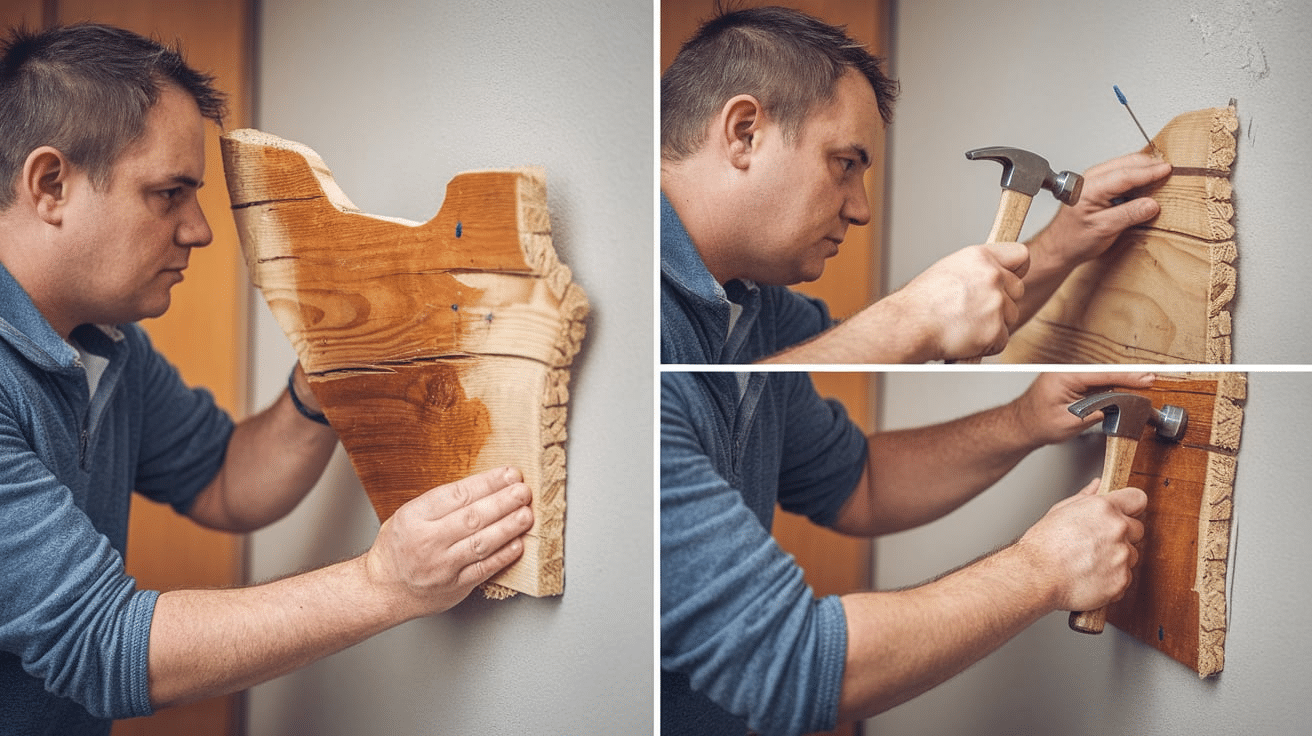
Make a Wood Paste
For larger chips or missing pieces of wood, you may need to create a paste using wood glue and sawdust from the same type of wood (if available). If you don’t have sawdust, you can buy wood dust from a hardware store or use a wood file to create some. Mix the wood glue and sawdust together until you get a thick paste. The paste should be spreadable but not runny.
Fill the Chip
Carefully apply the paste to the chipped area using a putty knife or a similar tool. Make sure to overfill the chip slightly, as the paste may shrink a little as it dries. Press the paste in gently, making sure you get into all the corners and edges of the chip. Don’t worry if it looks messy at this stage—it will be smoothed out later.
Let It Dry
Allow the paste to dry thoroughly. This can take several hours, so be patient. The drying time will depend on the size of the chip and the type of glue used. Once it feels firm to the touch, you can move on to sanding.
Once your chip is repaired, you can proceed with the finishing touches so that the area matches the rest of the wood, depending on your project!
Sanding and Smoothing the Repair for Smooth Finish
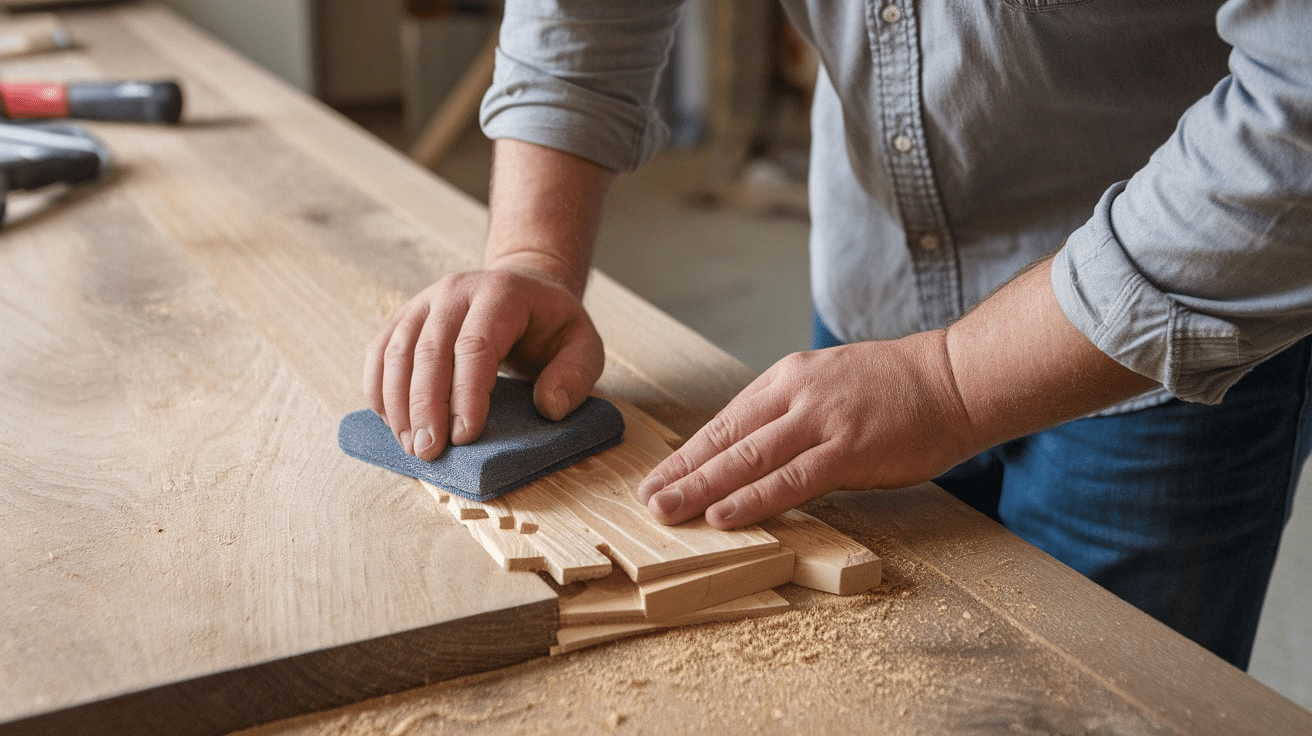
Once the filler or paste has dried, it’s time to smooth everything out so your repair looks seamless.
-
Start Sanding: Use fine-grit sandpaper (around 220 grit) to gently sand the repaired area. Sand in a circular motion to avoid creating visible lines. Be careful not to sand too hard, or you might damage the surrounding wood.
-
Check for Smoothness: After sanding, run your hand over the surface to check for any rough spots. If it feels uneven, keep sanding until it’s nice and smooth. The goal is to make the repaired area flush with the rest of the wood.
-
Clean the Dust: Once you’re happy with the smoothness, wipe away any dust with a clean cloth. This will prepare the surface for staining or painting.
How to Stain or Paint the Repair
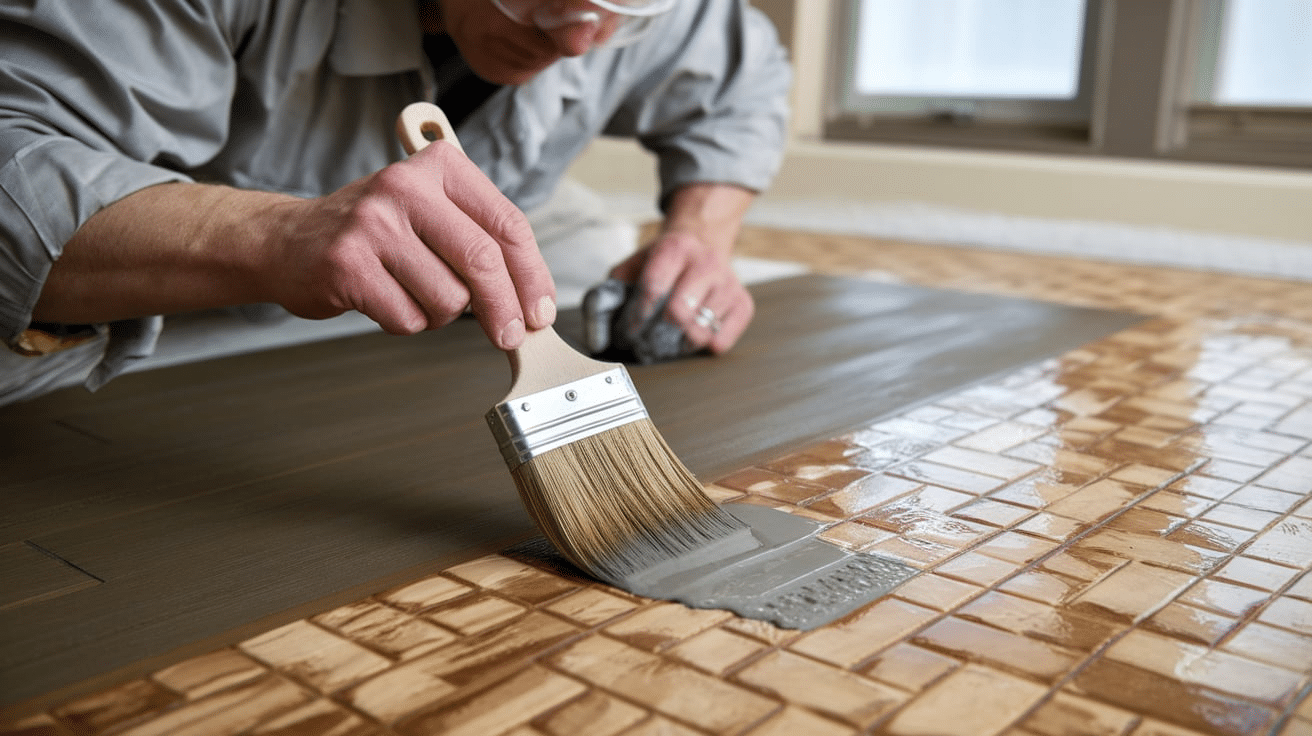
Now that the repair is smooth, it’s time to make the area blend in with the rest of the wood.
-
Choose the Right Stain or Paint: Pick a stain or paint that matches the color of the wood. If you’re not sure, test a small amount on a hidden spot to see if it matches.
-
Apply the Stain or Paint: Using a brush or cloth, apply the stain or paint to the repaired area. Be sure to cover the filler or paste completely so it blends in with the surrounding wood. If you’re using stain, apply it in the direction of the wood grain.
-
Let It Dry: Allow the stain or paint to dry according to the manufacturer’s instructions. You might need to apply a second coat for full coverage.
-
Finish with a Protective Coat: For extra protection, especially if the wood is going to get a lot of use, consider adding a clear finish or varnish over the repaired area. This will help protect the wood from scratches and moisture.
Helpful Tips for a Perfect Wood Repair
Here are some easy tips to make sure your wood repairs turn out looking perfect:
-
Use the Right Sandpaper: For sanding, always start with a fine grit (around 220) to avoid scratches. If you start with rough sandpaper, it can leave marks that are hard to fix.
-
Test Your Stain or Paint: Before applying your stain or paint to the repair, test it on a small, hidden spot to make sure it matches the rest of the wood. This can save you from making mistakes.
-
Clean the Area Well: Before applying any fillers or finishing products, always clean the wood thoroughly. Dust and dirt can get in the way and cause the products to not stick properly.
-
Protect the Repair: If your wood is going to be used a lot, consider applying a protective coat, like varnish or clear sealant, to keep the repair looking fresh longer.
Conclusion
Fixing chipped wood doesn’t have to be hard. With the right materials and a little patience, you can easily restore your wooden furniture or surfaces to look new.
Whether it’s a small chip or a larger damage, the process is pretty straightforward. Start by assessing the damage, gather your materials, and carefully follow each step.
Taking your time to sand and smooth will make a big difference. Once you apply the stain or paint, your repair will blend right in with the rest of the wood.
Just keep these tips in mind, and your wood surfaces will stay looking good for a long time.