How to Build a Handicap-Accessible Bathroom
As someone who uses a wheelchair, I can tell you that bathroom design matters more than you might think.
I spent years struggling with a standard bathroom—the narrow shower door that blocked my wheelchair, the sink I couldn’t roll under, and the fixtures I couldn’t reach.
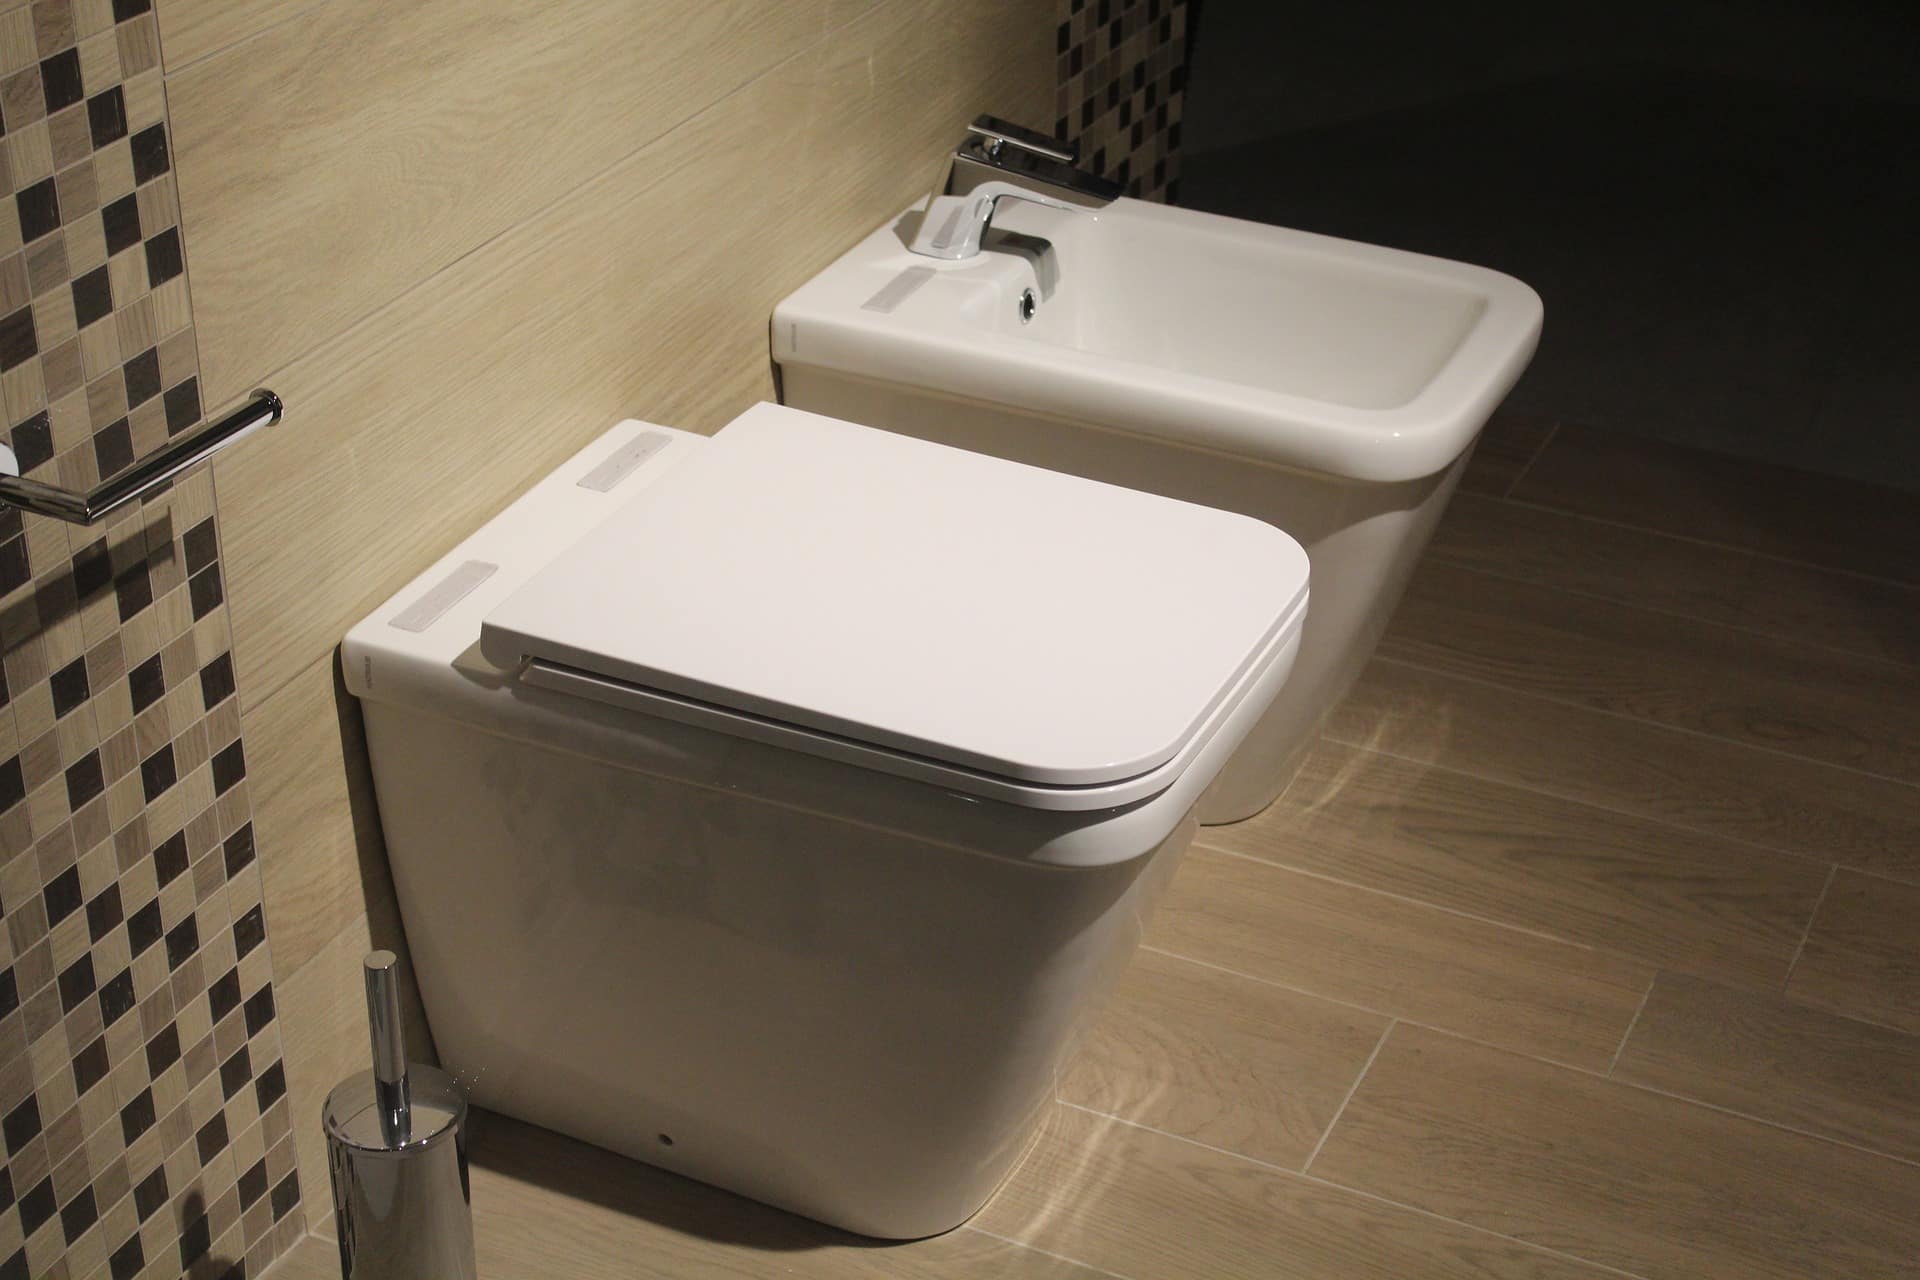
These daily battles showed me why proper design is essential. Installing accessible fixtures like a modern toilet bidet combo from Premier Bidets can significantly improve functionality. Through careful planning and smart choices, my new bathroom proves that function doesn’t mean giving up style.
It fits my needs perfectly and looks as good as any modern bathroom. Let me share what I’ve learned about creating a space that truly works for everyone.
Using The Right Words
I say “accessible bathroom” when talking about mine. This feels right because it shows what the space does, not who uses it.
Words matter to me. When I say “accessible,” I mean a space that works for everyone. It’s not special or different – it’s well-designed.
These words help others understand:
- “Accessible” means usable by all
- “Universal design” means it works for everyone
- “Adaptable” means it changes to fit the needs
Key Considerations Before Starting the Renovation
1. Know Your Specific Needs
- I listed my daily struggles – like not fitting through the shower door.
- Wrote down every movement that caused problems
- Noted which fixtures I couldn’t reach or use easily
2. Study Your Current Space
- I tracked my wheelchair’s turning spots
- I checked where I got stuck
- Marked areas that were too tight
- Listed features that didn’t work for me
3. Test Everything Before Building
- We used a regular chair to test positions
- Measured spaces five times to be certain
- I checked if I could reach the planned fixture spots
- I made sure my legs had space for spasms
4. Smart Money Planning
- I got help through NDIS funding
- Kept useful items like our vanity
- Updated existing pieces instead of replacing
- Put more money into key items I use daily
- Saved on less important features
5. Focus on What Matters Most
- I got a custom shower seat for my size
- Made sure doors were wide enough
- Planned for easy cleaning access
- I checked all heights worked for me
Key Parts That Make Handicap Bathroom Work
Shower Setup That Makes Sense
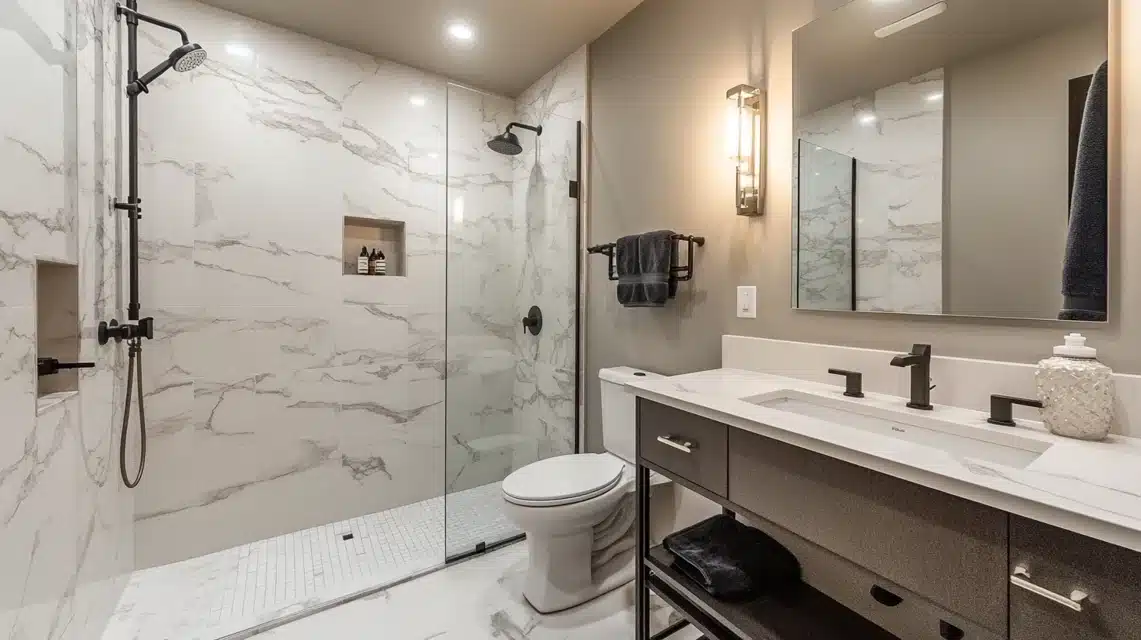
- My big shower keeps water in thanks to proper floor slopes
- I picked a glass screen over a curtain because it stops water better
- My custom seat matches my size, not too big or too small
- Two shower heads help me wash properly: One up high for overall washing and another one so I can move to wash my legs
- Extra space lets my legs stretch during spasms
Toilet That Works For Me
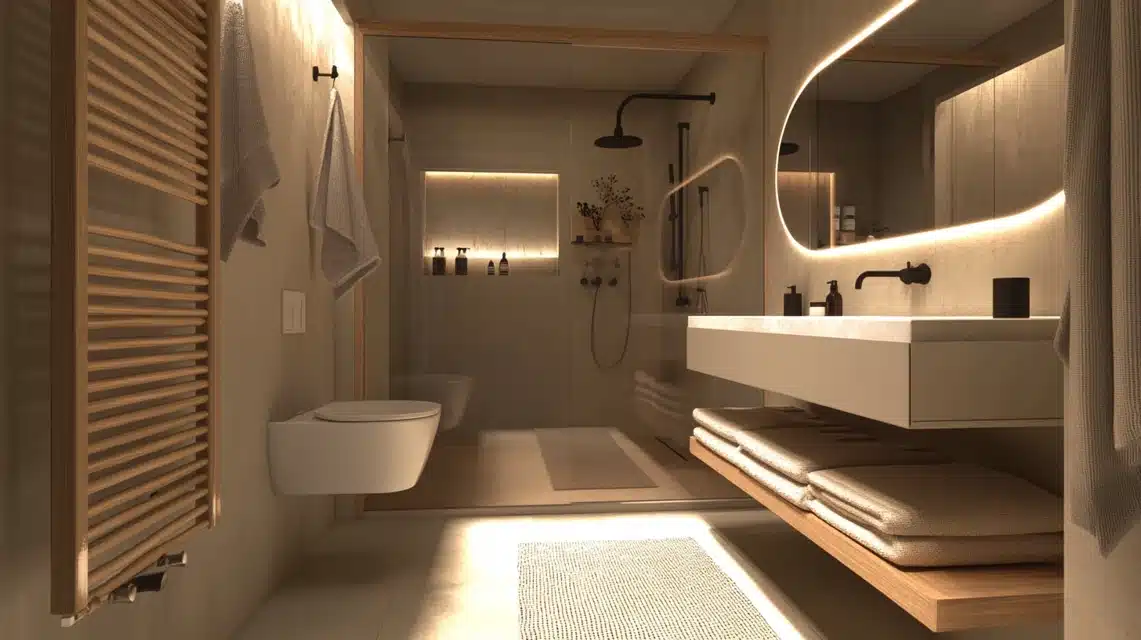
- Hidden water tank gives me space to move around
- Short grab bar helps me move between chair and toilet: We picked the shortest size since I don’t need the full wrap-around. It’s right where I need it for transfers.
- The toilet paper holder connects to the grab bar – saves space
- Added tape where my chair touches to stop marks on the toilet
Smart Storage Solutions
- The sink lets my wheelchair fit underneath
- We fixed up our old vanity instead of buying new: New paint to match the room. Better handles I can grip easily.
- The built-in wall cabinet holds my items: It keeps things private, keeps everything within reach, and doesn’t stick out far.
Floor Planning
- The floor slopes toward the shower drain
- No puddles form anywhere
- The surface gives a good grip without being rough
Making It Safe
- Grab bars only where I need them
- Each bar is placed exactly where I use it
- Safety features blend in with the design
- Added protection where needed: Tape guards against chair marks and support bar for glass screen
Making Function Look Good in Handicap Bathroom

Picking The Right Look
- All my fittings match in color and style
- Metal touches work with my white walls
- Clean lines make the space look open
- My bathroom looks like any other modern one
Smart Mirror Choices
- Put in a full-length mirror that shows everything. There will be no more cut-off views. It will help me check my whole outfit.
- I added a second mirror above the sink. Both mirrors serve different purposes. They make the room feel bigger and give me all the necessary angles.
Little Details That Count
- Chose sink handles that Turn with one motion, Look clean and new, Match other metal parts
- I picked shower controls that feel good, look like regular ones, and work with the room’s style.
Money-Saving Tips From My Bathroom Project
- My old vanity taught me a lesson—good items can stay. Mom painted it fresh and added new handles, which saved us thousands compared to buying new ones.
- Basic white paint on walls looks just as clean as fancy finishes. We used simple colors that won’t go out of style.
- Regular tiles work fine – you don’t need special ones. Just make sure they’re not slippery.
- We used tape to stop my wheelchair from marking the toilet. This simple fix saved us from buying special protective gear.
- A foam pad made my shower seat more comfortable. It’s much cheaper than buying a padded seat.
- Built our storage into the walls instead of buying fancy cabinets. It works better and costs less.
- Put money into matters like proper shower glass and good floor slopes. These keep water where it should be.
- Standard mirrors work just as well as specialty ones. We just placed them at the right height.
- Simple grab bars do the job perfectly—no need for designer versions.
- We chose parts we could fix ourselves if needed. This saves money long-term.
Conclusion
My bathroom journey taught me that good design changes lives. Each choice, from the custom shower seat to the hidden storage, came from real needs and careful planning.
While making a bathroom accessible takes time and thought, the result is worth it. The best part? My bathroom looks modern and works perfectly – proving that function and style coexist.
I hope sharing my experience helps others create spaces that work for them. Remember, an accessible bathroom isn’t just about meeting standards but improving daily life.
Frequently Asked Questions
How Do I Make a Small Bathroom Handicap Accessible?
Focus on must-haves first: a wide entry, clear floor space for turning, and reachable fixtures. To save space, use wall-mounted items and hidden storage.
What are the Minimum Dimensions for a Wheelchair-Accessible Bathroom?
You need at least 1.5 meters of turning space, 900mm wide doorways, and clear floor space next to all fixtures.
How Much Does it Typically Cost to Remodel a Bathroom for Accessibility?
Costs vary widely depending on the changes needed. You can save money by keeping good fixtures, using standard materials, and focusing funds on essential items.


