How to Make Cabinets Soft Close
Are your kitchen cabinets making too much noise when they close? I know how annoying those loud bangs can be – I dealt with them in my own home.
The good news is that you can fix this problem with some simple changes to your existing cabinets. In this guide, I’ll show you how to add soft-close hardware to your cabinets.
I’ll walk you through picking the right parts, installing them properly, and testing them to make sure they work well.
By the time you finish reading, you’ll have all the know-how to update your cabinets with smooth, quiet closing action.
An Overview of Soft-Close Mechanism
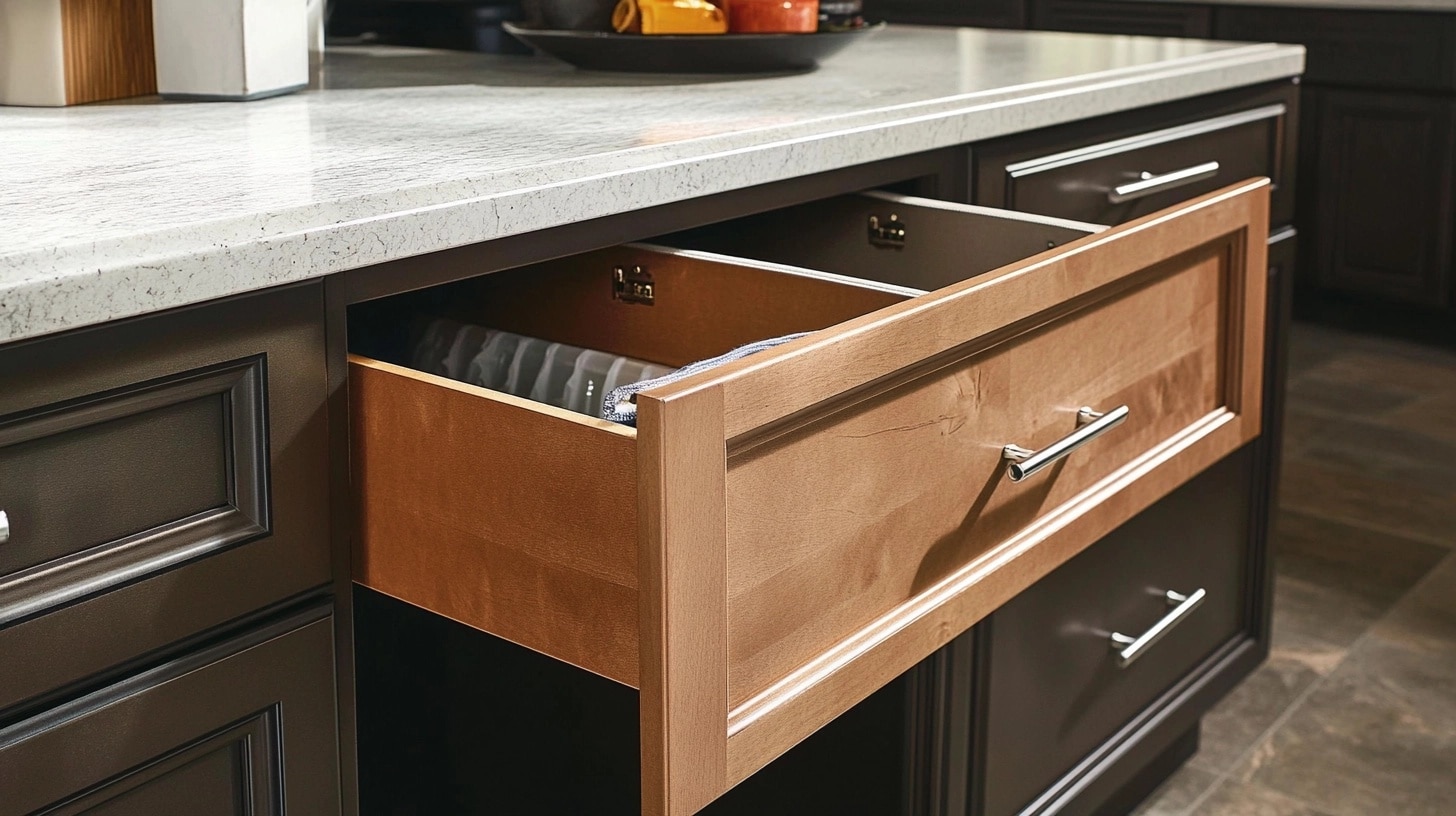
A soft-close mechanism works like a tiny brake for your cabinet doors. In my research and installation work, I’ve found two main types.
1. Hydraulic Dampers ($3-$8 per piece)
- These use fluid to slow down the door
- Fit most cabinet types
- Need less space to install
- Last longer with regular use
2. Spring-loaded Hinges ($5-$12 per piece)
- Built right into the hinge
- Take up no extra space
- Work best with newer cabinets
- Some need total hinge replacement
Before you buy, check these things:
- Door weight (light doors need different dampers)
- Cabinet frame type (face-frame or frameless)
- Door size (bigger doors need stronger dampers)
- Space inside the cabinet (some need 1/2 inch free space)
- Hinge type you have now
I like to remind my readers that most local hardware stores let you bring in your old hinge to find the right match. This saves time and money on returns.
How to Choose the Right Soft-Close Hardware
Picking the right soft-close hardware is important for making your cabinets work smoothly. I want to share what I’ve learned from updating many kitchen cabinets.
- First, look at your cabinet doors and measure their weight. You can do this with a basic bathroom scale. Heavy doors that weigh more than 5 pounds need stronger dampers or hinges.
- The mounting style of your cabinet doors matters, too. If you open your cabinet and see the hinges mounted on a wide frame, you have face-frame cabinets. Those are frameless cabinets if there’s no frame and the doors attach directly to the cabinet box.
- Check the space inside your cabinets. I recommend measuring the gap between the door and the cabinet wall. You’ll need at least 1/4 inch of free space for dampers. Hinges need about 1/2 inch of room.
Your budget plays a big part in the choice:
- Basic dampers cost less but need more work to install
- Complete hinge sets cost more but often give better results
- Multi-packs can save money for bigger kitchens
Think about your DIY skills too. Dampers are simpler to add on, while new hinges take more time but look cleaner when done.
Step-by-Step Process for Secure Installation
Tools & Materials Required
- Soft-close adapter kit
- 5/64 inch drill bit
- Power drill
- Screwdriver
- Measuring tape
- Pencil for marking
Stepwise Process for Installation
1. Test Cabinet Compatibility
- Open the cabinet door fully
- Place your fingers as a block
- Remove your fingers to check if the door closes on its own
- If it closes automatically, your cabinet is compatible
2. Locate Installation Spot
- Open the cabinet door completely
- Find the hinge side of the door
- Look for the upper corner area
- The adapter will fit in the top section
3. Position the Adapter
- Place the adapter against the cabinet frame
- Make sure the lip hooks onto the cabinet edge
- Check that it sits flush with the surface
4. Prepare for Mounting
- Mark the screw hole location
- Choose the correct side hole (works for left or right)
- Pre-drill using 5/64 inch drill bit
5. Complete Installation
- Insert provided screw
- Tighten until secure
- Avoid over-tightening
DOWNLOAD THE ENTIRE CABINET SOFT-CLOSE INSTALLATION GUIDE FROM THIS PDF
An Average Cost Required for Installation
| Item | Cost Range |
|---|---|
| DIY Installation | |
| Single damper kit | $3 – $8 |
| Soft-close hinges (per piece) | $5 – $12 |
| Basic tool kit | $20 – $30 |
| Drill bit set | $10 – $15 |
| Complete Kitchen | |
| Small kitchen (12 doors) | $40 – $100 |
| Medium kitchen (20 doors) | $60 – $160 |
| Large kitchen (30+ doors) | $90 – $240 |
| Professional Installation | |
| Labor costs (per hour) | $45 – $75 |
| Average installation time | 2 – 4 hours |
| Total professional service | $90 – $300 |
Money-Saving Tips
- Buy multi-packs for better prices
- Check local stores for sales
- Keep your old hinges as backups
- Start with one door to test your skills
Certain Tips for Successful Installation
- Take a good look at your kitchen before starting the work. I suggest cleaning your cabinets and checking if all doors line up well. This will help you spot any doors that might need extra attention.
- Make a simple map of your kitchen cabinets on paper. Number each door and write down which way it opens. This planning step will help you buy the right number of parts and keep track of your progress.
- Test the soft-close hardware on one door first. By starting with a single door, you can learn the process without risking mistakes on all your cabinets. Pick a less visible door for your first try.
Keep these helpful points in mind during installation:
- Always read the instructions that come with your hardware
- Place a towel under your work area to catch any dropped screws
- Use the right size drill bit to prevent splitting the wood
- Make sure cabinet doors are level before adding soft-close parts
- Test each door’s closing speed after installation
Take breaks between installing each set of hardware. This helps maintain focus and prevents rushing through the work. Remember to check that each door closes properly before moving to the next one.
Conclusion
There you have it – making your cabinets soft-close isn’t as hard as you might think! I’ve helped many friends update their kitchens, and the smile on their faces when they hear that smooth, quiet close makes it all worth it.
Still have questions? I’ve got more guides that might help.
- If you’re unsure about hardware choices, check out my “How to Choose Soft-Close Cabinet Hardware” guide.
- For the DIY enthusiasts, my complete “DIY Soft-Close Cabinet” walkthrough takes you through every step.
Remember, taking your time with each door is key. Your kitchen handles a lot of daily action, so proper installation will make sure those soft-close mechanisms keep working smoothly for years.
Ready to start? Grab your tools and turn those noisy cabinets into smooth operators!
