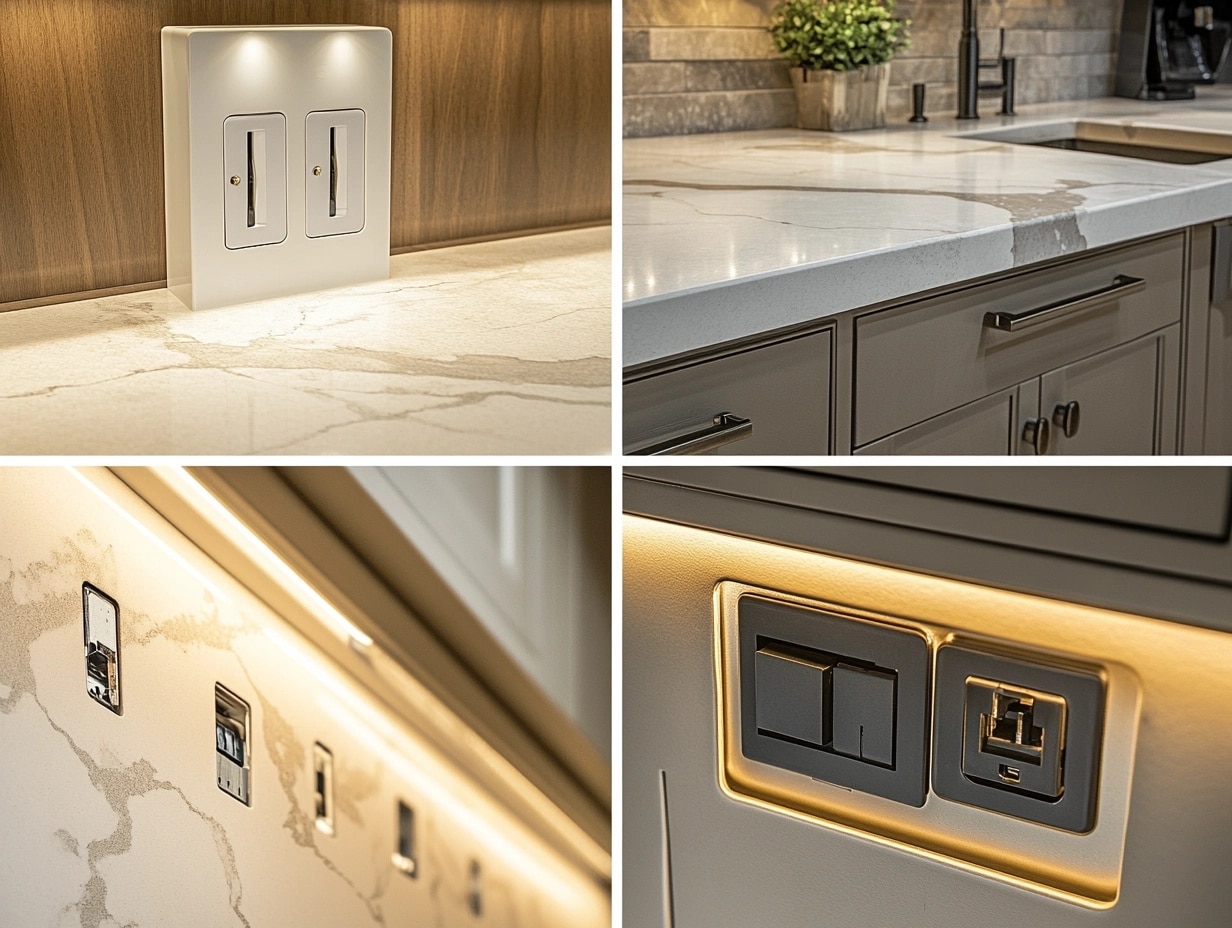
13 Creative Ways to Use Hidden Kitchen Outlets with DIY
After designing hundreds of kitchens, I learned that thoughtful outlet placement transforms functionality and aesthetics.
Let me share my experience creating seamless power solutions that enhance rather than detract from kitchen design.
Hidden Kitchen Outlet Ideas
1. Pop-Up Outlet Innovation
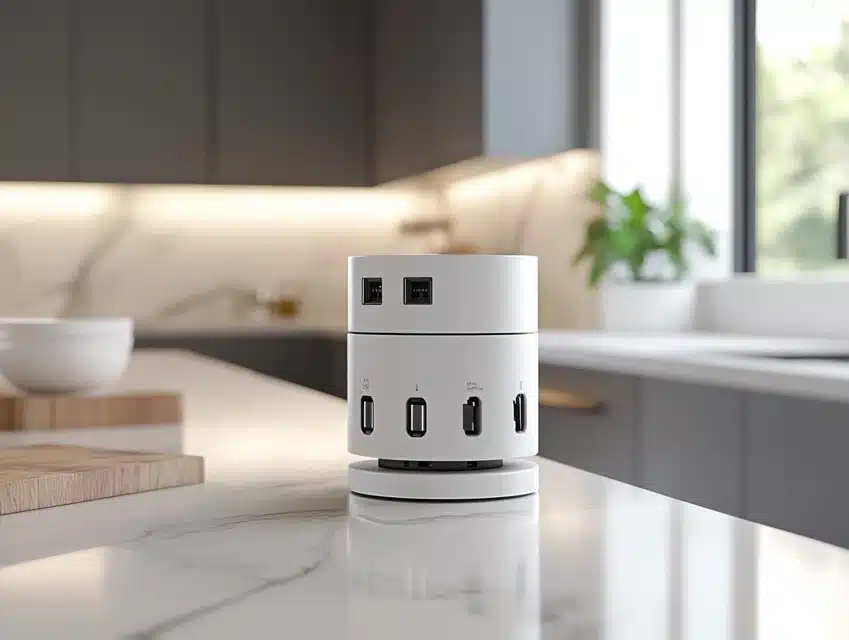
My first pop-up outlet installation changed how I approached kitchen power solutions.
The sleek tower disappears completely when unnecessary, leaving counters clean and uncluttered.
Each unit contains multiple outlets and USB ports for modern charging needs.
Special waterproof seals protect the mechanism from spills and cleaning.
These have become my most-requested feature in kitchen renovations.
Installation Steps:
- Cut precise holes in the countertop using a proper template.
- Install waterproof housing beneath the counter surface.
- Connect to the dedicated circuit with proper amperage.
- Test the mechanism thoroughly before sealing.
- Create proper drainage channels for spills.
- Add a silicone gasket for water protection.
- Install safety shutoff mechanisms.
2. Under-Cabinet Power Solutions
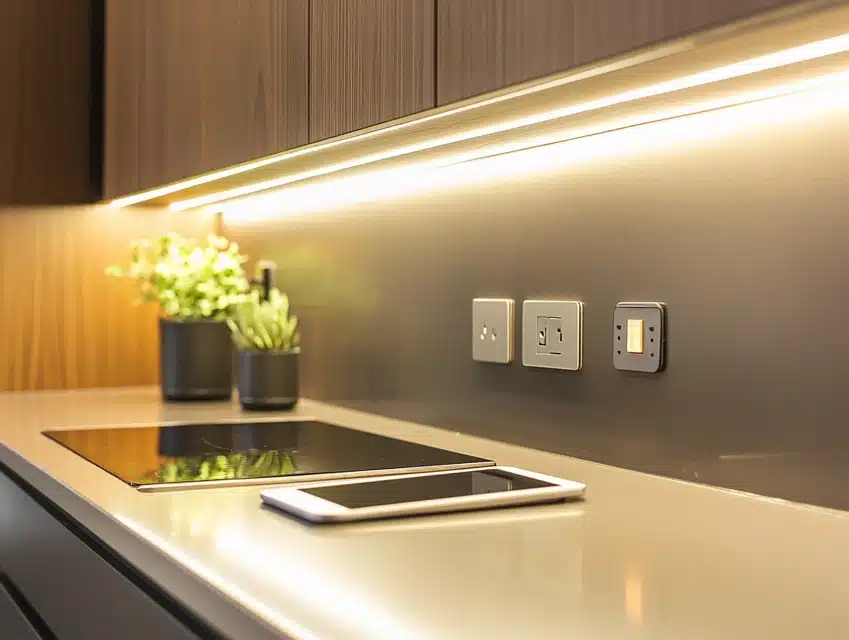
Moving outlets underneath, I transformed a client’s cluttered backsplash into a clean design.
The slim-profile power strips provide more outlets than traditional wall placement.
LED lighting integration creates perfect task lighting while hiding power access.
Special covers protect outlets from kitchen moisture and grease.
This solution has become standard in all my high-end kitchen designs.
Installation Steps:
- Plan power strip placement for maximum accessibility.
- Install proper junction boxes behind cabinet backing.
- Create dedicated circuits for appliance loads.
- Add moisture-resistant outlet covers carefully.
- Include USB ports for modern charging needs.
- Install LED strip lighting alongside outlets.
- Test all connections before final mounting.
3. Drawer Power Integration
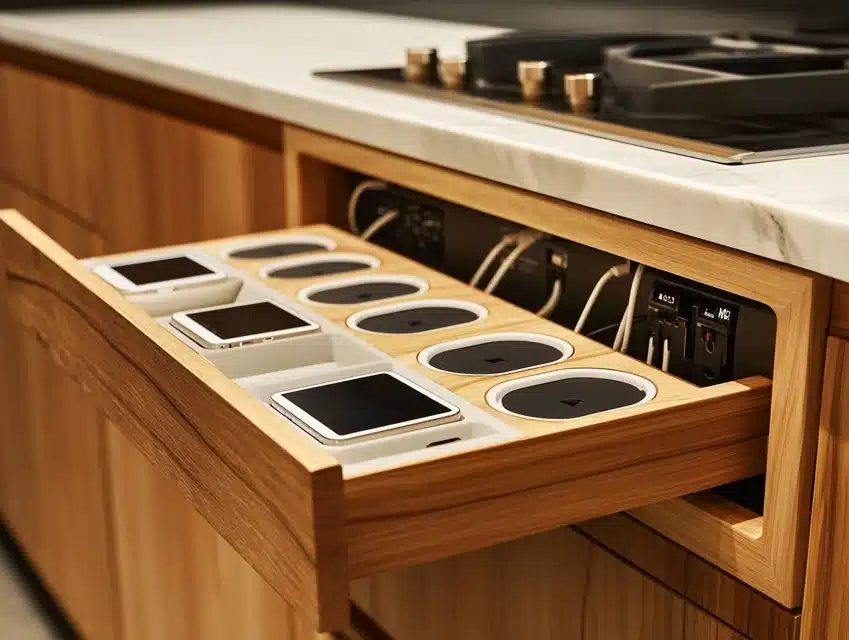
My most innovative solution came from a client needing a charging station organization.
Each drawer contains multiple outlets with special cord management systems.
Built-in surge protection keeps devices safe while charging.
The drawer design allows easy access while hiding electronic clutter.
This has become essential in modern kitchen organizations.
Installation Steps:
- Install flexible power cables for drawer movement.
- Create proper ventilation for heat dissipation.
- Add cord management systems inside the drawer.
- Install surge protection devices carefully.
- Create safety shutoff mechanisms properly.
- Test drawer operation thoroughly first.
- Add proper warning labels and instructions.
4. Pull-Out Appliance Station
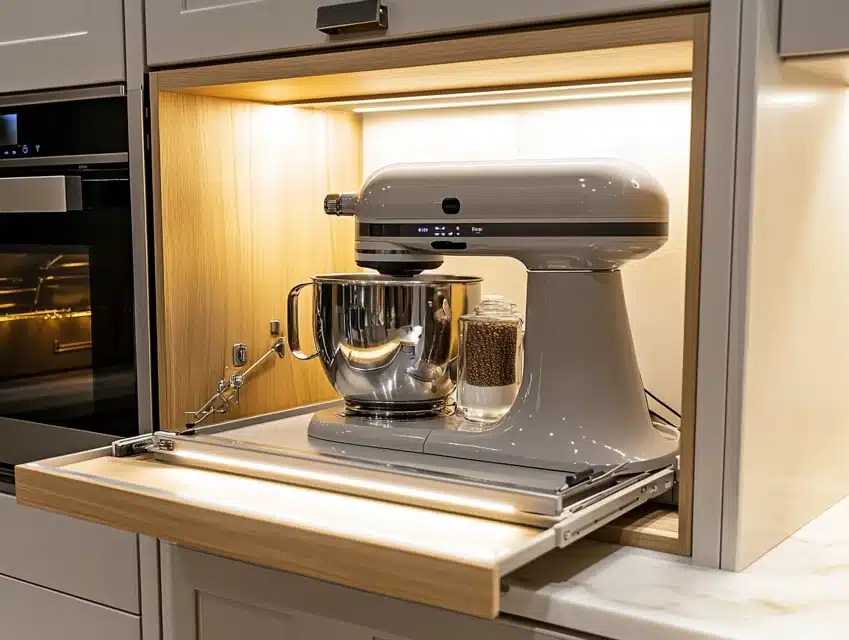
This design revolutionized how my clients use small appliances.
The heavy-duty shelf slides smoothly while keeping appliances plugged in.
Built-in outlets eliminate counter clutter.
Special ventilation prevents heat buildup during use.
These stations keep kitchens organized while maintaining functionality.
Installation Steps:
- Install heavy-duty sliding mechanism properly.
- Create a dedicated circuit for appliance power.
- Add a ventilation system for heat management.
- Install multiple outlets for various appliances.
- Create a proper cord management system carefully.
- Test weight capacity with loaded shelf.
- Add safety stops and locks.
5. Recessed Backsplash Integration
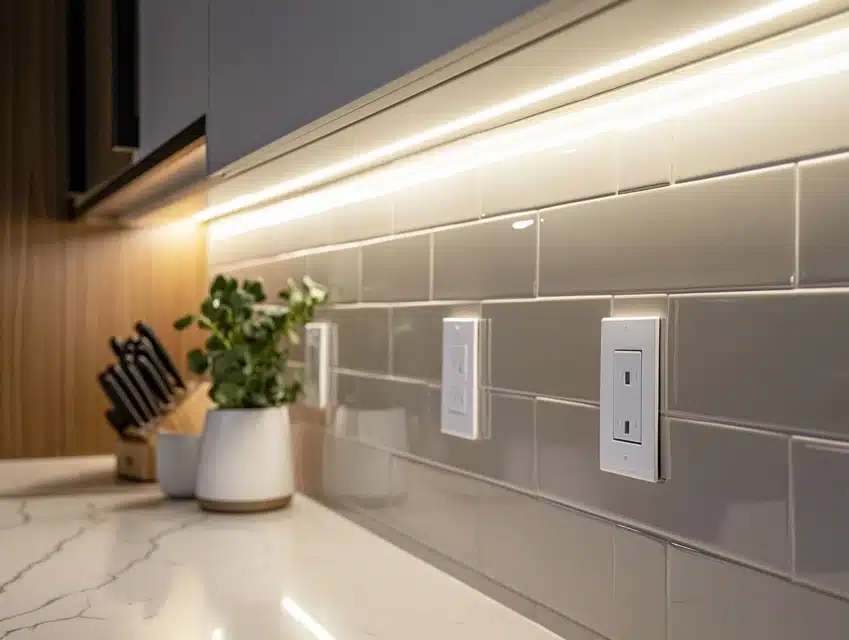
This design came from a client’s desire for completely seamless walls.
Each outlet sits perfectly flush with the tile surface.
Special mounting boxes allow for proper electrical connections while maintaining minimal depth.
The covers match tile patterns exactly for invisible integration.
These installations have transformed how I approach backsplash design.
Installation Steps:
- Create a precise template for outlet placement.
- Install special shallow electrical boxes carefully.
- Cut tile with extreme precision for a flush fit.
- Mount outlets at the exact depth for cover plates.
- Add waterproof gaskets around all outlets.
- Test fit before final installation completely.
- Seal all edges with proper materials.
6. Sliding Panel Concealment
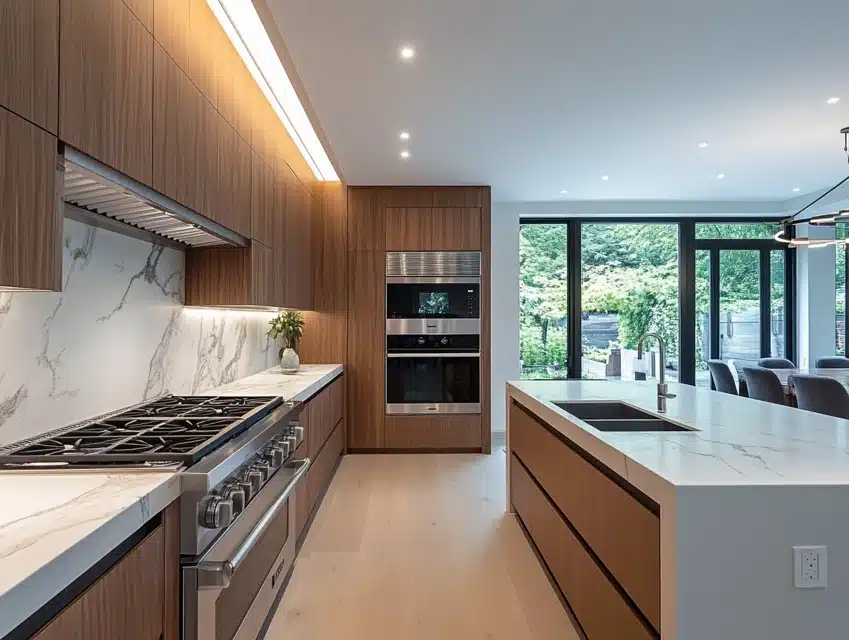
A minimalist kitchen renovation inspired this clever hiding solution.
Panels slide smoothly to reveal power access when needed.
The mechanism integrates perfectly with the cabinet design.
Custom panels match the surrounding materials exactly.
This solution provides the perfect balance of access and aesthetics.
Installation Steps:
- Design a sliding track system for smooth operation.
- Install outlets with proper depth consideration.
- Create custom panels matching cabinet materials precisely.
- Add soft-close mechanisms to prevent slamming.
- Install safety stops for panel movement.
- Create proper ventilation behind panels carefully.
- Test operation multiple times before completion.
7. Corner Space Utilization
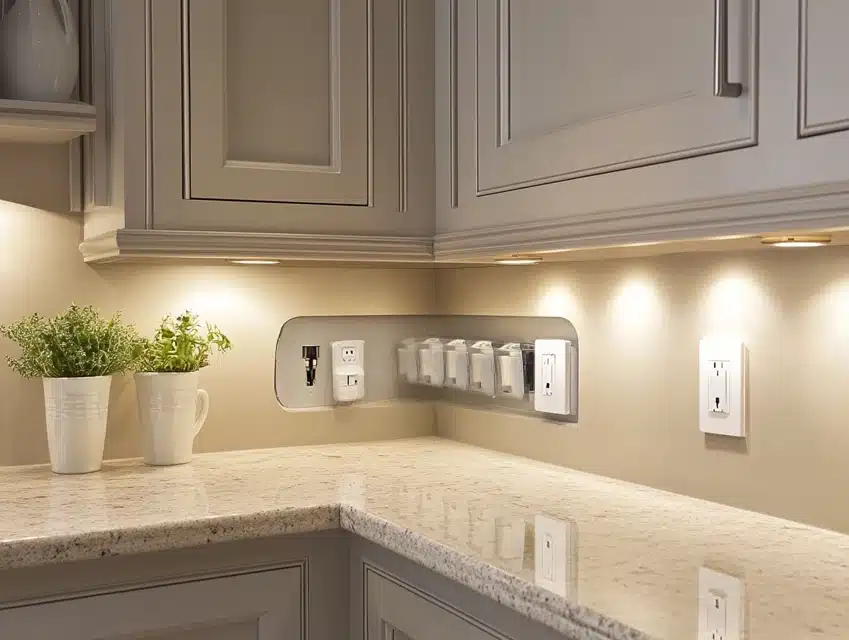
I discovered this solution while maximizing space in small kitchens.
Corner outlets provide power where traditionally wasted space exists.
Special angled boxes allow for proper wire management.
The location keeps cords away from the main work areas.
This innovation has become standard in my kitchen designs.
Installation Steps:
- Calculate precise corner angles for proper fit.
- Install special corner mounting boxes securely.
- Create proper wire pathways behind cabinets.
- Add protective covers for splash protection.
- Install ground fault protection circuits carefully.
- Test accessibility from multiple angles thoroughly.
- Create proper labeling for circuit identification.
8. Appliance Garage Integration
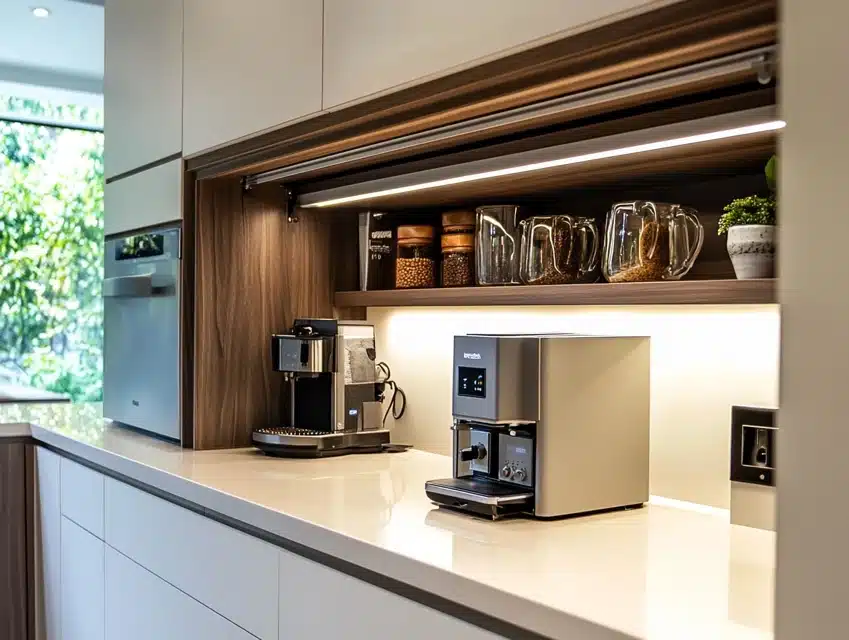
After seeing countless cluttered countertops, I developed this solution that combines storage and power.
The concept came from a client’s frustration with constantly moving appliances in and out of cabinets.
I designed a space where mixers, blenders, and coffee makers stay plugged in but hidden from view.
The built-in power strip eliminated the tangle of cords that typically plague kitchen counters.
Special ventilation ensures appliances can run even with doors closed.
This solution transformed how my clients use their daily appliances.
Installation Steps:
- Design a proper ventilation system for continuous operation.
- Install multiple circuits for high-power appliances.
- Create dedicated storage spaces for each appliance.
- Add automatic lighting that activates when the door opens.
- Install specialized door mechanisms for easy access.
- Create proper heat monitoring systems carefully.
- Test extended-use scenarios thoroughly.
9. Toe-Kick Power Access
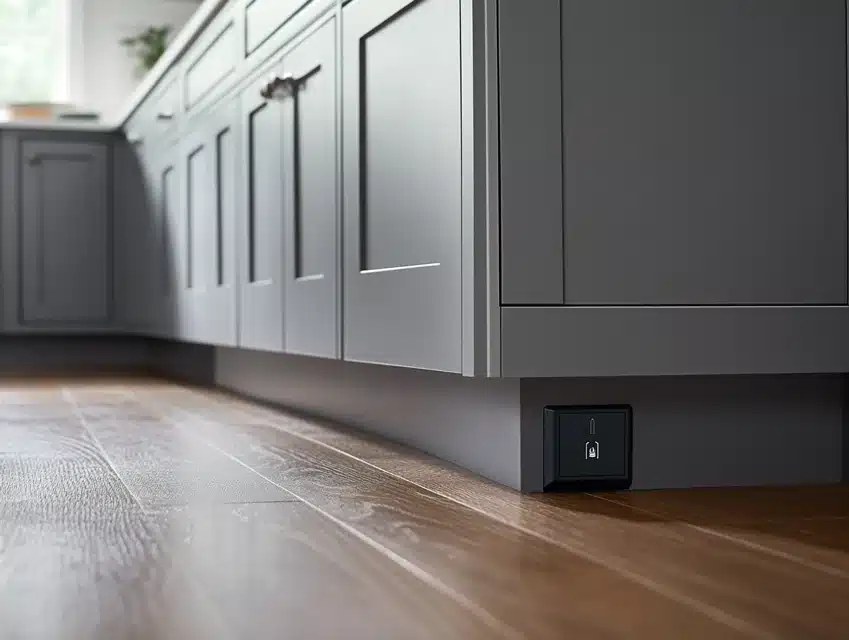
My most practical innovation came from watching a client struggle with vacuum cleaning.
The traditional wall outlet placement required constant bending and stretching.
I integrated power access at floor level, hidden within the toe-kick space.
Special water-resistant covers protect against daily kitchen spills.
The convenience of this location has made it one of my most requested features.
Installation Steps:
- Design waterproof housing for floor-level installation.
- Install GFCI protection for wet location safety.
- Create proper drainage channels around the outlets.
- Add low-profile covers that prevent debris collection.
- Install LED indicators for power status visibility.
- Create proper cleaning access points carefully.
- Test water resistance thoroughly before completion.
10. Flip-Up Counter Integration
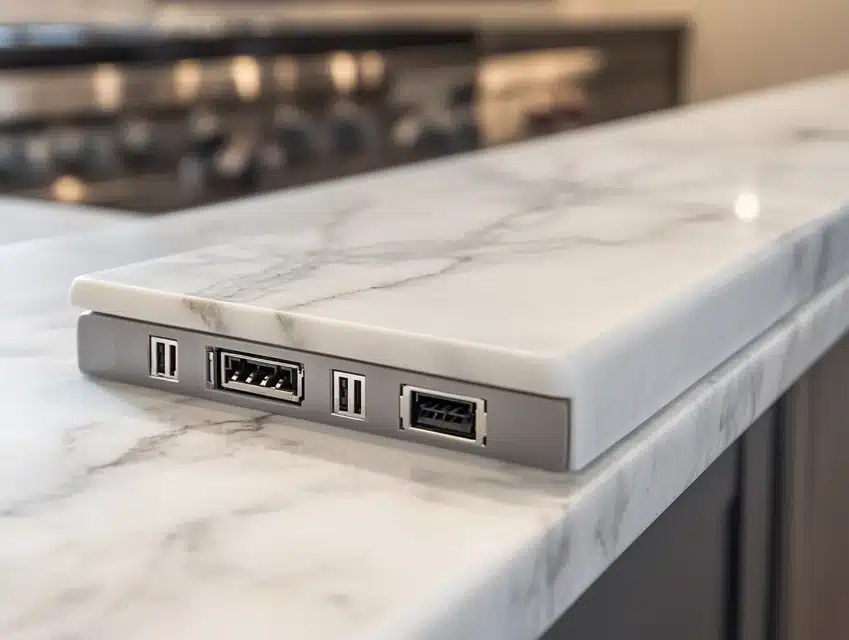
This elegant solution came from a client’s desire for completely clean countertops.
I designed a system where power access disappears completely when not needed.
The mechanisms required careful engineering to maintain counter durability.
Each unit contains both standard outlets and USB charging ports.
Special seals protect the internal components from kitchen spills.
Installation Steps:
- Create precise measurements for counter cutouts carefully.
- Install waterproof housing completely beneath the counter surface.
- Add proper support structure around opening edges.
- Install high-quality spring mechanisms for smooth operation.
- Create watertight seals around the entire unit properly.
- Test operation under various usage conditions.
- Add safety features for power management carefully.
11. Material-Matching Outlet Covers
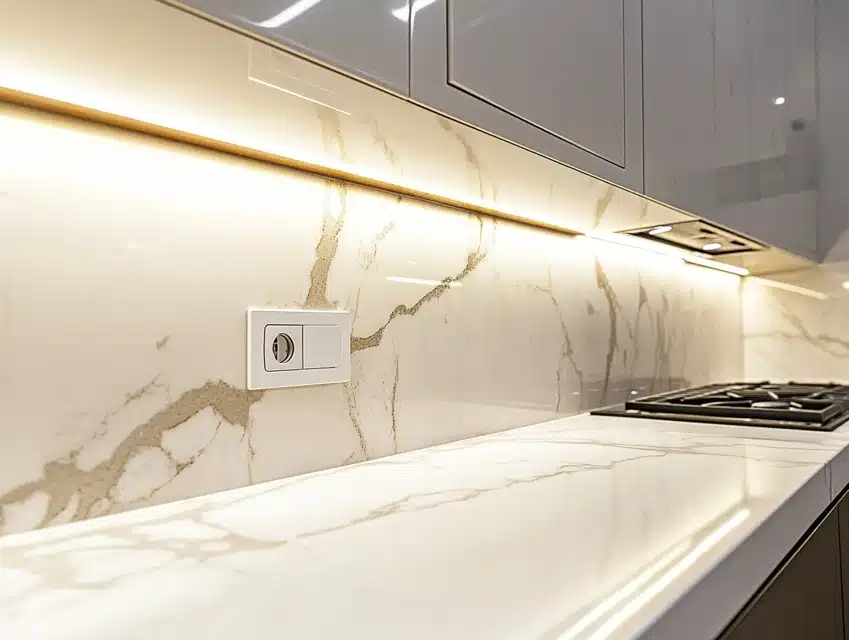
The inspiration for this design came from my frustration with traditional white outlet covers.
Every beautiful backsplash installation was interrupted by obvious plastic plates.
I developed techniques to match outlet covers exactly to the surrounding materials.
Custom-colored covers blend seamlessly with marble, granite, or tile surfaces.
This attention to detail elevates the entire kitchen design significantly.
Installation Steps:
- Create exact color matches to surrounding materials.
- Install specialized mounting systems for proper depth.
- Add proper backing for material stability carefully.
- Create perfect edges around outlet openings precisely.
- Install moisture protection behind decorative covers.
- Test the durability of the finish thoroughly before completion.
- Add protective coatings for long-term wear.
12. Sliding Cover Innovation
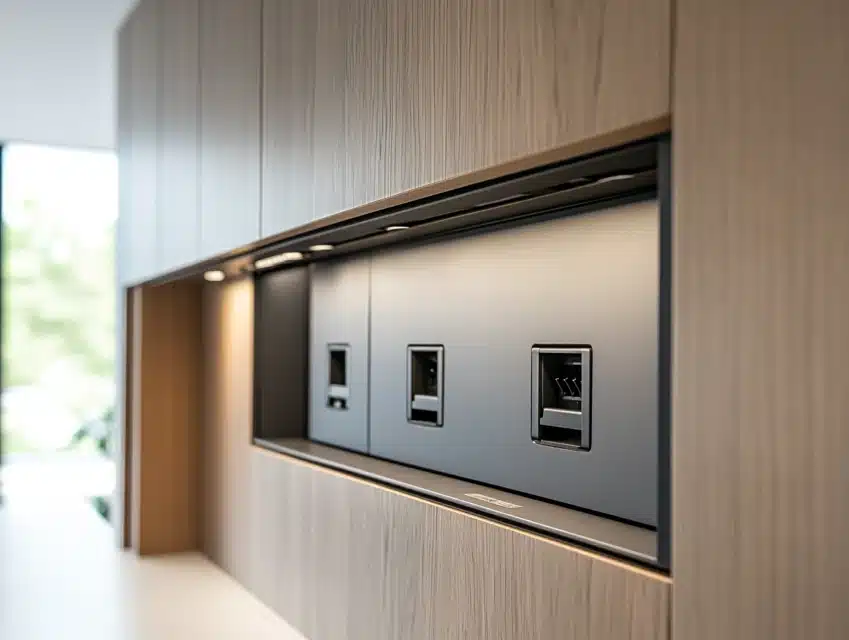
This solution emerged from a modern minimalist kitchen project.
The sliding covers completely conceal outlets when not in use.
Special tracks ensure smooth operation without catching or binding.
The covers match cabinet finishes perfectly for seamless integration.
This design brings both function and sophistication to kitchen walls.
Installation Steps:
- Install a specialized track system for smooth movement.
- Create custom covers matching the surrounding materials exactly.
- Add soft-close mechanisms to prevent slamming carefully.
- Install proper stops for sliding movement control.
- Create a ventilation system behind covers properly.
- Test operation under various usage scenarios thoroughly.
- Add safety features for electrical protection carefully.
13. Island Drawer Power Solutions
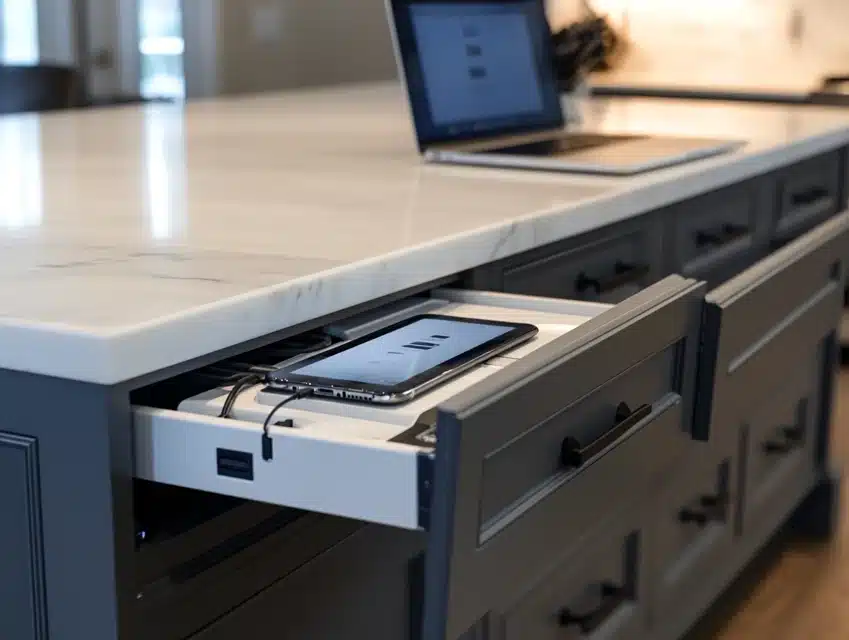
My latest innovation combines storage and charging capabilities perfectly.
Each drawer contains multiple outlets with built-in surge protection.
Special cord management keeps devices organized while charging.
Ventilation systems prevent heat buildup during extended use.
This solution has become standard in my kitchen island designs.
Installation Steps:
- Install flexible power cables properly for drawer movement.
- Create proper ventilation channels for heat dissipation.
- Add specialized cord management systems carefully.
- Install multiple outlet types for various devices.
- Create proper labeling for different power options.
- Test drawer operation under full load thoroughly.
- Add safety shutoff features for protection carefully.
Methods to Hide Kitchen Outlets
1. Choosing the Right Outlet Covers
The selection of proper covers begins with understanding your kitchen’s materials.
Quality outlet covers should match both the color and texture of surrounding surfaces.
I prefer using premium-grade paintable covers for custom color matching.
Special finishes help maintain durability while blending seamlessly.
2. Painting Techniques
My approach to painting outlet covers has evolved through extensive experimentation.
Proper preparation ensures long-lasting finish adherence.
Special primers designed for plastic provide optimal paint bonding.
Multiple thin coats create better coverage than single thick layers.
The final protective clear coat prevents wear from regular use.
3. Matching Process
Creating perfect matches requires attention to detail and proper technique.
I always test colors under different lighting conditions.
Custom mixing helps achieve exact color matches.
Special techniques create authentic texture matching.
Regular maintenance keeps the finish looking fresh.
Conclusion
After designing hundreds of hidden outlet solutions, I’ve learned that successful integration combines safety, accessibility, and aesthetics.
These innovative approaches transform necessary power access into seamless design elements that enhance rather than detract from your kitchen’s beauty.
Remember these key principles:
- Prioritize safety in all installations
- Consider daily usage patterns
- Plan for future needs
- Maintain proper clearances
- Choose quality components
- Document installation details
- Schedule regular maintenance
Frequently Asked Questions
How Can I Hide Electrical Outlets in My Kitchen to Improve the Look
From my experience, the most effective solutions include under-cabinet power strips, pop-up outlets in countertops, or recessed outlets in backsplashes.
Choose methods that match your usage patterns while maintaining easy access.
Consider combining multiple solutions for optimal functionality.
What Are the Best Methods for Concealing Kitchen Outlets?
For basic needs, I recommend starting with under-cabinet installations.
Pop-up outlets provide excellent functionality for islands, and material-matching covers work well for backsplash outlets.
Each solution should balance accessibility with aesthetics while maintaining safety.
Are There Innovative Products that Allow Outlets to Be Hidden Yet Accessible?
The market offers numerous options, from pop-up towers to flip-up counter units.
For modern kitchens, I recommend drawer charging stations and appliance garage power strips.
These products combine convenience with clean design.
How Do I Maintain Code Compliance when Installing Hidden Outlets?
Always work with licensed electricians who understand local codes.
Proper GFCI protection, correct circuit loading, and appropriate spacing requirements must be maintained.
Documentation of installations helps with future maintenance and modifications.
Can I Install Hidden Outlets Myself, or Do I Need a Professional?
While simple cover changes might be DIY-friendly, I strongly recommend professional installation for hidden outlet solutions.
Electrical work requires proper permits, knowledge of codes, and an understanding of safety requirements.
The investment in professional installation ensures both safety and correct functionality.

