How to Remove Lacquer from Brass
I’ve been cleaning old brass items at home, and I know how tough lacquer can be to remove. The shiny coating that once protected your brass pieces can turn yellowish and dirty over time.
But don’t worry – getting rid of it isn’t as hard as you might think.
I’ll share my tested method for removing lacquer from brass items. You won’t need fancy tools or chemicals—just some basic supplies from your local store will do the job.
In this guide, I’ll walk you through the simple steps to strip lacquer from brass. You’ll learn which products work best, how to protect your brass during the process, and what to do once the lacquer is gone.
How to Identify Lacquered Brass
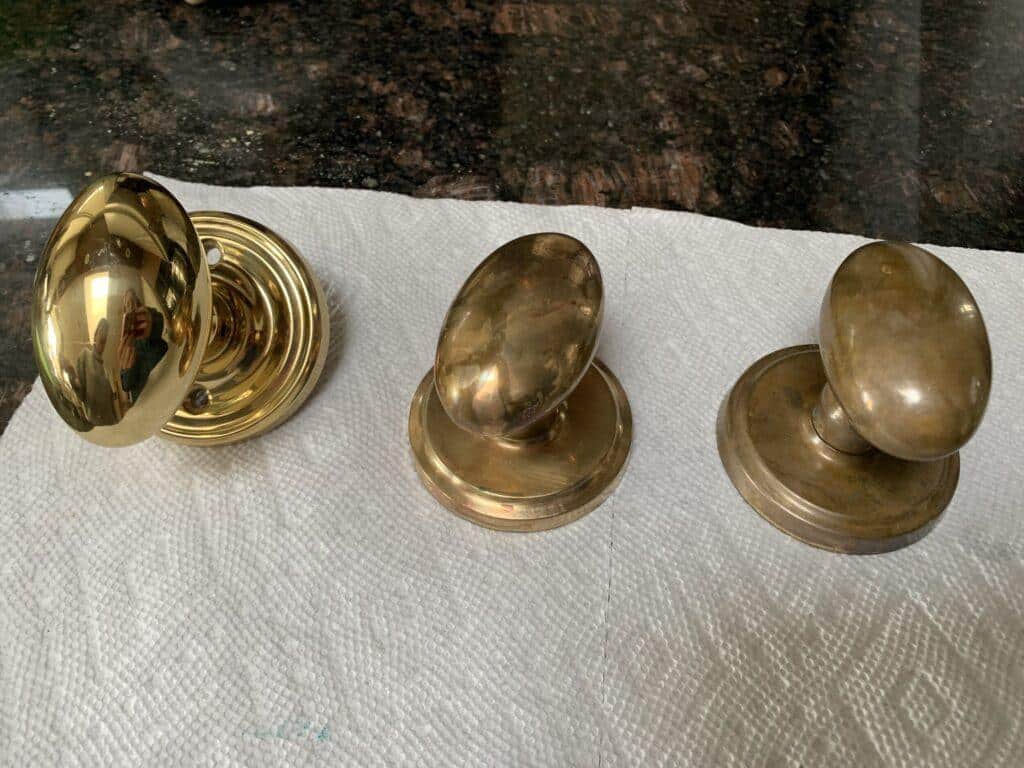
- First, take a close look at the surface of your brass item. When brass has lacquer on it, the surface feels smooth and almost plastic-like when you run your finger across it. The coating gives it a clear, glossy shine that’s different from raw brass.
- I’ve learned that the quickest way to check is to touch the brass with your bare hands. If your fingerprints don’t show up on the surface, there’s likely a lacquer coating present. Raw brass, on the other hand, will show fingerprints right away.
Here’s another trick I use: Look at how the brass has aged. Lacquered brass often has spots where the coating has started to peel or turned a cloudy yellow color. These patches look uneven and can make the brass appear blotchy.
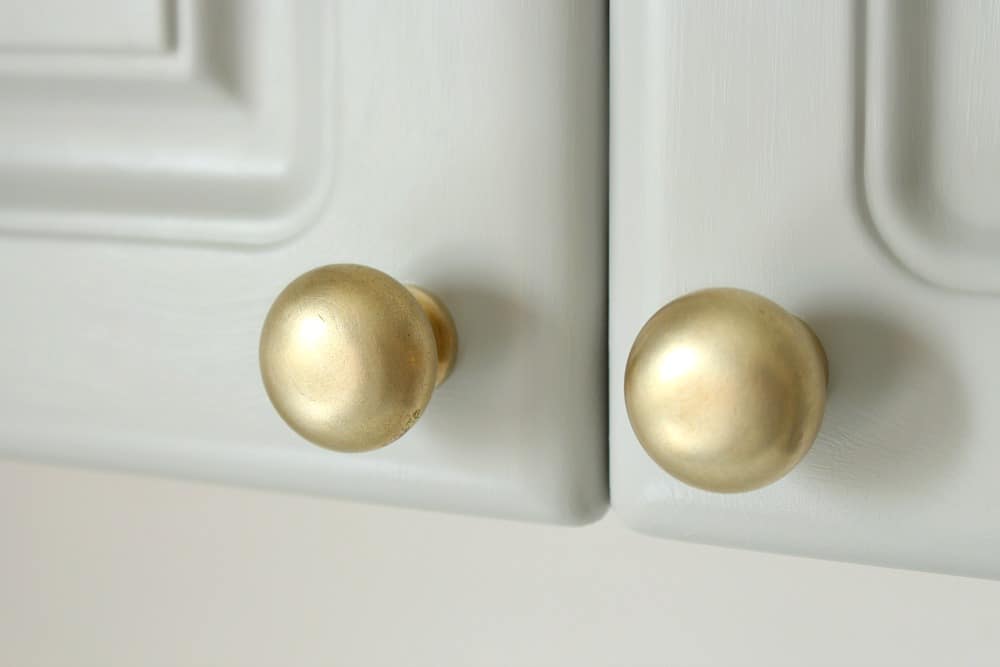
You can also feel the edges and corners of your brass piece. In spots where people handle the item often, like handles or knobs, the lacquer might feel thicker or have started to wear away.
If you’re still unsure, try this simple test: Put a small drop of lacquer thinner on a hidden area of your brass item. If the surface gets dull or sticky where you applied it, you’ve got lacquer on your brass.
The age of your brass piece can tell you something, too. Most brass items made after 1920 came with a lacquer coating to prevent tarnishing. If your item is from that time or later, it probably has lacquer on it.
Remember to check the whole surface carefully. Sometimes, lacquer wears off in spots while staying thick in others, especially in places that aren’t touched often.
Best Methods for Removing Lacquer from Brass
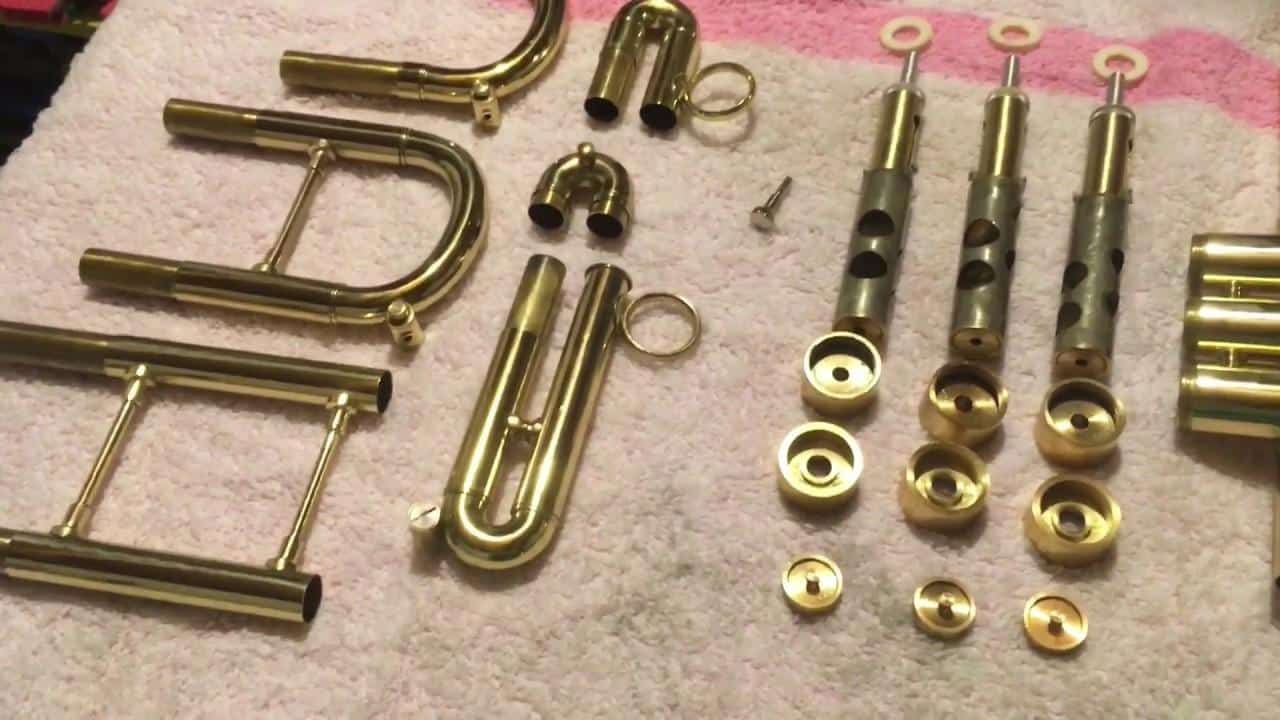
I’ll share the different methods I’ve tested for removing lacquer from brass and include the costs so you can choose what works best for your budget and needs.
Method 1: Chemical Stripping Solution ($15-20)
I’ve found commercial stripping solutions work fast and clean. Pour the solution into a plastic container and soak your brass item for 15-20 minutes.
The lacquer will start to bubble and peel off. Wear rubber gloves and work in a well-aired space – these solutions have strong fumes. After soaking, use a soft cloth to wipe away the loose lacquer.
Method 2: Boiling Water Method ($0-5)
This is the most budget-friendly option I know. Fill a pot with water and bring it to a boil. Add your brass item and let it sit for 5-10 minutes.
The heat makes the lacquer soft and easier to remove. Use tongs to take out the brass, and while it’s still hot, peel off the lacquer with a soft cloth. You might need pot holders or thick gloves.
Method 3: Acetone Treatment ($8-12)
I like using acetone (nail polish remover) for smaller items. Put some acetone on a cotton cloth and rub the brass surface. The lacquer will soften and come off.
You’ll need good ventilation and rubber gloves. This method takes more time but gives you better control.
Method 4: Paint Stripper ($20-25)
For tough lacquer coatings, the paint stripper works well. Brush it on the brass and wait 10-15 minutes. The lacquer will bubble up.
Scrap it off with a plastic scraper – don’t use metal; it can scratch the brass. Wear safety glasses and thick gloves with this method.
Method 5: Denatured Alcohol ($10-15)
This method is gentler than other chemicals. Soak a cloth in denatured alcohol and wrap it around your brass item. Let it sit for 20 minutes.
The lacquer should wipe off easily. This works best for items with light lacquer coats.
Important Tips for All Methods
- Work in a space with good airflow
- Keep your cleaning supplies ready
- Test your chosen method on a small hidden spot first
- Have a soft brush handy for detailed areas
- Keep baking soda nearby to neutralize any chemical spills
- Finish by washing the brass with soap and water
After trying each method, I find the chemical stripper most effective for large items, while acetone works best for small pieces.
Pick based on your comfort level with chemicals and your budget.
Safety Precautions to Consider
- Open your windows and set up a fan – chemical fumes can make you feel sick if the room isn’t well aired out.
- Put on thick rubber gloves and safety glasses before you start – your skin and eyes need protection from harsh chemicals.
- Keep a first aid kit and basic burn supplies nearby. Accidents can happen when working with hot water or strong chemicals.
- Work on a flat surface covered with thick newspaper or plastic sheets—this will prevent chemicals from damaging your work area.
- Store all chemicals out of the reach of children and pets—even small amounts can be harmful if touched or swallowed.
- Keep baking soda and clean water ready. These help neutralize chemical spills and can rinse your skin if needed.
Some Post-Lacquer Removal Care to Look After
| Step | Action | Details |
|---|---|---|
| Cleaning After Removal | Wash with warm, soapy water | Removes leftover chemicals. Dry with a soft, lint-free cloth to avoid water spots. |
| Getting the Surface Ready | Clean grooves and corners using a soft toothbrush | Dip in warm, soapy water and gently clean in small circles to lift stubborn lacquer residue. |
| Dealing with Tarnish | Apply vinegar, salt, and flour paste | Mix equal parts of white vinegar, salt, and flour into a paste. Rub it on brass for 5 minutes, then rinse and dry thoroughly. |
| Regular Maintenance | Wipe with a dry cloth weekly. | Prevent tarnish by cleaning regularly. Address fingerprints immediately to avoid accelerated tarnishing. |
| Protection Options | Choose a natural look or apply a new coating | Option to apply brass wax for less maintenance, which is easier to remove than lacquer. |
| Storage Tips | Store in a dry, cool place away from sunlight | Avoid plastic bags to prevent moisture buildup. Wrap in a soft cotton cloth for storage. |
| Quick Spot Cleaning | Use lemon and salt for small tarnish spots | Rub a slice of lemon dipped in salt on tarnish, rinse, and dry well for quick touch-ups. |
Remember, brass gets prettier with age and use. A bit of natural darkening adds character to your pieces, so don’t feel pressured to keep them perfectly shiny all the time.
Right Time to Seek Professional Help
- Age and Value Concerns: If your brass item is an antique or a family treasure, think twice before trying to remove the lacquer yourself. I always tell my friends that items over 100 years old need special care. Professional restorers know how to handle old brass without reducing its worth.
- Complex Design Features: When I see brass items with tiny details, multiple parts, or hard-to-reach spots, I suggest professional cleaning. This includes things like old brass clocks, musical instruments, or decorative pieces with small carvings. These items need special tools and techniques.
- Previous Damage: If your brass piece already shows signs of damage – like dents, loose parts, or broken sections – it’s best to let a professional handle it. I learned this after making a small crack worse by trying to clean an old brass lamp myself.
- Large Items: For big brass items like bed frames, large light fixtures, or furniture pieces, professional help makes sense. These pieces often need special equipment and more than one person to handle them safely.
- Uncertainty About Material: Sometimes, it’s hard to tell if an item is solid brass or just brass-plated. If you’re not sure, get it checked by a professional. I once damaged a brass-plated piece because I used methods meant for solid brass.
- Failed DIY Attempts: If you’ve tried removing the lacquer and things didn’t go well, stop and call a professional. More DIY attempts might cause more damage. I’ve seen small problems turn into big ones when people keep trying to fix mistakes.
- Time and Tools: Consider professional help if you don’t have the right tools or enough time to do the job properly. Sometimes paying an expert costs less than buying all the supplies and spending hours learning how to use them.
Remember: good professional work might cost more upfront, but it can save money in the long run by protecting your brass items from damage.
Conclusion
Taking care of brass items feels rewarding, doesn’t it? I hope this guide helped you understand how to remove lacquer from your brass treasures safely.
Remember, each piece of brass tells a story, and sometimes that story needs a fresh start.
Want to learn more about brass care? I’ve written other helpful guides you might enjoy.
- Check out my articles on “Natural Brass Cleaners from Your Kitchen” and “Tips for Restoring Antique Brass.” You’ll find them packed with practical tips from my own experiences.
Before you start your project, take a deep breath and plan each step. Your brass items will thank you with a beautiful shine that lasts for years to come.
Got questions? Leave a comment below – I’d love to hear about your brass restoration projects!
Frequently Asked Questions
Are There Non-Toxic or Environmentally Friendly Methods Available?
I’ve found that boiling water and vinegar-based solutions work well as natural options. Lemon juice mixed with baking soda also safely removes lacquer, though it takes more time and effort.
How Long Does the Lacquer Removal Process Take?
The time varies based on the method you choose. Chemical strippers work in 15-20 minutes, while natural methods like boiling water take 30-45 minutes, including setup and cleaning.
How Do I Clean and Polish Brass After Removing the Lacquer?
I mix equal parts vinegar, salt, and flour into a paste. Apply it gently, let it sit for 5 minutes, then rinse and dry. This brings out the natural shine.

