Guide to 7 Wooden Pumpkin Painting Ideas
For the past five years, I’ve taught wooden pumpkin painting at local craft workshops, and I’m excited to share my tried-and-true methods with you.
As someone who started with simple designs and now creates custom pieces for home decor shops, I know the joy of making these charming decorations.
What I love most about wooden pumpkin painting is its flexibility – you can make it fit any style, from simple to fancy.
In this guide, I’ll walk you through everything I’ve learned, from picking supplies to adding the final touches.
Stepwise Guide for Wooden Pumpkin Painting
Step 1: Gather Materials
Basic Supplies
- Wooden pumpkin cutouts (Hobby Lobby, Dollar Tree, or craft stores)
- Chalk paint in various colors (sage, ivory, orange, black, plaster, white wax)
- Paintbrushes or sponges
- Sandpaper (optional for prepping the surface)
Optional Supplies for Advanced Techniques
- Stencil and Pixie spray (for clean patterns)
- Textured scrapbook paper
- Mod Podge
- Mesh ribbons, raffia, and twine
- Antique wax (for distressing)
- Decorative elements: leaves, berries, sunflowers, pinecones
Step 2: Explore Painting Techniques
1. Two-Tone Painting
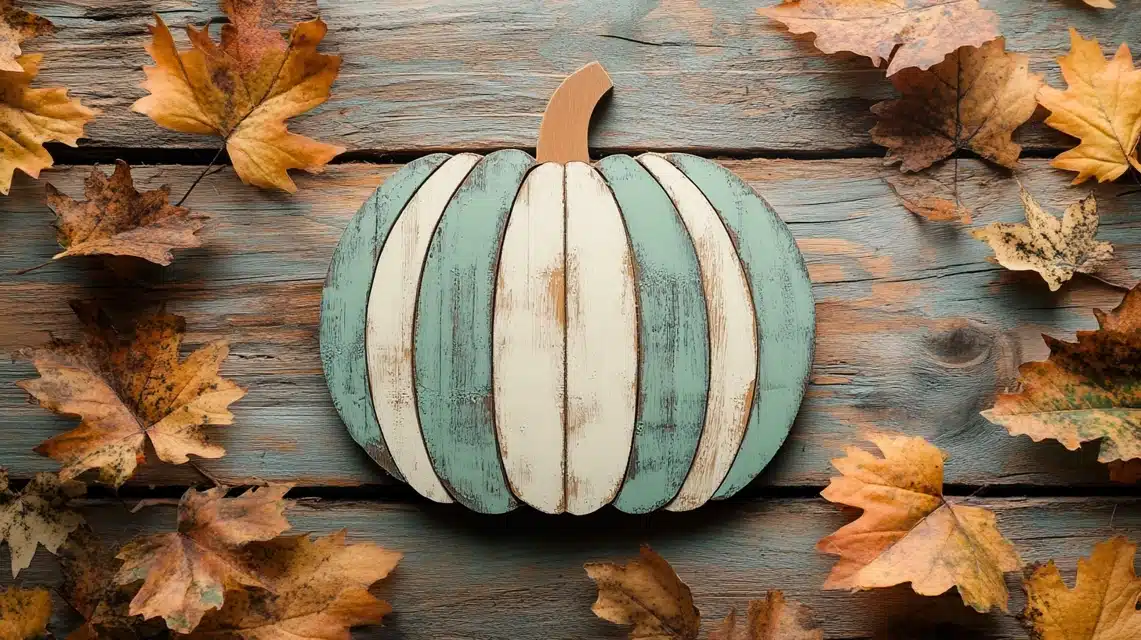
- Choose two complementary colors, such as sage and ivory or orange and black.
- Paint alternating sections of the wooden pumpkin for a bold and modern look.
- Use painter’s tape to achieve clean, crisp lines between sections.
2. Stenciled Patterns
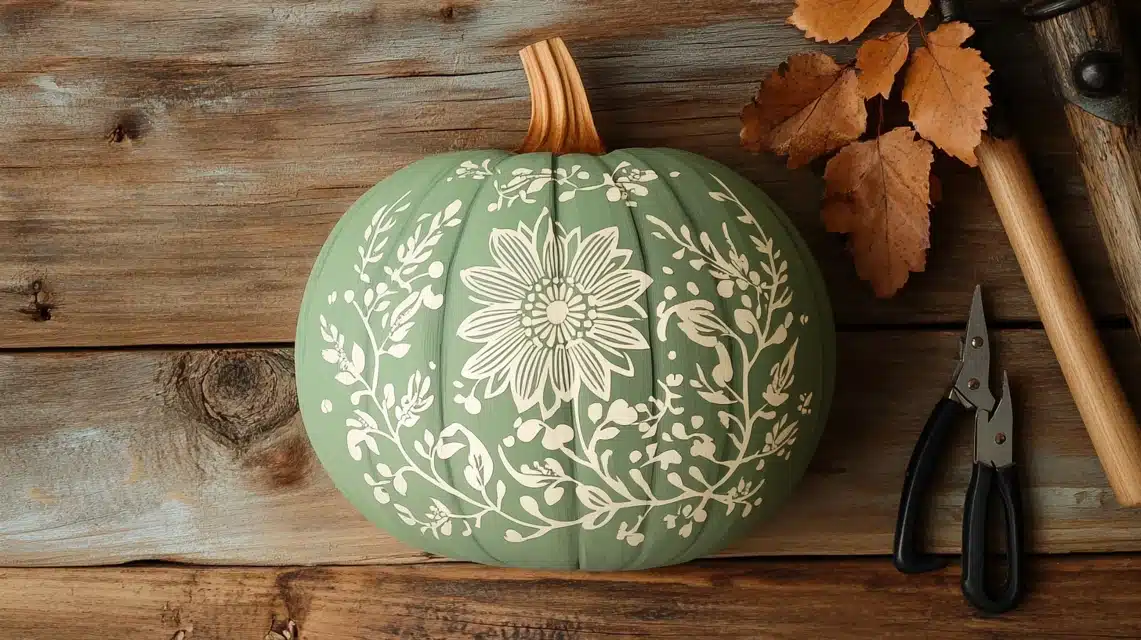
- Spray Pixie spray on the back of a stencil to give it light tackiness.
- Place the stencil on a painted pumpkin section and apply a contrasting paint color.
- Add floral, geometric, or seasonal patterns for an intricate design.
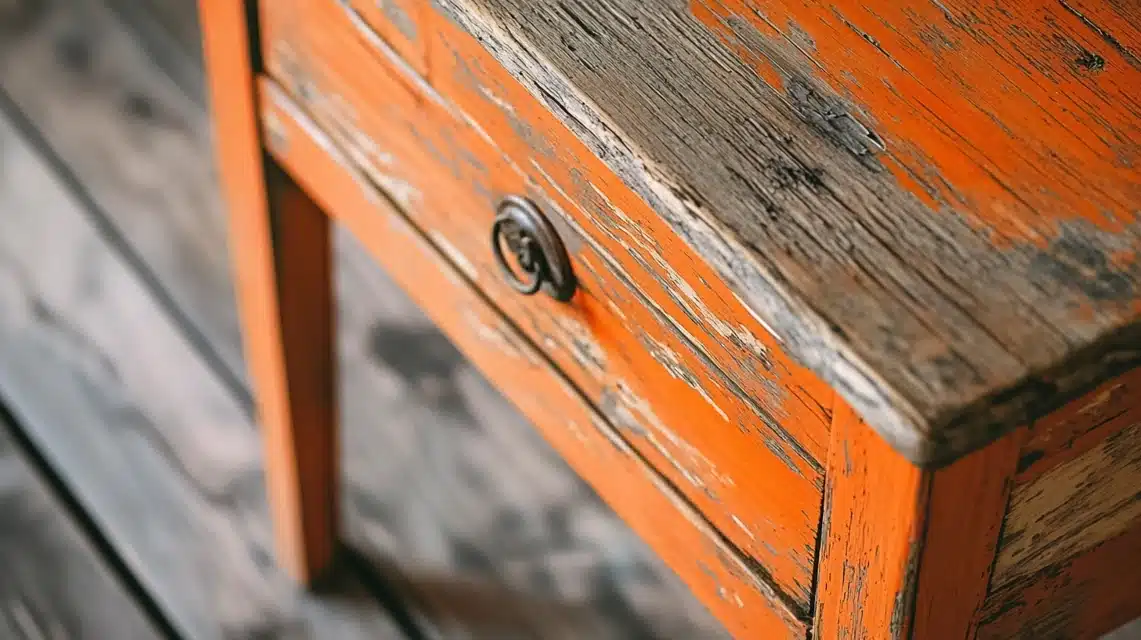
3. Distressed Vintage Look
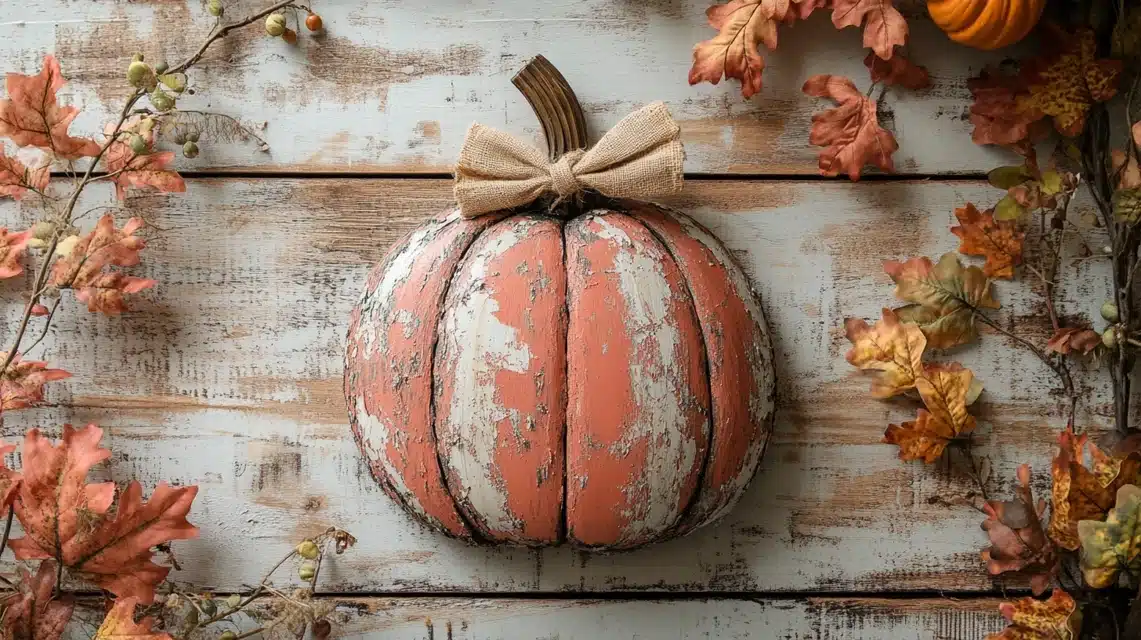
- Paint the pumpkin in a neutral color, such as plaster or white wax.
- Antique wax and a dry brush highlight edges and create a weathered appearance.
- Pair with rustic bows or metallic accents for a farmhouse-style finish.
4. Layered Mesh Designs
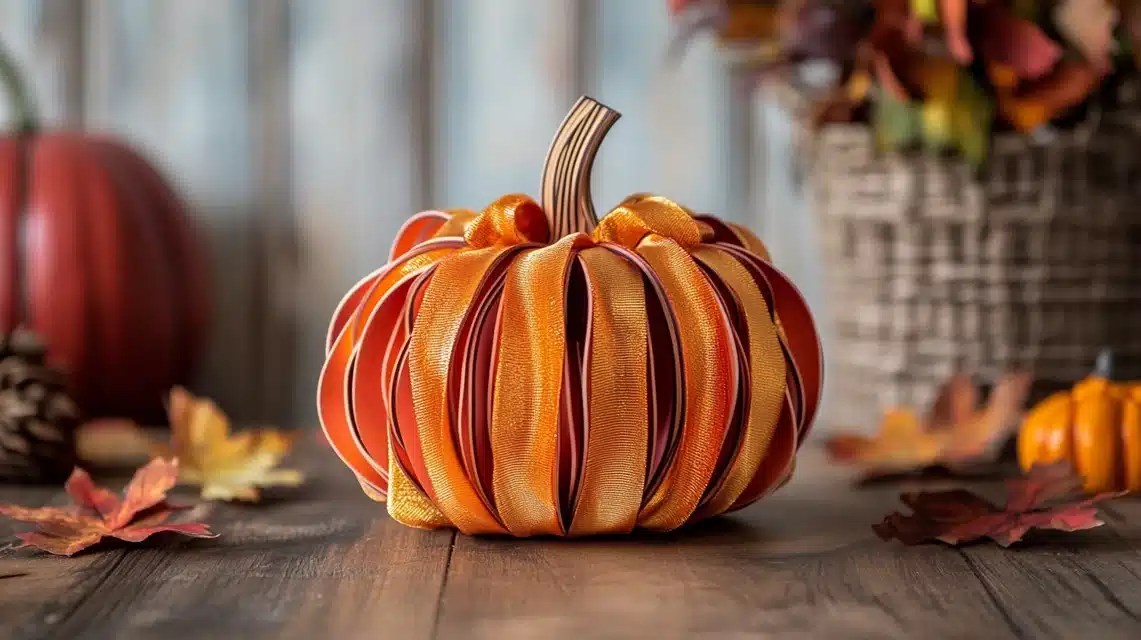
- Cut mesh ribbons to fit the middle section of the pumpkin.
- Paint the base with ivory chalk paint, then layer the mesh for a vibrant texture.
- Secure with Mod Podge and accentuate with gold-leaf ribbons for added elegance.
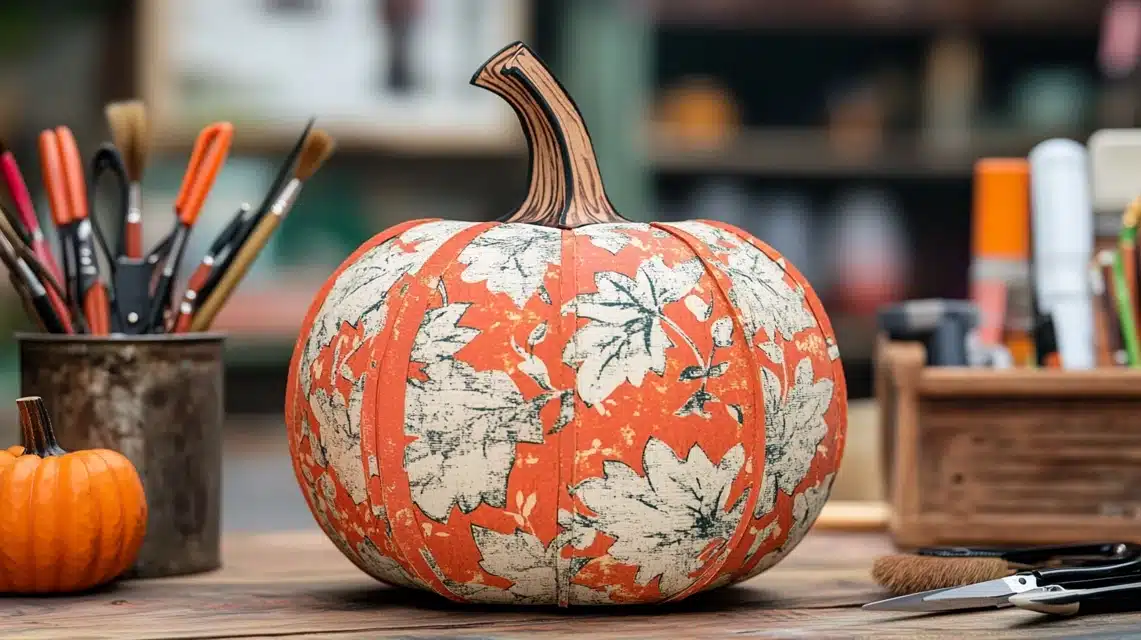
5. Textured Scrapbook Paper
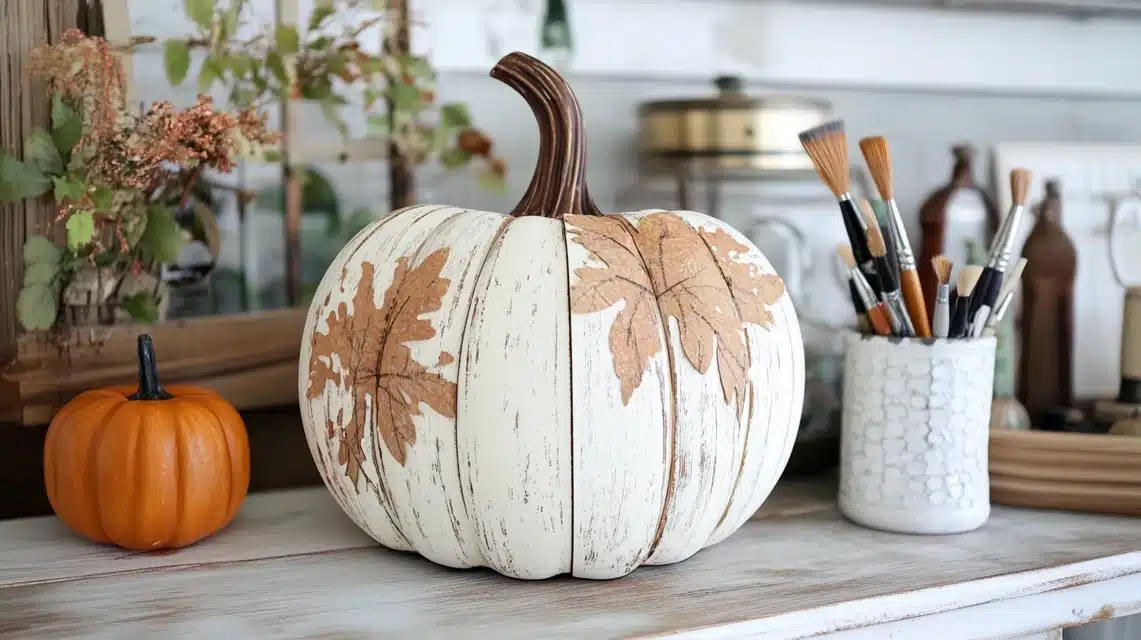
- Trace the pumpkin shape onto scrapbook paper and cut it to size.
- Paint the paper with chalk paint to match your color scheme.
- Attach the paper to the pumpkin with Mod Podge for a mixed-media effect.
6. Classic Jack-o’-Lantern
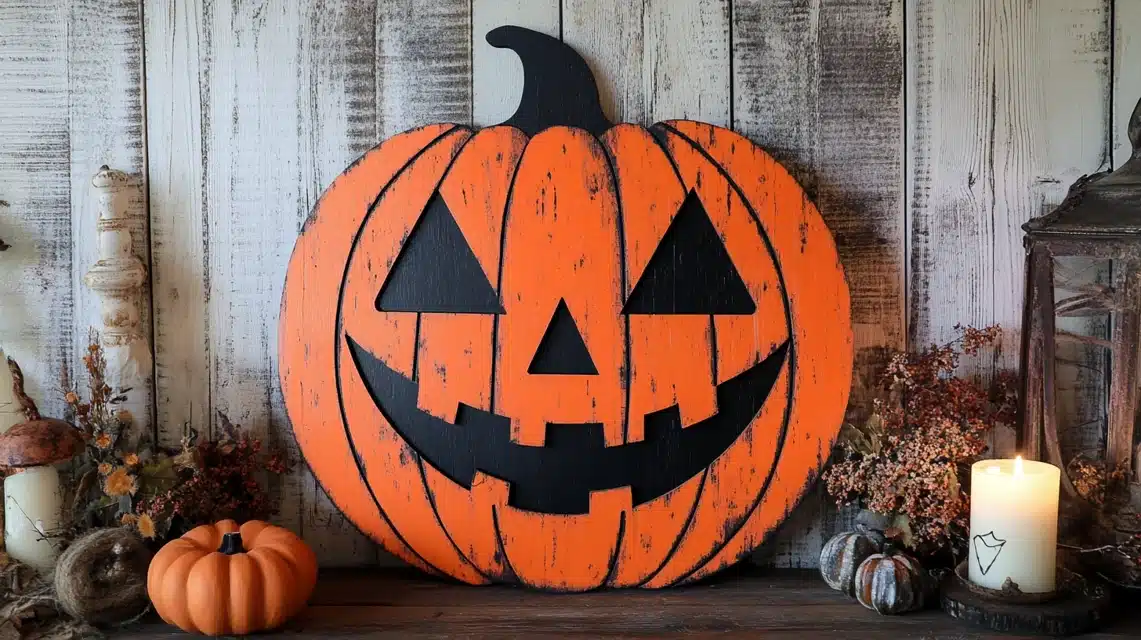
- Paint the pumpkin in bright orange chalk paint.
- Use black paint to add traditional Jack-o’-Lantern features like eyes, nose, and mouth.
- Highlight with antique wax for depth and texture.
7. Minimalist Monochrome
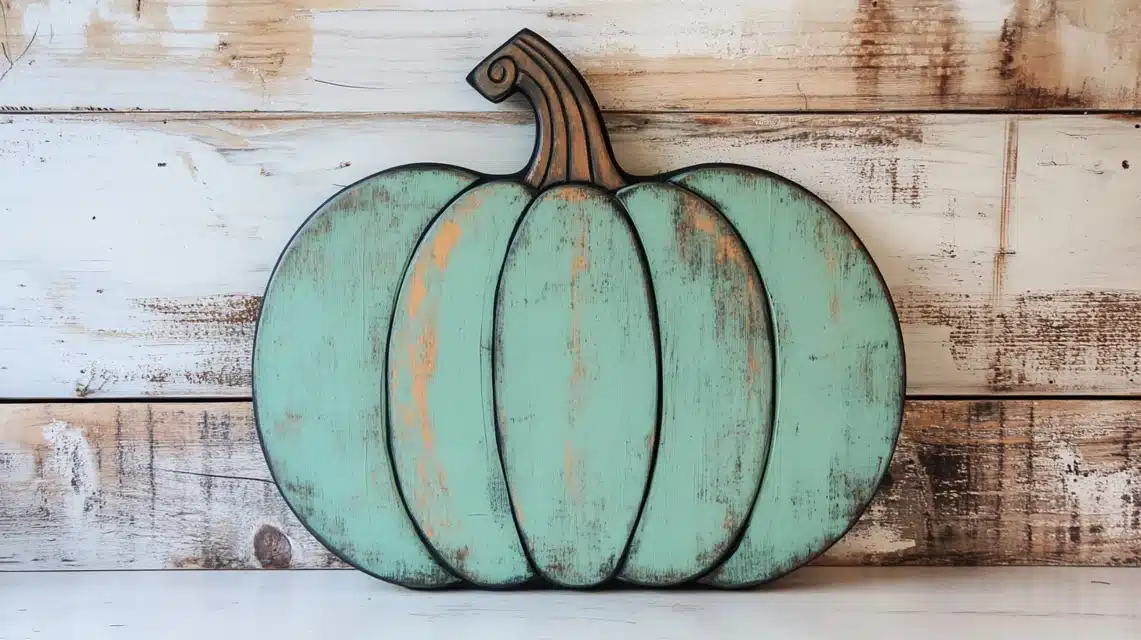
- Paint the pumpkin in a single color, such as sage, white wax, or orange.
- Add subtle accents like a painted stem or light distressing for a clean and elegant look.
Step 3: Add Finishing Touches
Embellishments
- Add bows made from raffia, twine, or mesh ribbons to the pumpkin stem.
- Glue small decorations like leaves, berries, or sunflowers for seasonal charm.
- Use antique wax to darken the stem and create contrast.
Display Options
- Attach a rope hanger for wall decor.
- Use as a leaner on porches or shelves.
- Combine multiple painted pumpkins into a stacked centerpiece.
Summing Up
What I find most rewarding is seeing how different each piece turns out, even when using the same basic steps.
The techniques I’ve shared here will help you create your unique decorations.
Here’s a quick look at what we covered:
- Basic materials needed, from wooden cutouts to paint types
- Seven different painting methods to try
- Tips for adding decorative elements like ribbons and leaves
- Ways to Display your finished pumpkins
- Solutions to common questions about priming and sealing
Remember, there’s no wrong way to paint your pumpkin – what matters is that you enjoy the process and make something you love.
Frequently Asked Questions
Do I Need to Prime the Wood Before Painting?
Priming is optional for wooden pumpkins. Chalk paint typically adheres well without a primer, but sanding the surface ensures a smoother, longer-lasting finish.
How Can I Seal My Painted Wooden Pumpkin for Outdoor Use?
Apply a clear, weatherproof sealant or spray varnish to protect your painted pumpkin from moisture, sunlight, and other outdoor elements, ensuring durability.
Where Can I Buy Unfinished Wooden Pumpkin Cutouts?
Unfinished wooden pumpkin cutouts are available at craft stores like Hobby Lobby, Michaels, and Dollar Tree or online retailers like Amazon and Etsy.
Are There Budget-Friendly Options for Making Wooden Pumpkins?
Yes, you can use affordable supplies from Dollar Tree, repurpose scrap wood, or buy discounted craft materials during seasonal sales for a budget-friendly project.

