DIY Whitewash Tables: Styles, Buying Tips and Care
Whitewash tables add a light, refreshing touch to any room while keeping the wood’s natural beauty visible. This finish perfectly balances painted and natural wood surfaces, making it a favorite in modern homes.
This guide covers everything about whitewashing tables, from understanding the technique to making smart buying choices.
We’ll walk through simple DIY methods that turn ordinary tables into beautiful pieces. If you prefer buying ready-made options, we’ll help you choose the perfect table for your space.
Whether you’re a hands-on DIY fan or shopping for the right piece, this guide covers everything you need to know.
We’ll explore different styles, share practical tips, and help you avoid common mistakes. Let’s create or find the perfect whitewash table for your home.
Understanding Whitewash
What is Whitewashing?
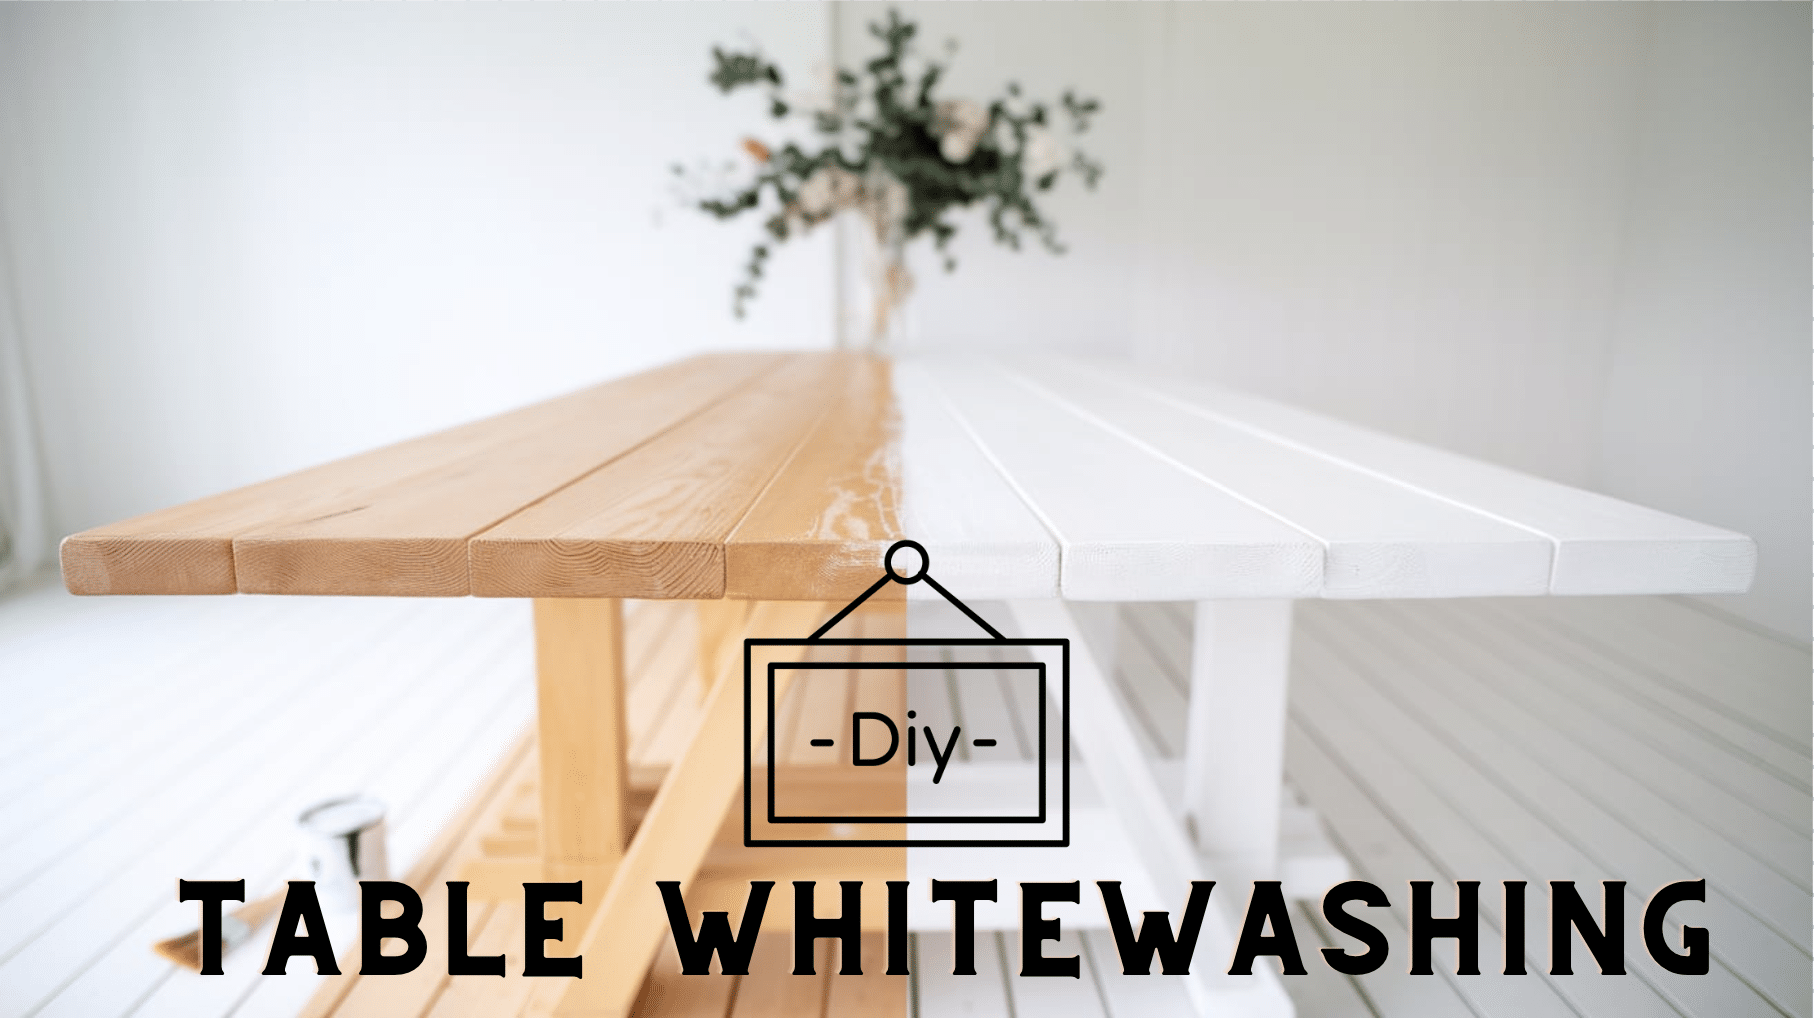
Whitewashing is a painting method that lets wood’s natural grain show through a light coating. This technique started centuries ago when lime was mixed with water to protect barn wood and fences.
Today’s whitewashing uses paint mixed with water to create a similar look. The method works well on raw wood and lets you control how much wood grain stays visible.
Modern whitewashing gives furniture a soft, weathered finish. The technique suits new and old furniture, making it perfect for updating tables without hiding its wooden charm.
Benefits of Whitewashing Wood Furniture
White-washed tables offer clear visual appeal with their subtle, layered look. The finish creates depth while brightening spaces, unlike solid paint, which can look flat.
The process helps shield wood from daily wear. When sealed properly, white-washed surfaces resist stains and moisture better than bare wood.
This finish style works perfectly in many home designs. It adds rustic charm to farmhouse settings and offers beach-themed rooms a light, airy feel.
White-washed pieces also blend well with modern spaces. They add texture without overwhelming other design elements in your room. The finish creates a neutral base that pairs well with bold colors or natural materials.
Preparing for the Whitewashing Project
Selecting the Right Table
Pine tables work best for whitewashing because of their light color and clear grain patterns. Oak and maple also take well to this finish and show beautiful results when completed.
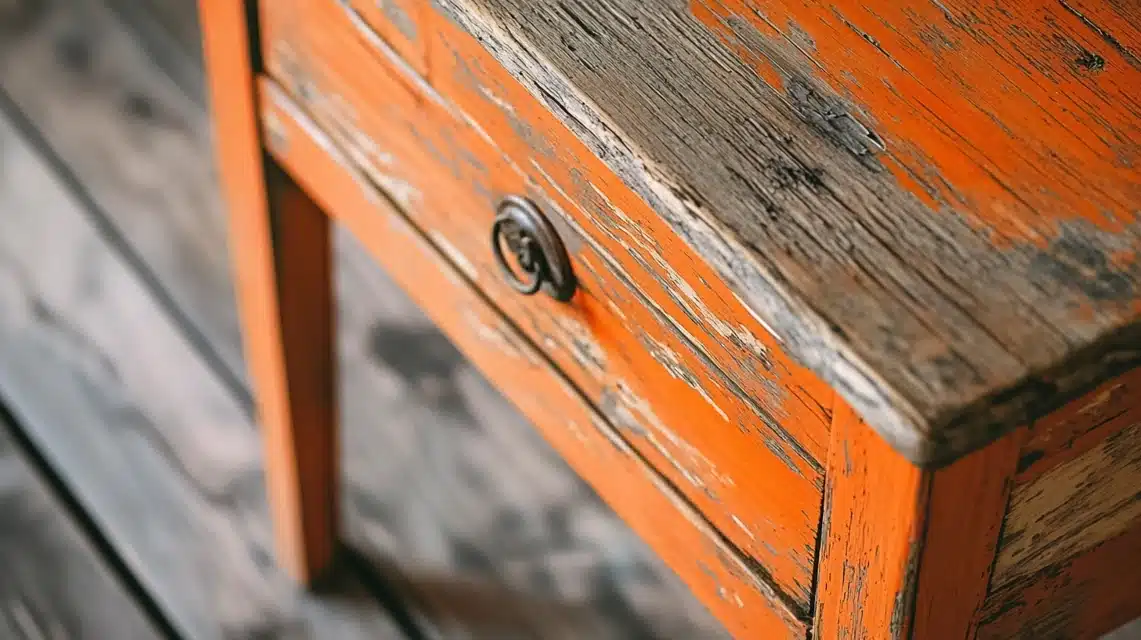
Consider your table’s current state carefully. Raw wood easily accepts whitewash, while painted surfaces need thorough cleaning and sanding. Stained tables require extra prep work to remove the old finish completely.
Some woods might not suit whitewashing well. Dark woods like mahogany can show through the finish and change their final color and pressed wood, or laminate surfaces won’t absorb the wash properly.
Materials and Tools Needed
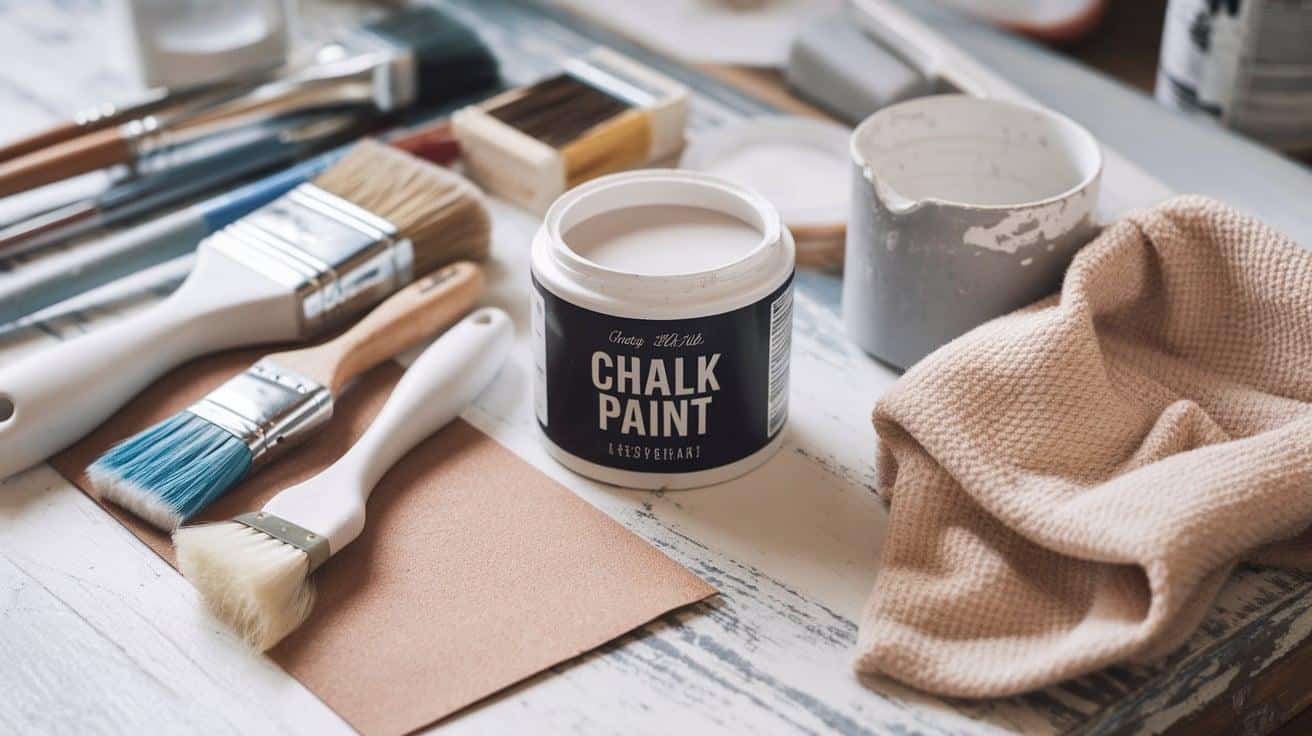
Your basic supply list should include white paint, clean water, and mixing containers. Choose water-based paint for easier cleanup and better results. You’ll need both wide and narrow brushes for different table areas.
Other essential items include clean rags, sandpaper in various grits, and protective gear. Consider adding wood filler for any scratches or dents. A clear topcoat helps protect your finished work.
A DIY Step-By-Step Guide to Whitewash a Table
STEP 1: Prepare the Paint Mixture
Combine equal parts of water and linen white-chalked ultra-matte paint in a container. Stir the mixture thoroughly for about a minute until it forms a thin, watery consistency.
This creates a light wash that will be easy to apply and wipe off to achieve the desired effect.
STEP 2: Apply the Whitewash
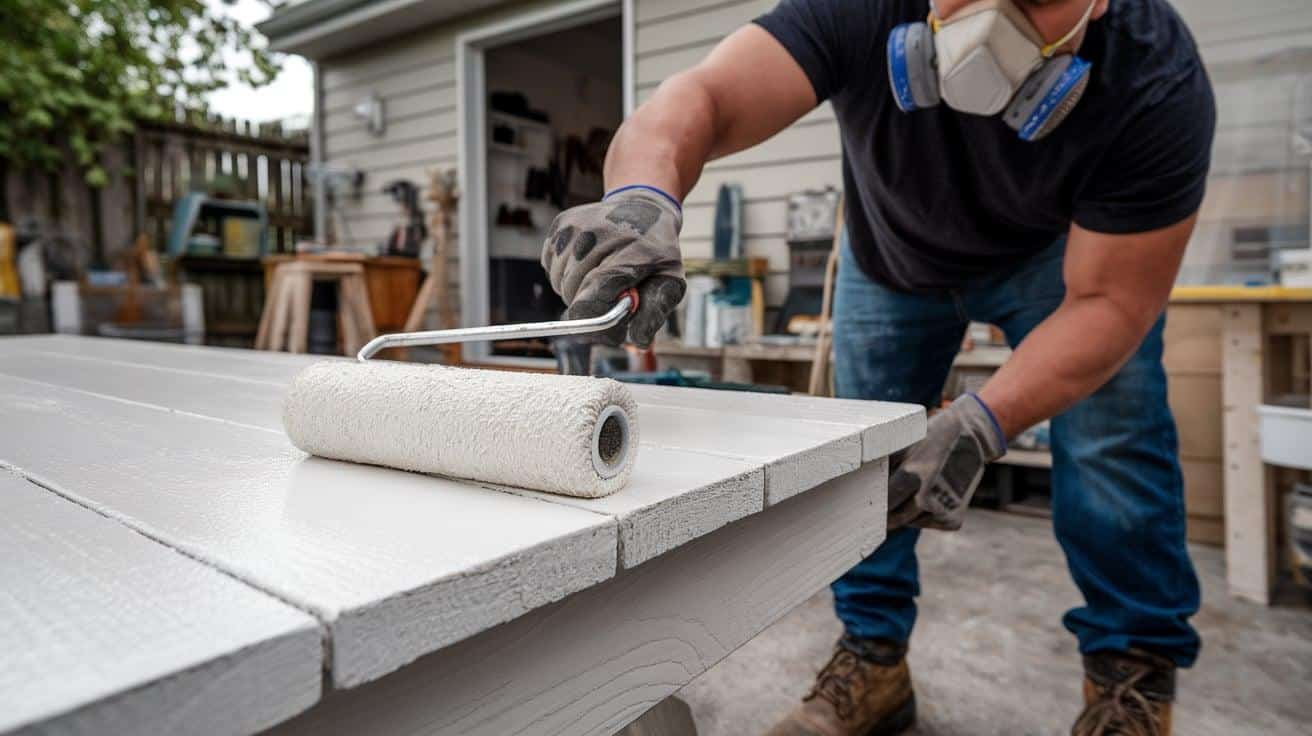
Apply the whitewash mixture evenly across the tabletop using a synthetic paintbrush, working in sections.
Brush along the wood grain to ensure the wash seeps into the wood’s natural lines and grooves for a cohesive look.
STEP 3: Wipe Off Excess Wash
After applying the wash, use a damp cloth followed by a dry cloth to wipe off the excess paint.
Wipe gently to control the paint left on the surface and create a subtle whitewashed appearance—work section by section for better results.
STEP 4: Adjust the Look with Additional Layers
If the initial coat doesn’t achieve the desired effect, repeat the process by applying another layer of whitewash.
Allow the table to dry completely before assessing the need for further adjustments, such as adding layers or sanding for a smoother finish.
STEP 5: Sand for a Distressed Look
Once the whitewash is fully dry, sand the tabletop lightly using fine-grit sandpaper (e.g., 320 grit). Focus on blending the finish and enhancing the distressed, textured appearance.
Wipe away all dust before proceeding to any sealing or finishing steps.
Video Tutorial
For more details, check out this video by Furniture Flippa.
Troubleshooting Common Issues
Uneven spots often appear when the paint mixture isn’t consistent. To fix this, another thin coat can be applied to lighter areas using the same paint-to-water ratio. Keep your brush strokes flowing in one direction.
Peeling happens when the surface isn’t cleaned well enough before starting. Sand the peeling areas smooth, clean thoroughly, and reapply the wash. Watch for sticky residue or oils that might prevent good adhesion.
Color intensity issues can be fixed even after drying. Too light? Add another coat with less water in your mix. Too dark? Lightly sand the surface and wipe with a damp cloth.
Purchasing a Whitewash Table
Styles and Types Available
1. Dining Tables
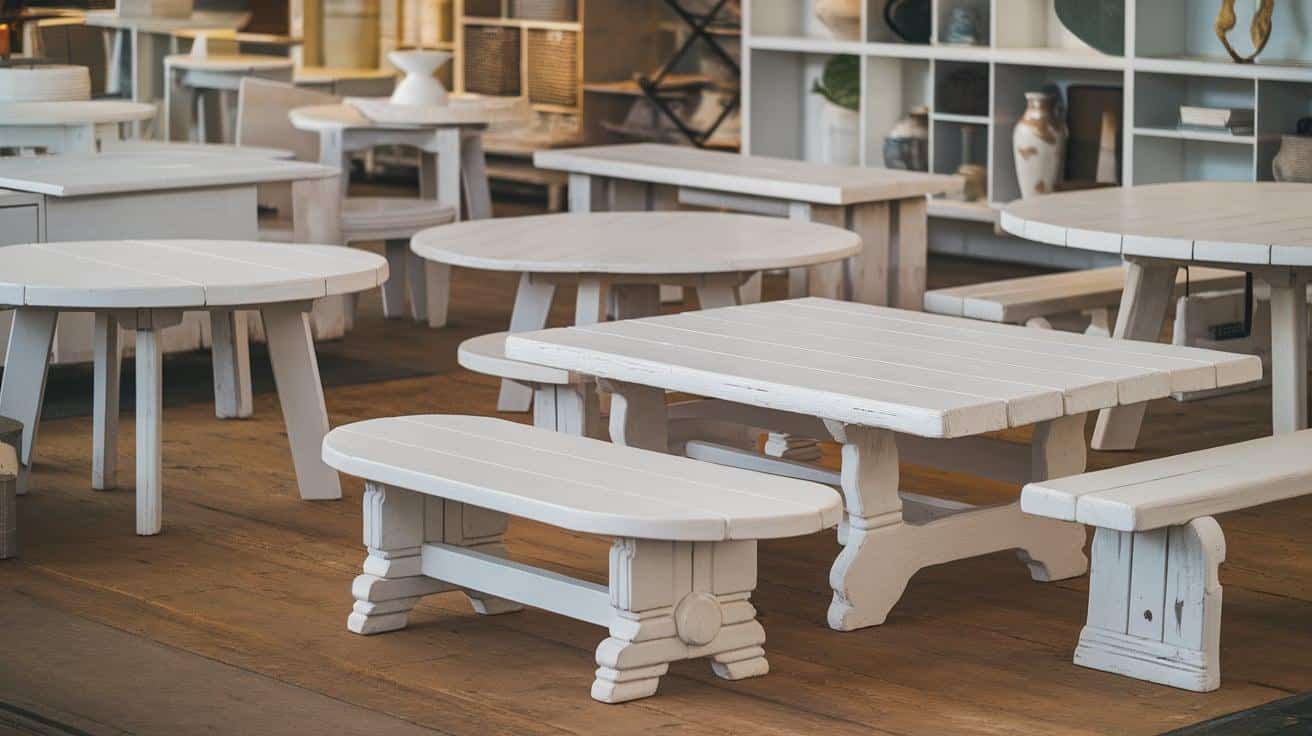
White wash dining tables come in various sizes to fit any space. Round tables work well in breakfast nooks, while long rectangular ones suit formal dining rooms.
Pedestal bases offer more legroom and easy cleaning. Extension tables give you extra space when needed, perfect for homes that often host guests.
2. Coffee Tables
Coffee tables in white wash finish range from simple to detailed designs. Small round tables suit compact living rooms, while larger rectangular ones provide more surface area.
Storage options include drawers or shelves beneath. These practical additions help keep living spaces tidy while maintaining style.
3. Side and Console Tables
Side tables fit nicely next to sofas or beds. Their smaller size makes them perfect accent pieces without taking up much space.
Console tables work well in entryways or behind sofas. They provide display space while adding visual interest to empty walls.
4. Outdoor Tables
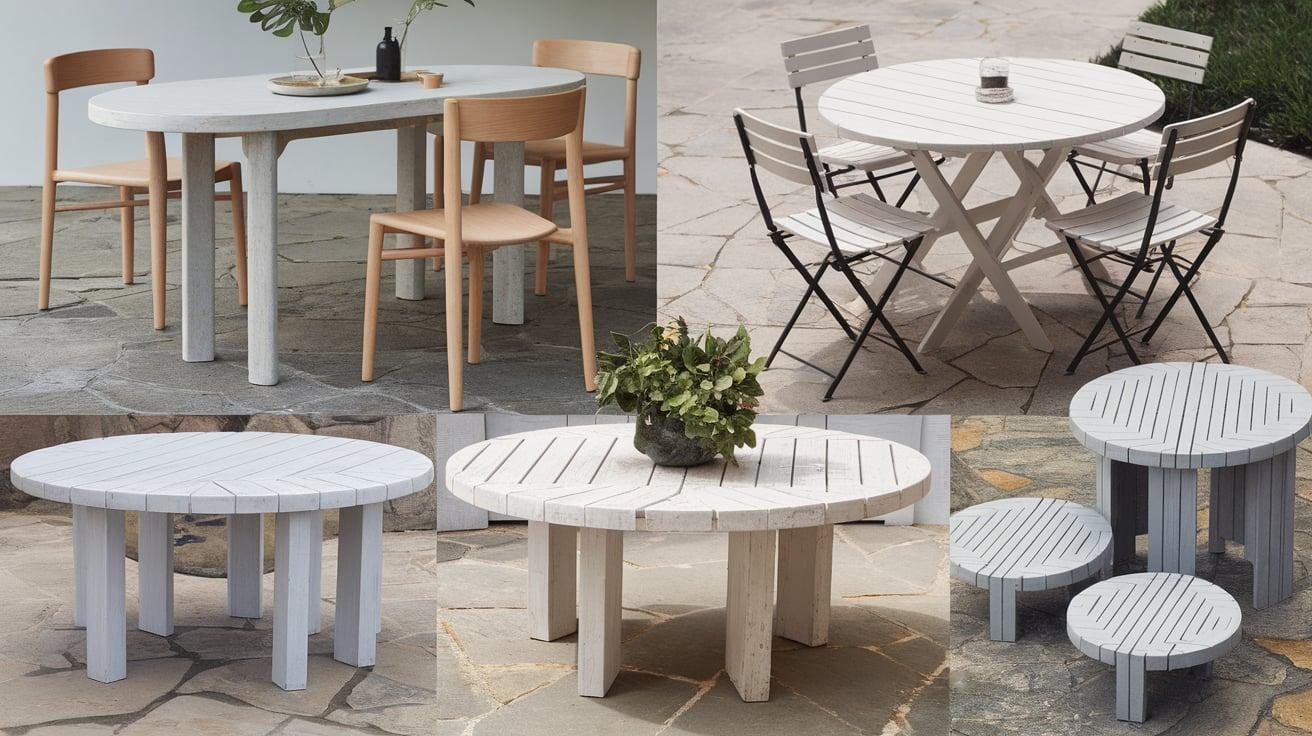
Outdoor white wash tables need special finishes to withstand the weather. These pieces often use treated wood and water-resistant sealants.
Patio dining sets and side tables bring indoor comfort outside. Look for UV-protected finishes to prevent fading in direct sunlight.
Factors to Consider When Buying
1. Material Quality
Solid wood tables cost more but last longer than veneer options. Before buying, check the wood’s thickness and joint quality.
Veneers offer a budget-friendly choice but need gentler care. Look for thick veneers that can handle light sanding if needed.
2. Size and Dimensions
Measure your space carefully before shopping. Allow 36 inches of clearance around dining tables for comfortable seating.
Consider table height for your chairs or sofa. Standard dining height is 30 inches, while coffee tables usually measure 16-18 inches high.
3. Design and Aesthetic Fit
Choose styles that match your existing furniture lines. Simple designs fit modern rooms, while detailed legs suit traditional spaces.
Look at the whitewash color tone carefully. Some finishes are lean gray, and others are creamer. Pick what works with your color scheme.
Top Retailers and Brands
Major furniture stores like Pottery Barn offer quality white wash tables at higher prices. Their pieces often include solid wood and expert craftsmanship.
Local furniture shops sometimes provide better deals and personal service. They might offer custom finishes to match your needs exactly.
Budget-Friendly Options
Second-hand stores and online marketplaces list whitewash tables at lower prices. Check these sources regularly, as good deals sell quickly.
Yard sales and estate sales hide great finds. Minor scratches often drop prices but can be fixed easily at home.
Care and Maintenance
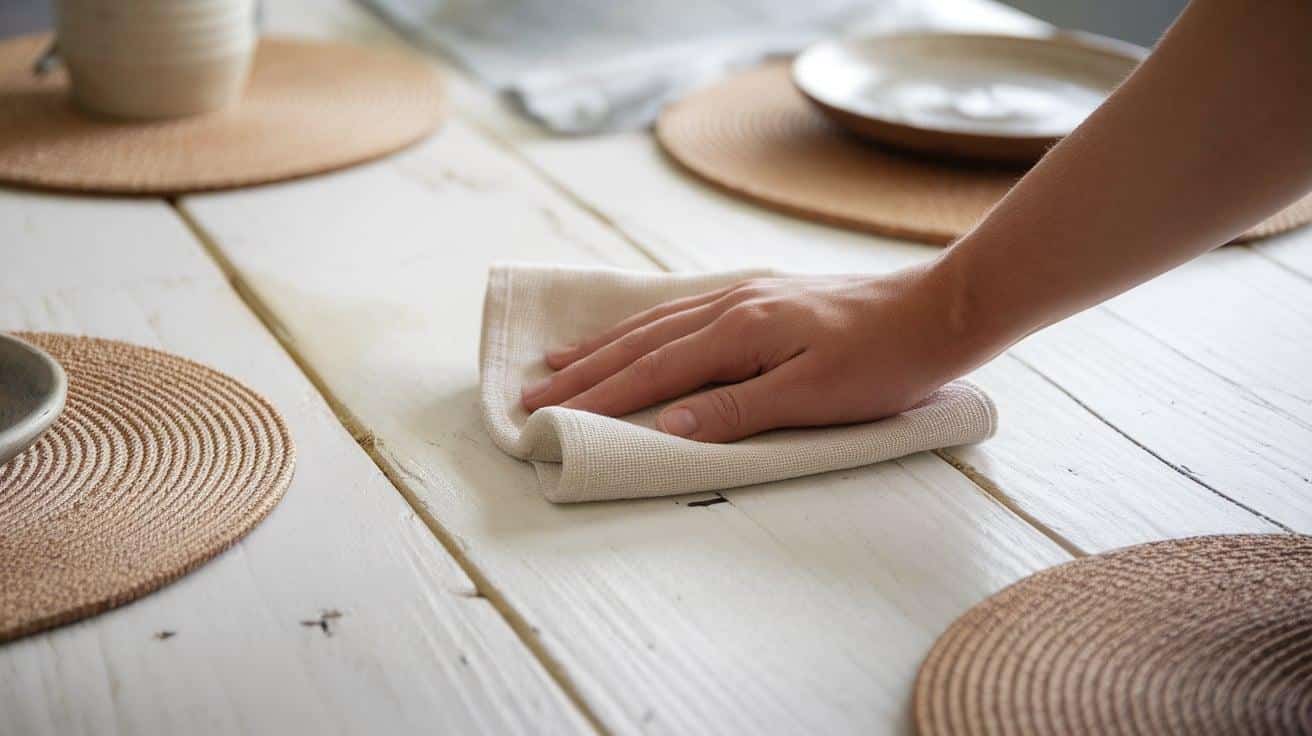
Clean white wash tables with a soft, damp cloth. Avoid harsh cleaners that might damage the finish.
Use coasters and placemats to prevent water rings and scratches. Quick cleanup of spills helps prevent staining.
Apply furniture wax once yearly to maintain the finish. This simple step keeps the surface looking fresh and protected.
Regular dusting prevents dirt buildup in the wood grain. Gentle cleaning works better than aggressive scrubbing.
The Bottom Line
Whitewashed tables offer a perfect blend of style and practicality for your home. We’ve covered the basics of whitewashing, from DIY techniques to buying ready-made pieces.
Whether you create your white wash finish or purchase a finished table, you now have the knowledge to make informed decisions. The process might seem simple, but attention to detail makes all the difference.
We’d love to see your whitewash table projects! Share your before-and-after photos with us. Did you face any challenges during your DIY project? Maybe you found a perfect whitewash table at a great price.
In the comments below, share your experiences. Your insights might help others on their whitewash table expedition. Let’s build a helpful community of home decor enthusiasts.
Frequently Asked Questions (FAQs)
What Does Whitewash Do to Wood?
Whitewash adds a light, rustic finish to wood, highlighting its natural grain while softening its appearance. It creates a weathered, vintage look without completely covering the wood surface.
How Long Does Whitewash Take to Dry?
Whitewash typically takes 30 minutes to an hour to dry, depending on the thickness of the application and environmental factors such as humidity and temperature.
Can I Reverse a Whitewash If I Don’t Like It?
Yes, you can reverse whitewash by sanding the surface to remove the paint or applying a darker stain or finish to mask the whitewashed effect.

