Creative Ways of Painting Terracotta Pots: Guide and Tips
Painting terracotta pots is a fun and easy way to bring color and personality to your house.
This guide covers everything from preparing and painting your pots to sealing and maintaining them.
With these simple steps and creative ideas, you can make beautiful pots that last for years, indoors or outdoors.
Step-by-Step DIY Guide: Painting Terracotta Pots
Materials Needed
- Terracotta pots (variety of sizes)
- Folk Art All-Purpose Sealer (or any non-toxic sealer for porous surfaces)
- Acrylic paints (various colors)
- Paint markers or thin paintbrushes
- Foam brushes (optional for smoother base coats)
- Q-tips and skewers (for specific designs)
- Wax paper (for drying without sticking)
- Spray or brush-on acrylic sealer (for finishing)
Step 1: Clean and Prepare the Pots
- Clean the Pot: Wipe off dust and debris with a paper towel.
- Seal the Pot: For pots that will hold plants or be outdoors, apply two coats of sealer. Seal the outside, inside, and rim. Let each coat dry completely.
Step 2: Apply a Base Coat
- Use Titanium White Paint: Apply 2-3 coats for a solid white base.
- Let Each Coat Dry: Ensure smooth, opaque coverage.
Step 3: Painting Ideas
1. Lavender Stems and Flowers
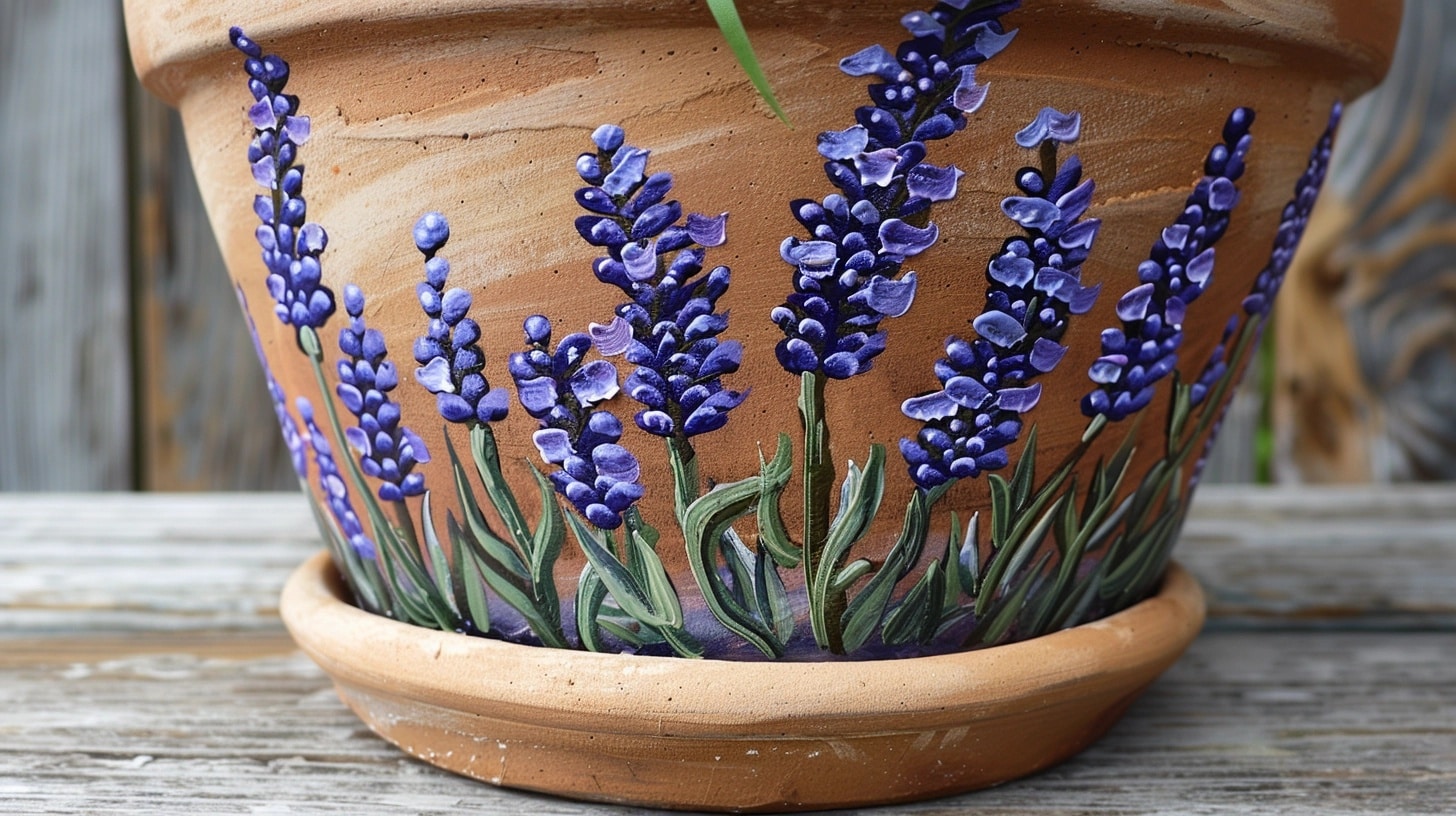
- Paint the Stems: Use a skewer with green paint to create stems at various angles.
- Add Lavender Flowers: Use a Q-tip dipped in lavender paint to create clusters at the top of each stem.
2. Ice Cream Cone Design
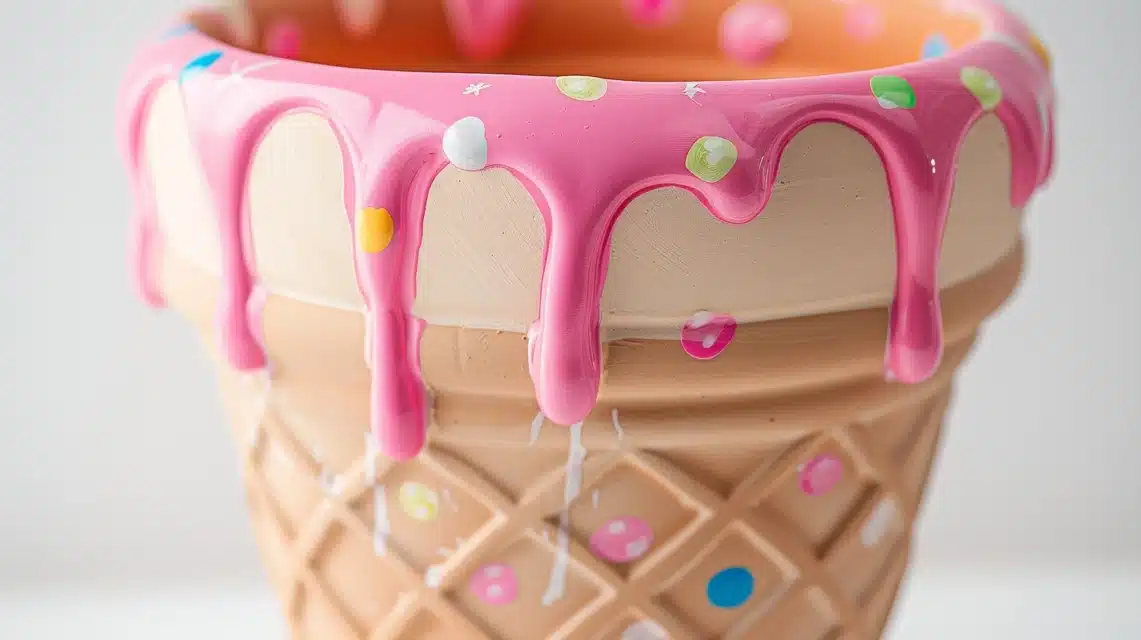
- Drip Marks: Use light pink paint for “drips” from the pot’s rim.
- Cone Pattern: Paint the lower half with a beige color and add a crisscross waffle pattern.
- Add Sprinkles: Use paint markers to add colorful “sprinkles” on the pink ice cream area.
3. Cute Face Design
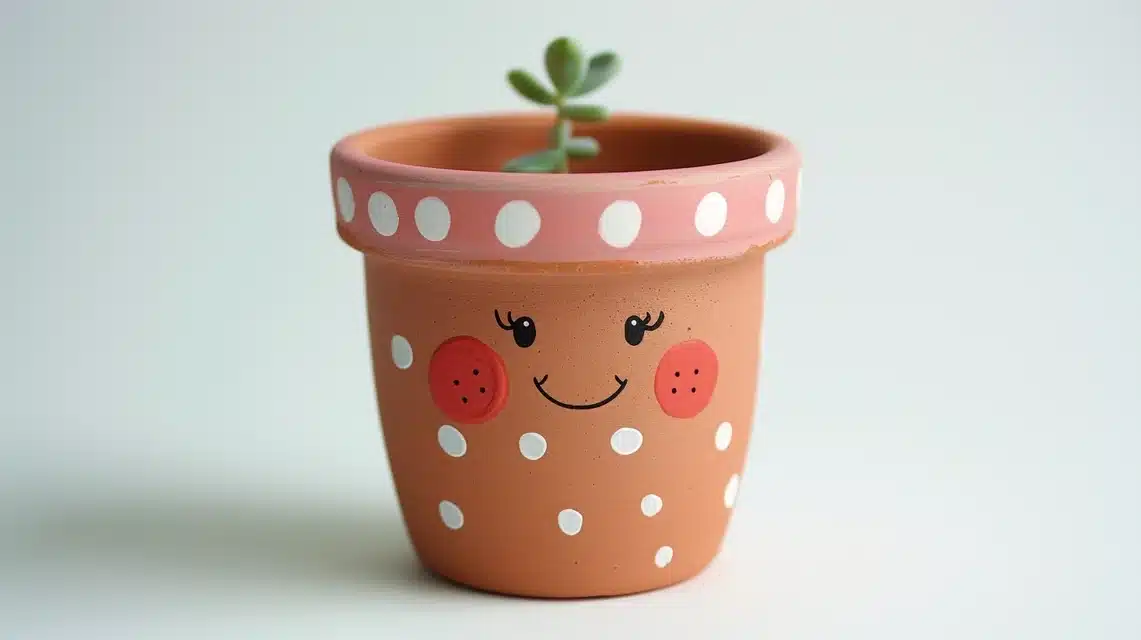
- Sketch with Pencil: Draw simple eyes, a smile, and cheeks.
- Paint Features: Use a black paint marker for the face and add rosy cheeks with pink paint. Add a polka-dotted border on the rim.
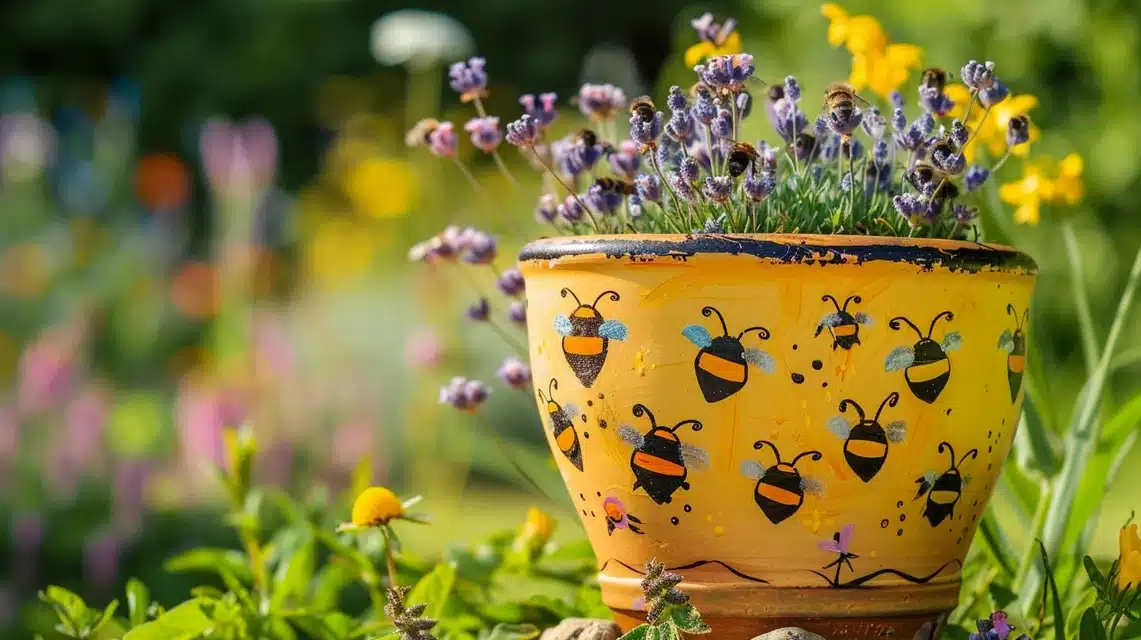
4. Buzzy Bees
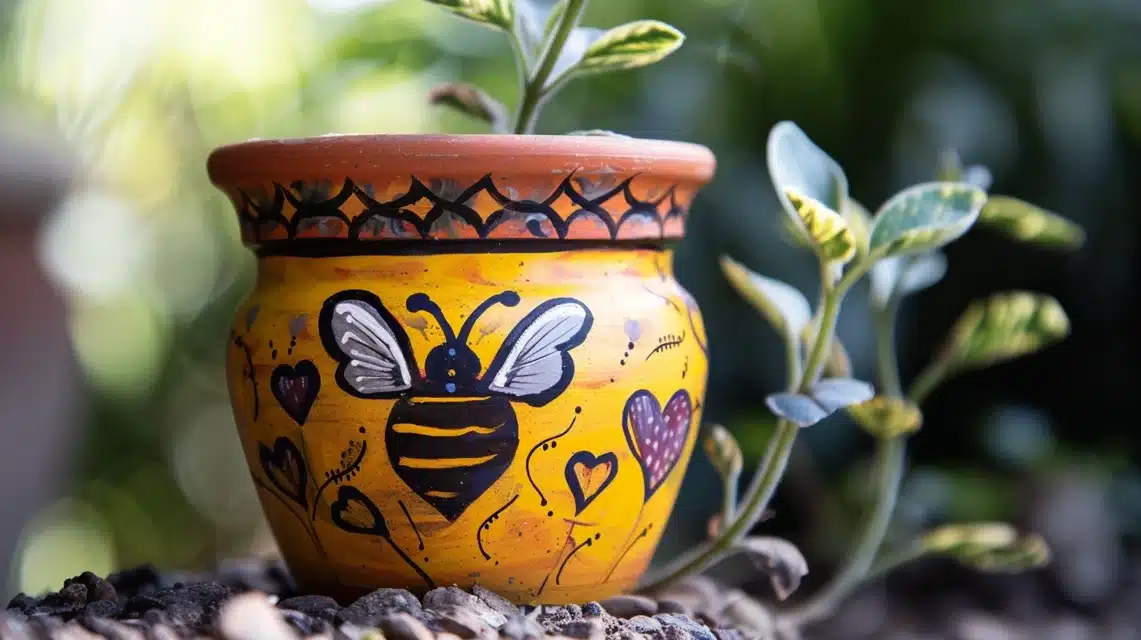
- Bee Shapes: Paint oval bodies in yellow with black stripes and heart-shaped wings.
- Buzzy Lines: Add dotted lines around the bees for a whimsical effect.
5. Graffiti Hearts
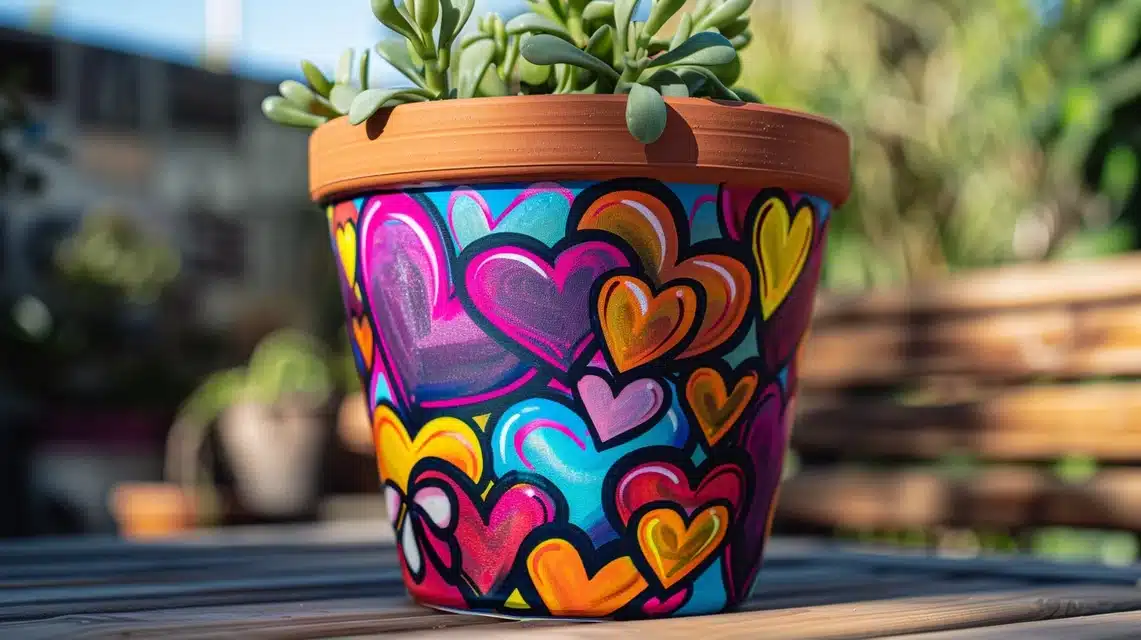
- Layered Hearts: Use paint markers in various colors to layer hearts of different sizes over each other, creating a graffiti effect.
6. Painterly Roses and Leaves
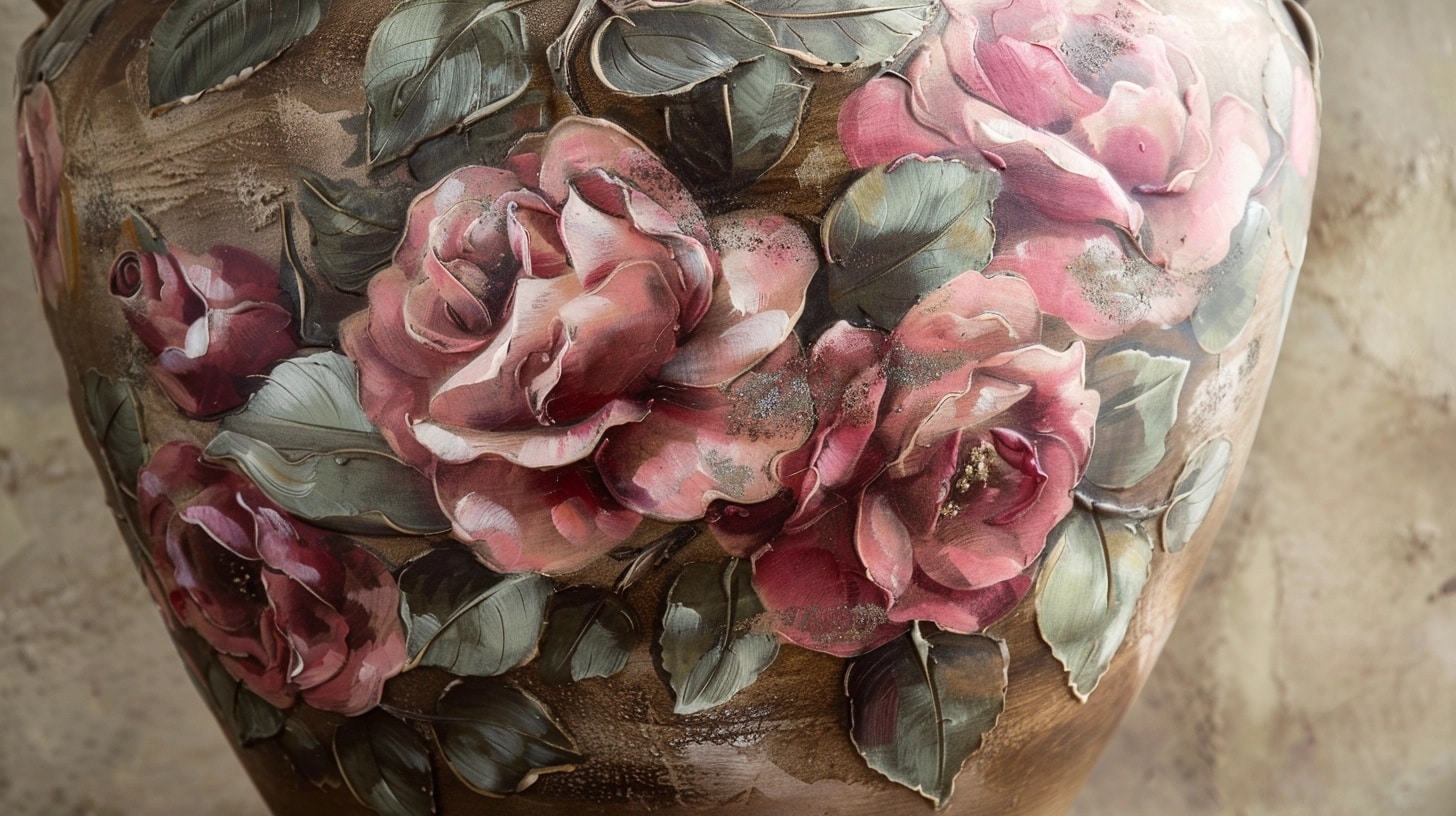
- Roses: Use red or pink paint to create circular swirls, adding white for depth.
- Leaves: Mix greens and add simple leaf shapes around the roses.
Step 3: Sealing Your Artwork
- Choose a Sealer: Use an acrylic spray sealer or brush-on to protect the paint.
- Apply Evenly: Apply two coats, letting each layer dry fully.
- Ventilation: Use the spray outside or in a well-ventilated area.
Final Tips
- Customize with Colors: Choose colors that match your style.
- Experiment with Tools: Try Q-tips, skewers, and foam brushes for unique effects.
- Share Your Creation: Show off your masterpiece and enjoy your new, colorful terracotta pots!
Painting Techniques Guide
1. Basic Painting
- Solid Colors: To achieve even coverage, apply multiple thin coats rather than one thick layer. Let each layer dry fully before applying the next.
2. Spray Painting
- Safety Precautions: Always work in a well-ventilated area, preferably outdoors. Wear a mask and gloves to avoid inhaling fumes and contact with chemicals.
- Tips for a Smooth Finish: Shake the spray can well, maintain an even distance from the surface, and apply light, even coats. Avoid overspraying in one spot to prevent drips.
3. Acrylic Painting
- Blending and Layering Techniques: Use a damp brush to mix colors on the surface for smoother transitions. Let each coat dry completely for layering to avoid muddying colors and achieve depth.
4. Chalk Painting
- Creating Texture and Distressed Effects: Chalk paint naturally has a matte finish and thick texture. To create a distressed look, apply two contrasting colors, then sand down certain areas to reveal the base color. Use a wax finish to seal the chalk paint for durability.
5. Design and Decoration
- Stenciling: Secure the stencil with painter’s tape. Dab paint gently with a sponge or stencil brush, applying minimal pressure to avoid paint bleed. Lift the stencil carefully once done.
- Freehand Painting: Start with simple shapes or patterns and use a small brush for control. Practice on paper to get comfortable with brush strokes and design ideas.
- Tape Designs: Apply painter’s tape to create geometric patterns. Paint within the taped areas, then remove the tape carefully once the paint is dry for crisp, clean lines.
- Decoupage: Cut out images, brush Mod Podge onto the surface, and gently press the image down, smoothing out bubbles. Seal with additional layers of Mod Podge.
- Textured Effects: Add texture paste or sand to your paint for a raised effect. Apply with a palette knife for extra depth and dimension in designs.
Troubleshooting Issues with Painted Terracotta Pots
1. Paint Peeling or Chipping
- Causes: Peeling often occurs due to poor adhesion, exposure to moisture, or lack of proper sealing.
- Preventative Measures: Always seal terracotta pots before painting and use high-quality, weather-resistant paints. If possible, use an inner liner for plants to avoid direct contact with water.
2. Fading Colors
- UV-resistant sealers and paint are used for outdoor use. Position pots in shaded areas to reduce sun exposure, and reapply a UV-protective clear coat annually for outdoor pots.
3. Moisture Problems
- Unsealed terracotta is highly porous, allowing moisture to seep through.
- Always seal pots intended for plants with a waterproof sealer, especially the inside, and add a drainage hole to avoid water buildup, which can lead to peeling paint and moisture-related damage.
Maintenance and Care for Painted Terracotta Pots
1. Indoor vs. Outdoor Use
- Indoor Care: Indoor pots are generally easier to maintain. To protect the paint, dust them regularly and avoid placing them in high-humidity areas.
- Outdoor Care: For outdoor pots, choose UV-resistant paints and sealants to prevent fading from sunlight. Place pots in shaded or partially covered areas to protect them from harsh weather conditions. Reapply a sealant every 1-2 years to maintain durability.
2. Cleaning Painted Pots
- Use a soft cloth or sponge with mild soap and water. Avoid abrasive scrubbers, which can scratch or damage the paint. Rinse gently and allow the pot to air dry completely.
3. Re-Sealing
- The sealant layer can wear down over time, especially for outdoor pots.
- Inspect annually and reapply a clear acrylic sealer every 1-2 years, depending on exposure.
- Clean the pot surface before applying the new sealant, and let each layer dry completely for the best results.
Summing Up
To waterproof painted terracotta pots, apply a waterproof sealer before and after painting, covering both the inside and outside surfaces. This prevents moisture from damaging the paint.
With the right preparation, painting techniques, and care, your painted terracotta pots can stay vibrant and durable.
Whether decorating for indoors or outdoors, these tips will help you create and maintain colorful pots for any setting.
Enjoy the process, and don’t forget to add your unique touch!
Frequently Asked Questions
How Long Does Paint Last on Terracotta Pots?
Painted terracotta pots can last several years if sealed properly and protected from harsh outdoor elements.
Indoor pots typically maintain their appearance longer than outdoor ones.
Do Painted Terracotta Pots Need Drainage Holes?
Yes, drainage holes are essential to prevent water buildup, which can cause paint peeling and moisture damage.
Proper drainage helps keep plants healthy and prevents water-related issues with the paint.

