How to Limewash Brick of Your Home Exterior Like a Pro
Painting your home’s exterior can feel overwhelming, especially with brick surfaces.
I know the stress of choosing the right technique—I’ve been there. Traditional paint can trap moisture and damage bricks over time.
But here’s the good news: limewashing is a centuries-old method. I’ll show you how to apply this natural, breathable finish that protects your bricks while giving them a beautiful, aged look.
I’ll walk you through the exact steps to limewash your brick exterior in this guide.
You’ll learn to prep your surface, mix the right consistency, and apply the coating for lasting results. I’ll also share tips to help you avoid common mistakes.
Let’s start right away!
What Is Limewash?
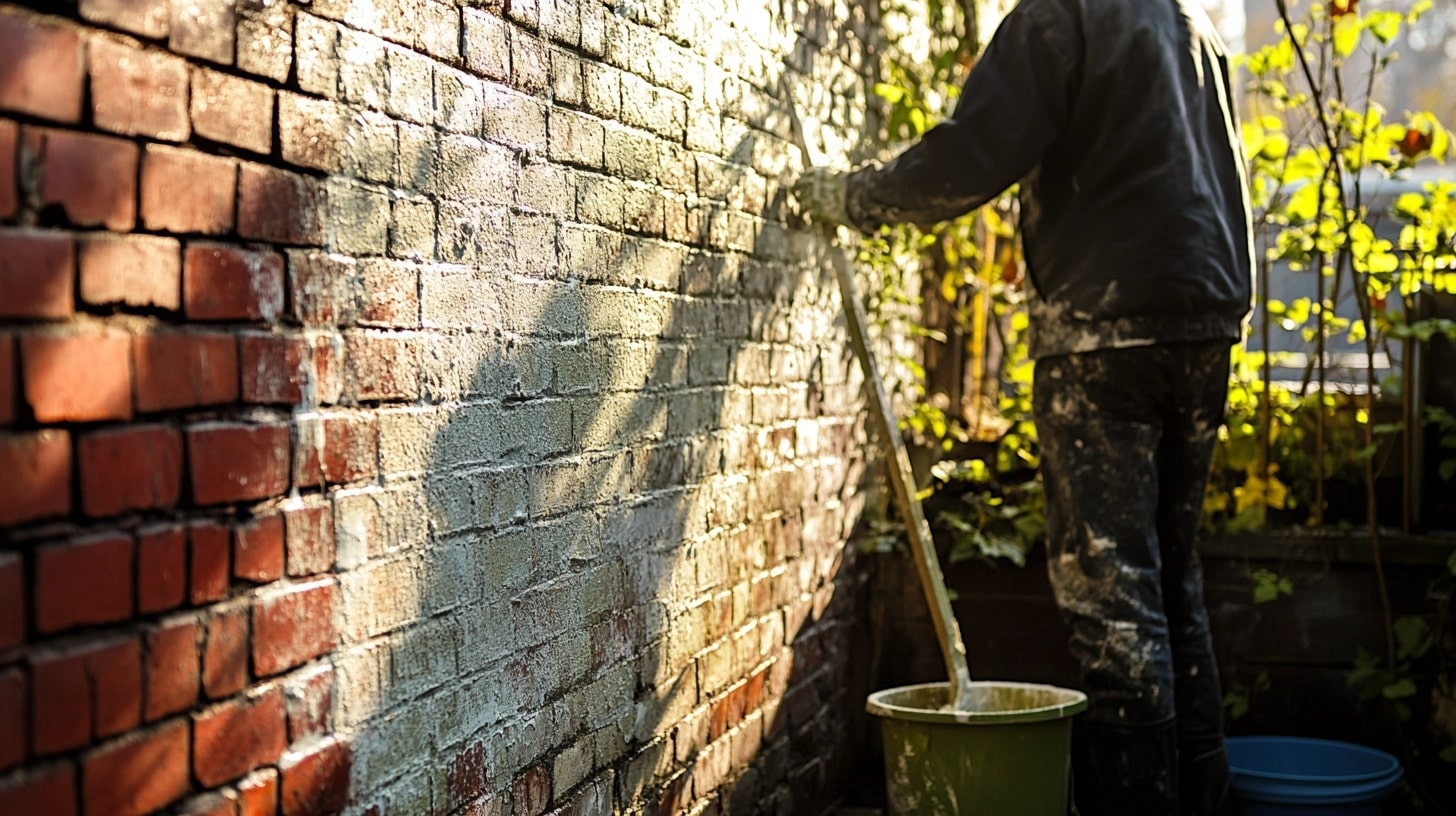
Limewash is a simple mixture of slaked lime (calcium hydroxide) and water. Applying to brick surfaces creates a matte, chalky finish that looks natural and ages beautifully over time.
Unlike regular paint, limewash soaks into the brick instead of forming a layer on top.
Composition and Properties:
- The main ingredient is lime putty, which comes from crushed limestone
- When mixed with water, it forms a thin, milky liquid
- It’s completely natural and free from chemicals
- The finish allows bricks to “breathe,” letting moisture escape
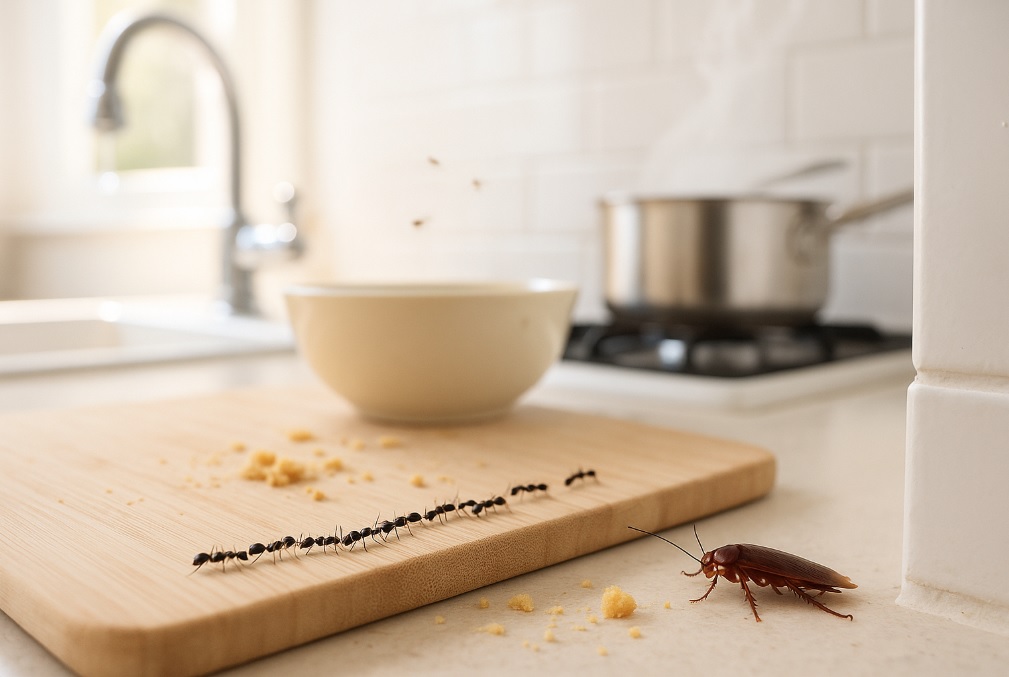
- It naturally fights mold and insects thanks to its high pH level
- Each coat bonds with the brick at a chemical level
Limewash vs. Whitewash vs. Paint vs. German Smear
| Method | Materials Used | Outcome | Pros | Cons |
|---|---|---|---|---|
| Limewash | Hydrated lime, water (optional pigments) | Natural, chalky finish; gradually fades, giving an aged look | – Eco-friendly, allows brick to breathe | – Fades over time and may need reapplication |
| – Affordable if mixed yourself | – Limited color options unless pigmented | |||
| – Doesn’t peel or chip | – May require multiple coats for full coverage | |||
| Whitewash | Traditional paint diluted with water | Light, semi-transparent coverage; lets brick color show through | – Affordable, DIY-friendly | – May peel or chip over time |
| – Easily adjustable opacity | – Doesn’t protect brick from weather as effectively as limewash | |||
| – Gives a rustic, vintage look | ||||
| Paint | Exterior-grade paint | Solid, opaque coverage; hides brick entirely | – Wide range of colors available | – Can trap moisture, potentially damaging brick |
| – Long-lasting, low maintenance | – Requires regular upkeep to avoid peeling and chipping | |||
| – Provides maximum color control | – Often irreversible without damaging brick | |||
| German Smear | Mortar, sand | Rough, textured look with partial brick coverage | – Adds texture and character | – Permanent once applied; difficult to remove |
| – Durable, long-lasting | – Can be challenging to apply evenly | |||
| – Allows custom color adjustments by controlling brick exposure | – Labor-intensive application process |
Why Limewash Your Brick?
1. Aesthetic Transformations
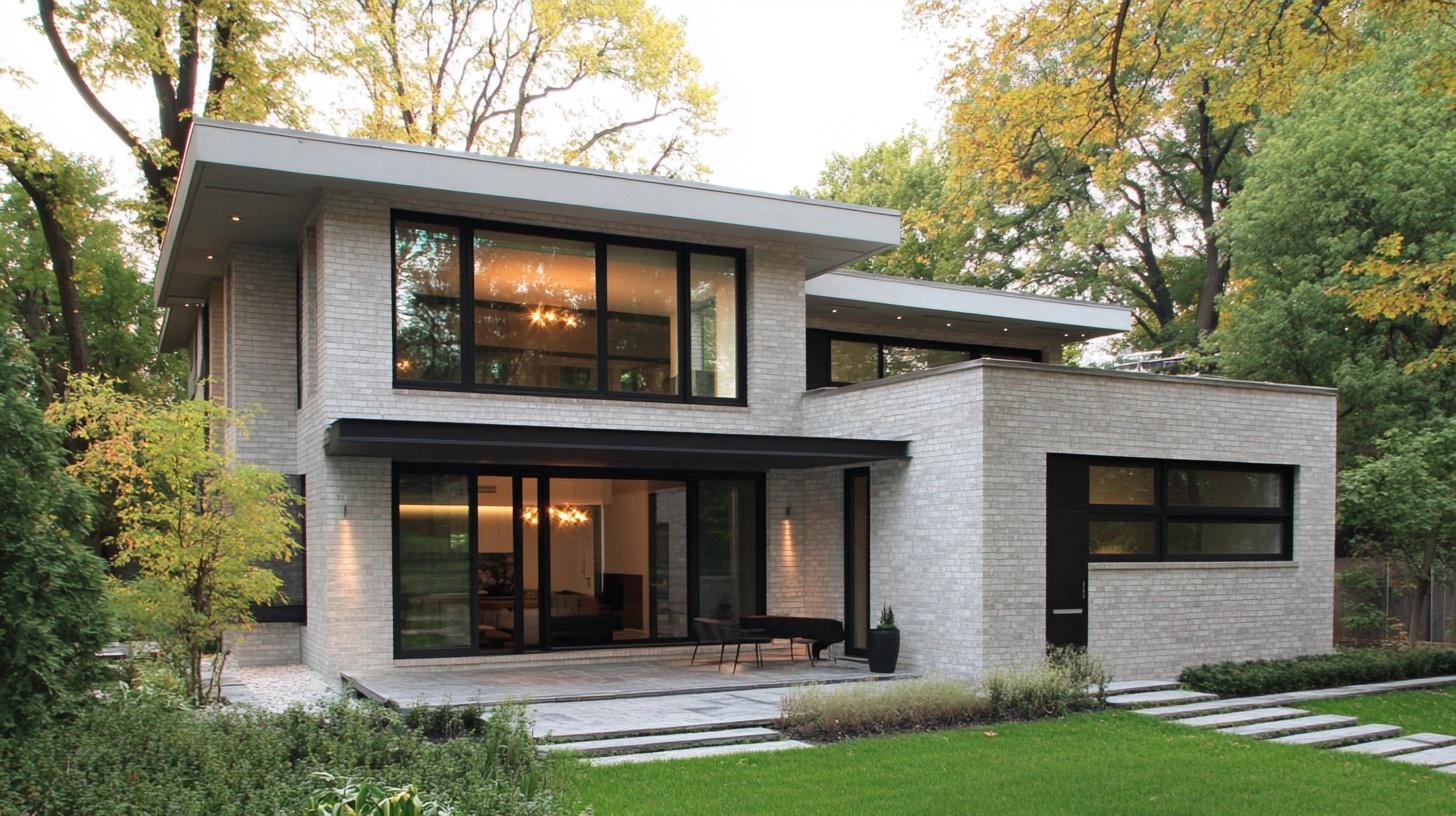
Limewash gives brick a soft, textured look that changes subtly with the light. The finish starts bold and naturally fades to create a lived-in appearance. I love how each brick takes the coating differently, creating a one-of-a-kind pattern.
2. Breathability and Health of Brick
The porous nature of limewash lets moisture move freely through your bricks. This prevents water from getting trapped, leading to cracks and damage. I’ve seen how this natural coating helps old bricks stay strong for years.
3. Eco-friendly Aspects
Made from limestone and water, limewash is 100% natural. It contains no harsh chemicals or VOCs. As someone who cares about our environment, I appreciate how it breaks down safely over time without harming soil or water.
4. Cost-effectiveness
A bag of lime putty covers more area than traditional paint and costs less. From my experience, limewash lasts 5-7 years on exterior walls. The simple ingredients and long-lasting results make it a smart investment.
But Is Limewashing Right for You?
Assessing Your Brick Surface
Look closely at your brick walls. Are they painted? Old paint must come off first. I recommend checking for loose, broken, or crumbling bricks. Your surface needs to be in good condition for limewash to work well.
Also, ensure your bricks are clay-based—cement bricks won’t take limewash properly.
Considering Your Climate and Environment
Your local weather matters. If you live where it rains often, plan to apply limewash during dry spells. The coating needs 24 hours to bond properly. Heavy trees near walls can lead to more cleaning.
I suggest checking your area’s typical weather patterns before starting.
Desired Aesthetic Outcomes
Think about your goals. Limewash creates a soft, matte finish that fades naturally. You can’t get glossy or perfectly even color. I find it works best if you want an aged, natural look.
The finish will be unique to your home.
Tools and Materials Needed to Limewash Brick
| Item | Purpose |
|---|---|
| Tools | |
| Large masonry brush | For applying limewash evenly over the brick |
| Paint sprayer (optional) | Speeds up application, especially for larger surfaces |
| Drill with mixing attachment | Thoroughly mixes lime and water for a consistent mixture |
| Bucket | Holds the limewash mixture for application |
| Spray bottle (optional) | Damps the brick if needed during application |
| Gloves and safety glasses | Protects hands and eyes during the process |
| Materials | |
| Hydrated lime | Key ingredient in creating the limewash mixture |
| Water | Mixes with hydrated lime to make limewash |
| Pigment (optional) | Provides color to limewash if a tinted finish is desired |
Preparing Your Brick Surface
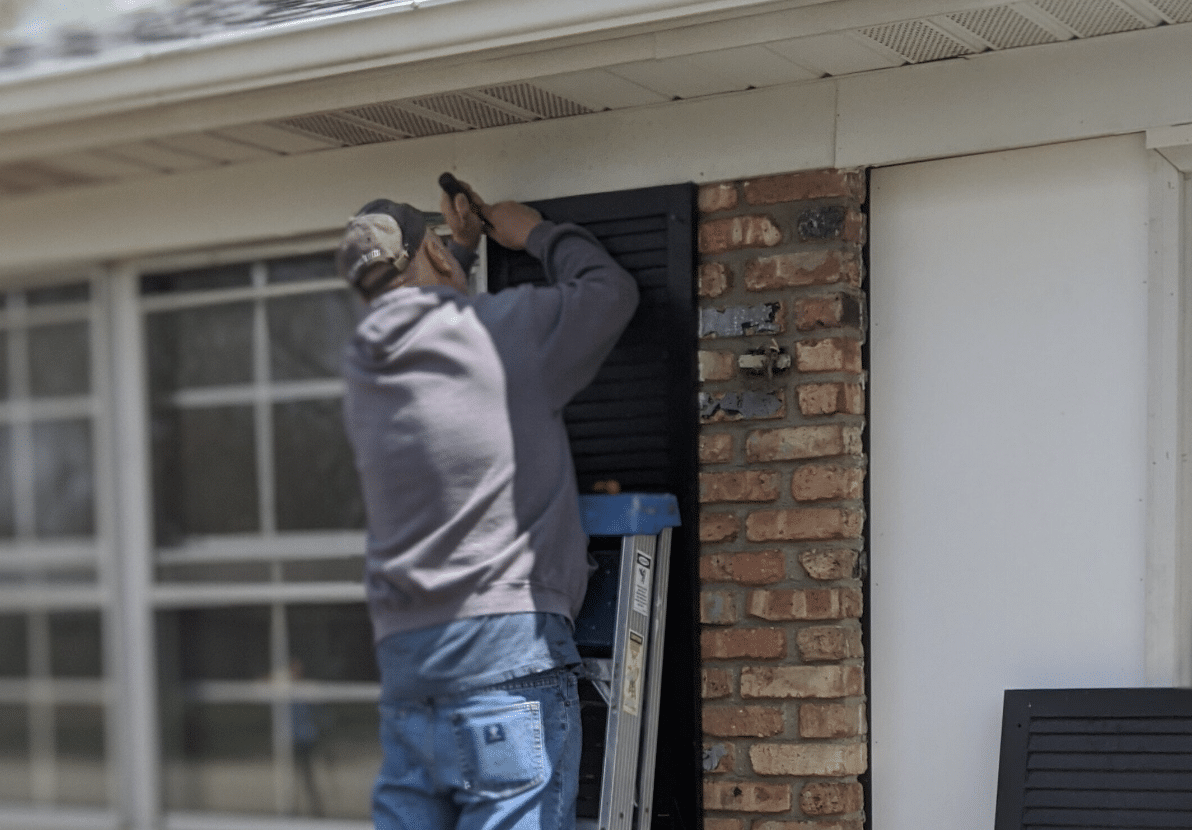
For the best results, start with a clean surface. I use a garden hose to wet the bricks, then scrub with a stiff brush. White patches on bricks (efflorescence) need a wire brush.
Stubborn spots might need masonry cleaner. Let walls dry completely before moving forward.
Don’t use high pressure on your bricks – it can cause chips. I always work from bottom to top to prevent streaking. Keep the water spray at a 45-degree angle. Test cleaners on a small spot first to check for reactions.
Spray water in different spots on your wall. Good bricks absorb water within a minute. If the water beads up, your surface might have sealers or oils.
I always test several areas – absorption can vary across your wall.
Check each brick and joint carefully. Fill small cracks with masonry caulk. Replace broken bricks before starting. If mortar crumbles when you touch it, it needs repointing.
Wait 28 days after repairs before limewashing.
A Step-by-Step Guide to Limewashing Brick
Step 1: Mixing the Limewash
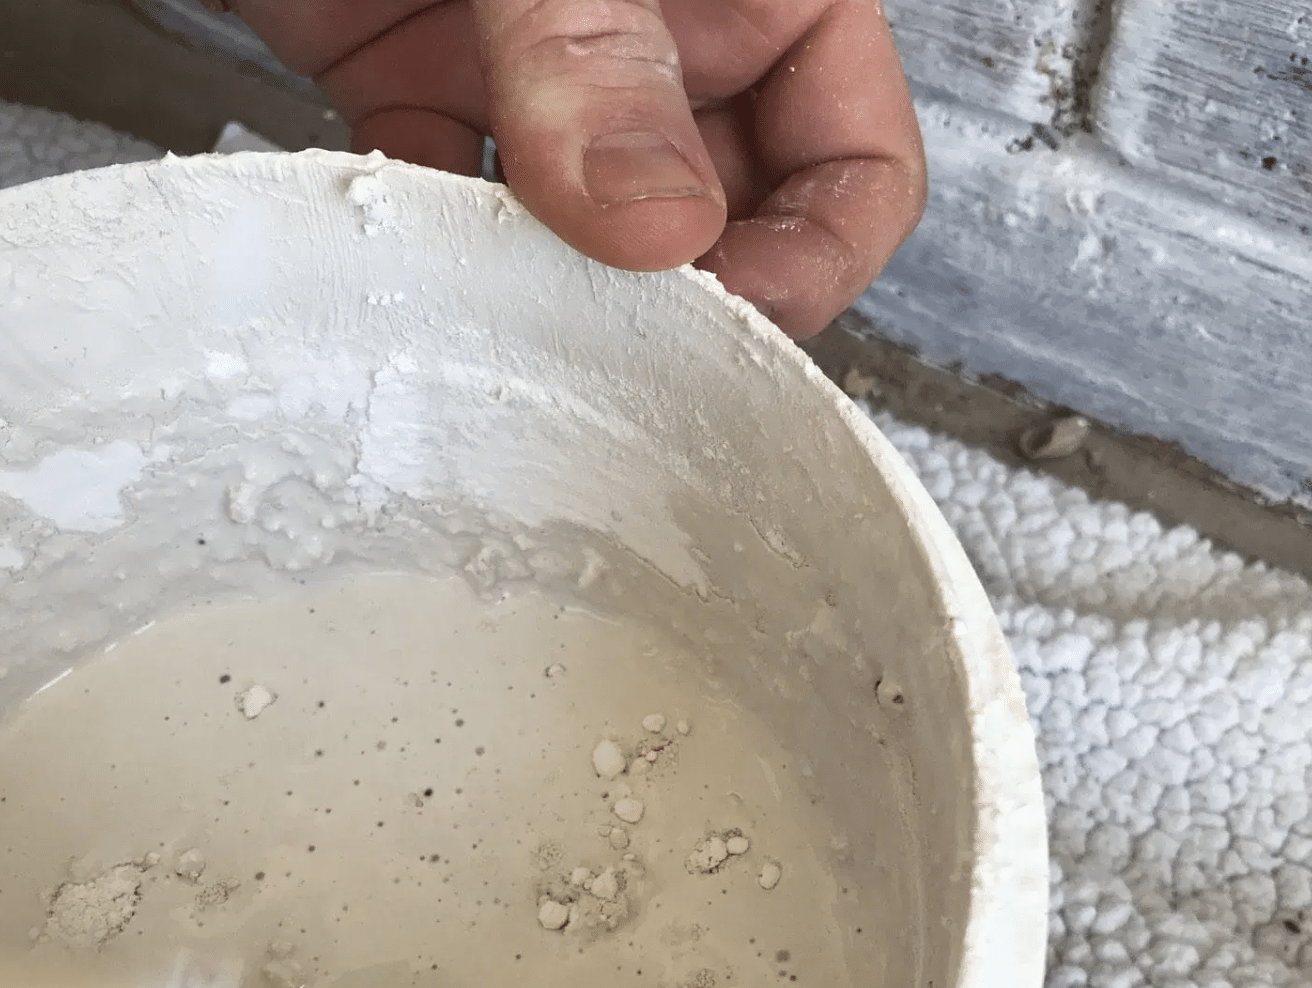
- Mix hydrated lime with water in a large bucket, starting with a 1:3 ratio (one part lime to three parts water). Adjust the consistency based on your preference.
- Try a 1:1 ratio for a thicker, chalky appearance. Use a drill with a mixing attachment for smooth blending.
Step 2: Testing the Limewash
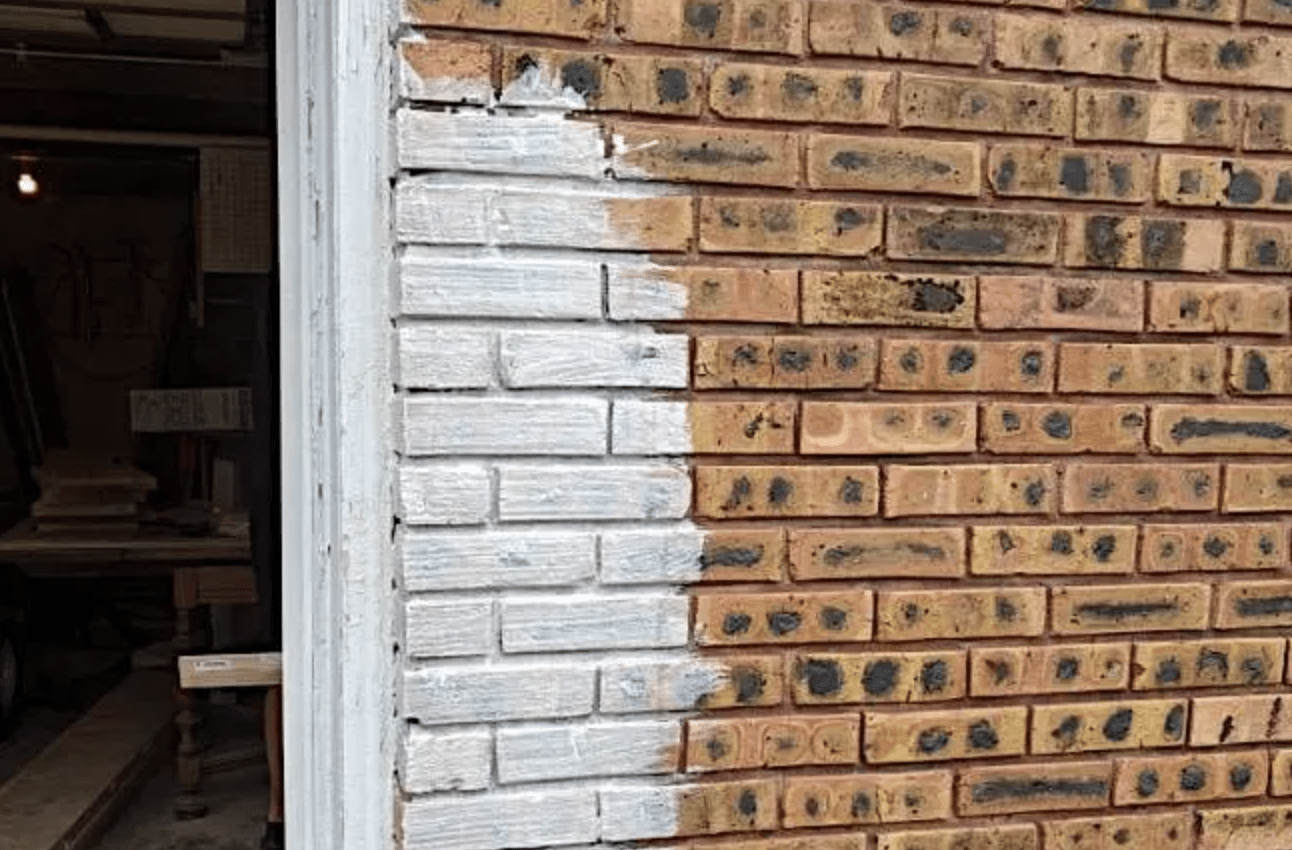
- Before applying limewash to the entire surface, choose a small, inconspicuous area to test.
- Try different techniques, such as a light wash or a German smear, to find your preferred look. Note that the limewash will dry more opaque than it appears when wet.
Step 3: Applying the Limewash
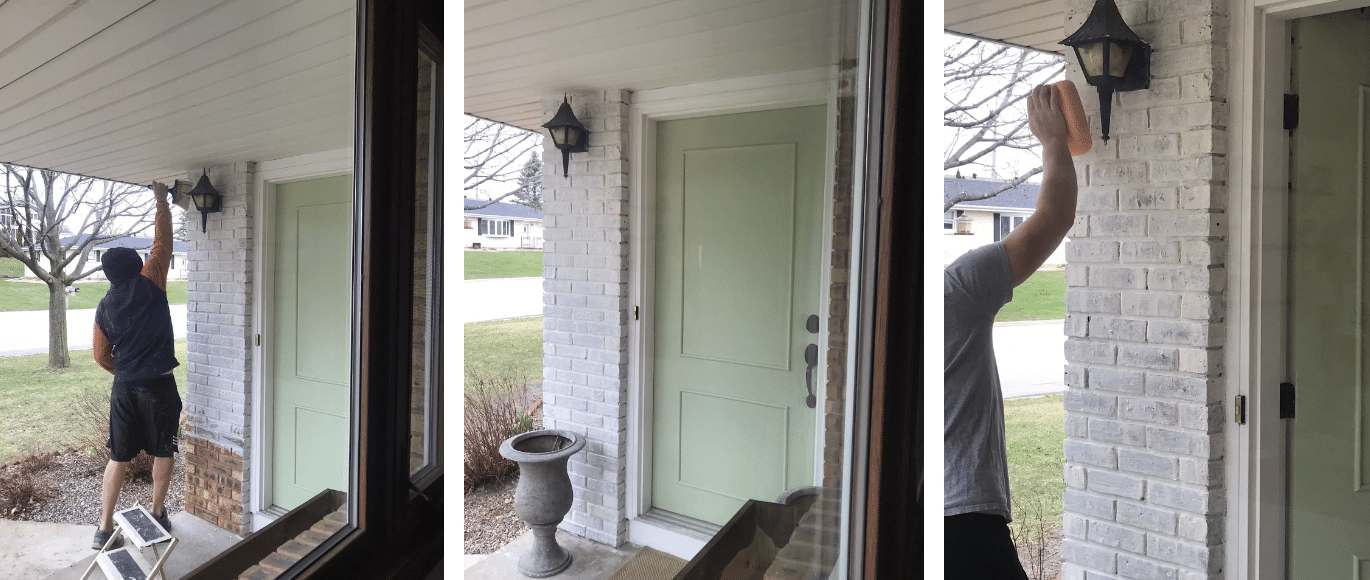
- Apply the limewash to your brick with a large masonry brush or a paint sprayer. Begin in small sections, working systematically for even coverage.
- If you prefer a thicker, more solid white, allow it to dry before adding additional coats. Limewash dries quicker and is easier to manage on warm, cloudy days.
Drying and Curing Process
The first drying phase takes about 24 hours. During this time, I learned that limewash needs gentle misting with water to cure properly. Keep checking the surface; give it a light spray if it feels powdery.
The full curing takes 3-5 days. During this time, avoid touching the walls. Rain can affect the finish in the first 48 hours, so I always check weather forecasts before starting.
The color lightens as it dries, settling into its final shade after curing.
Temperature and humidity affect drying times. The ideal conditions are 50-85°F with moderate moisture. I find early morning applications work best.
Aftercare and Maintenance Tips
1. Longevity of Limewash
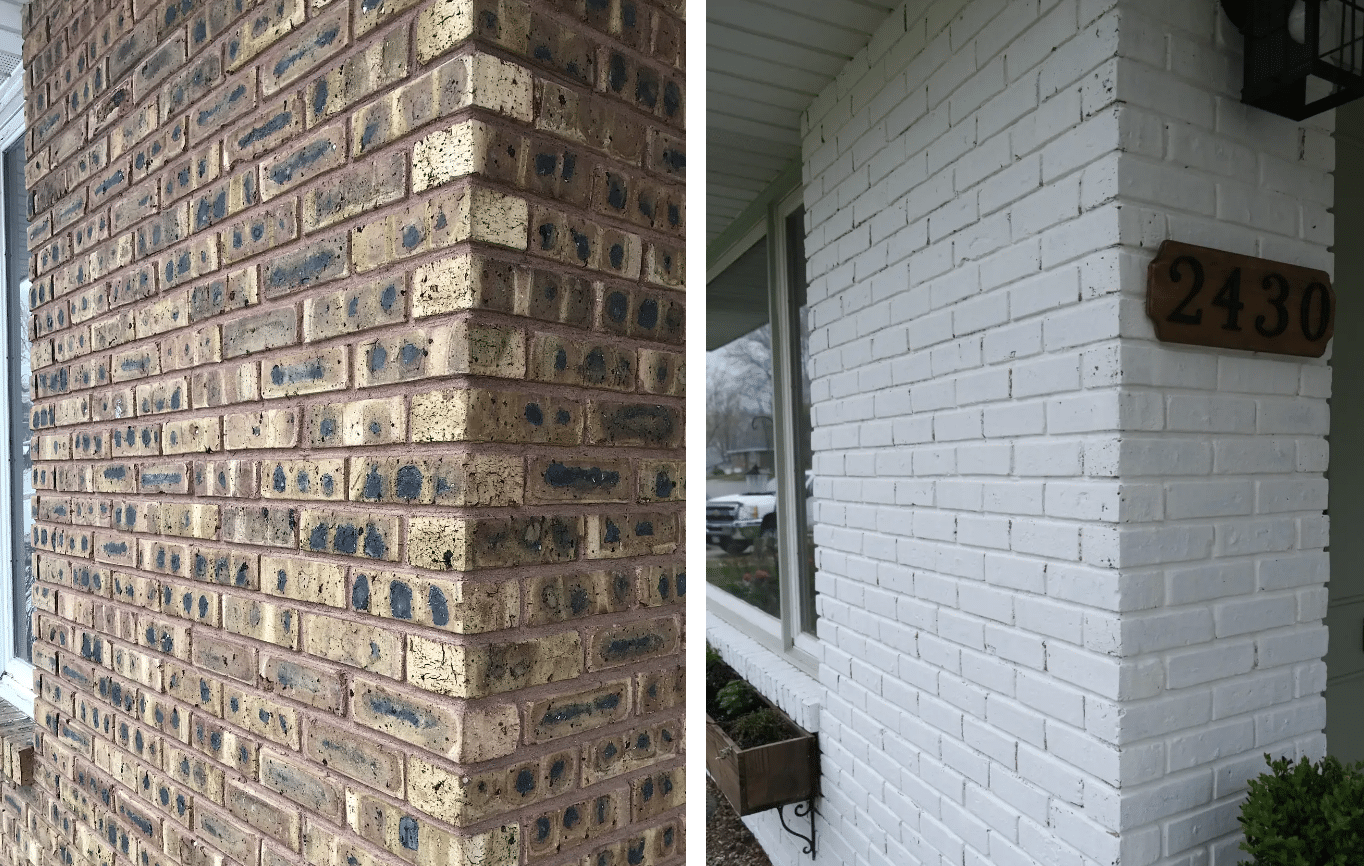
With proper care, your limewash coating can last 5-7 years. The finish ages naturally, giving your home a unique character over time. I’ve found that north-facing walls keep their finish longer, while south-facing walls might need more frequent touch-ups.
2. Cleaning Limewashed Surfaces
Clean your walls once a year with plain water and a soft brush. I avoid harsh cleaners – they can damage the finish. Work from bottom to top using gentle, circular motions. Let the walls dry completely after cleaning.
3. Touch-up Techniques
Keep your limewash mix recipe for touch-ups. Start with a clean, dry surface. I gently dab the mixture with a small brush to match the texture. Blend the edges carefully. Remember that new limewash looks brighter at first.
4. Reapplying Limewash in the Future
When it’s time for a fresh coat, clean the surface thoroughly. The old limewash doesn’t need to be removed—it provides a good base. I apply thin coats, just like the first time. Each new layer strengthens the overall finish.
When to Hire a Professional?
Consider hiring a professional if your home is taller than one story or you have tricky spots to reach. I recommend expert help if your bricks need major repairs first.
Time constraints, physical limitations, or lack of proper tools are good reasons to call a professional.
A skilled contractor brings expertise in:
- Proper surface testing
- Material mixing ratios
- Safe ladder work
- Even application
- Weather timing
Wrapping It Up
Giving your brick home a limewash finish is more than just a paint job – it’s about adding character while protecting your walls. Throughout this guide, I’ve shared steps to help you create that perfect, aged look that improves with time.
Remember, success lies in proper preparation and patience. Test your surface, gather the right tools, and wait for good weather.
Your effort will pay off with a beautiful, long-lasting finish that keeps your bricks healthy.
Ready to start? Begin with a small test area. Watch how the limewash behaves on your bricks. If you feel unsure, don’t hesitate to call a professional.
Your home deserves the best care possible.

