Painting the Interior Side of Your Front Door for a Fresh Look
Your front door is the first thing visitors see when they enter your home, so why not make a statement?
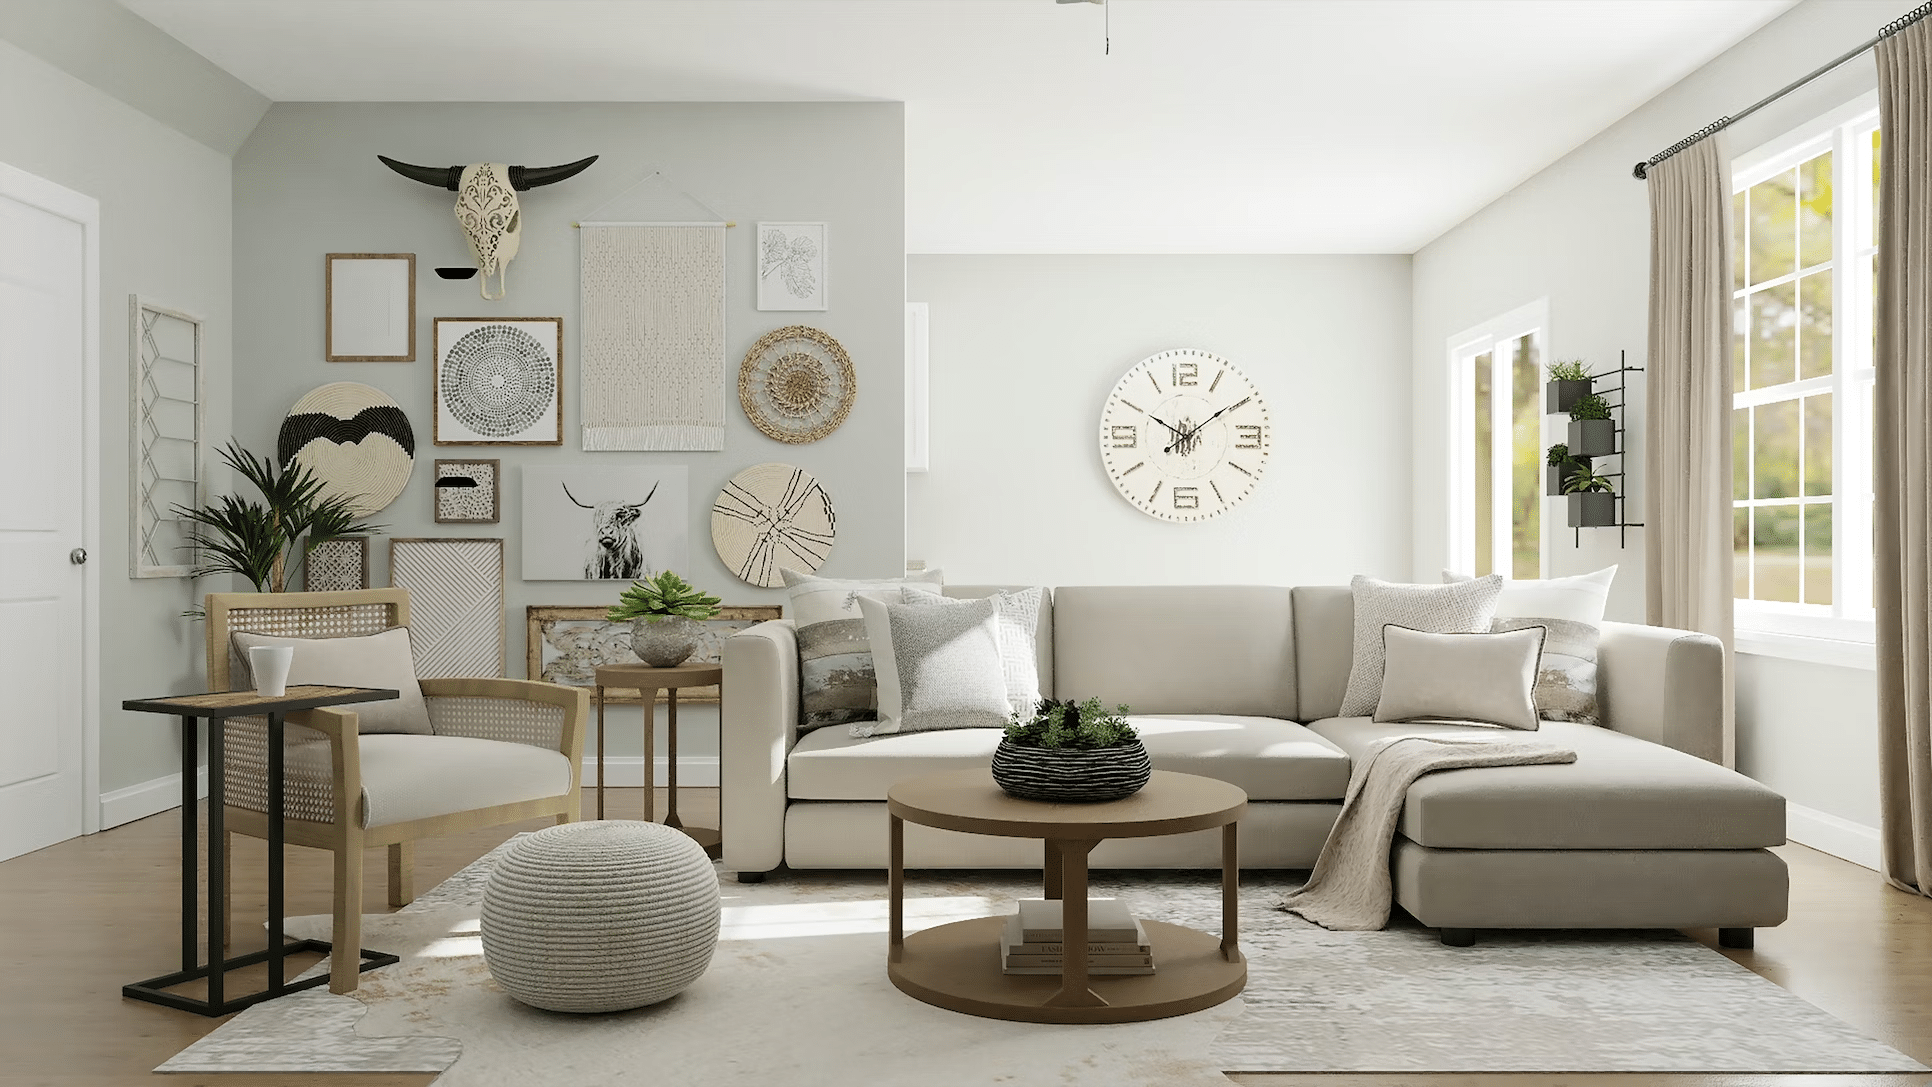
Painting the inside of your front door is an often-overlooked way to add personality, style, and warmth to your entryway.
It’s a simple, affordable project that can greatly impact the overall look and feel of your space. A fresh coat of paint can work wonders if you want to create a bold focal point, complement your existing decor, or refresh a tired, outdated door.
In this step-by-step guide, we’ll walk you through choosing the right color, gathering the necessary tools and materials, and achieving a flawless, professional-looking finish that will transform your entryway and make you smile whenever you come home.
Why Paint the Inside of Your Front Door?
1. Creates a Focal Point
Painting the inside of your front door adds visual interest to your entryway. It instantly draws the eye and creates a focal point, making your entrance more inviting and memorable.
2. Reflects Personal Style
Your front door is an opportunity to showcase your favorite colors and express your unique style. By choosing a color that speaks to you, you can make a bold statement right from the threshold of your home.
3. Complements Interior Decor
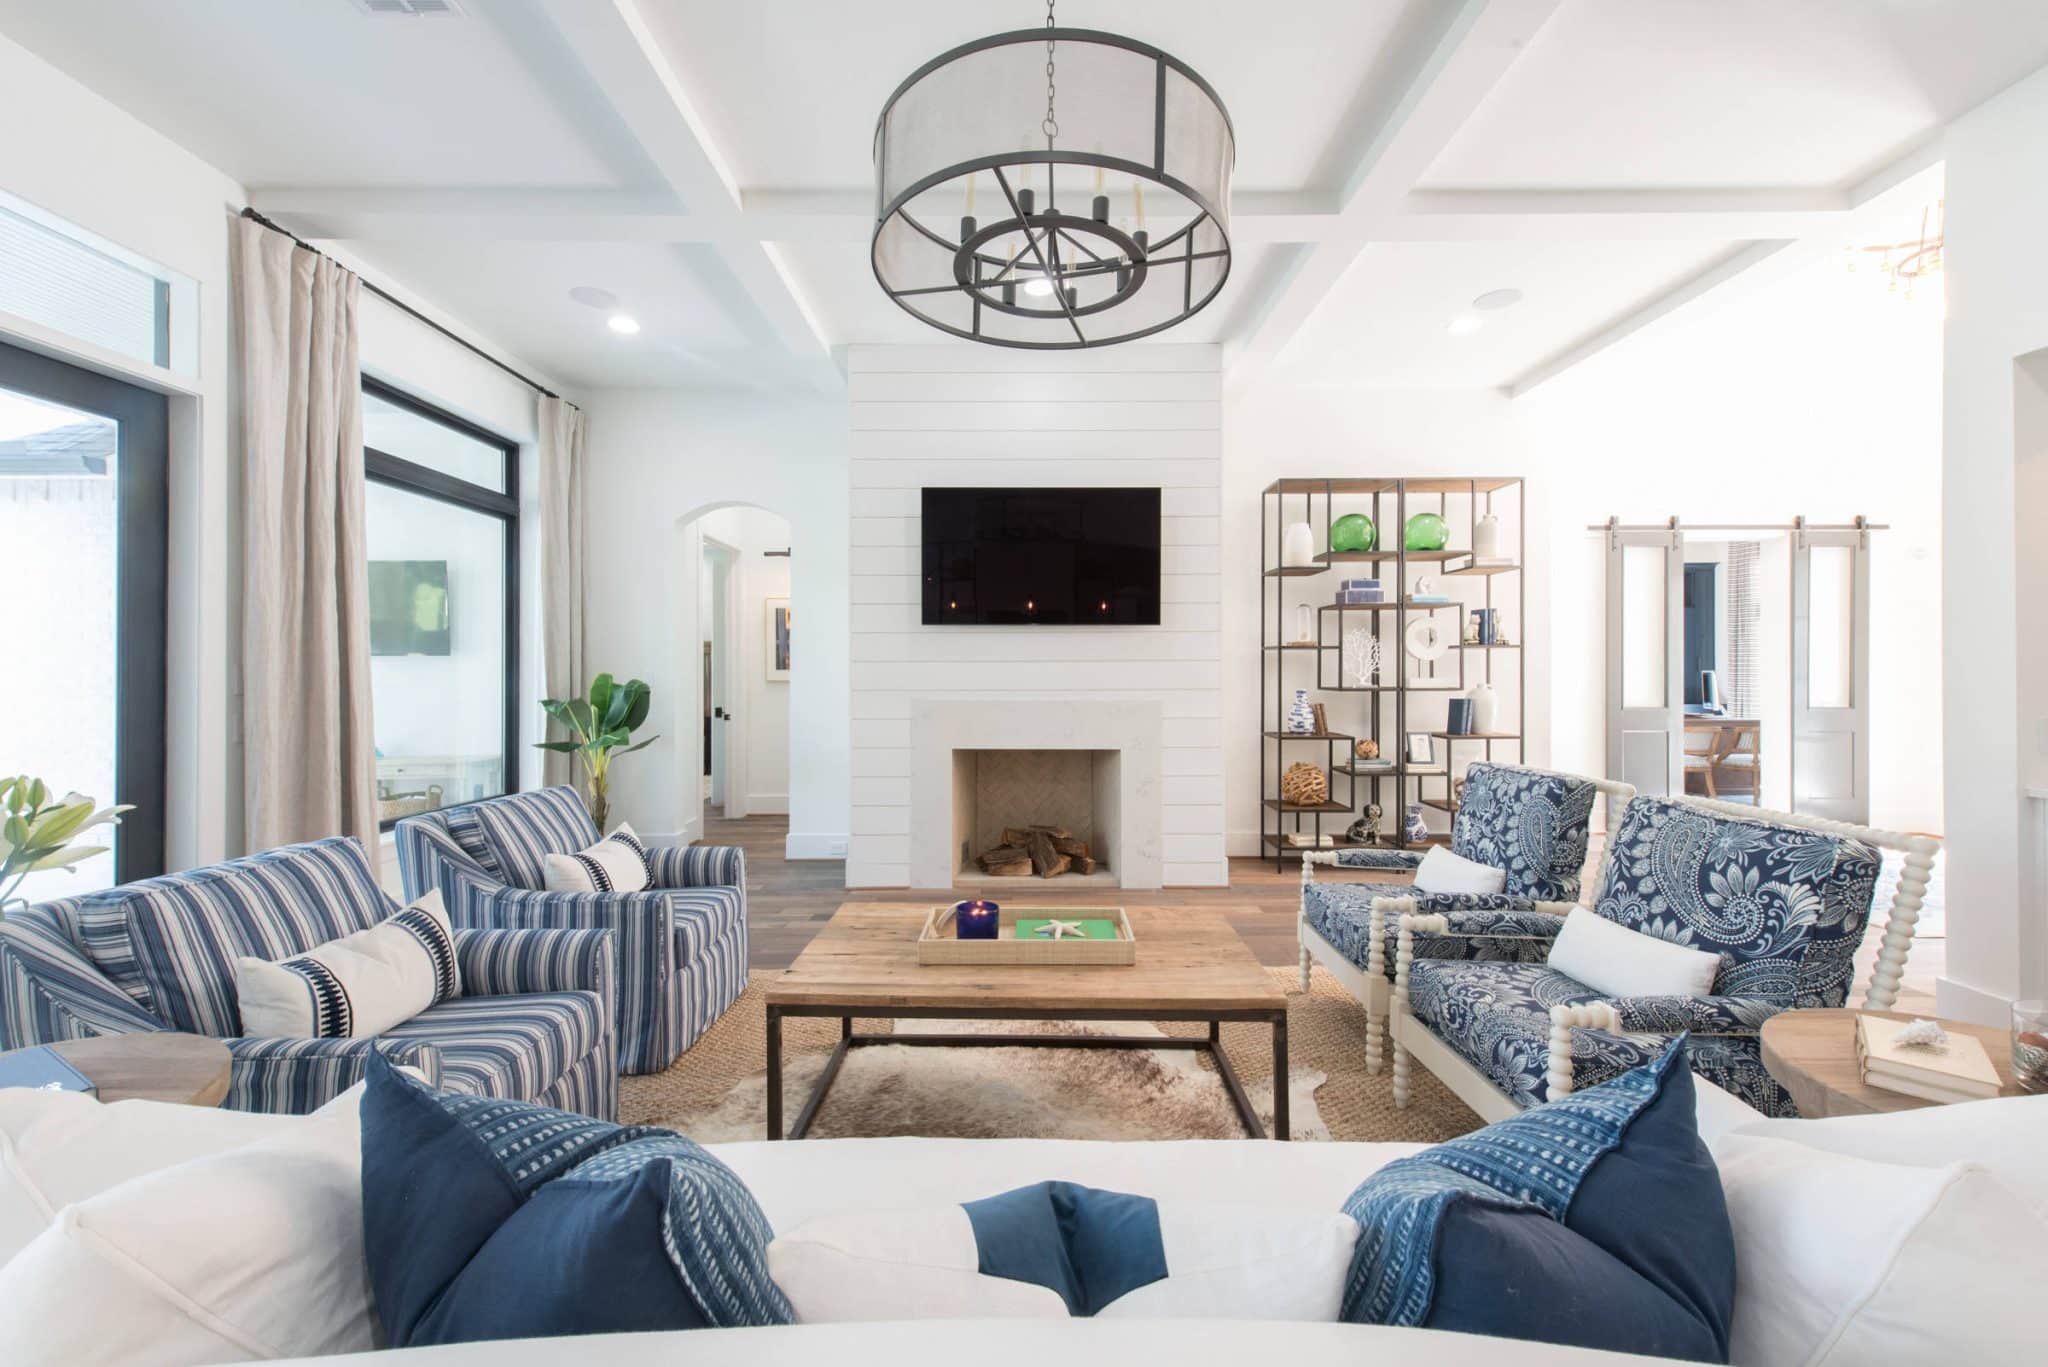
A well-chosen front door color can tie together elements of your interior design. It can complement your wall colors, furniture, and other decorative elements, creating a cohesive and harmonious look.
4. Boosts Mood
Color psychology plays a role in the ambiance of your home. Certain hues can evoke specific emotions and set the tone for your space. For example, a bright, cheerful color can lift your spirits whenever you walk through the door.
Choosing the Right Color

Consider Your Interior Palette
When selecting a color for the inside of your front door, consider your existing interior palette. Consider the colors of your walls, furniture, and other decor elements.
Choose a hue that harmonizes with these elements to create a cohesive look.
Match vs. Contrast
Decide whether you want your front door color to blend in or stand out. Matching the door color to your walls can create a flawless, unified appearance.
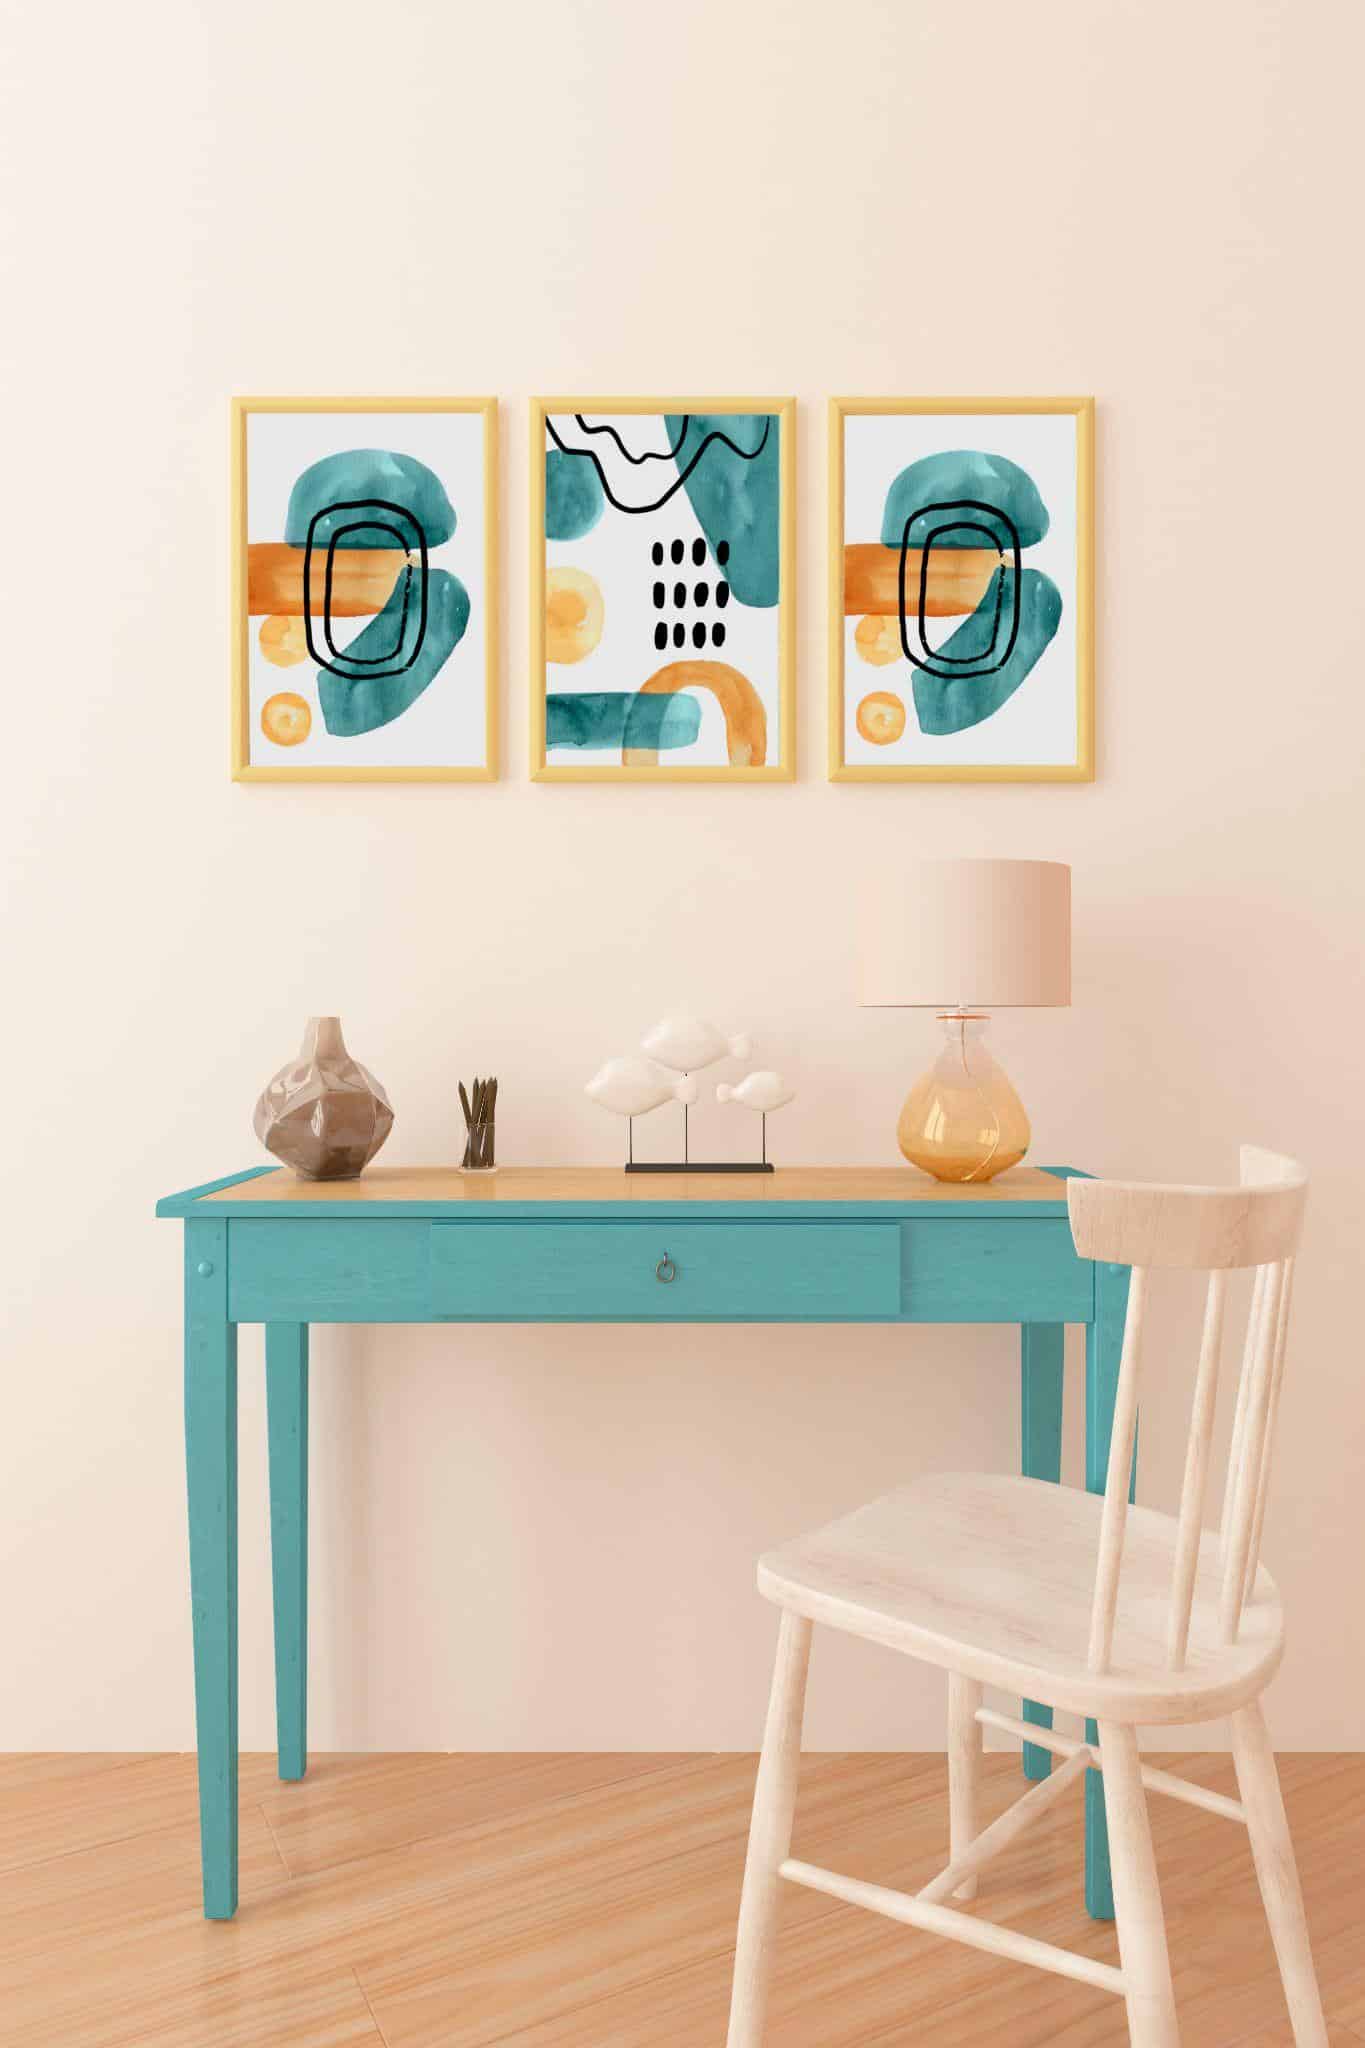
On the other hand, a contrasting color can add visual interest and make your door a focal point.
Trending Colors
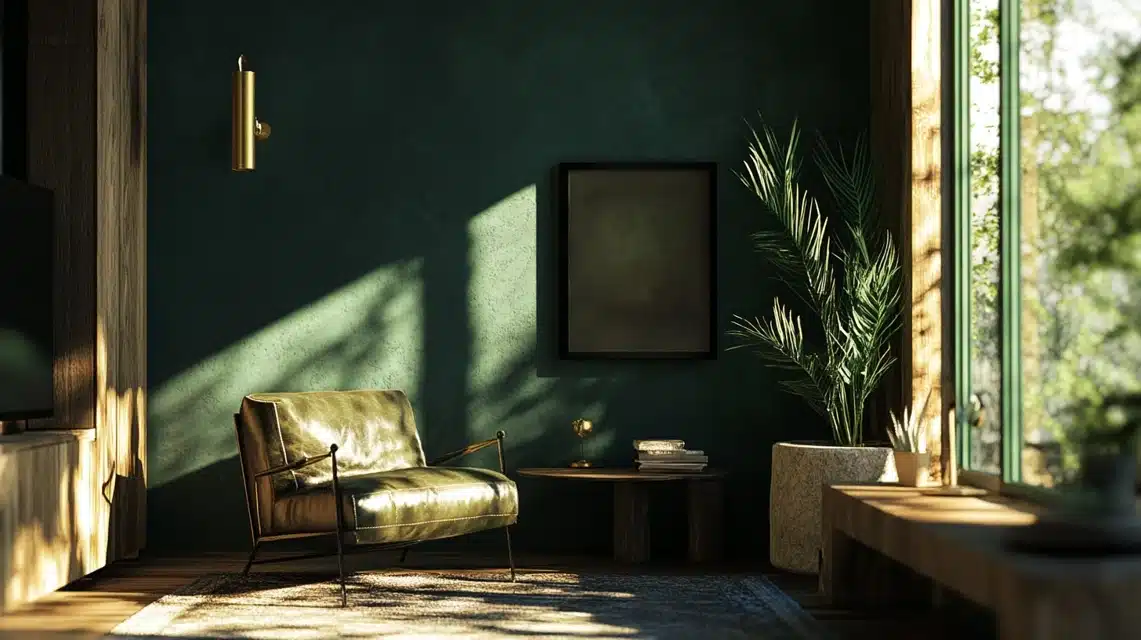
Take inspiration from popular hues for interior doors. Some trending colors include deep navy, charcoal gray, and rich jewel tones like emerald green or sapphire blue.
However, don’t feel limited by trends – ultimately, choose a color that resonates with your style.
Testing Colors
Before committing to a color, please test it out using paint samples. Apply swatches to your door and observe how the color looks in different lighting conditions throughout the day.
This will help you visualize the outcome and make a confident decision.
Selecting the Best Paint

1. Types of Paint
When choosing paint for your front door, consider the following options:
- 100% Acrylic Interior/Exterior Paint: This type of paint offers durability and versatility, making it suitable for indoor and outdoor use. It can withstand the wear and tear of frequent use and exposure to the elements.
- Semi-Gloss Finish: A semi-gloss finish is ideal for front doors. It is easy to clean and provides a polished, sophisticated look. It also resists dirt, grime, and fingerprints, keeping your door looking fresh and well-maintained.
2. Recommended Brands
Some recommended paint brands for front doors include:
- Fusion Mineral Paint: This brand offers a built-in top coat and excellent coverage, making it a quick and easy choice for your project. It also has minimal odor, which is a bonus when painting indoors.
- Benjamin Moore Regal: A high-quality option with a durable, long-lasting finish. It is available in various colors and finishes, including semi-gloss.
3. Quantity Calculation
To determine how much paint you’ll need, consider the size of your door and the number of coats you plan to apply.
A quart of paint is usually sufficient for a standard front door, with some leftovers for touch-ups.
However, you may need more if you’re making a drastic color change or painting a larger door.
Tools and Materials Needed
Before you begin painting your front door, gather the following tools and materials:
Tools

- Angled brush: For precise cutting around edges and corners.
- Foam roller: To achieve a smooth, even finish on flat surfaces.
- Paint tray: To hold and distribute paint evenly on your roller.
- Painter’s tape: This protects the hardware and creates clean lines.
- Sandpaper (120-220 grit): Lightly sand the door surface for better paint adhesion.
Materials
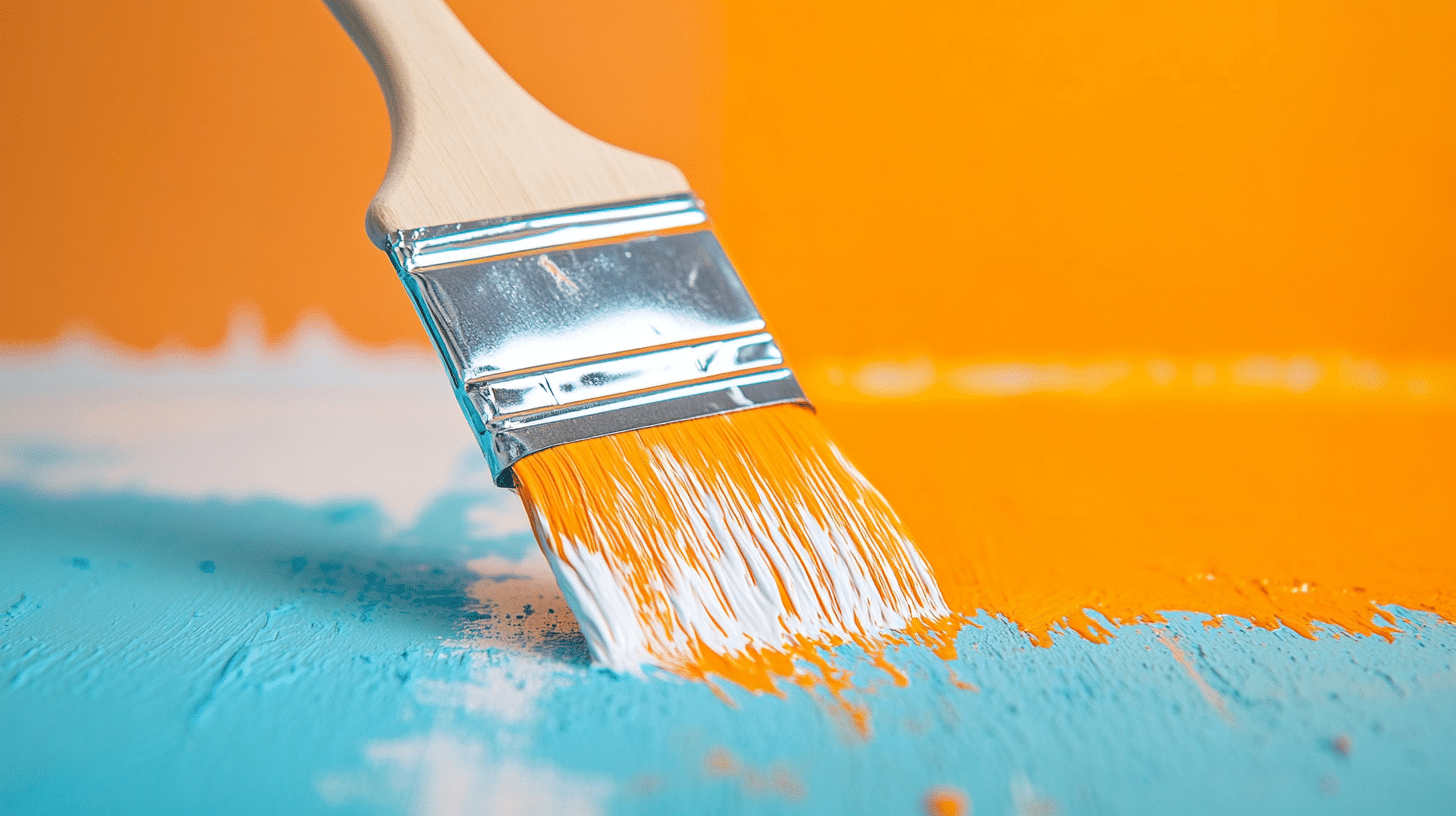
- Paint: Choose a high-quality, durable paint suitable for front doors (as discussed in the previous section).
- Primer (if necessary): Use a primer if you make a significant color change or paint an unfinished door.
- Drop cloths: To protect your floor and surrounding areas from paint drips and spills.
- Cleaning supplies (mild detergent, cloths): These are for cleaning the door surface before painting and tidying up afterward.
Having all your tools and materials ready before starting your project will make the painting process smoother and more efficient.
Step-by-Step Painting Guide
Follow these steps to achieve a beautiful, professional-looking finish when painting the inside of your front door.
Step 1: Preparation
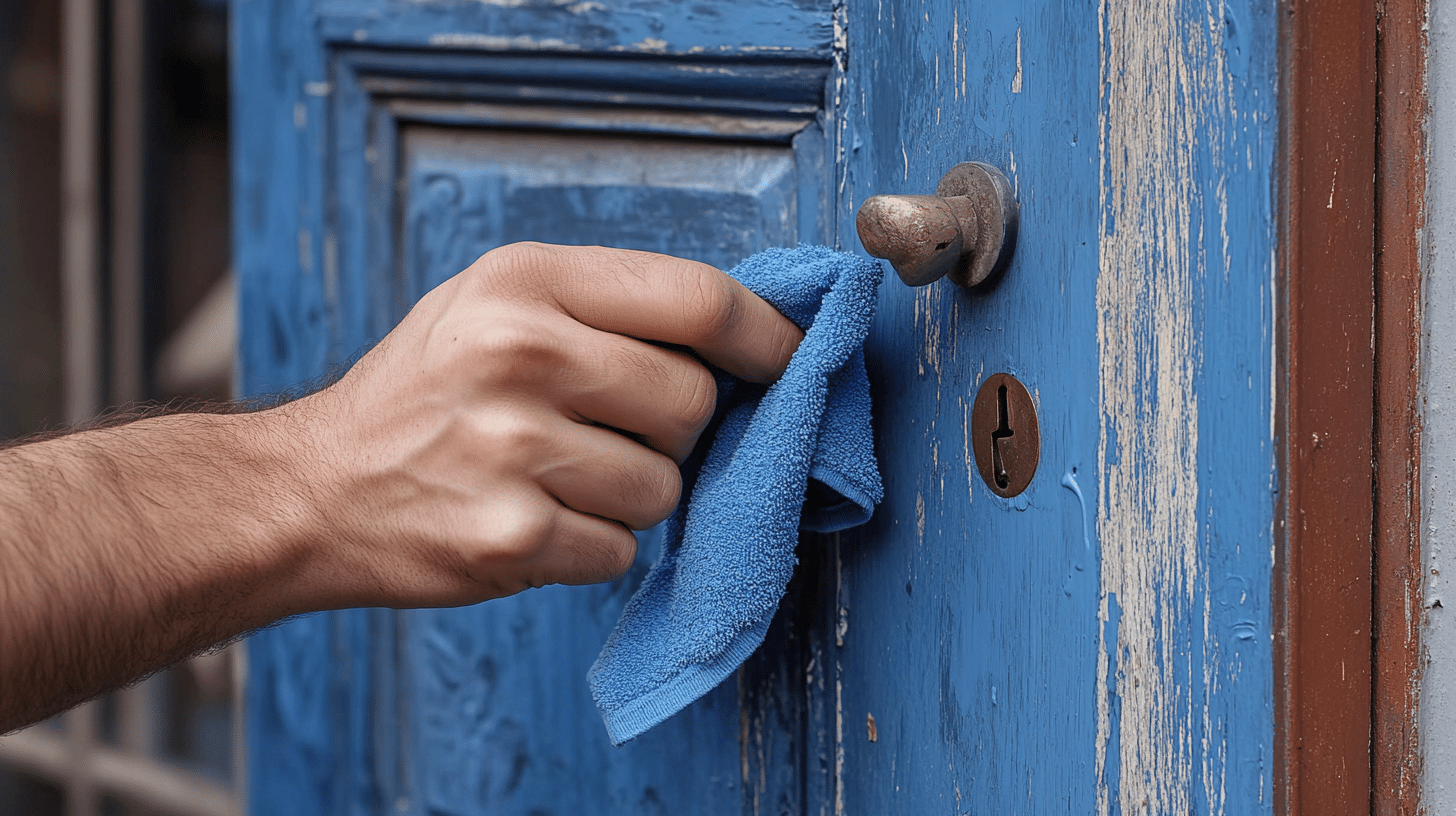
- Clean the Door: Remove dust, dirt, or grease from the door surface to ensure better paint adhesion. Use a mild detergent and a clean cloth to wipe down the door thoroughly.
- Remove or Tape Hardware: If possible, remove the doorknob, locks, and hinges. If not, use painter’s tape to protect them from paint.
- Sand the Surface: Lightly sand the door with 120-220 grit sandpaper to create a smooth surface for the paint to adhere to. Wipe away any dust with a clean cloth.
- Apply Primer (if needed): If you’re making a significant color change or painting an unfinished door, apply a coat of primer to ensure even coverage and better paint adhesion.
Step 2: Painting
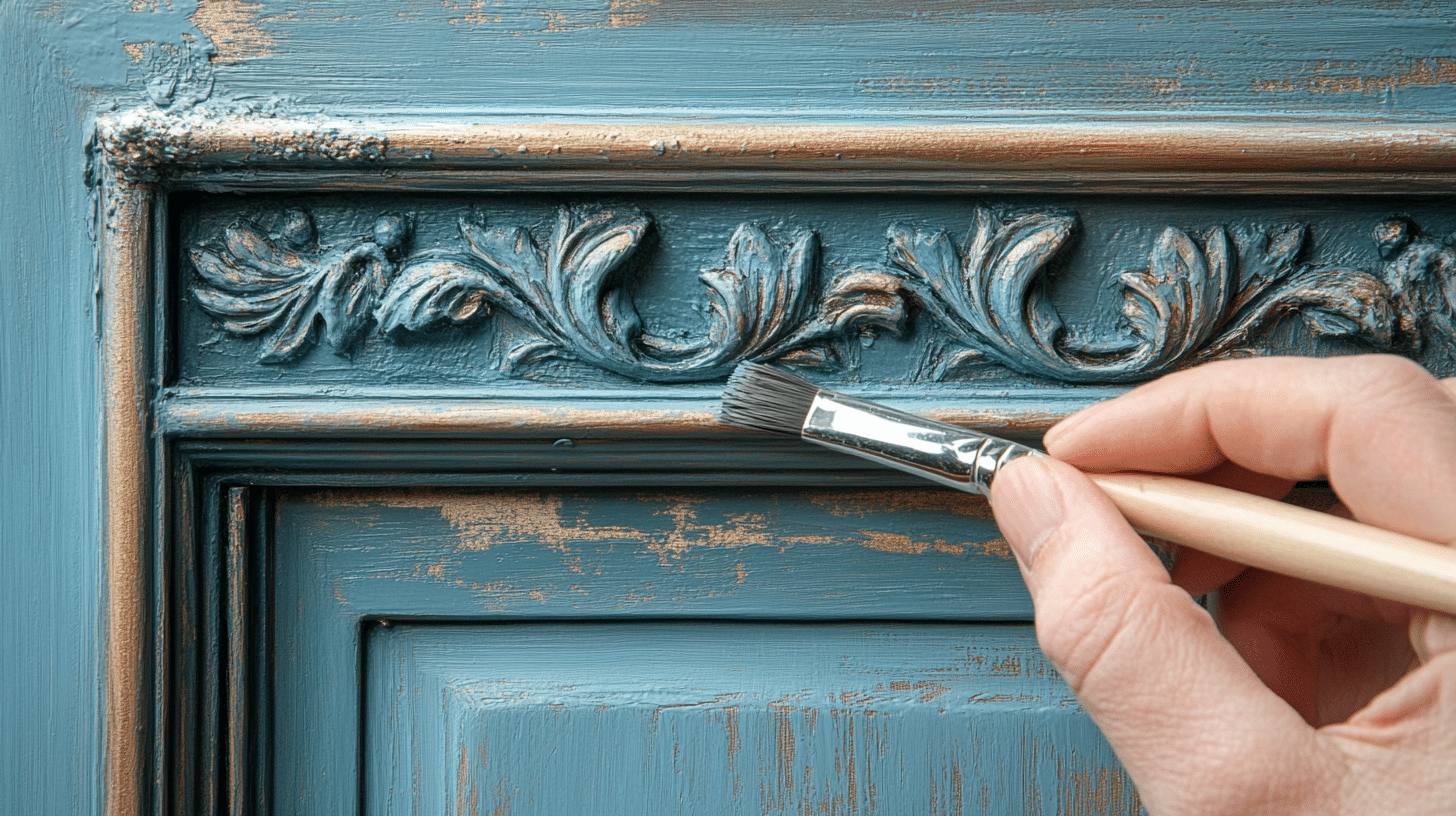
- Cut in the Edges: Use an angled brush to paint a 2-3 inch border around the edges of the door, including any recesses or moldings.
- Paint Recessed Areas: First, paint any recessed panels or designs using a brush to ensure even coverage in these detailed areas.
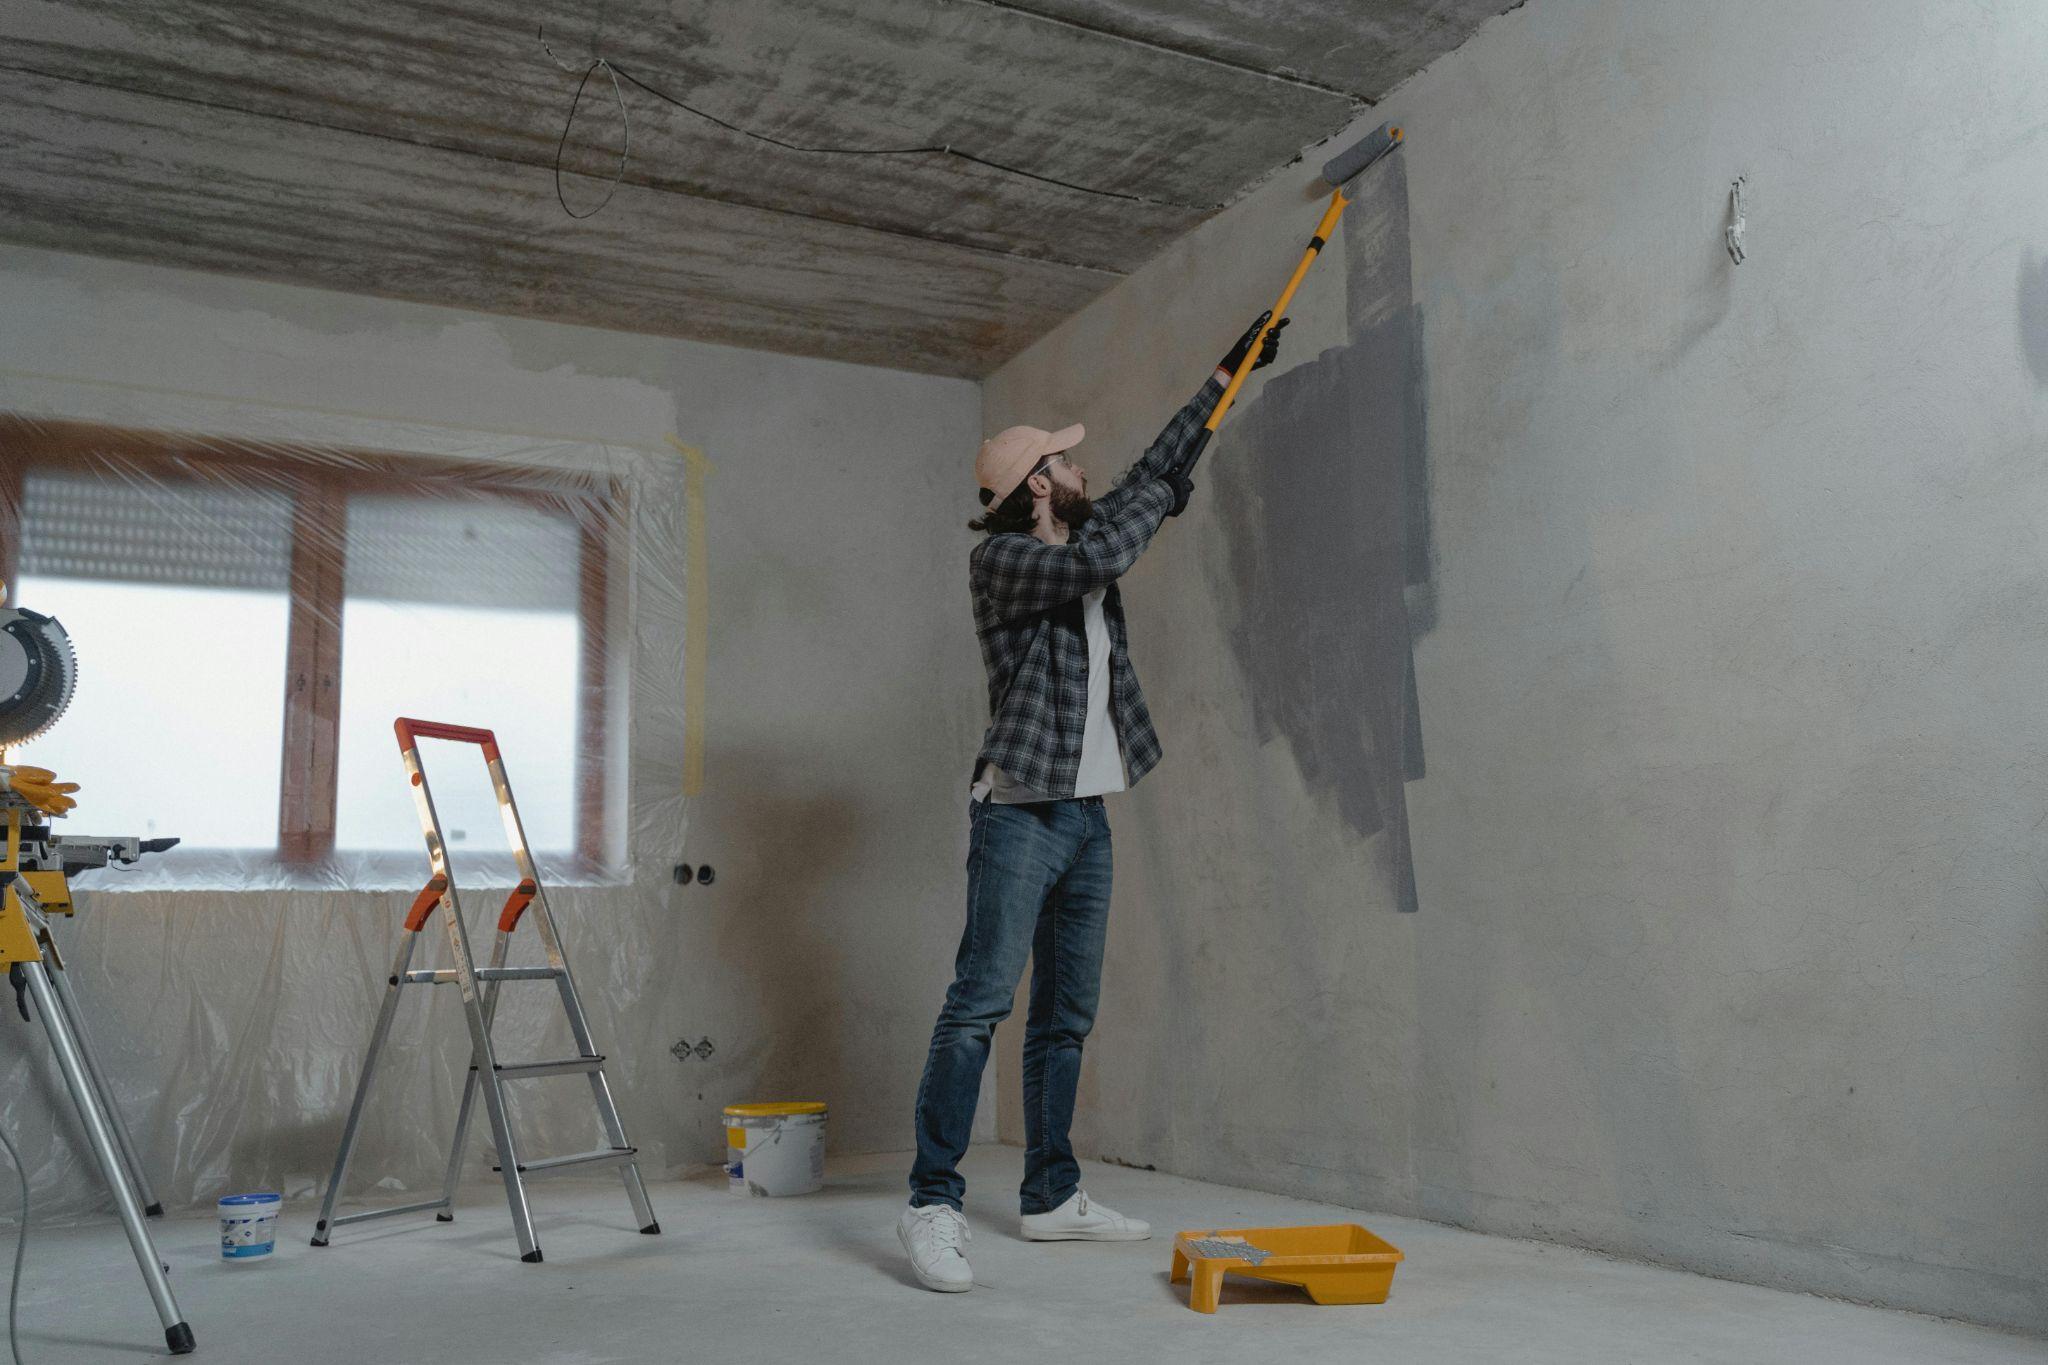
- Roll the Flat Surfaces: Use a foam roller to apply paint to the remaining flat surfaces of the door, working in a “W” pattern for even distribution.
- Follow the Wood Grain: If your door has a prominent wood grain or decorative lines, follow their direction as you paint for a more polished look.
Step 3: Drying and Recoating
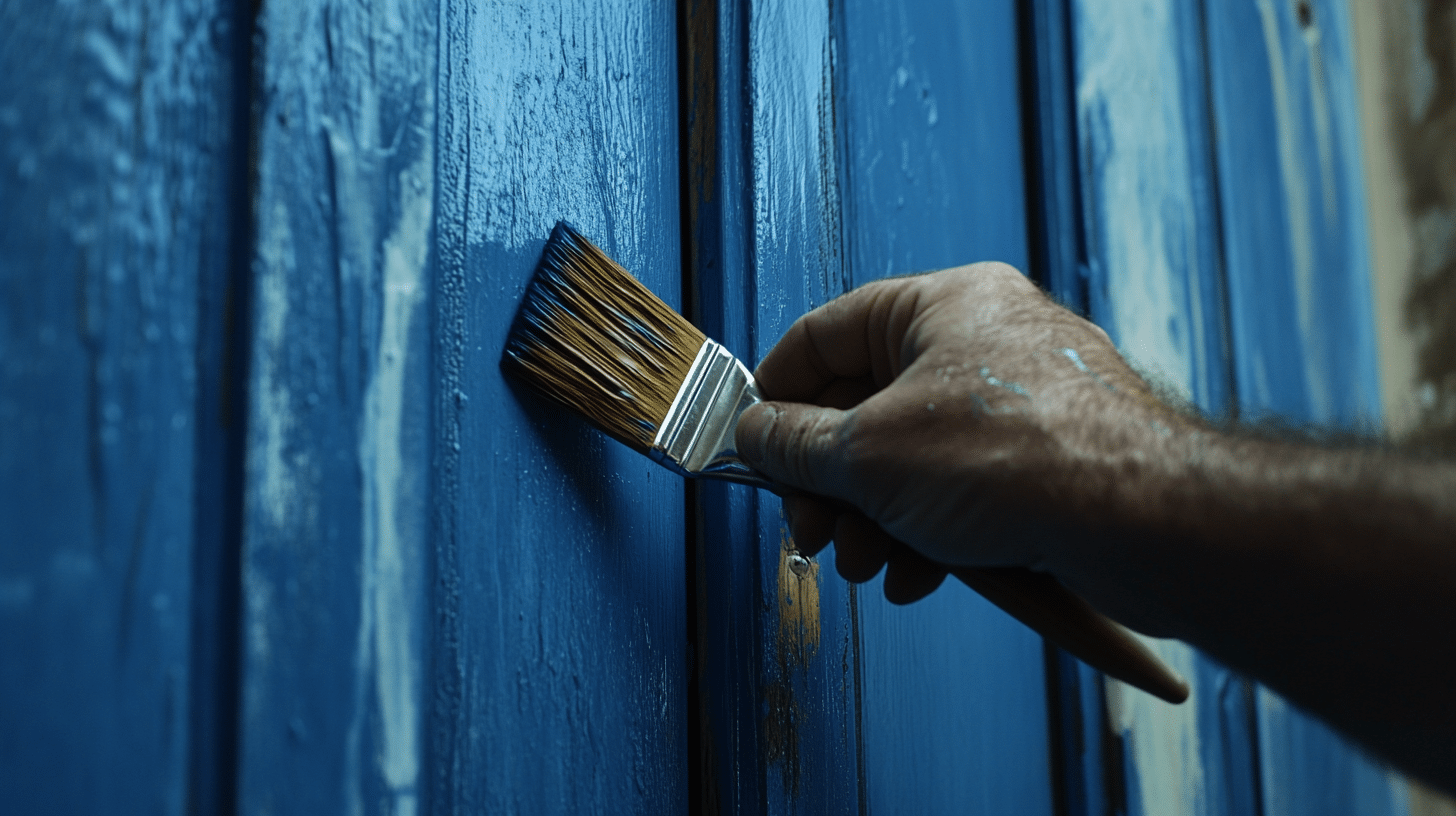
- Allow Adequate Dry Time: Follow the manufacturer’s instructions and let the paint dry completely, usually a couple of hours after painting.
- Apply a Second Coat: After the first coat of paint has dried, apply a second coat for a richer, more even finish. Repeat the same process as before, cutting in the edges and rolling the flat surfaces.
Step 4: Finishing Touches
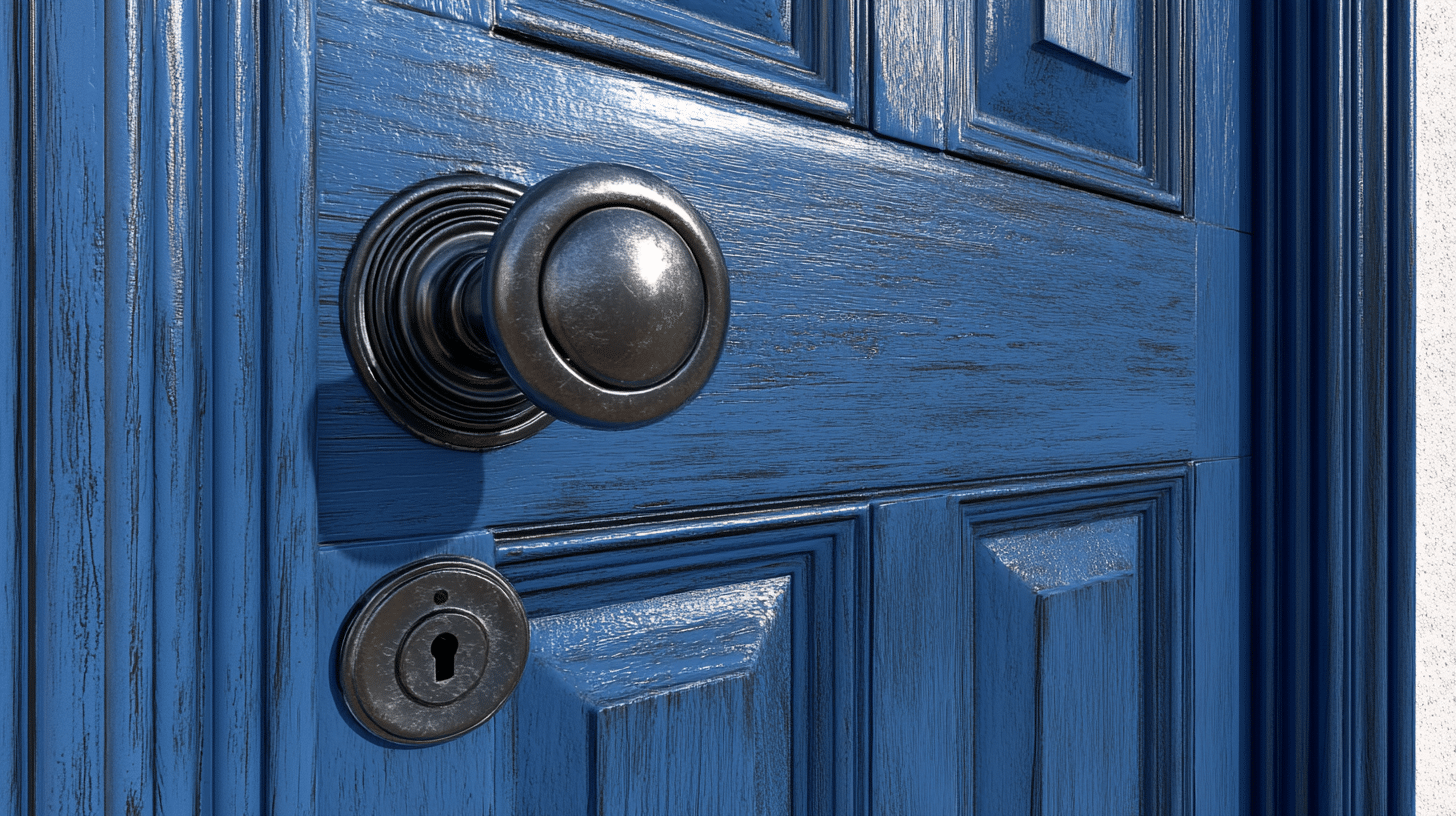
- Remove Tape and Drips: Once the paint is fully dry, carefully remove any painter’s tape. Score the edge of the tape with a razor blade to prevent peeling. Scrape away any drips or imperfections.
- Reattach Hardware: Once the door is completely dry (usually 24-48 hours), reattach the doorknob and any other hardware you removed.
Step 5: Clean Up
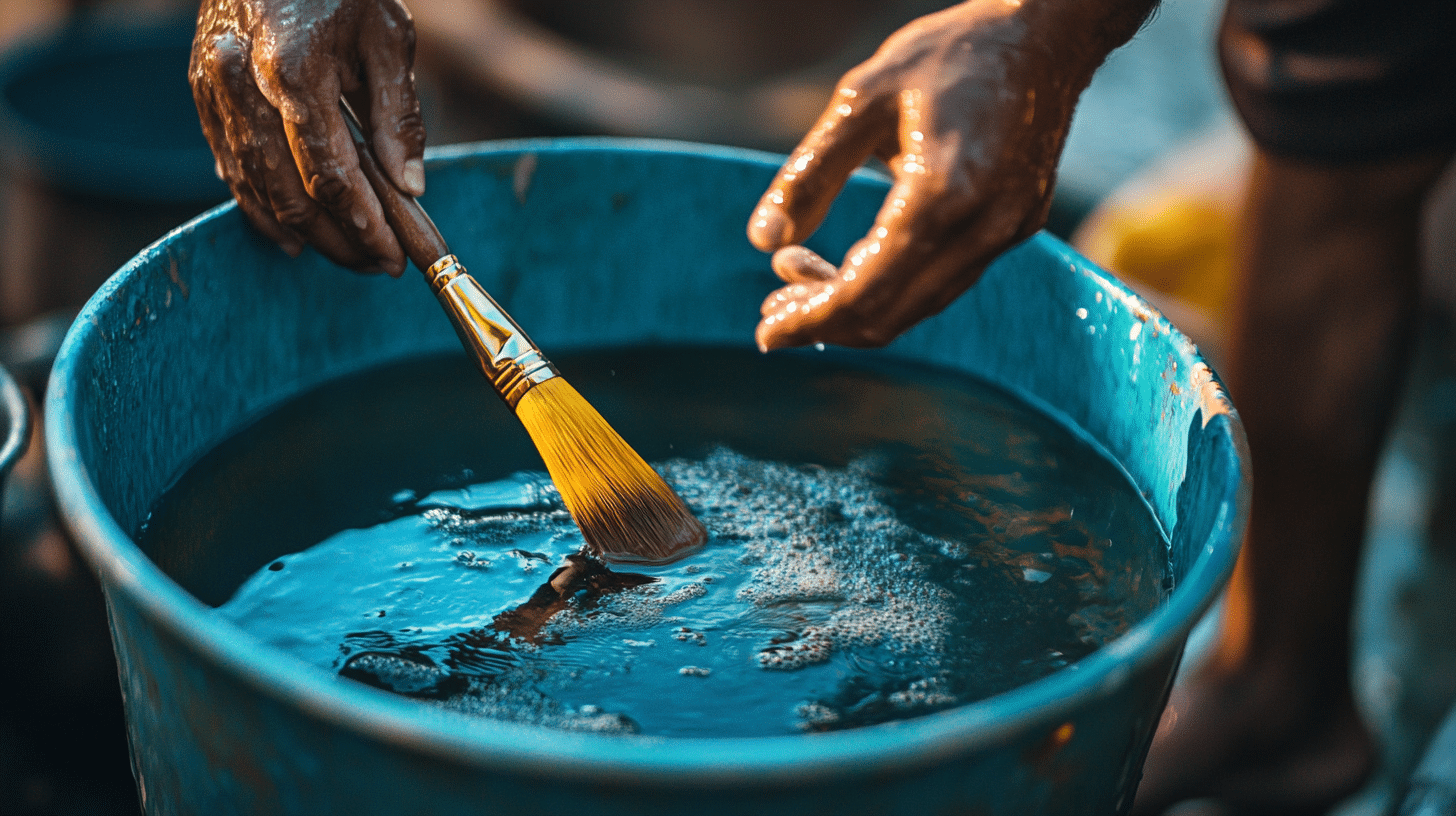
- Clean Your Tools: Clean your brushes and rollers thoroughly with warm, soapy water (for latex paint) or paint thinner (for oil-based paint). Rinse well and allow to dry.
- Dispose Properly: Seal any leftover paint in its original container and store it in a cool, dry place. For empty paint cans, check your local regulations on proper disposal methods.
Pro Tips for a Professional Finish

Upgrade your front door painting project with these expert tips:
1. Temperature and Humidity
- For optimal drying and adhesion, paint at moderate temperatures (between 50°F and 80°F or 10°C and 27°C) and low humidity.
- Avoid painting in direct sunlight or when the door is hot.
2. Light Sources
- Ensure you have adequate lighting while painting to help spot any missed spots, drips, or uneven coverage.
- Check your work from different angles and under different light sources to ensure a consistent finish.
3. Work at a Steady Pace
- Maintain a consistent pace while painting to prevent lap marks and uneven drying.
- Avoid overworking the paint, leading to brush strokes or a patchy finish.
4. Troubleshooting
- If you notice brush strokes, lightly sand the area with fine-grit sandpaper and repaint.
- For drips or runs, wait until the paint is dry, then sand the area smooth and reapply paint as needed.
- If you experience bubbling or blistering, this may indicate that the door was not cleaned properly or the paint was applied too thickly. Sand the affected area, clean thoroughly, and repaint.
Common Mistakes and Faults
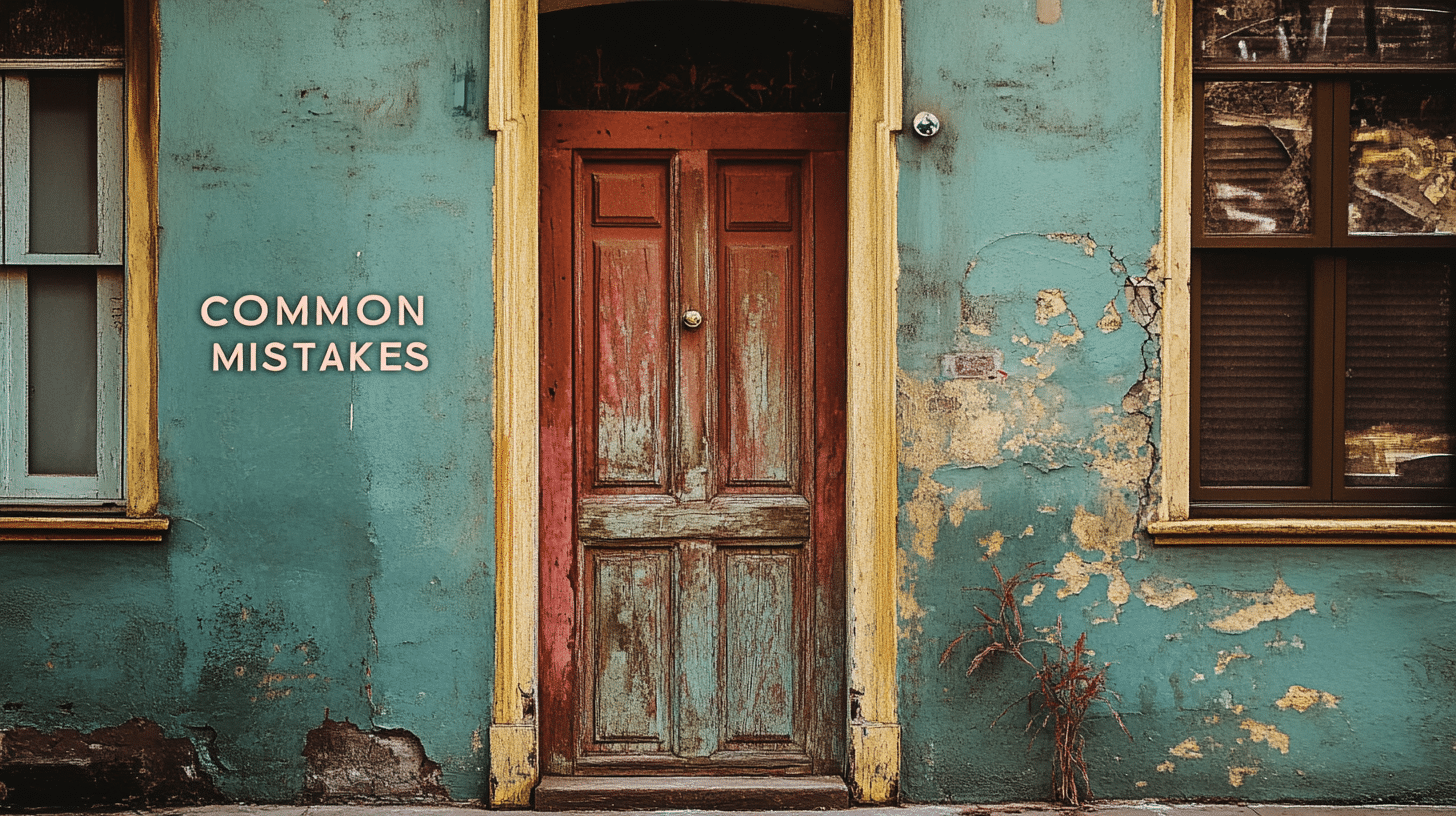
Avoid these common pitfalls to ensure a successful front door painting project:
- Skipping Preparation: Failing to properly clean, sand, or prime the door before painting can lead to poor paint adhesion, uneven coverage, and a less durable finish.
- Using Low-Quality Tools: Cheap brushes, rollers, or paint can result in a subpar finish with visible brush strokes, shedding, or inconsistent color.
- Applying Too Much Paint: Overloading your brush or roller can lead to drips, runs, and an uneven finish.
- Not Allowing Enough Dry Time: Rushing the drying process between coats or before reattaching hardware can cause the paint to peel, smudge, or develop imprints.
- Painting in Unsuitable Conditions: Applying paint in extreme temperatures, high humidity, or direct sunlight can affect the paint’s adhesion and drying time, resulting in an imperfect finish.
- Ignoring the Grain: Painting against the direction of the wood grain or decorative lines can make brush strokes more noticeable and detract from the overall appearance.
- Forgetting to Protect Hardware: Failing to remove or properly tape off doorknobs, hinges, and locks can lead to a messy, unprofessional look.
- Not Maintaining a Wet Edge: Allowing the paint to dry before overlapping can create lap marks and an inconsistent finish.
By being aware of and avoiding these common mistakes, you can achieve a flawless, professional-looking finish on your front door.
Safety Precautions

When painting your front door, prioritize safety by following these precautions:
Ventilation
- Ensure proper ventilation by opening windows and doors to allow fresh air to circulate.
- If possible, paint your front door outdoors or in a well-ventilated garage to minimize fume exposure.
- Use fans to direct airflow and speed up drying time.
Protective Gear
- Wear protective gloves to keep paint off your hands and prevent skin irritation.
- If you are sensitive to fumes or working in a poorly ventilated area, wear a respirator or mask designed for painting.
- Consider wearing safety goggles to protect your eyes from paint splatter.
Ladder Safety
- If you need a ladder to reach the top of your door, choose a sturdy, reliable ladder that can support your weight.
- Position the ladder on a flat, stable surface and ensure it is fully extended and locked before climbing.
- You should always maintain three points of contact with the ladder (two feet and one hand or two hands and one foot).
- Avoid reaching too far or leaning to one side, which can cause the ladder to tip over.
- Have someone assist you by holding the ladder steady and handing you tools or materials.
By taking these safety precautions, you can ensure a secure and comfortable painting experience while avoiding potential accidents or health risks.
Conclusion
Painting the inside of your front door is a simple yet impactful way to refresh your entryway and express your style.
You can achieve a professional-looking finish that complements your home’s interior by choosing the right color, tools, and techniques.
Remember to prioritize safety, take your time, and enjoy the process. With patience and attention to detail, you can transform your front door into a beautiful, welcoming focal point that greets you and your guests with warmth and character every time you step inside.
Frequently Asked Questions (FAQs)
Do I Need to Paint the Door the Same Color on Both Sides?
No, you can choose different colors to match interior and exterior decor.
What Is the Best Paint for The Interior of A Front Door?
A high-quality, 100% acrylic interior/exterior semi-gloss paint.
Should I Remove the Door to Paint It?
It’s optional. You can paint it in place or remove it for convenience.


