Board and Batten Hallway: DIY Procedure and Tips
Are you looking to update your plain hallway walls to Board and Batten hallways? When I first bought my house, the long, boring hallway needed something special.
After researching different wall treatments, I found that board and batten were both budget-friendly and simple to install.
I’ll share my step-by-step process for creating this classic wall design, including the materials and helpful tricks I learned.
Whether you’re handy with tools or new to DIY projects, this guide will help you add character to your space without spending too much money. CopyRetry
Stepwise Procedure for Diy Board and Batten Hallway
Step 1: Preparation and Visualization
- Pre-visualization: Use painter’s tape to mark out the potential layout of your boards on the wall. This helps you determine the height and appearance of the panels before starting.
- Patch and Texture: Fill any existing nail holes in the wall and apply a quick spray texture to retexture the surface. Let it dry before applying a base coat of paint.
- Base Paint: Paint the upper portion of the wall with your chosen color. In the video, “Quaint Cottage” by Magnolia was used.
Step 2: Gathering Materials
- Select Boards: Visit a hardware store (such as Lowe’s) to pick out your materials. For this project, 3.5-inch primed MDF boards were chosen for the vertical stiles, cut to approximately 48 inches each. A 6-inch primed MDF board was used for the top trim to match the existing 6-inch base trim.
- Calculate Spacing: Use an online tool like inchcalculator.com to determine the spacing between the battens. Enter your wall width and stile width, and experiment with the number of panels until you are satisfied with the layout.
Step 3: Cutting and Installing the Boards
- Cut the Boards: Measure and cut each board to the correct length. Double-check all measurements before cutting for precision.
- Install Vertical Stiles: Attach the stiles to the wall according to the layout determined in your calculator. Ensure they are evenly spaced and secure them using nails or construction adhesive.
Step 4: Filling and Caulking
- Fill Nail Holes: Use spackle to fill all nail holes left from securing the stiles. Allow the spackle to dry completely.
- Caulking: Run a bead of caulk along the edges of each board to create a seamless finish. This step ensures the joints are smooth and blends the stiles seamlessly with the wall. A second set of hands, like the creator’s father in the video, can make this step faster.
Step 5: Painting the Panels
- Paint Preparation: Paint the wall’s bottom portion once the spackle and caulk are dry. Cut in carefully around each board to ensure clean lines.
- Roller Painting: Use a small roller to paint the larger sections. The color used in the video was “Alabaster” by Sherwin Williams to match the existing trim.
Step 6: Final Touches
- Review and Touch Up: Inspect the painted wall for missed spots or imperfections. Touch up as needed to ensure a uniform finish.
- Clean Up and Style: Once the paint is dry, clean up your workspace and style your hallway as desired.
Benefits of Board and Batten in Hallways
1. Visual Appeal
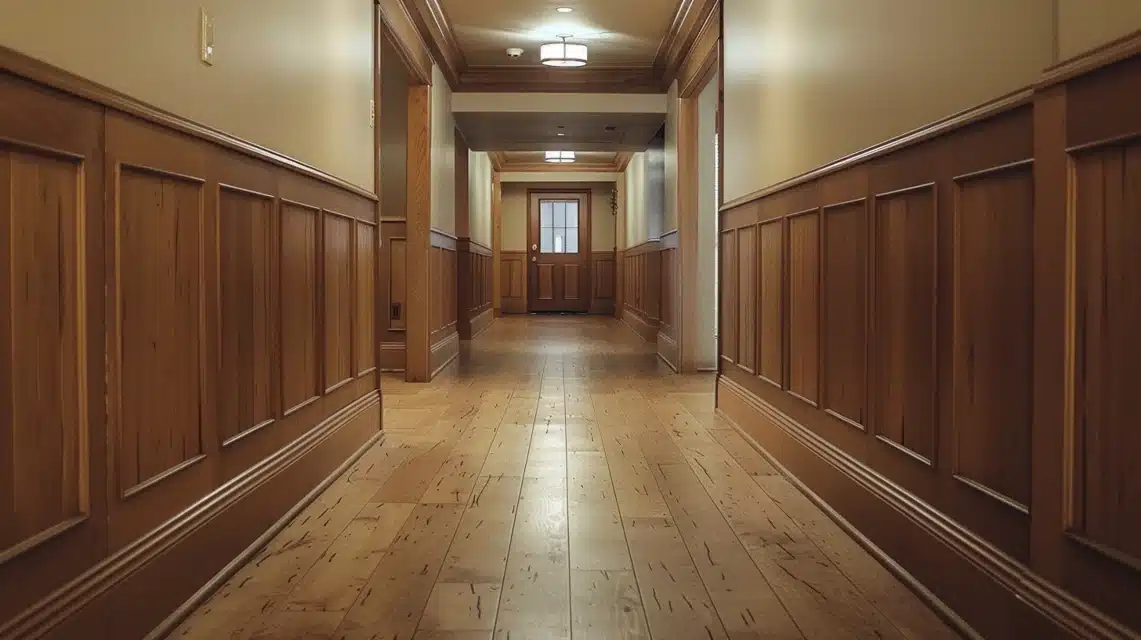
Board and batten add depth, texture, and interest to hallways, making a space feel warmer and more welcoming. It turns plain walls into beautiful design features that stand out in a home.
2. Functional Benefits
Beyond looks, board and batten is practical. It acts as a protective barrier, preventing scuffs, dents, and wall damage, especially in busy hallways.
3. Design Flexibility
This wall treatment works well with many interior styles, from farmhouse and traditional to modern and simple. It complements existing décor while improving the overall look.
Popular Styles and Variations of Board and Batten
Traditional vs. Modern Designs
- Traditional Designs: Often have vertical battens spaced evenly across the wall, which can be paired with decorative molding for a classic look.
- Modern Designs: May include horizontal boards, grid patterns, or varied batten spacing to create a clean, fresh feel.
Full Wall vs. Partial Wall Installations
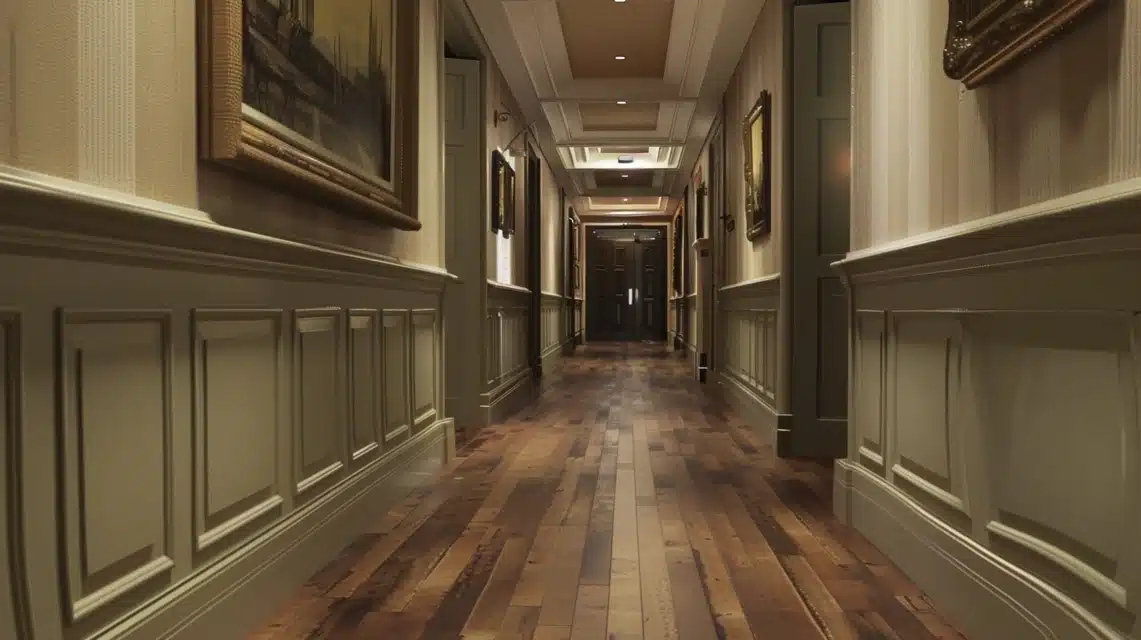
- Full Wall Installations: Cover from floor to ceiling, creating a bold look that makes your hallway stand out.
- Partial Wall Installations (Wainscoting): Cover only the lower portion of the wall, typically up to chair rail height or a bit higher. This option adds visual interest without taking over the space and offers wall protection while keeping an open feel.
Summing Up
Now, you have all the tools and knowledge to start your board and batten project.
Remember, measurements and planning are key to success – I spent more time calculating and marking than installing the boards.
My last piece of advice is to keep a few extra MDF pieces on hand. Even with careful planning, I made a few cutting mistakes, so I was glad to have backups.
This project took me a weekend, but the change it made to my hallway was worth every minute. Take your time, follow each step carefully, and you’ll end up with professionally done walls.
Frequently Asked Questions
How High Should Board and Batten Be in A Hallway?
The standard height for partial walls is 32 to 40 inches from the floor, but you can adjust it based on the size of your hallway and ceiling height.
Are Board and Batten Outdated?
Board and batten will remain a popular wall treatment this year. Its simple lines and clean look make it a lasting choice for homes.
What is a Cheaper Alternative to Board and Batten?
Try using flat MDF strips with basic trim pieces instead of solid wood. Paint-grade materials and DIY installation can significantly reduce costs.

