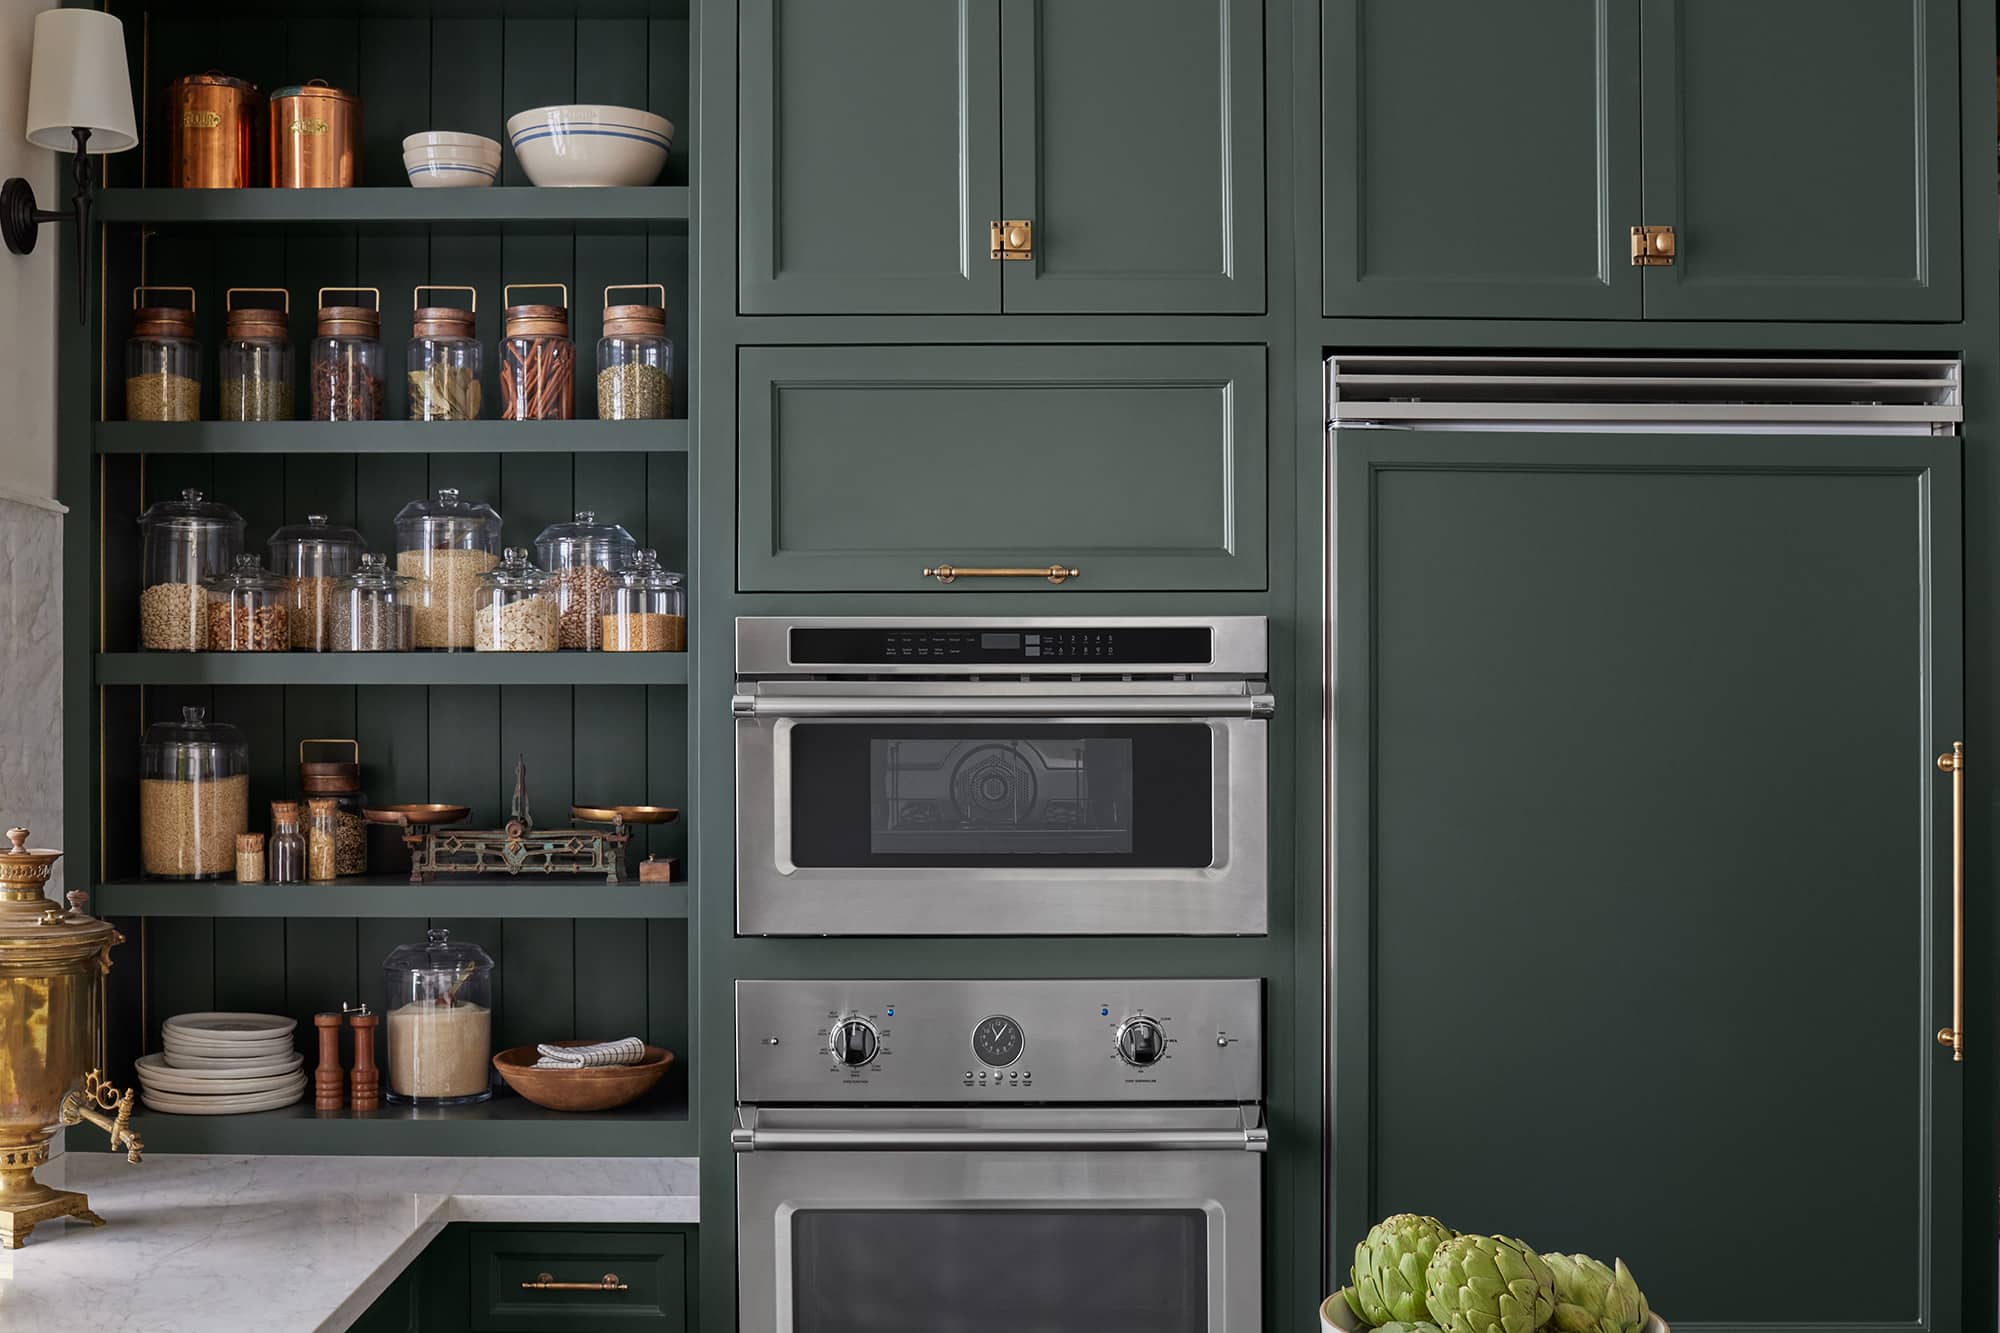
From Scratch to Storage: DIY Pantry Cabinet Plans for Every Home
I know the daily battle with limited kitchen storage – cans stacked in corners, boxes crammed into shelves, and never enough room for new groceries.
After spending too much money on ready-made solutions that didn’t quite fit my space, I decided to build my own pantry cabinet.
Here’s the good news: You can create a storage system that fits your exact needs.
In this guide, I’ll show you how to build a pantry cabinet that makes the most of your available space.
You’ll learn step-by-step instructions that work even if you’re new to woodworking. Plus, you’ll save money and get the exact design you want.
Let me walk you through the process of building your perfect pantry cabinet.
Step-by-Step Guide to Building a DIY Pantry Cabinet
Tools and Materials Required
| Tools | Materials |
|---|---|
| Table saw or circular saw | ¾-inch plywood (for cabinet body & shelves) |
| Pocket hole jig | ¼-inch plywood (for back panel) |
| Drill | 1×2 pre-primed pine boards (for face frame) |
| Jigsaw | 1×3 pre-primed pine boards (for face frame) |
| Tape measure | Pocket hole screws |
| Clamps | 20-inch drawer slides |
| Sandpaper or sander | 2 ½-inch plywood strips (for door trim) |
| Chalk reel | Iron-on edge banding |
| Nail gun and nails | Adjustable shelf pins |
| Safety gear (gloves, glasses, mask) | Knobs and pulls for doors |
Step 1 Cut the Panels
- Cut two side panels (22 inches wide) and the top, bottom, and middle panels (31 ¾ inches long) from ¾-inch plywood.
- Save the leftover plywood strips for back supports, which will be used later.
Step 2 Optional Toe Kick
- If desired, cut a toe kick by marking and cutting the bottom front corners of the side panels using a jigsaw.
- This step is optional and can be skipped for a simpler design.
Step 3 Assemble the Cabinet Body
- Drill pocket holes in the top, bottom, and middle panels, and the back support strips.
- Attach the panels to the side pieces using pocket hole screws, leaving a slight gap for the face frame at the bottom.
Step 4 Build and Attach the Face Frame
- Assemble a face frame using 1×2 for the sides and 1×3 for the top and right sides, joining them with pocket hole screws.
- Attach the frame to the front of the cabinet using glue and nails.
Step 5 Attach the Back Panel
- Cut a ¼-inch plywood back panel and staple it to the cabinet for added stability.
Step 6 Build and Attach the Doors
- Cut three doors from ½-inch plywood and glue 2 ½-inch plywood strips onto the fronts to create a faux frame-and-panel look.
- Apply iron-on edge banding to cover exposed plywood edges.
Step 7 Build and Install Pullout Shelves
- Install drawer slides about 14 inches from the bottom and 12 inches above that.
- Build shallow drawer boxes and attach them to the slides for pullout storage.
Step 8 Add Adjustable Shelves
- Drill shelf pin holes along the inside of the cabinet above the pullout drawers and place cut plywood shelves on the pins.
Step 9 Paint and Finish
- Sand the cabinet, prime, and paint it. After drying, reattach the doors and install knobs or pulls to complete the cabinet.
Types of Pantry Cabinet Materials
| Material | Description | Pros | Cons | Average Cost (per sq ft) |
|---|---|---|---|---|
| Plywood | Made from thin layers of wood veneer glued together. | – Strong and durable – Cost-effective |
– May require edge banding for a finished look | $30 – $50 |
| MDF (Medium-Density Fiberboard) | Engineered wood made from wood fibers and resin, compressed together. | – Smooth surface – Affordable |
– Less durable than plywood – Heavier |
$15 – $40 |
| Solid Wood | Natural wood, such as oak, maple, or pine. | – High-end, classic look – Very durable |
– Expensive – Susceptible to warping |
$50 – $100+ (depending on type of wood) |
| Particleboard | Made from wood chips and resin, pressed together to form panels. | – Inexpensive – Lightweight |
– Not as durable as plywood – Can swell with moisture |
$10 – $30 |
| Melamine | A particleboard or MDF core with a thin, hard plastic coating. | – Easy to clean – Resistant to scratches |
– Edges can chip – Susceptible to moisture |
$25 – $50 |
| Laminate | Synthetic material applied over particleboard or MDF for a decorative finish. | – Variety of colors and textures – Budget-friendly |
– Can peel or chip over time | $20 – $50 |
| Stainless Steel | Metal material often used in industrial or modern pantry designs. | – Extremely durable – Easy to clean |
– Expensive – Prone to fingerprints |
$100 – $200 |
| Wire Shelving | Metal shelving used in open or walk-in pantries. | – Inexpensive – Allows airflow |
– Limited weight capacity – Not aesthetic for all styles |
$10 – $30 |
| Reclaimed Wood | Repurposed wood from old furniture or structures. | – Eco-friendly – Unique appearance |
– Can be difficult to source – Requires more preparation |
$20 – $70 (varies widely) |
Tips for Creating a Pantry Cabinet on a Budget
- Smart Material Choices: Select plywood for durability and cost savings. Use thinner plywood for back panels. Mix materials – good quality for visible parts, basic options for hidden areas.
- Give Old Items New Life: Transform spare bookshelves or cabinets into storage units. Clean, repair, and paint them for a fresh look. Save money on new materials.
- Build vs. Buy: Making your own saves on labor costs. Keep shapes basic. Use regular measurements. Skip complex designs that need special equipment.
- Keep it Basic: Build a simple frame with shelves. Leave out extras like glass panels or fancy trim. Focus on function over style. Add style touches later when budget allows.
- Low-Cost Hardware: Pick standard hinges and handles. Basic drawer tracks work well. Update pieces over time as funds permit.
- Smart Shelf Setup: Install movable shelves for flexibility. Change layouts without extra building. Use shelf pins for easy adjustments.
- Paint Smart Paint covers small flaws in wood. Choose common colors that match many styles. One coat often does the job.
- Shop Smart Watch for store sales. Check building resale shops. Buy basics in bulk when prices drop. Share extra materials with other builders.
Simple Ways to Make Your Pantry Cabinet Look Good
1. Paint and Color
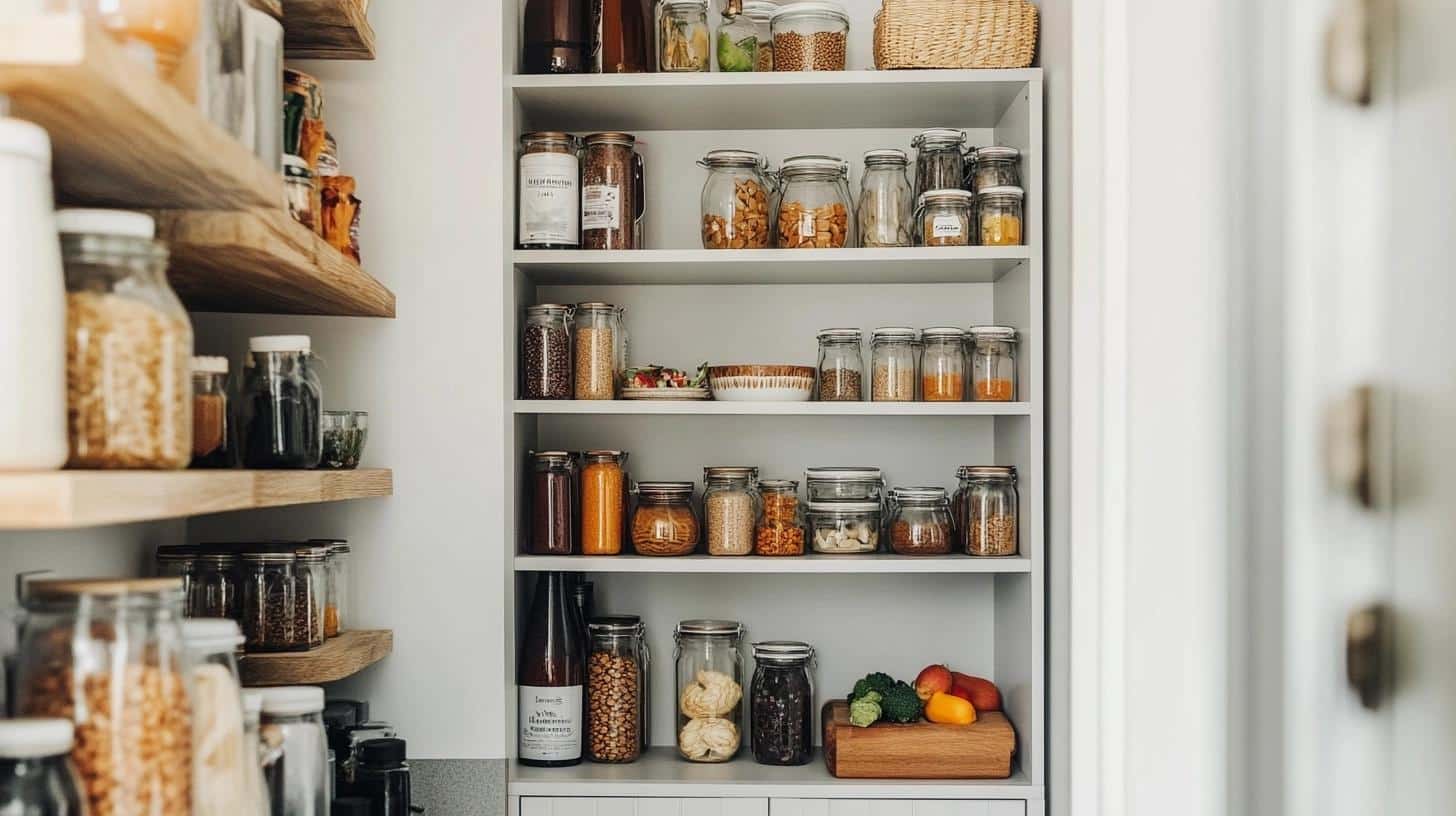
- Pick white outside and light gray inside for clean, bright look
- Use kitchen-grade paint that wipes clean easily
- Apply semi-gloss finish to fight stains and marks
2. Storage Containers
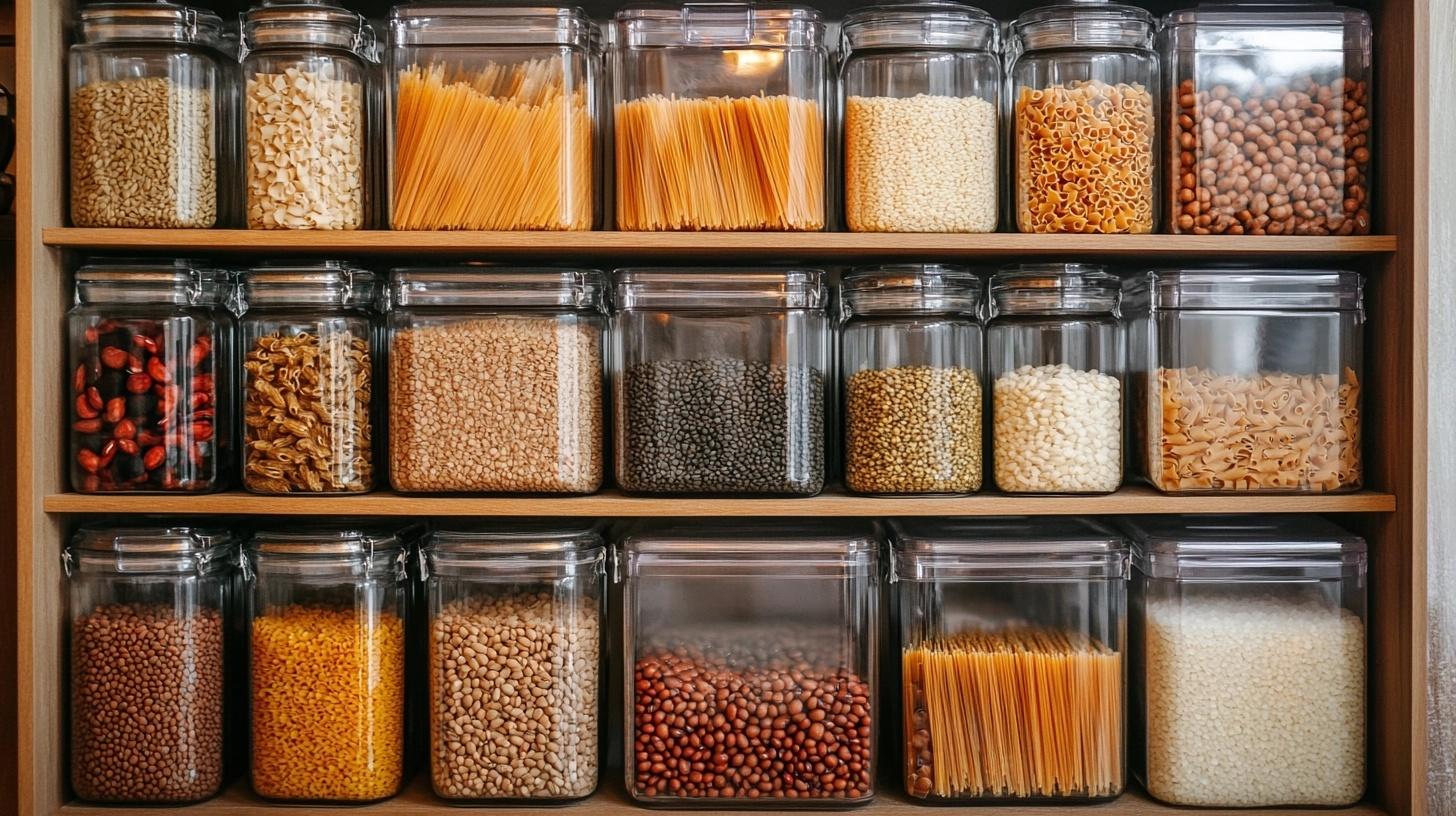
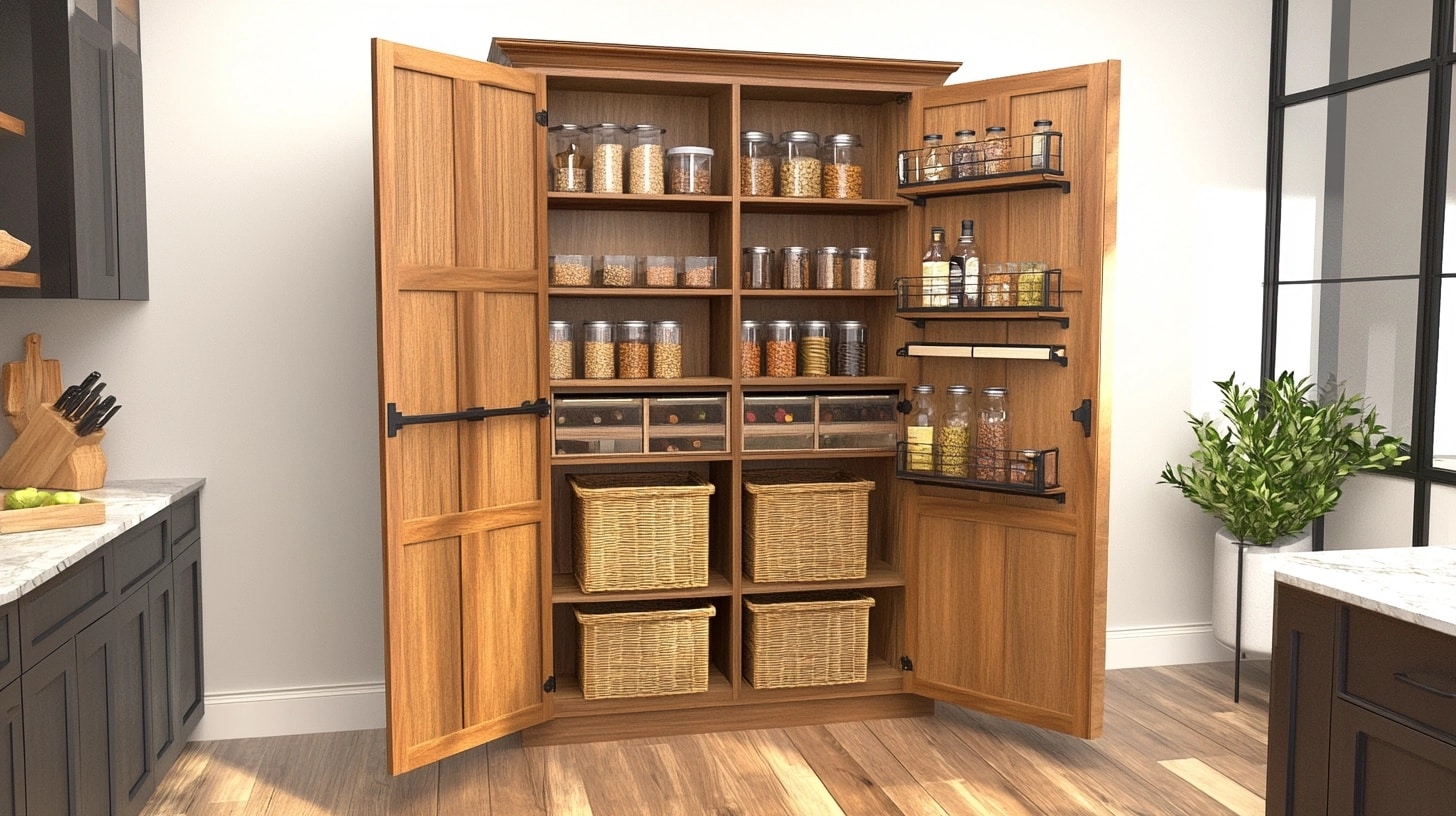
- Get clear jars and square bins that stack well
- Buy matching sets to save money and look better
- Leave space in containers for refills
3. Door Space
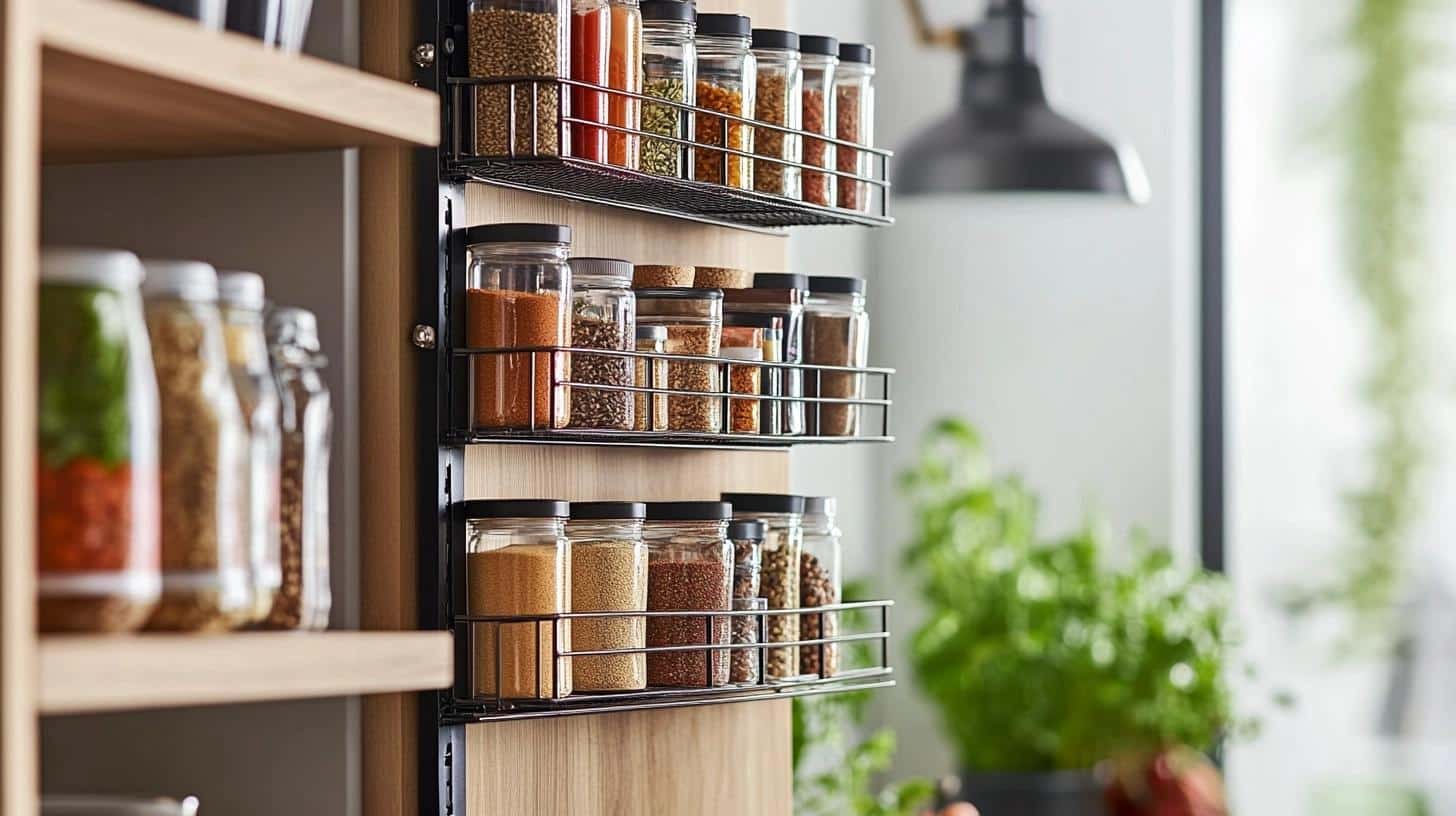
- Mount thin shelves for spices and small items
- Add clip-on baskets for wraps and bags
- Fix magnetic strips to hold notes and lists
4. Light It Up
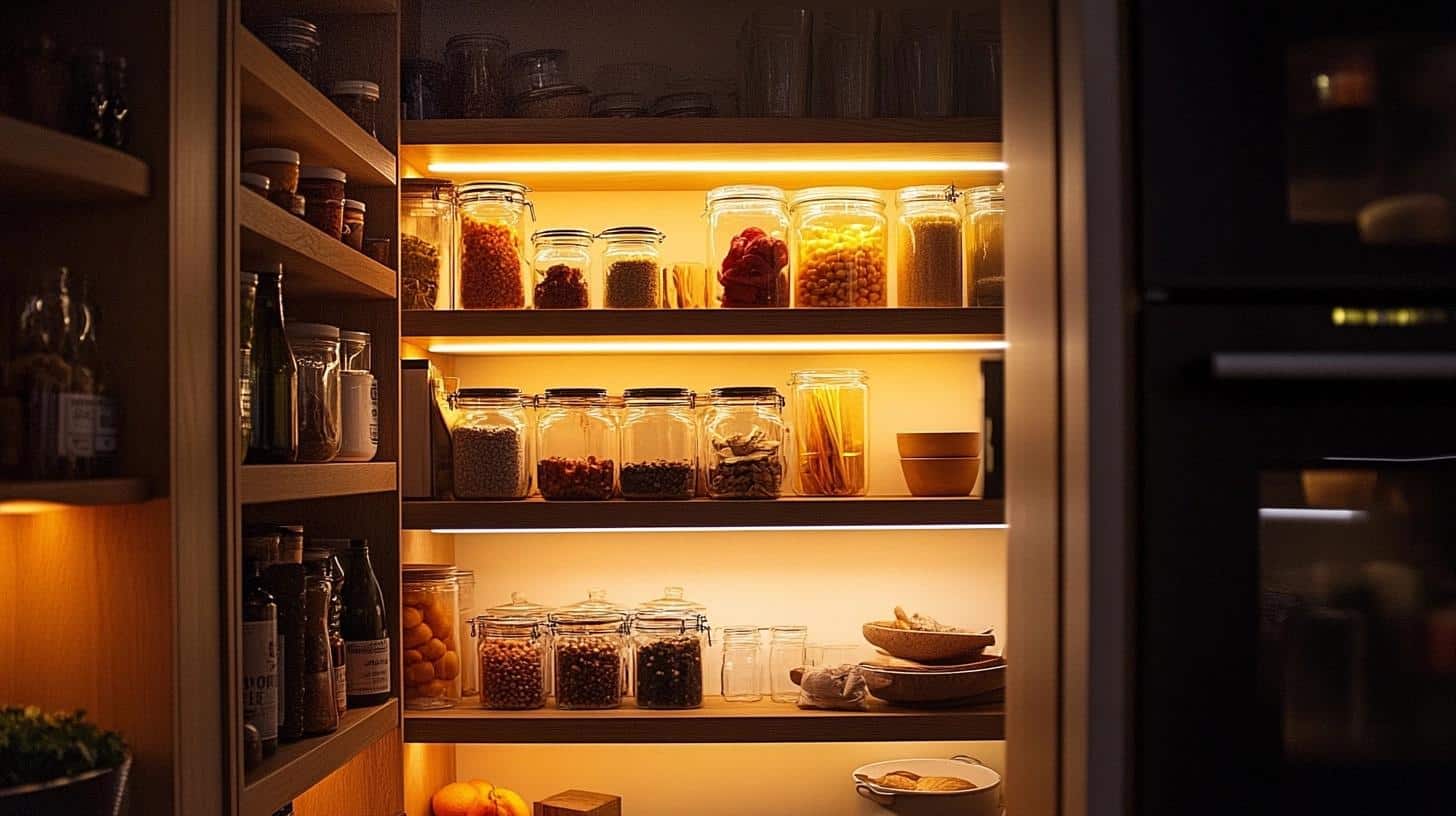
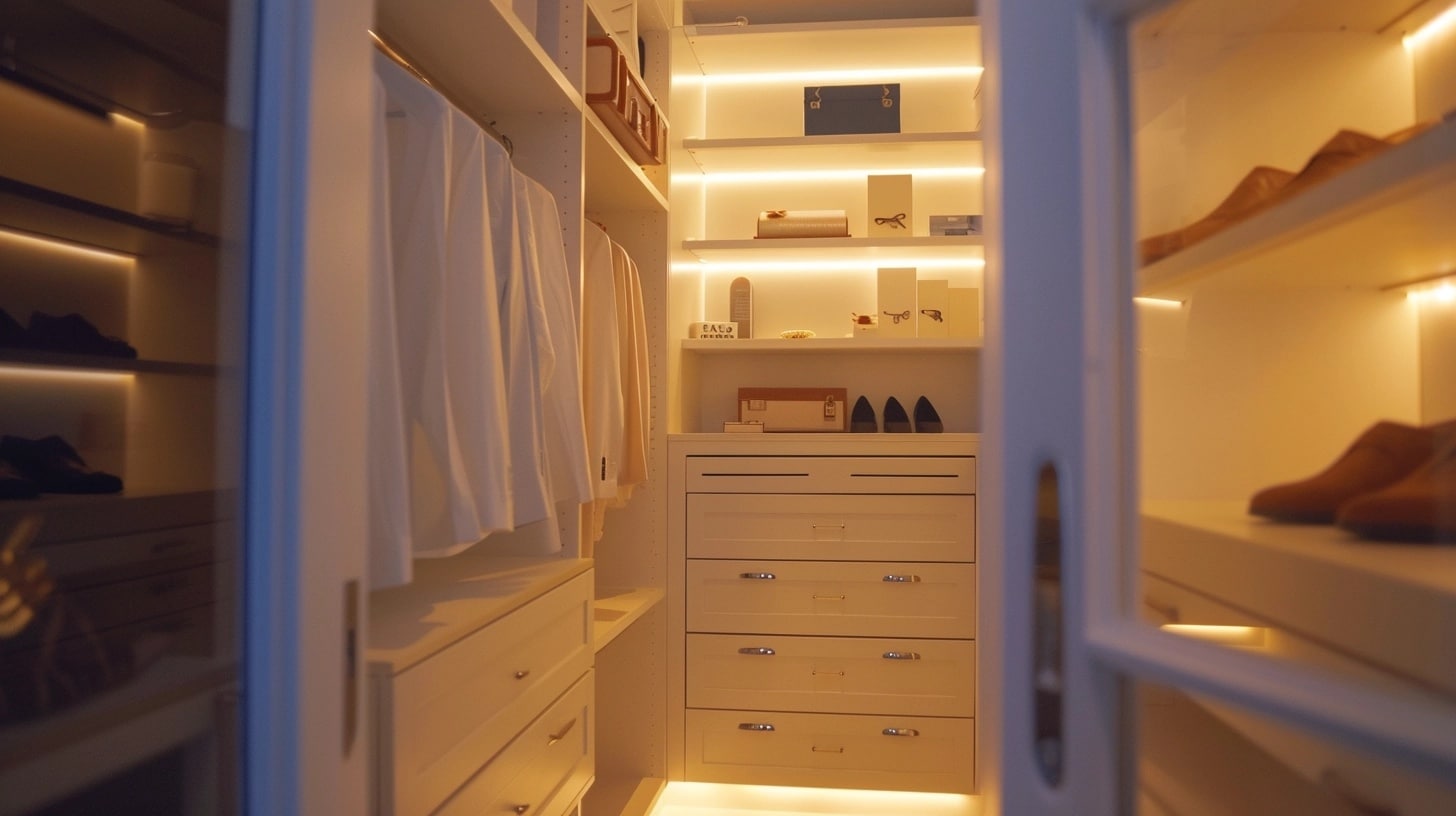
- Place stick-on lights under each shelf
- Install motion sensors to save power
- Light up dark corners and bottom spaces
5. Stay Neat
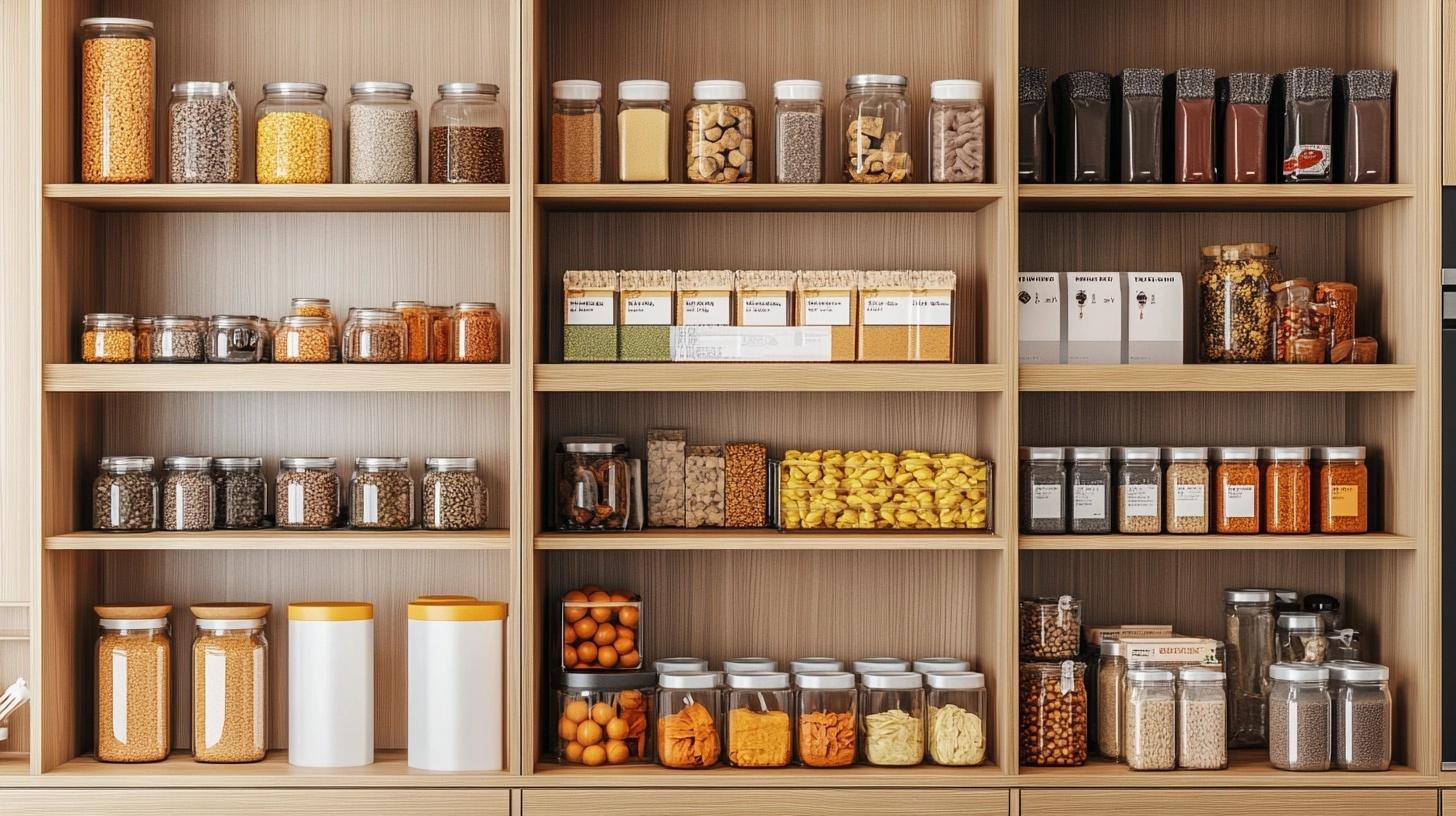
- Group similar items on the same shelf
- Put tall things in the back, and short in the front
- Face all labels forward for quick finds
Keep Your Pantry Cabinet Looking Good: Simple Care Tips
- Daily Cleaning Routine: A quick wipe with a soft, damp cloth keeps my pantry clean. I tackle spills right away with mild soap and water. This simple habit stops stains and protects the wood.
- Monthly Hardware Check: Each month, I test all screws, hinges, and handles. A drop of oil fixes squeaks. I clean the shelf tracks so everything slides well. These quick fixes prevent bigger problems.
- Door Care Basics: I keep door-mounted racks light to protect hinges. Clean hinges work better and last longer. When doors don’t line up, I fix them fast. This keeps everything working smoothly.
- Wood Protection Methods: I use coasters under stored items and wipe away any moisture quickly. A thin coat of furniture polish every few months helps the wood stay nice. These steps keep my pantry looking good.
- Regular Maintenance Schedule: Every season, I check the whole cabinet. Small fixes now stop big troubles later. Quick shelf support replacements prevent accidents. This care routine helps my pantry last longer.
Conclusion
Building my own pantry cabinet changed how I cook and store food. Not only did I save money, but I also got exactly what I wanted – a storage space that fits my kitchen and meets my needs perfectly.
I shared these tips and steps because I believe you can do this, too. Start small, plan well, and take your time. The result will be worth every minute spent measuring and building.
Give your kitchen the storage it needs. Begin with basic tools, pick good materials, and follow the steps.
Remember, a well-built pantry makes cooking easier and keeps supplies in order.
Have you built a pantry cabinet? Share your story in the comments below.
Got questions? Ask away – I’m here to help you create your perfect pantry space.
Frequently Asked Questions
What Is the Best Material for Pantry Shelves?
Plywood offers strength and value for money. MDF works well in dry areas and costs less. Solid wood looks great but costs more. Pick plywood for the best mix of cost and quality.
How Do I Build a Pantry in A Small Kitchen with Limited Space?
Use vertical space with tall, narrow cabinets. Try corner units to use dead space. Add wall-mounted shelves above counters. Consider pull-out units between existing cabinets.
What are the Standard Dimensions for a Pantry Cabinet?
Standard depth: 24 inches
Width: 12-36 inches
Height: 84-96 inches
Add 1-2 inches for doors and hardware. Measure your space first.
Do I Need Special Tools to Build a Pantry Cabinet?
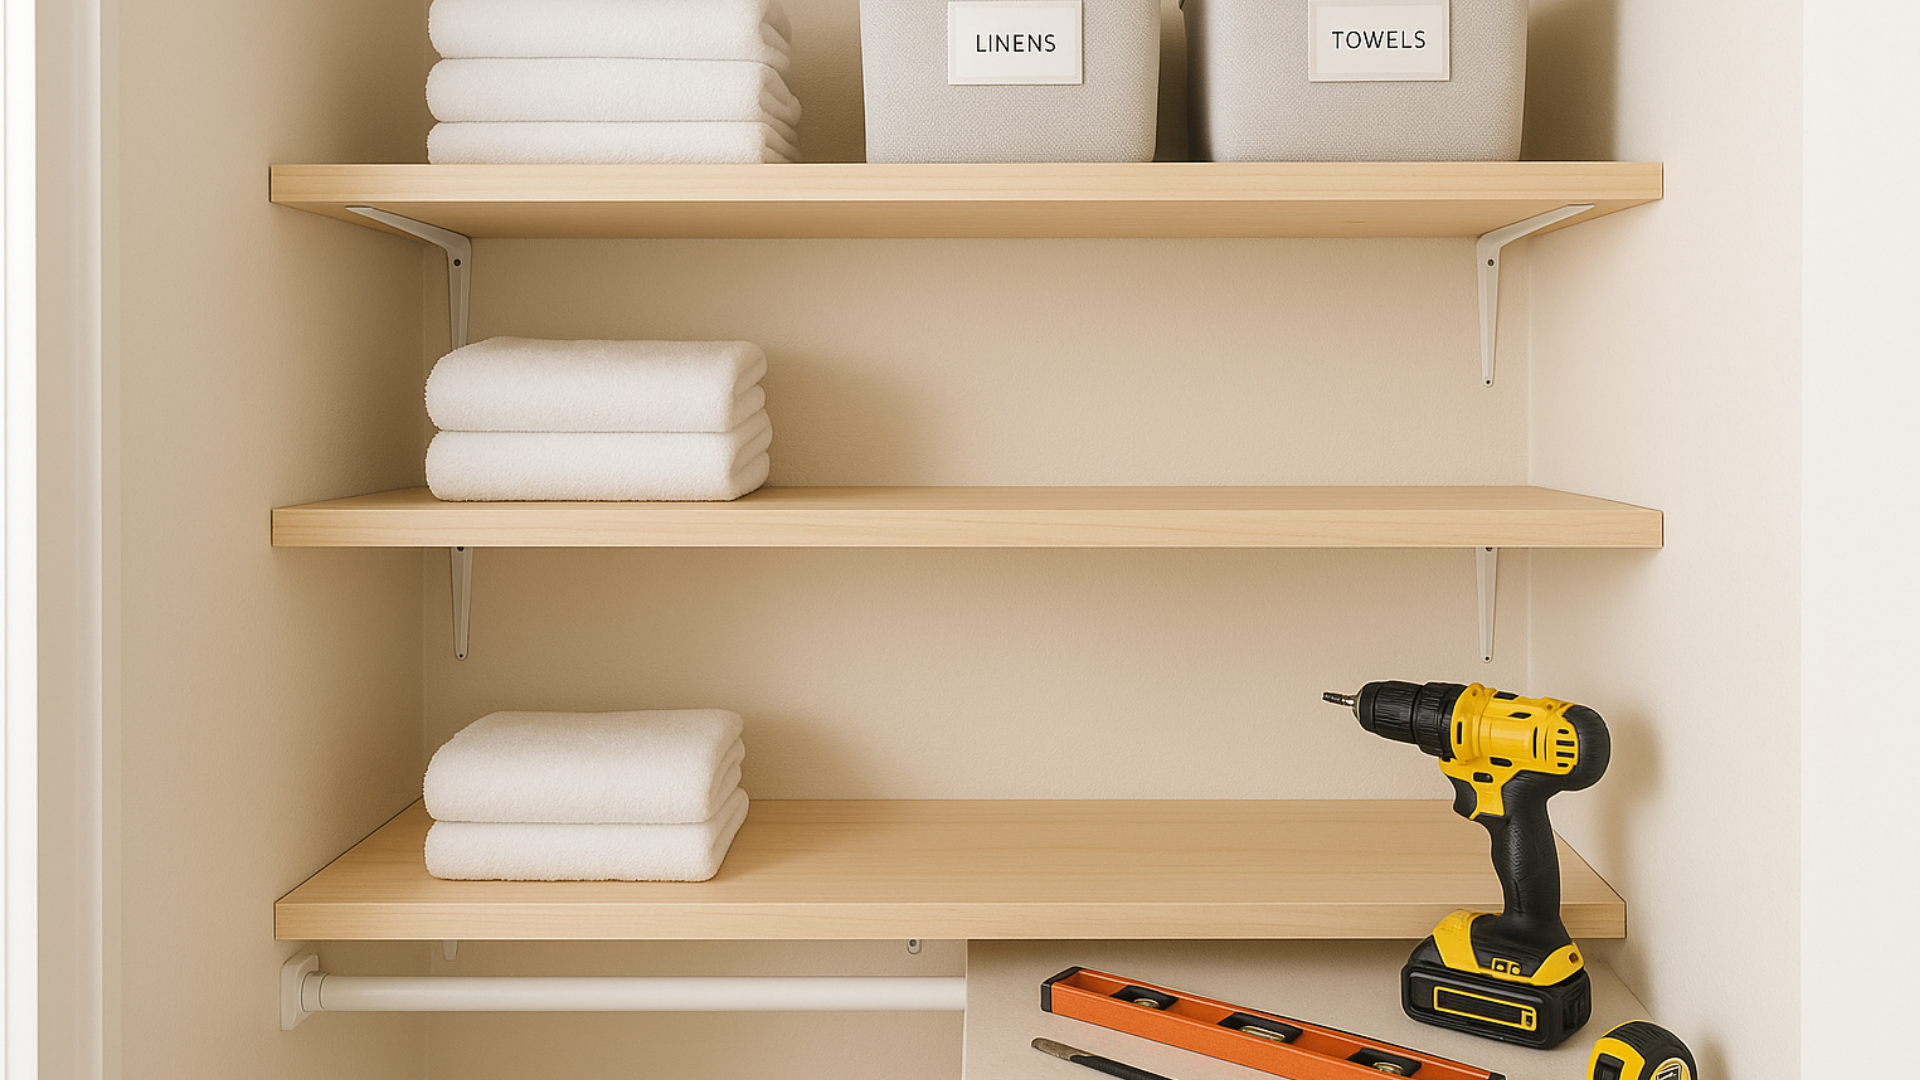
Basic needs: Drill, saw, level, measuring tape, pencil, screwdrivers. Rent bigger tools like table saws if needed. Start with these and add tools as you go.

