How to Replace Can Lights: The Complete DIY Guide
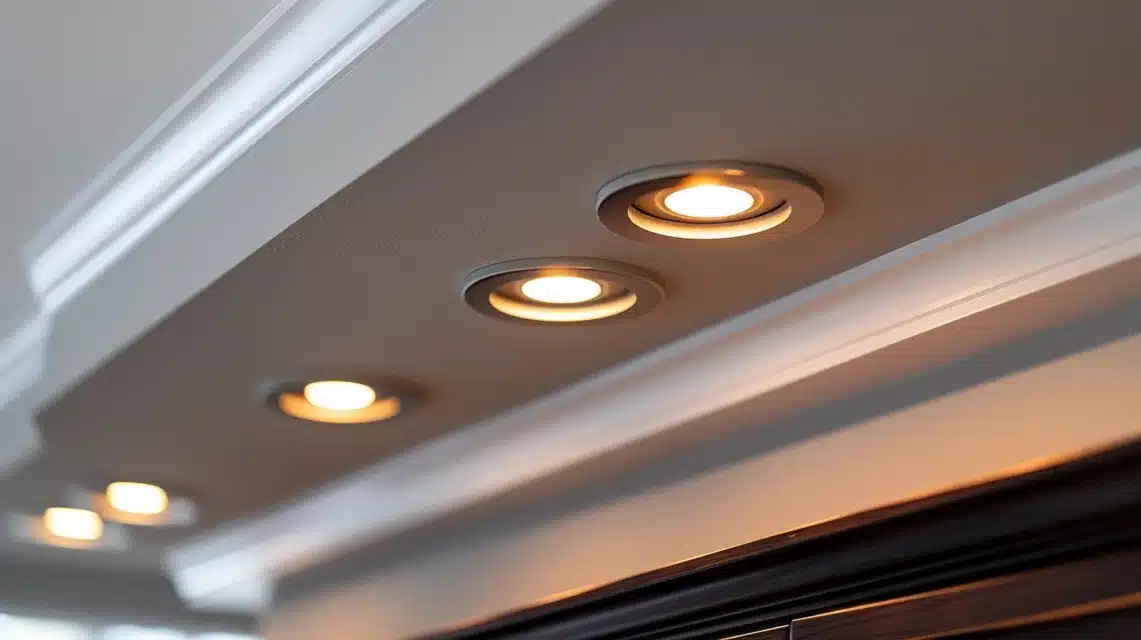
Are you looking to refresh your home’s lighting? Can lights, also known as recessed lights, are popular in many rooms.
But what if you want to update your existing can lights? This guide will show you how to replace them with LED retrofit kits.
Switching to LED can improve the appearance of your home and save energy. It’s a smart move for both style and your power bill.
Maybe you’re wondering how long it takes to swap out those old lights. Don’t worry – we’ll answer that immediately in the next section.
Ready to brighten up your space? Let’s walk through this easy, step-by-step method to give your can lights a modern makeover.
Quick Steps to Replace Can Lights
Step 1: Turn Off the Power
First things first: safety is key. Before you start, turn off the power to the light at your home’s circuit breaker. This step is crucial to avoid any accidents. Always double-check that the power is truly off by trying to turn on the light switch.
Step 2: Remove the Old Light Fixture
Now, let’s take out the old light. Unscrew the old bulb and gently pull down the trim. You’ll see some clips holding the fixture in place.
Squeeze these clips and pull the old fixture out. If needed, you might have to remove the entire housing, but most retrofit kits fit into existing housing.
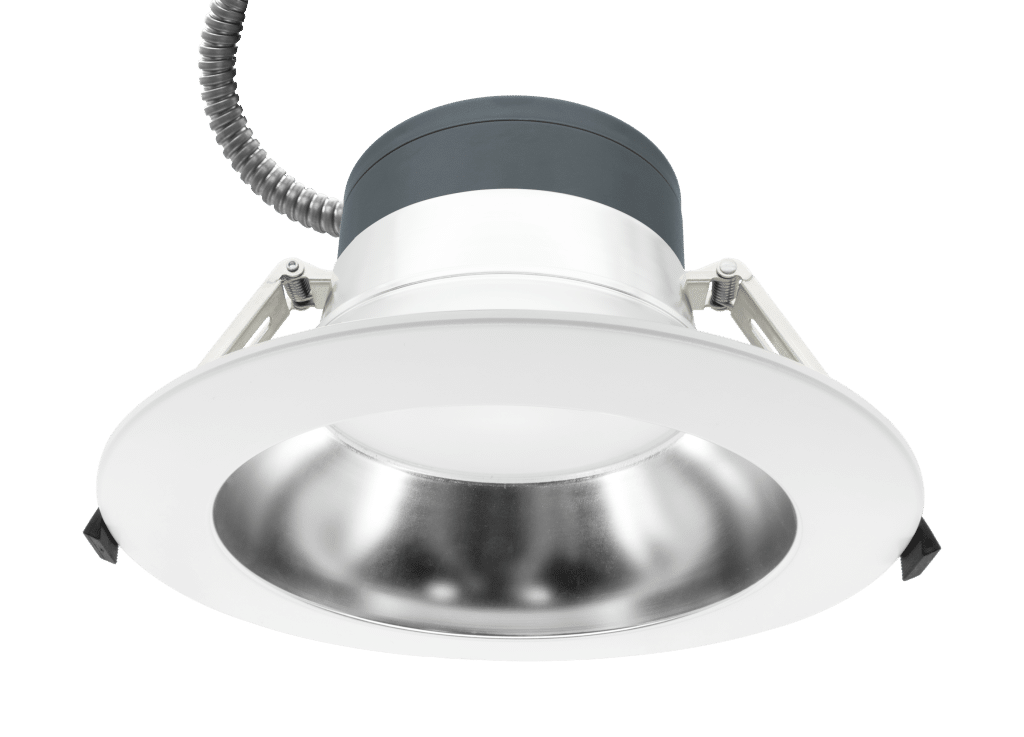
Step 3: Install the LED Retrofit Light
It’s time for the new light! Take your LED retrofit kit and connect its wires to the existing socket. Just screw them in – no complex rewiring is needed for most kits.
When picking your LED, consider the brightness and light color you want. Warm white (2700K) is cozy, while cool white (3000K) is crisp and clean.
Step 4: Secure the New Light in Place
You’re almost done! Use the spring clips to attach your new LED light to the ceiling. Make sure all wires are tucked away neatly inside the housing.
Give the new fixture a gentle turn to ensure it’s snug against the ceiling. That’s it—your new light is in place!
Choosing the Right LED Retrofit Kit
Adapter Types
When picking your LED retrofit kit, there are two main types: E26 adapters and hardwired options.
E26 adapters are the simplest choice. They screw into your existing light socket, just like a regular bulb. This makes them perfect for quick, easy installations—no need to fiddle with wires or call an electrician.
Hardwired options connect directly to your home’s wiring. While they can be more stable long-term, they often need a pro to install them. The E26 adapter is the way to go for most home DIY projects.
LED Brightness and Color Temperature
Now, let’s discuss brightness and color. LED brightness is measured in lumens, not watts. Aim for about 1,500 to 3,000 lumens for a living room. Kitchens and workspaces might need more, around 4,000 to 8,000 lumens.
Color temperature affects the mood of your room. It’s measured in Kelvins (K).
- 2700K gives a warm, cozy glow. Great for bedrooms and living rooms.
- 3000K is a bit cooler and good for kitchens and bathrooms.
- 4000K and above is very cool and bright. Best for workspaces or garages.
A tip: avoid going too bright or cool in living areas. You don’t want your home to feel like a hospital waiting room!
Common Issues and Tips for Installing LED Lights
Dealing with Loose Fixtures
Sometimes, your new LED light might not sit flush with the ceiling. Don’t worry – this is a common issue with easy fixes.
- Check the clips: Make sure all the spring clips are fully extended and gripping the inside of the housing.
- Rotate the fixture: A gentle turn can sometimes help the light settle into place. Try turning it slightly clockwise or counterclockwise.
- Adjust the clips: If rotating doesn’t work, you might need to bend the clips a bit. Carefully adjust them to grip more tightly.
- Double-check the size: Ensure your retrofit kit matches your can size. A mismatch can cause a loose fit.
Ceiling Imperfections
After installation, you might notice some imperfections around the light. Here’s how to handle them.
- Minor touch-ups: For small marks or scuffs, use a damp cloth to clean the area. Once dry, touch up with matching paint using a small brush.
- Larger fixes: If there’s noticeable damage, you might need to patch it. Use spackling paste to fill in any holes or cracks. Once dry, sand it smooth and paint.
- Painting tips: Don’t just paint the area around the light when repainting. Blend it out to avoid a noticeable patch. If you can’t match the existing color perfectly, you might need to paint the whole ceiling for a uniform look.
- Texture matching: If your ceiling has texture, you might need to recreate it. Spray-on textures that match common ceiling textures can be found at hardware stores.
Benefits of Replacing Old Can Lights with LED Retrofits
1. Energy Efficiency
Switching to LED retrofits can help cut down your energy use. Here’s why.
- LEDs use way less power than old bulbs. They can save up to 75% of the energy used by regular lights.
- These lights last a long time. Many can shine for 25,000 hours or more, which is about 22 years if you use them for 3 hours a day!
- Less energy use means lower electric bills. You might see a nice drop in your monthly costs.
2. Improved Aesthetics
LED retrofits can give your home a fresh, modern look.
- Their sleek, clean design fits well with today’s home styles.
- You can choose from different trims and finishes. This lets you match your lights to your room’s decor.
- Many LED lights can change color or brightness. This helps you set the right mood for any time of day.
3. Low Maintenance
Once you install LED retrofits, you can mostly forget about them.
- These lights rarely burn out. You won’t need to climb ladders to change bulbs often.
- They don’t suddenly stop working like old bulbs. Instead, they slowly dim over many years.
- This means less hassle and fewer trips to the store for new bulbs.
Summing Up
Did you know that some LED retrofits can last up to 50,000 hours? If the lights are on for 8 hours a day, that’s over 17 years of use.
This long life span makes LEDs an excellent choice for hard-to-reach fixtures.
Updating your can lights to LED retrofits is a smart move for any homeowner. It’s a simple project that can make a big difference in your home’s look and feel.
You’ll save money on energy bills, enjoy better lighting, and spend less time changing bulbs.
Remember to pick the right brightness and color for each room. Take care when installing to ensure a snug fit and smooth finish.
With some effort, you can transform your lighting and give your home a fresh, modern touch.