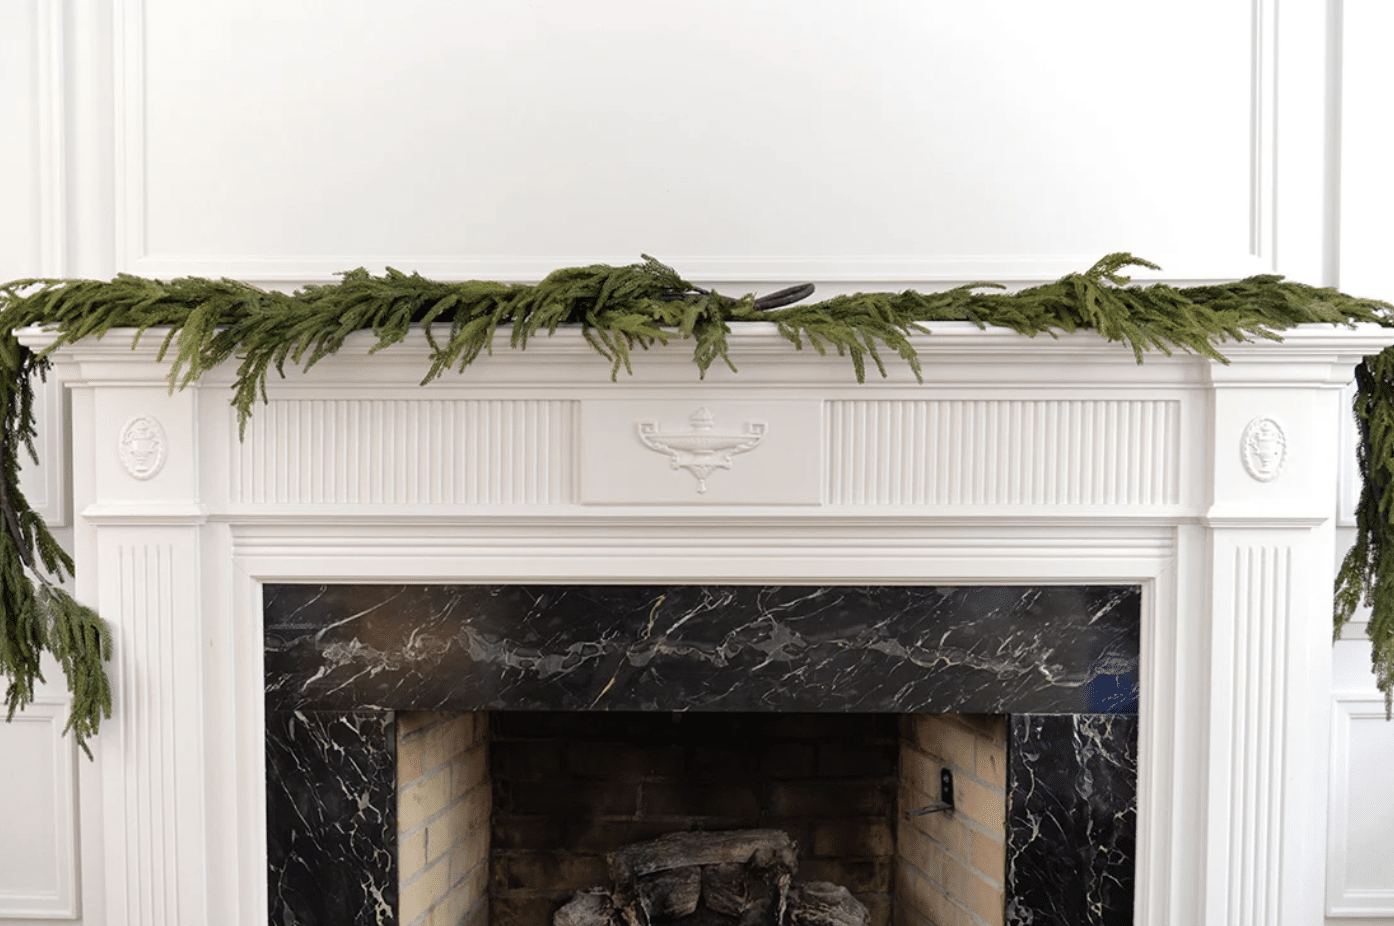
How to Hang Garland on Your Mantel
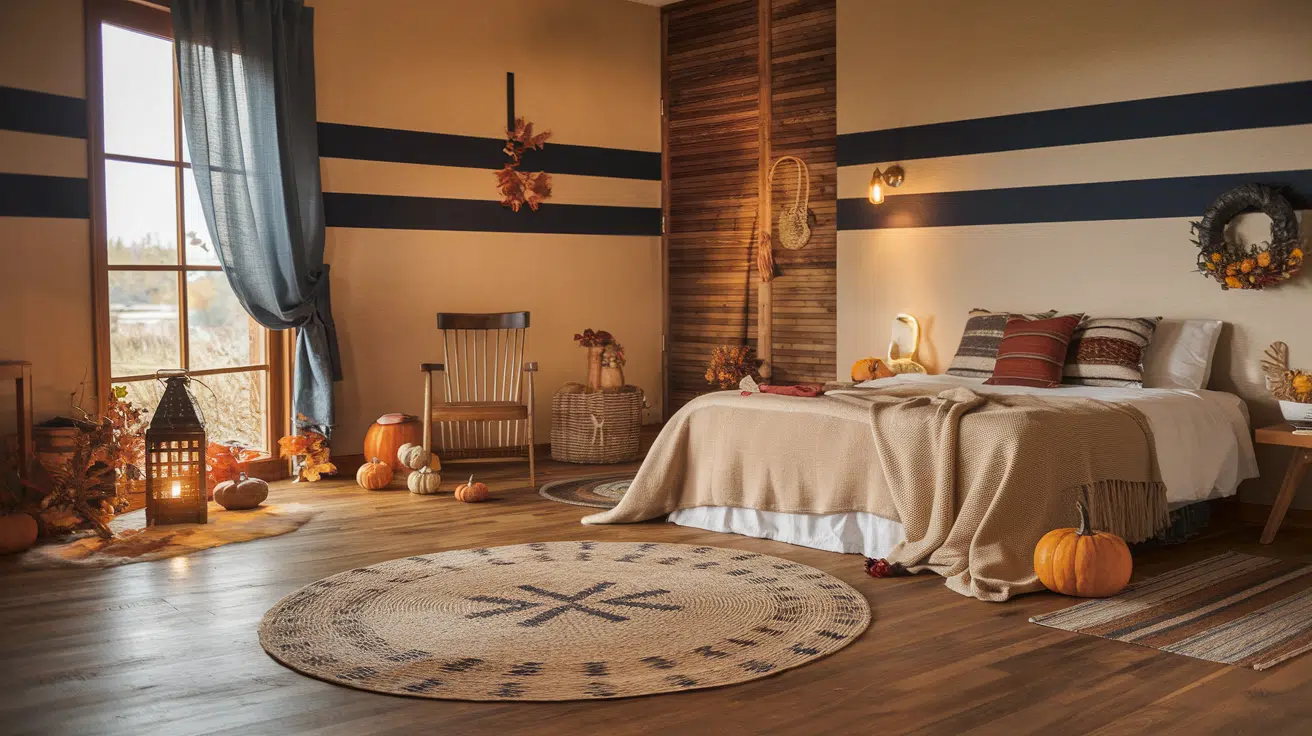
Let’s get festive without the fuss! I know how much a beautifully decorated mantel can transform a room during the holidays.
But here’s the thing – we all want that perfect garland draping, yet nobody wants to deal with nail holes or damaged surfaces once the season’s over.
Trust me, I’ve been there. Struggling to find ways to secure garland without leaving a trace can be frustrating.
But don’t worry, I’ve got your back.
In this post, I’ll walk you through easy, damage-free ways to deck out your mantel with beautiful garland.
These methods are simple, effective, and won’t harm your surfaces. Let’s get started on making your mantel look festive and fabulous!
Types of Mantels and Their Impact on Hanging Methods
Mantels come in various materials and styles, which can influence how you hang your garland. Here are some common types:
- Wood mantels: These traditional favorites offer a warm, classic look. They’re often sturdy enough to support hooks or small tacks, but be careful not to damage the finish.
- Stone or brick mantels: These solid surfaces can be tricky. You can’t easily stick things to them or drive in nails. For these, you’ll need to get creative with non-damaging hanging methods.
- Marble or granite mantels: These smooth, polished surfaces are beautiful but delicate. Avoid anything that might scratch or stain them.
- Metal mantels: While less common, metal mantels can be magnetic, opening up some unique hanging options.
- Floating mantels: These modern, minimalist shelves require extra care to avoid compromising their mounting.
The material and design of your mantel will guide your choice of hanging method. In the next sections, I’ll cover techniques that work well for different mantel types, helping you decorate safely and beautifully.
Step-By-Step Guide on How to Hang Garland on A Mantle
| Material | Purpose | Estimated Cost |
|---|---|---|
| Garland | Primary decorative element | $15 – $50 |
| Command Hooks (3M) | For securing the garland to the mantel | $5 – $10 (pack of 6-12 hooks) |
| Rubbing Alcohol | For cleaning the mantel surface | $1 – $3 (small bottle) |
| Wire or Floral Tape | To secure multiple garlands together | $3 – $7 |
| Extra Greenery (Sprays/Branches) | For adding volume and dimension to the garland | $10 – $30 |
| Decorative Accents (Ornaments, Ribbons) | To enhance the look with seasonal decorations | $10 – $40 |
| Floral Wire or Twist Ties | To secure decorative accents to the garland | $2 – $5 |
| Accessories (Candles, Stockings, Figurines) | Final touches to complete the mantel decor | $10 – $50 |
| Dust Cloth | For cleaning the mantel surface before decorating | $2 – $5 |
- Total Estimated Cost: $58 – $200
Step 1 Prepare Your Materials
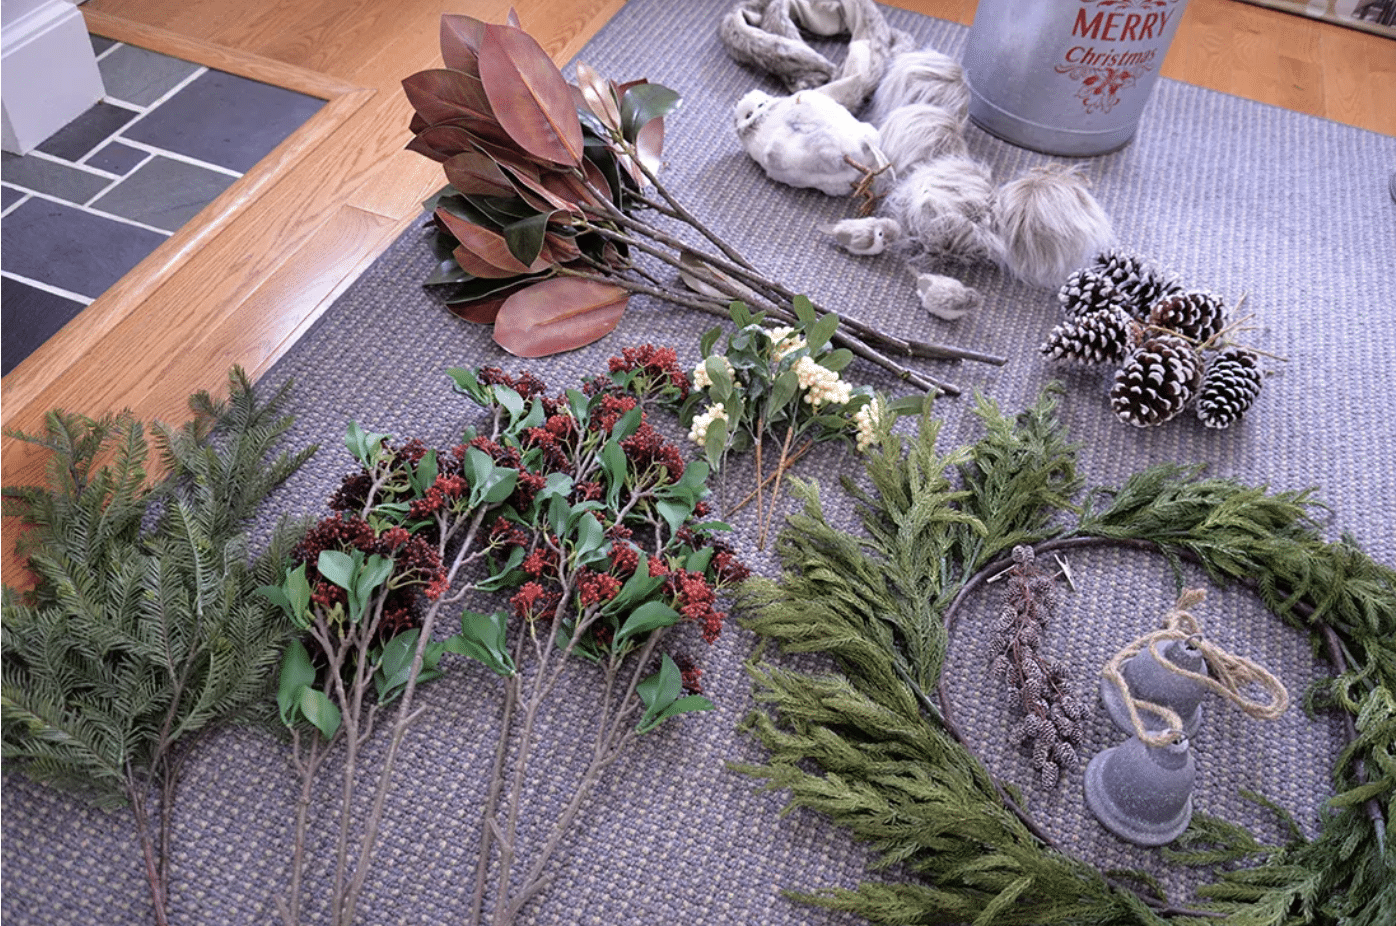
- Gather all the garlands and accessories (lights, ornaments, greenery, etc.).
- Group similar items together for easy access.
- Think through the order of decorating to avoid repeating or missing steps.
Step 2 Ensure a Clean Surface
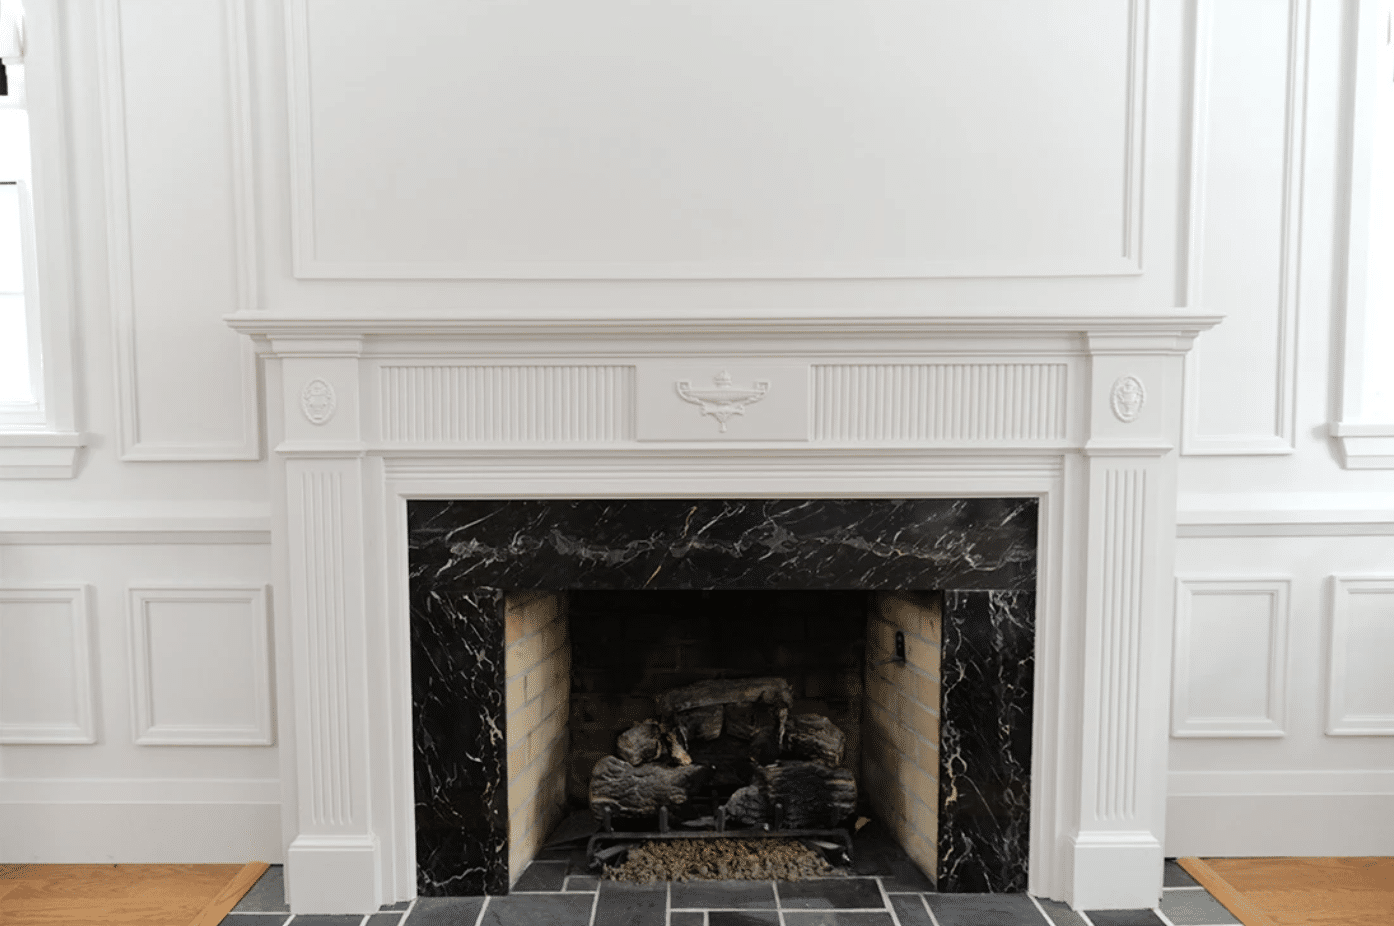
- Dust and wipe down the mantel thoroughly.
- A clean surface ensures better adherence to hooks and decorations.
Step 3 Set Up the Hooks
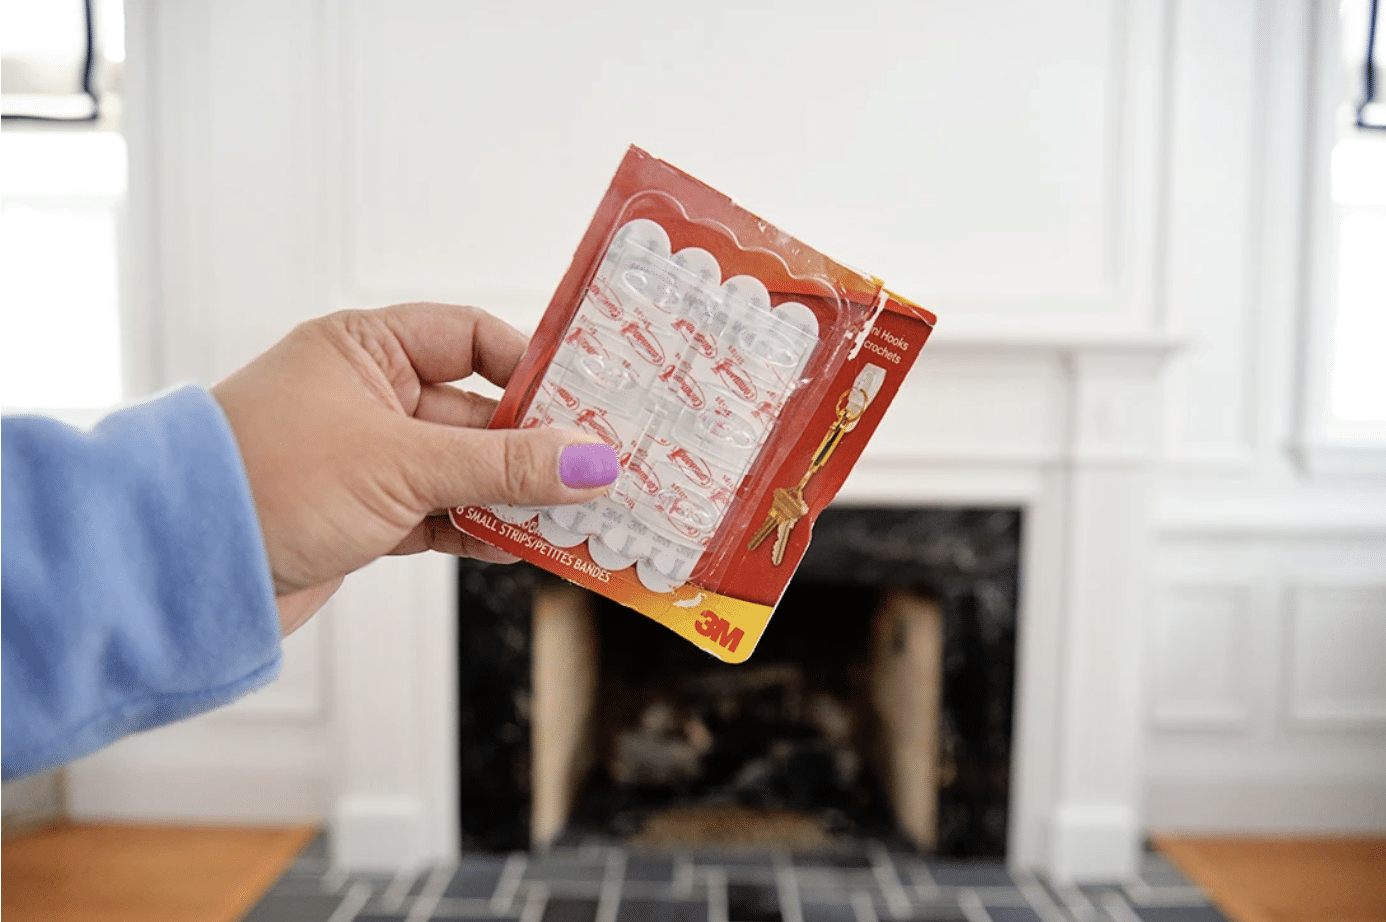
- Use 3M Command hooks for easy hanging.
- Clean the mantel with rubbing alcohol for proper adhesion.
- Choose clear hooks to keep them discreet in the final setup.
Step 4 Measure the Garland
- Lay the garland across the mantel to determine the required length.
- Adjust the garland to fit the desired style (draped, straight, or swagged).
Step 5 Combine Garlands
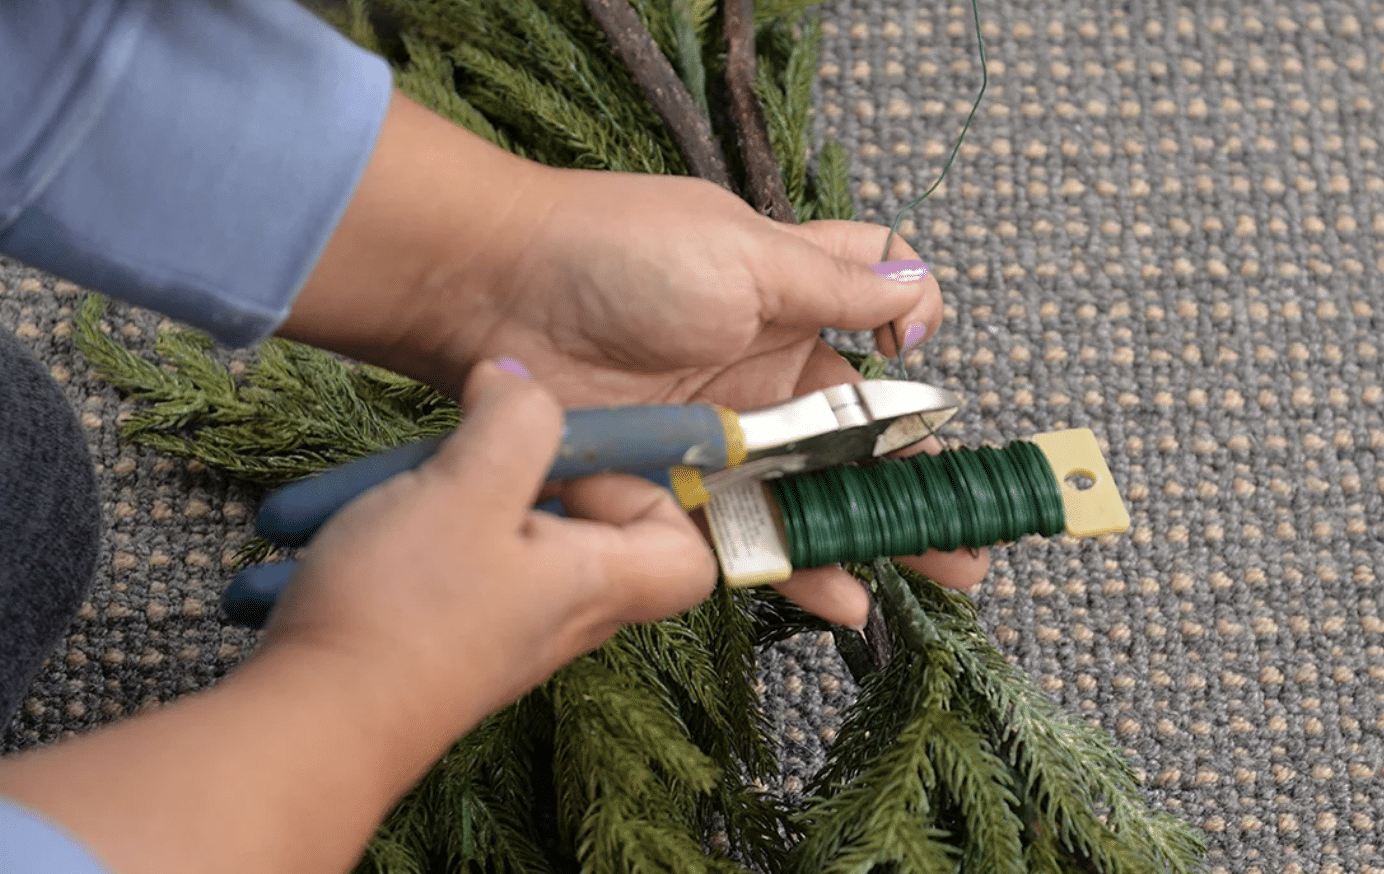
- If using more than one garland, use wire or floral tape to secure them together.
- This ensures the garlands look cohesive and stay in place.
Step 6 Attach the Garland to the Mantel
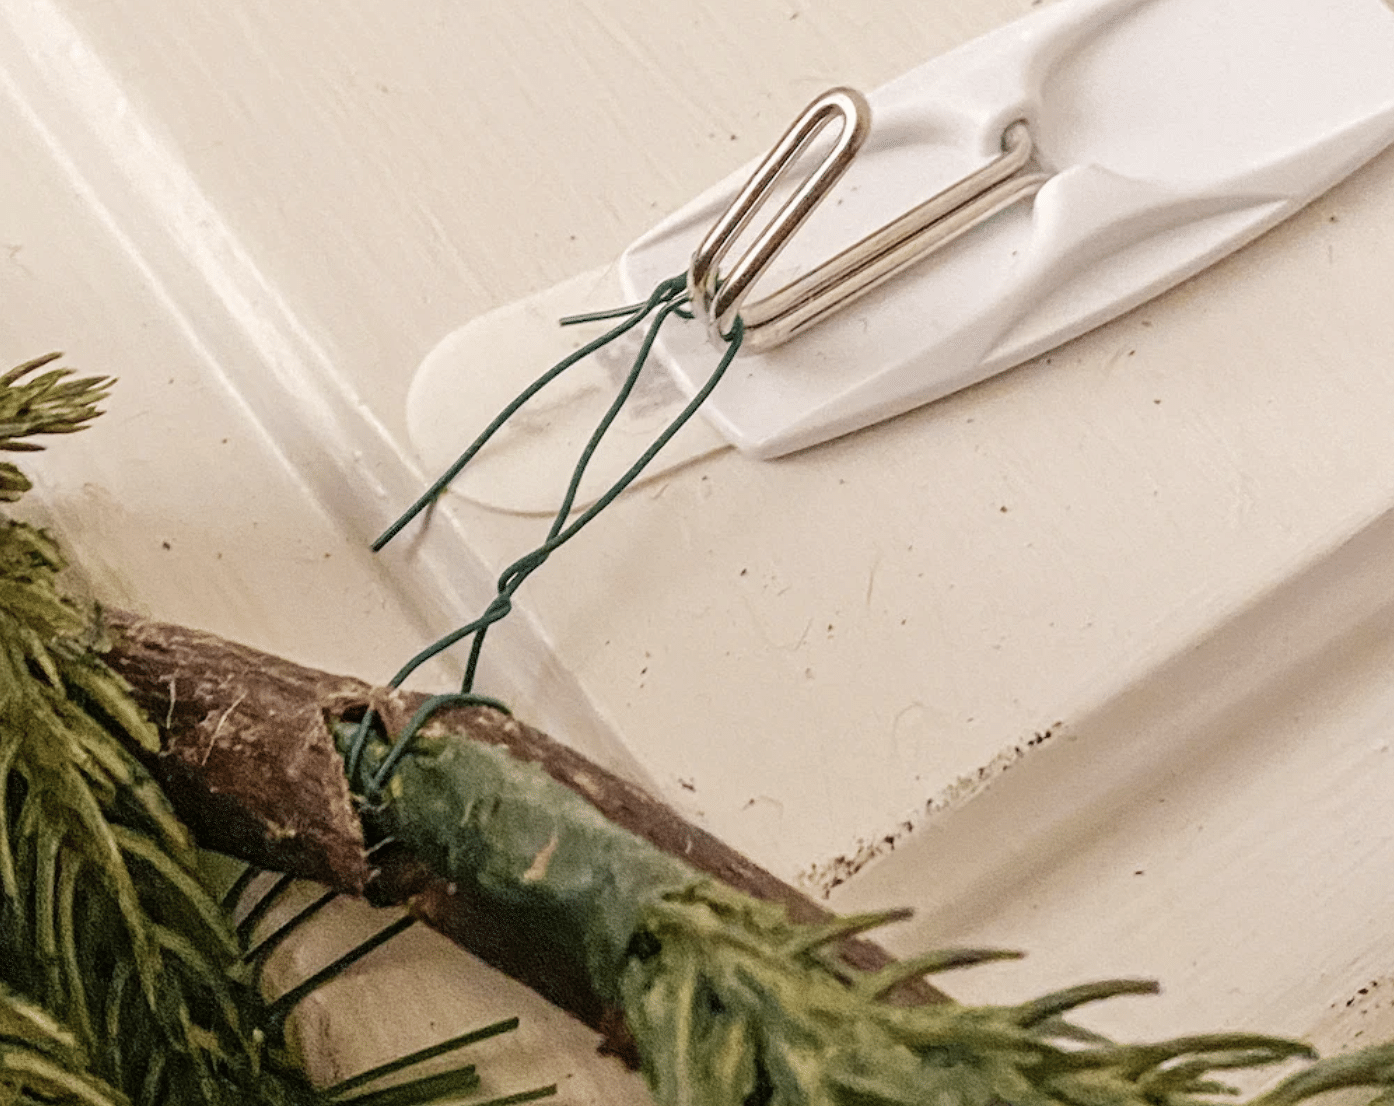
- Secure the garland onto the previously affixed Command hooks.
- Distribute the weight evenly across all hooks for stability.
Step 7 Shape and Adjust the Garland
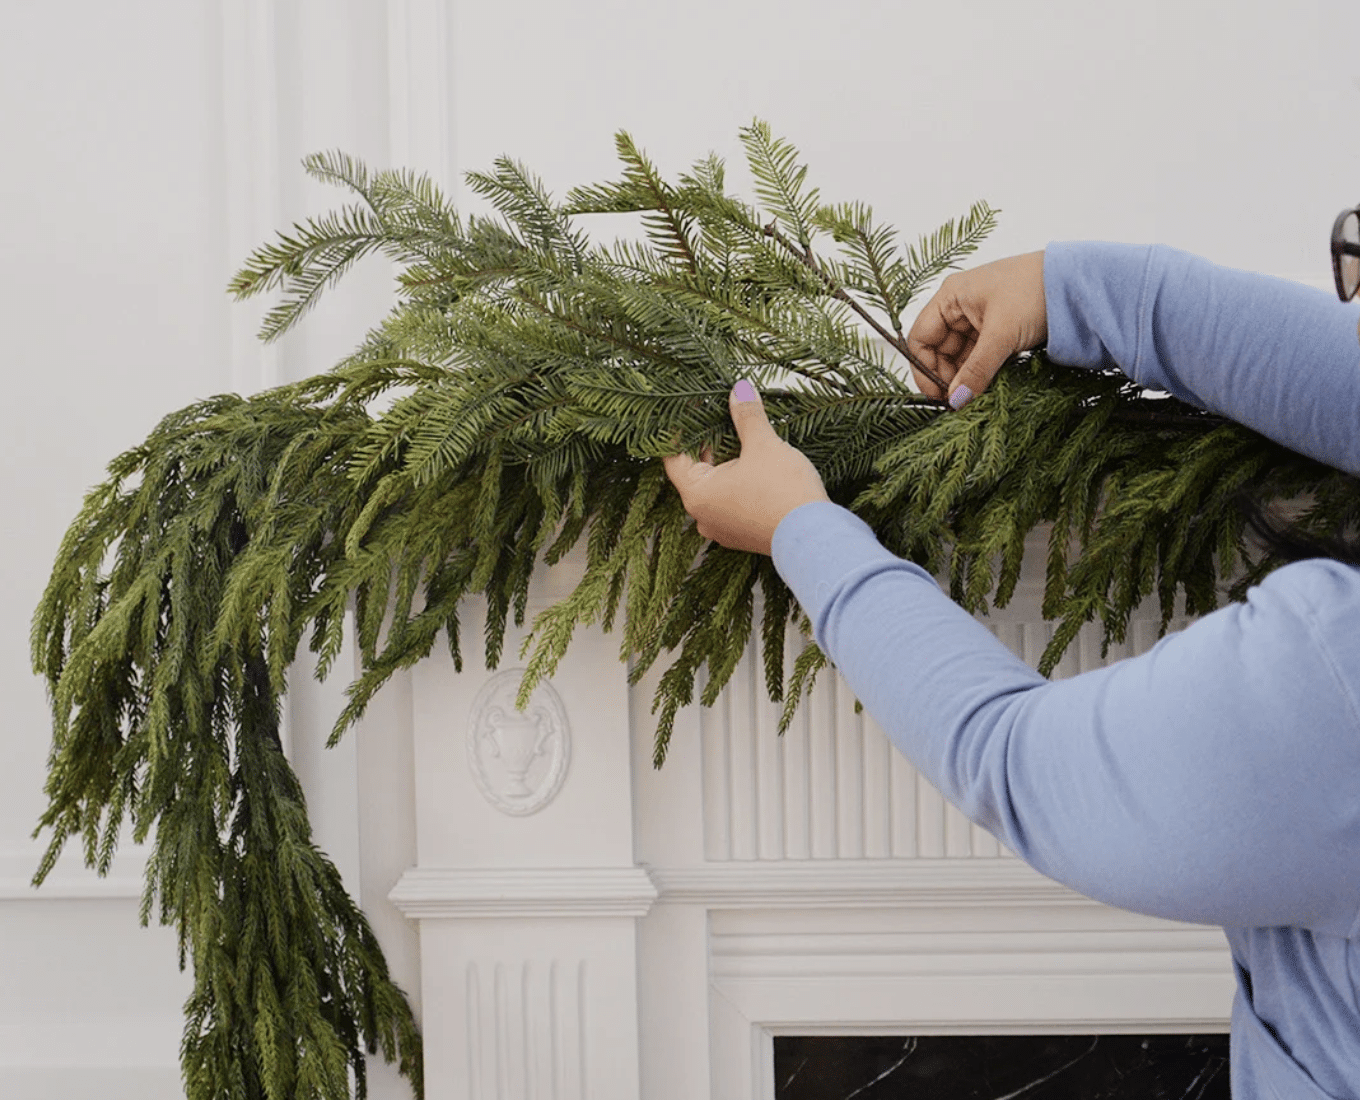
- Fluff out the garland branches to make it look fuller.
- Arrange the greenery to cover any gaps or sparse areas.
Step 8 Incorporate Additional Greenery
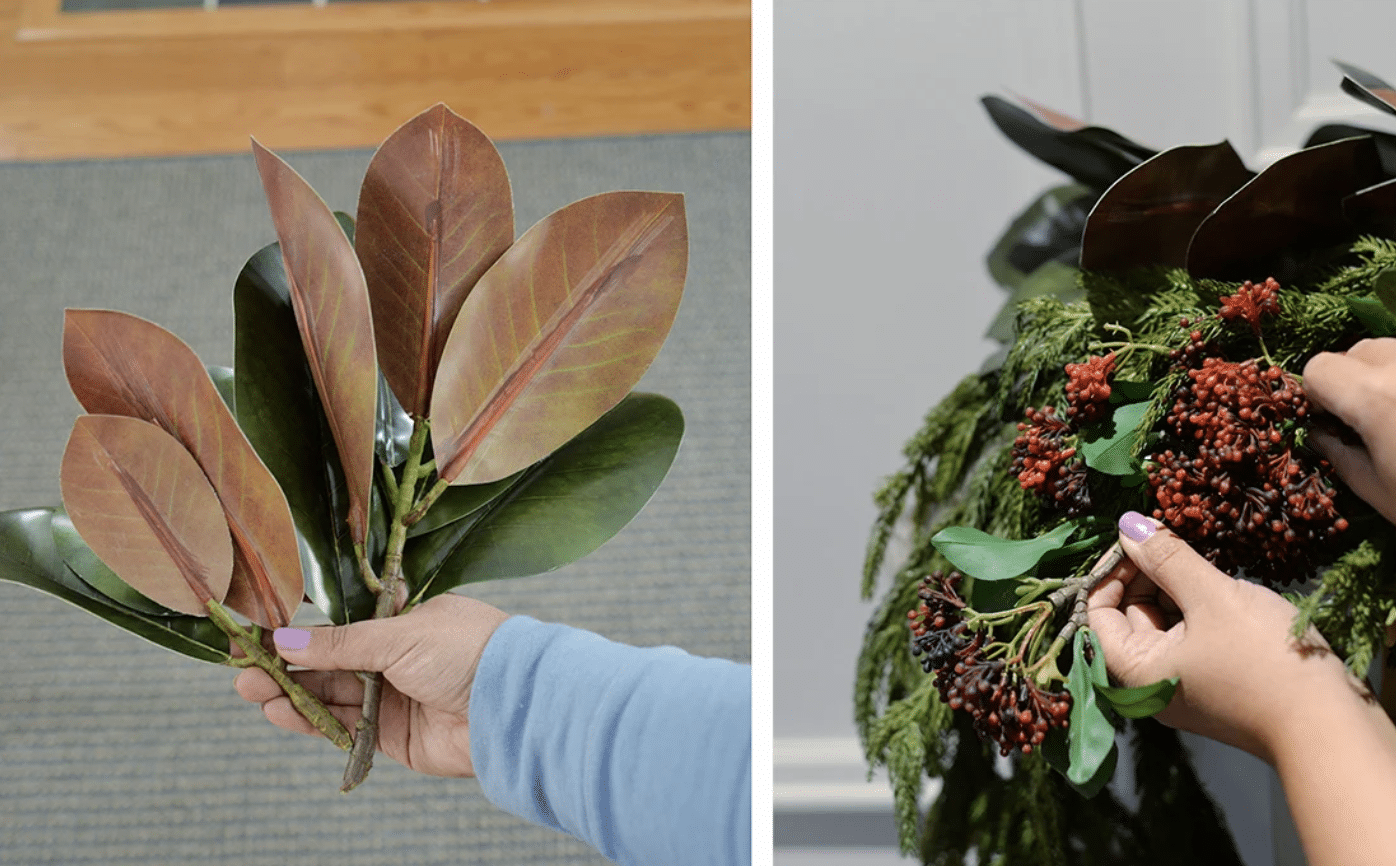
- Add extra branches or sprays for a more layered look.
- Tuck them in securely, ensuring they complement the garland.
Step 9 Decorate with Ornaments
- Add ornaments, ribbons, or other decorative items.
- Secure these with floral wire or hooks to keep them in place.
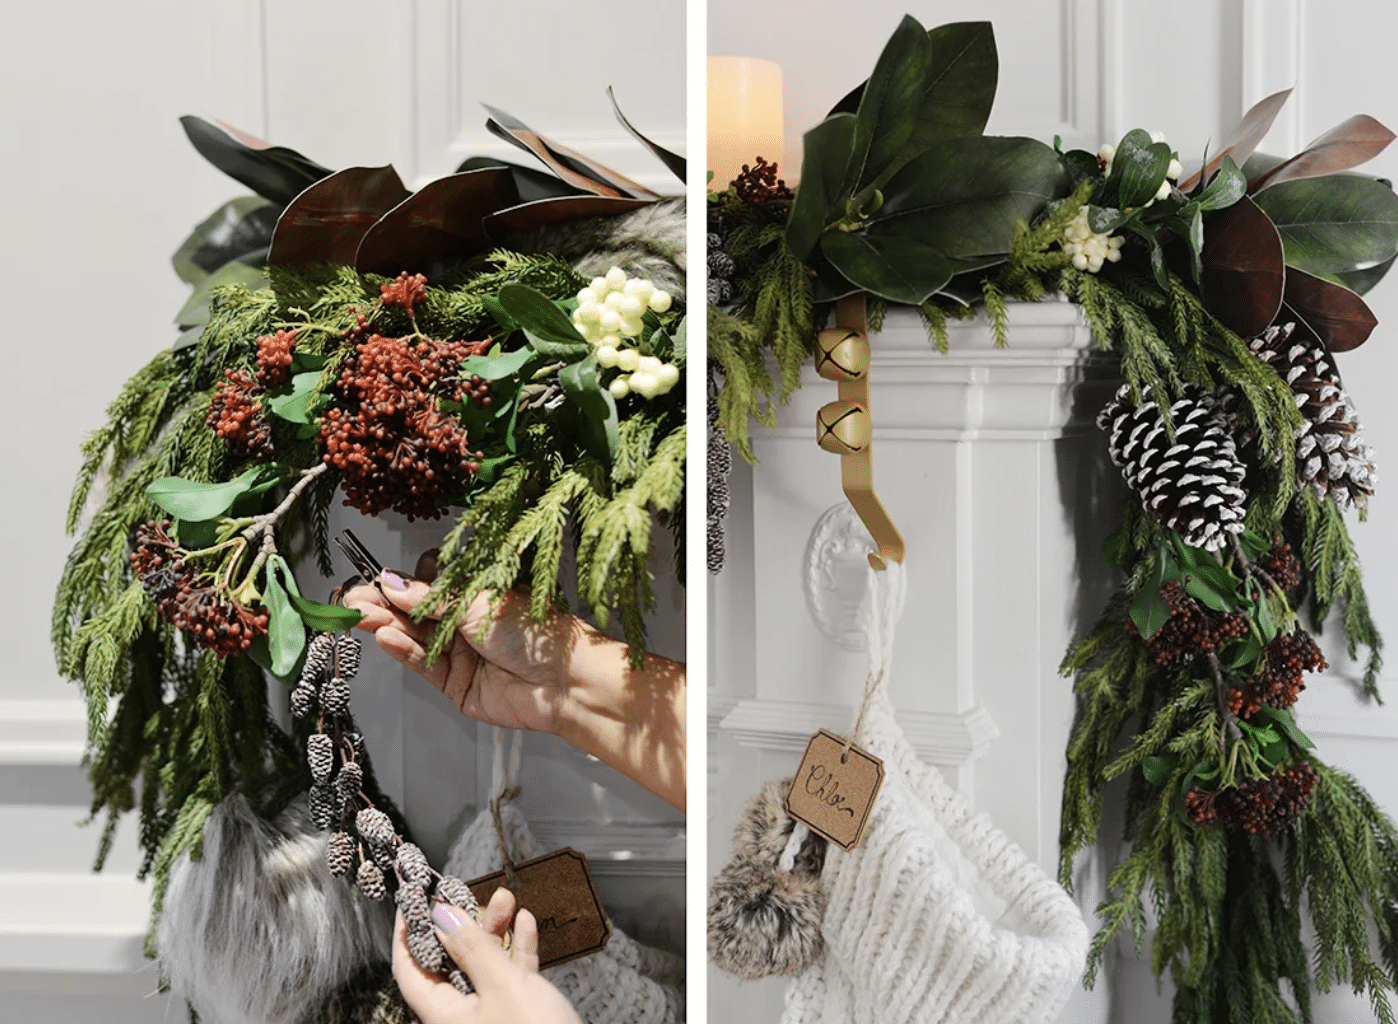
Step 10 Add Finishing Touches
- Place your final accessories, such as candles, stockings, or figurines.
- Ensure these accents complement the overall style and theme.
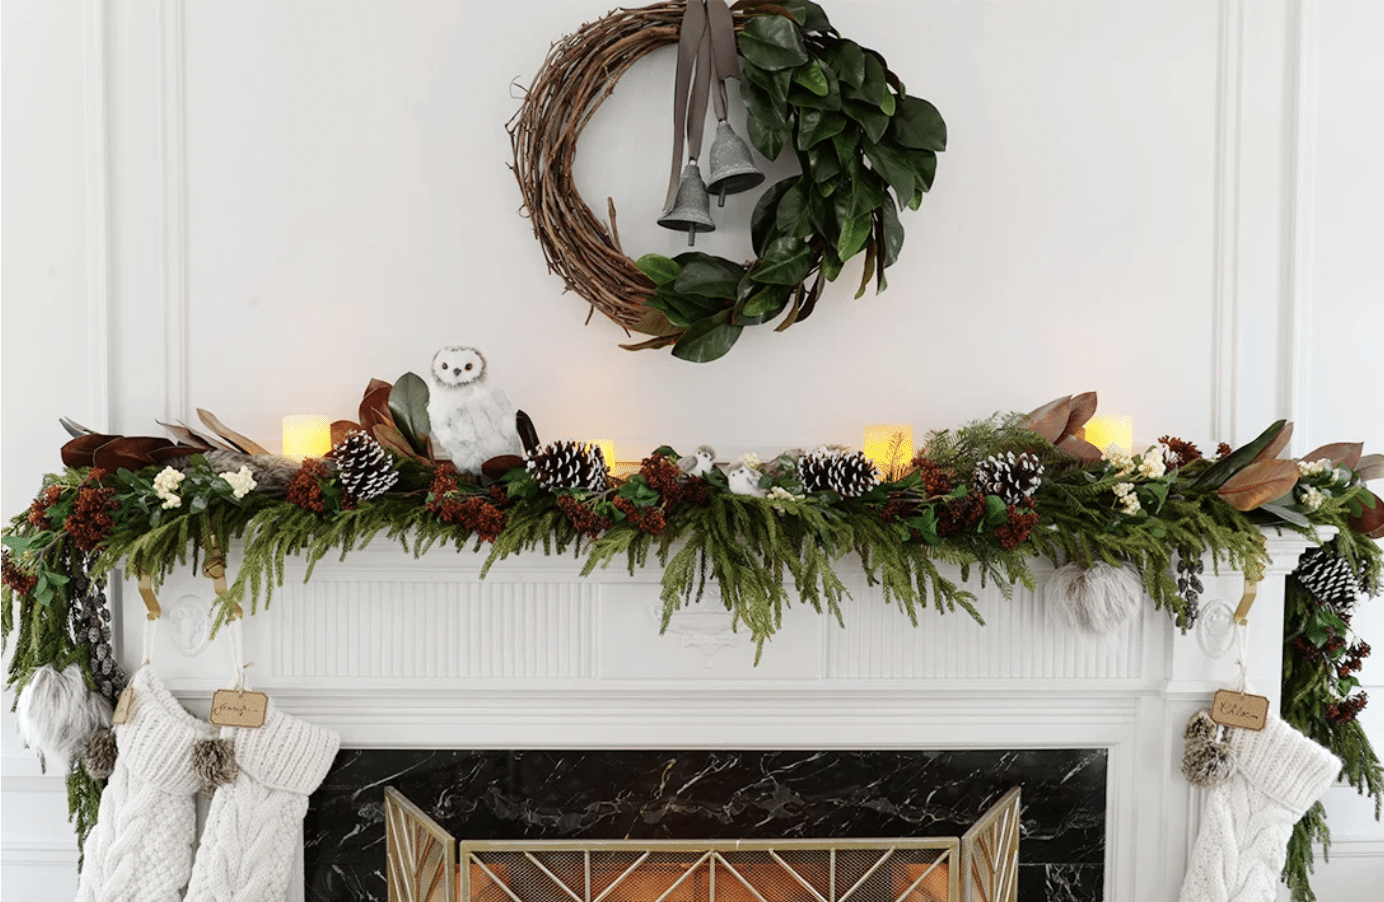
How to Decorate Your Mantel Garland
Once you’ve hung your garland, you can make it even more eye-catching with these decorating ideas:
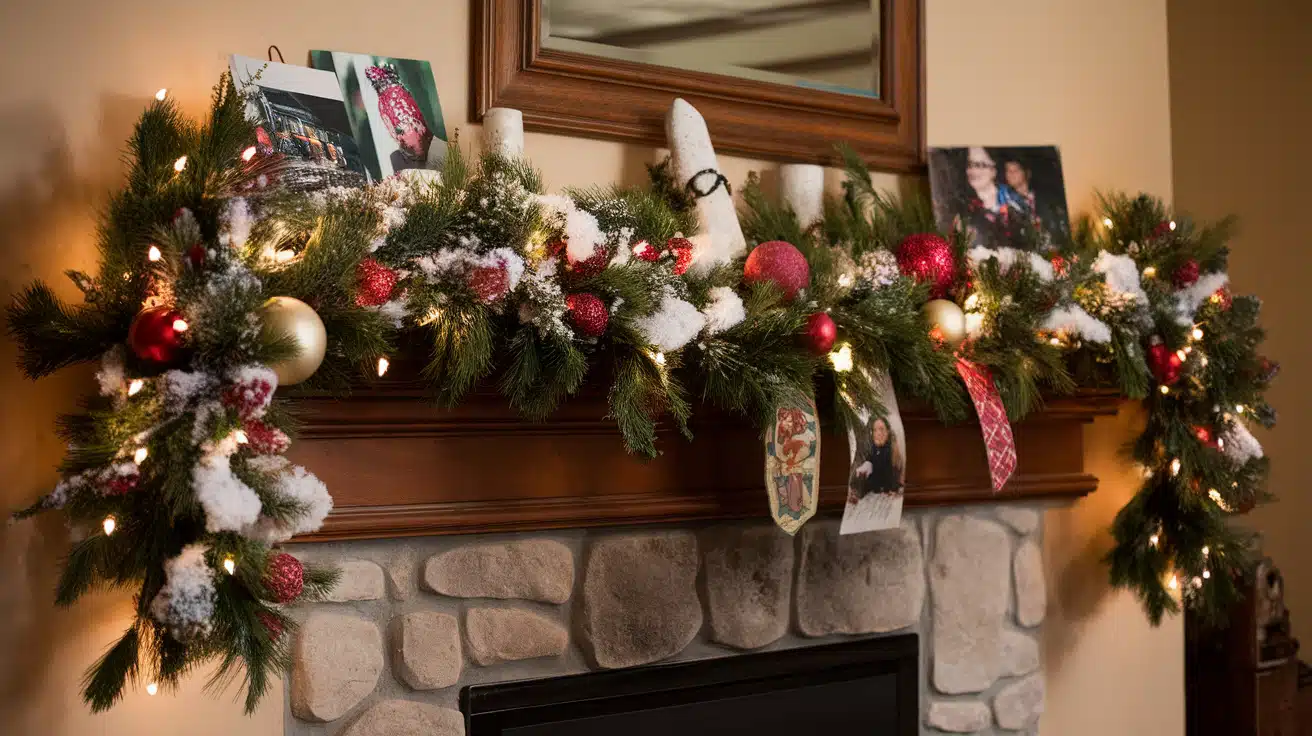
- Add lights: Weave string lights through the garland for a warm glow. Battery-operated ones work well if you’re not near an outlet.
- Incorporate ornaments: Hang small ornaments or baubles from the garland for extra sparkle.
- Use ribbon: Thread ribbon through the garland or tie bows at regular intervals for a polished look.
- Include natural elements: Pinecones, berries, or small twigs can add a rustic touch.
- Personalize with photos: Clip small family photos or holiday cards to the garland for a personal touch.
- Add faux snow: For a wintry look, lightly dust your garland with artificial snow.
- Integrate seasonal items: Small pumpkins for fall or heart-shaped decorations for Valentine’s Day can make your garland suitable for different occasions.
- Use scented elements: Cinnamon sticks or scented pinecones can add a festive fragrance.
Remember to balance your decorations and not overload the garland. The key is to enhance its beauty without overwhelming it. With these tips, your mantel garland will become a stunning focal point in your room.
Storing and Safety Tips for Your Mantel Garland
When the holiday season ends, proper care of your garland ensures it stays beautiful for years to come. Here’s how to store and use your mantel garland safely:
Storing Your Garland
- Clean before storage: Give your garland a gentle shake or brush to remove dust and debris. For artificial garlands, you can use a soft cloth or vacuum with a brush attachment on low power.
- Preserve the shape: To avoid flattening or misshaping your garland, store it in large, flat boxes or specialized garland storage bags. These containers help maintain the garland’s form and protect it from getting crushed under other items.
- Wrap with care: For more delicate garlands, like those with glass beads or delicate ornaments, wrap them in acid-free tissue paper before storing. This extra layer of protection helps prevent tangling and damage.
- Choose a suitable location: Find a cool, dry spot for storage. Avoid damp basements or hot attics, leading to mold growth or material degradation.
- Organize and label: Clearly label your storage containers with the contents and any special care instructions. This step saves time when you’re setting up next year’s decorations.
- Handle lights separately: If your garland has built-in lights, consider removing them if possible. Store lights separately to prevent tangling and to make it easier to replace any burnt-out bulbs.
Safety Tips for Mantel Garland
When decorating your mantel with garland, keep these safety measures in mind:
- Fire safety: If you have a working fireplace, ensure your garland doesn’t hang too close to the fire. Use fire-resistant or flame-retardant garlands when possible.
- Electrical precautions: Before using lit garlands, check the cords for signs of wear or damage. Don’t overload electrical outlets.
- Secure hanging: Make sure your garland is firmly attached to prevent it from falling, which could be a tripping hazard.
- Child and pet safety: Be mindful of any small decorations or parts that could be choking hazards. Also, some plants used in garlands can be toxic if ingested.
- Allergen awareness: If anyone in your home has allergies, consider using artificial garlands to avoid potential reactions to natural materials.
- Weight distribution: Don’t overload your mantel with heavy decorations that could fall and cause injury.
- Ventilation: Ensure your garland doesn’t block any vents or air returns, which could affect your home’s heating and cooling.
By following these tips, you can enjoy a safe, beautiful mantel display and preserve your decorations for many holiday seasons to come.
Wrapping It Up
Let’s wrap this up! Decorating your mantel with garland doesn’t have to be a headache.
With these easy, damage-free methods, you can create a stunning display without worrying about repairs later.
Remember, the key is to choose the right hanging method for your mantel type and garland weight.
Whether you’re using Command hooks, mantel clips, or even fishing lines, you’ve got options that work. Don’t forget to add your personal touch with lights, ornaments, or ribbons.
And when the season’s over, store your garland carefully for next year. Now, it’s your turn to get creative!
Why not start planning your mantel decor today? If you’ve got any great ideas or tips of your own, I’d love to hear them in the comments. Happy decorating!
Frequently Asked Questions
How Do I Hang Heavy Garland without Damaging My Mantel?
For heavy garlands, use strong Command hooks or sturdy mantel clips. These can hold more weight without leaving marks on your mantel.
Will Adhesive Hooks Ruin My Wooden Mantel Finish?
When used correctly, adhesive hooks like Command hooks shouldn’t harm your mantel’s finish. Always follow the instructions when removing them to avoid damage.
Can I Use Nails or Screws if I’m Willing to Repair Later?
It’s best to avoid nails or screws. They can damage your mantel and lead to costly repairs. Try non-damaging methods instead to keep your mantel in good shape.
What if My Mantel Is Made of Brick or Stone?
For brick or stone mantels, use hooks made for rough surfaces. You can also try adjustable mantel clips that fit different thicknesses.