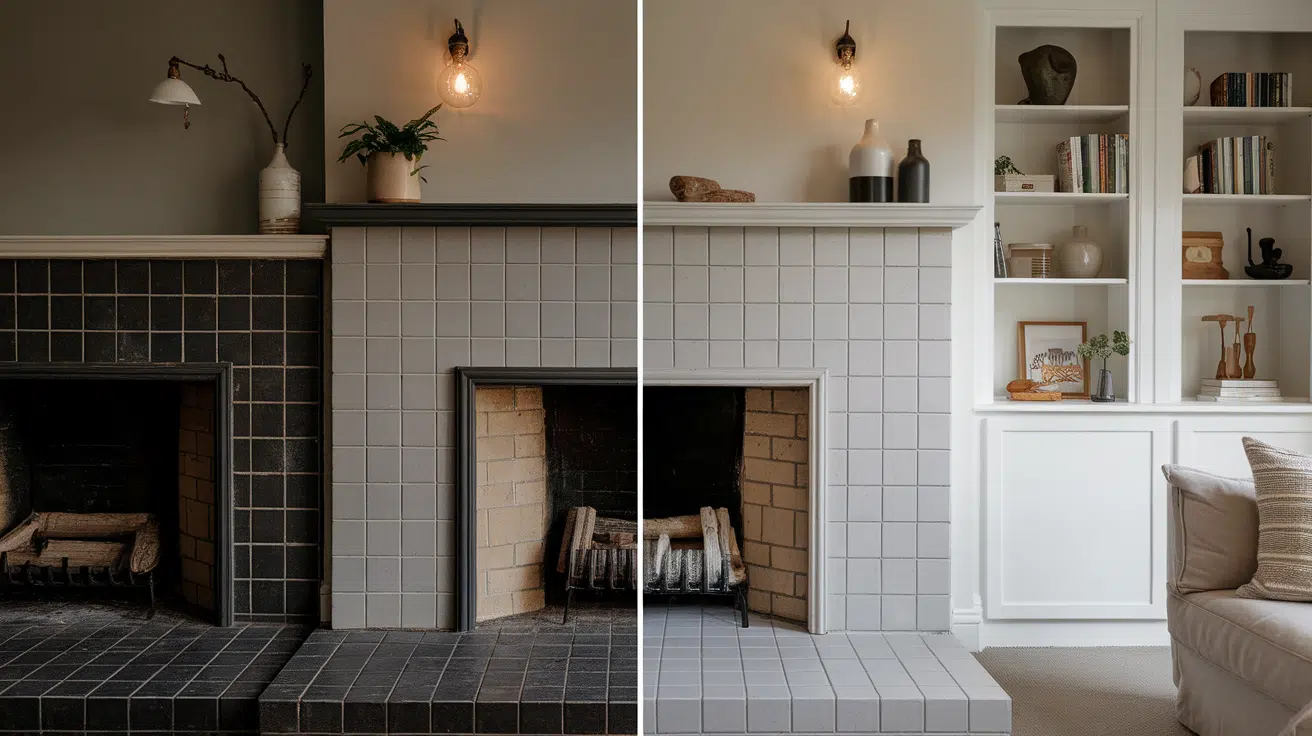
Modernize Your Brick Fireplace with Tile: A Beginner’s Guide
Tiling over a brick fireplace is one of the easiest ways to update a room, and I’m excited to walk you through this process step-by-step! In this guide, I’ll show you how to transform that outdated brick into a sleek, tiled surface that brings new life to your space. Here’s what you’ll find in this blog:
- Choosing the Right Tile: Tips on the best types of tiles for fireplaces
- Preparation and Safety: How to prep the area, clean the brick, and essential safety tips
- Step-by-Step Tiling Guide: Detailed steps from applying thin-set mortar to laying and cutting tiles
- Enhancing Your Fireplace Area: Simple ideas for styling the space around your new fireplace
- Maintenance Tips: Easy ways to keep your tiled fireplace looking fresh over time
Choosing the Right Tile for Your Fireplace
When updating your brick fireplace, picking the right tile is key. You’ll want to consider how long the tile will last, how well it handles heat, and how it looks. Let’s look at some good options:
| Tile Type | Durability | Heat Resistance | Style | Cost | Maintenance |
|---|---|---|---|---|---|
| Porcelain | High | Excellent | Versatile | Moderate | Low |
| Ceramic | Good | Good | Many options | Low to moderate | Low |
| Natural Stone | High | Varies by type | Luxurious | High | Moderate to high |
| Glass | Moderate | Low to moderate | Modern, shiny | Moderate to high | Low |
| Cement | High | Good | Bold patterns | Moderate | Moderate |
| Metal | High | Excellent | Sleek, modern | High | Low to moderate |
When choosing your tile, think about:
- How much heat your fireplace puts out
- The style of your room
- How much work you want to put into keeping it clean
- Your budget
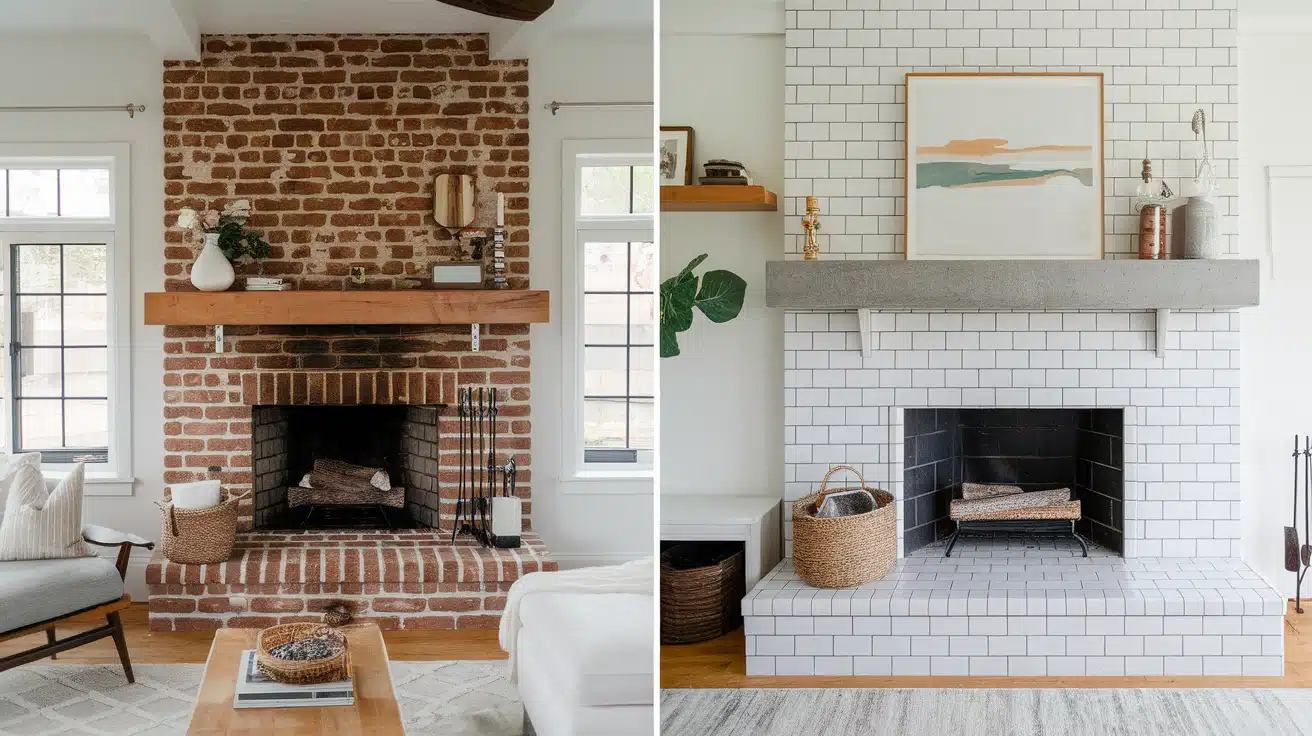
Color and Texture Choices for Tiles
Your tile color and texture can set the mood:
Light colors make the space feel bigger and brighter, while dark colors create a cozy, dramatic look. Textured tiles add depth and hide small flaws, giving smooth tiles a clean, modern feel.
Remember, the tile you pick will be a big part of your room’s look. Take your time to find one that fits your style and works well with the rest of your decor.
Important Safety Tips Before You Start Tiling Your Fireplace
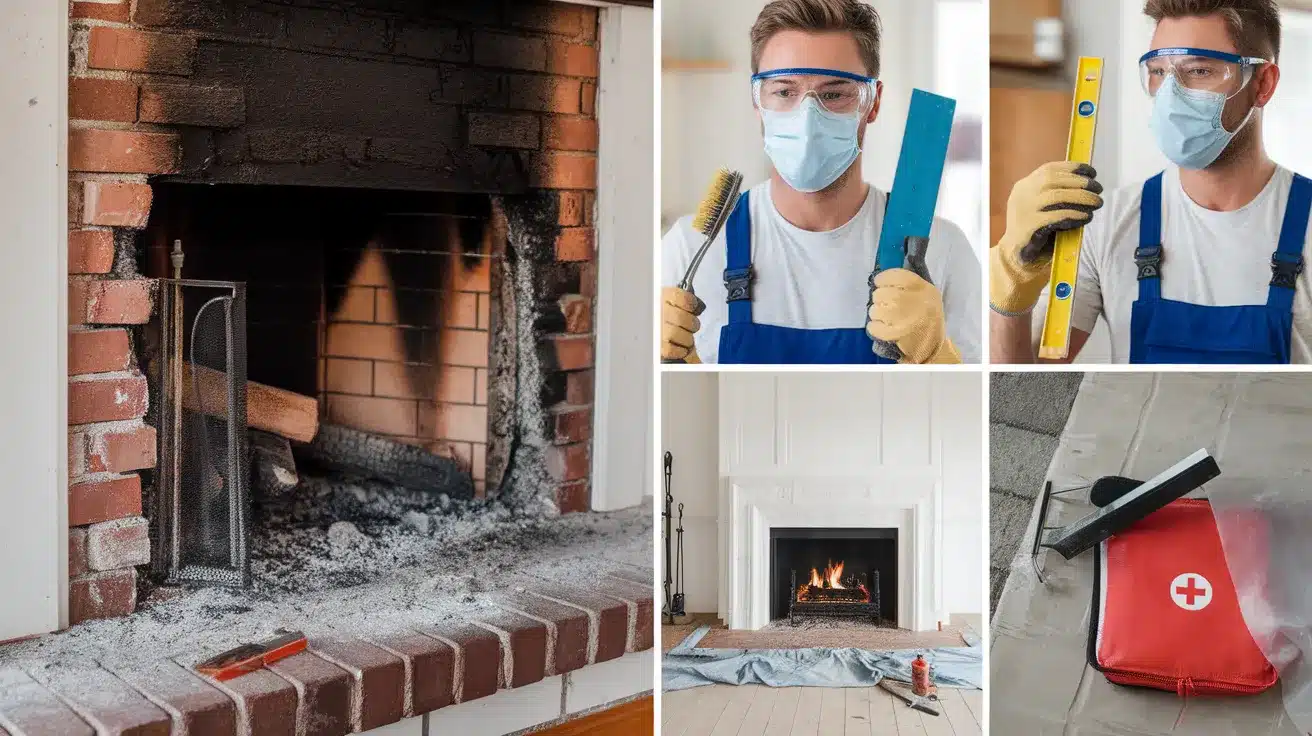
Before you begin tiling your fireplace, safety should be your top concern. Follow this checklist to make sure you’re ready:
- Turn off the gas: If you have a gas fireplace, shut off the gas supply. Ask a pro if you’re not sure how to do this safely.
- Clean the fireplace: Remove all ash and debris. Use a wire brush to clean the brick surface.
- Check for damage: Look for cracks or loose bricks. Fix any issues before you start tiling.
- Gather your safety gear: You’ll need safety glasses, a dust mask, work gloves, and knee pads if you’ll be kneeling a lot.
- Prepare your tools: Make sure all tools are in good shape. Keep sharp tools in a safe place when not in use.
- Set up your work area: Clear the space around the fireplace. Put down drop cloths to protect your floor.
- Ensure good airflow: Open windows or use fans for fresh air. This helps with dust and any strong smells from materials.
- Have a first-aid kit nearby: Keep it stocked and easy to reach. Know basic first aid for cuts or burns.
Step-by-Step Guide to Tiling Over Your Brick Fireplace
Step 1: Prepping for the Project
Before you start, make sure you have the tools and materials you need:
| Category | Item | Purpose |
|---|---|---|
| Tools | Tile chisel | For removing existing tiles |
| Mortising bit | Helps break up mortar and tiles during demo | |
| 3-pound club hammer | For demo work to break tile and mortar | |
| Stud finder | Locates studs to secure the mantle | |
| Scraper blade | Removes leftover construction adhesive and silicone | |
| V-notch trowel | Applies thinset mortar evenly | |
| Rubber float | Spreads grout into tile joints | |
| Tile saw | Cuts tiles to fit around edges | |
| Wedge spacers | Levels and spaces tiles | |
| 1/16-inch tile spacers | Ensures consistent spacing between mosaic tiles | |
| Microfiber cloth | Removes grout haze after grouting | |
| Sponge | Cleans grout from tile surface | |
| Gloves | Protects hands during grouting | |
| Vacuum | Cleans the work area after demo and grout cleanup | |
| Painter’s tape | Protects adjacent surfaces from grout | |
| Materials | White marble tile | Chosen tile for the fireplace surface |
| Modified thinset mortar | Adheres the tile to the wall | |
| Mesh tape | Reinforces drywall seams | |
| Construction adhesive | Optional for specific areas, especially around the mantle | |
| Grout | Fills gaps between tiles | |
| Cleat | Supports the first row of tile during installation | |
| Replacement drywall (if needed) | Repairs areas where old drywall may have been removed |
Clear the area around your fireplace. Remove any items on the mantle or hearth. Cover the floor with a drop cloth to catch any mess.
Step 2: Giving the Brick a Fresh Start
- Use a wire brush to scrub off dirt and soot.
- Wash the brick with a mix of water and dish soap.
- Rinse with clean water and let it dry fully.
Step 3: Adding a Smooth Surface (Drywall or Cement Board)
To get a flat surface for your tiles:
- Measure and cut cement board or drywall to fit your fireplace.
- Attach the board to the brick using masonry screws.
- Make sure the surface is level. Use shims if needed.
- Cover the seams with mesh tape and joint compound.
- Let it dry fully before moving on.
Step 4: Spreading Thinset Mortar for Strong Hold
Now it’s time to add the mortar:
- Mix the thin-set mortar as per the instructions.
- Use a notched trowel to spread a thin layer on a small area.
- Hold the trowel at a 45-degree angle to make ridges in the mortar.
- Only spread as much as you can tile in about 15 minutes.
Step 5: Laying Down the First Row of Tile
Start with the bottom row:
- Place your first tile at the center of the fireplace opening.
- Press it firmly into the mortar.
- Use tile spacers to keep even gaps between tiles.
- Work your way out from the center, adding tiles on both sides.
- Use a level to make sure your first row is straight.
Step 6: Cutting and Custom Fitting Tiles for a Perfect Fit
For a neat finish:
- Measure any spaces that need cut tiles.
- Mark your cuts on the tiles.
- Use a tile cutter for straight cuts or a wet saw for more complex cuts.
- Test fit the cut tile before adding mortar.
- Wear safety glasses when cutting tiles.
Step 7: Reinforcing the Gaps and Mortar
Before the mortar dries:
- Check that all tiles are level and even.
- Press tiles gently to ensure they’re set in the mortar.
- Clean any excess mortar from between the tiles.
- Let the mortar dry as per the product instructions.
Step 8: Sealing It In with Grout
Once the mortar is dry:
- Remove the tile spacers.
- Mix the grout as directed.
- Use a rubber float to spread the grout over the tiles.
- Work it into all the gaps between tiles.
- Wipe off excess grout with a damp sponge.
- Let the grout dry, then buff the tiles clean.
Step 9: Adding Those Final Touches with the Mantle
To finish your project:
- If you removed the mantle, now’s the time to put it back.
- Make sure it’s level and secure.
- You might want to paint or stain the mantle to match your new tile.
- Add any trim or edging to give a polished look.
For a more detailed tutorial, check out this YouTube video on how to tile a fireplace!
Adding Extra Style: How to Boost Your Fireplace Area
1. Paint the Wall Behind the Fireplace
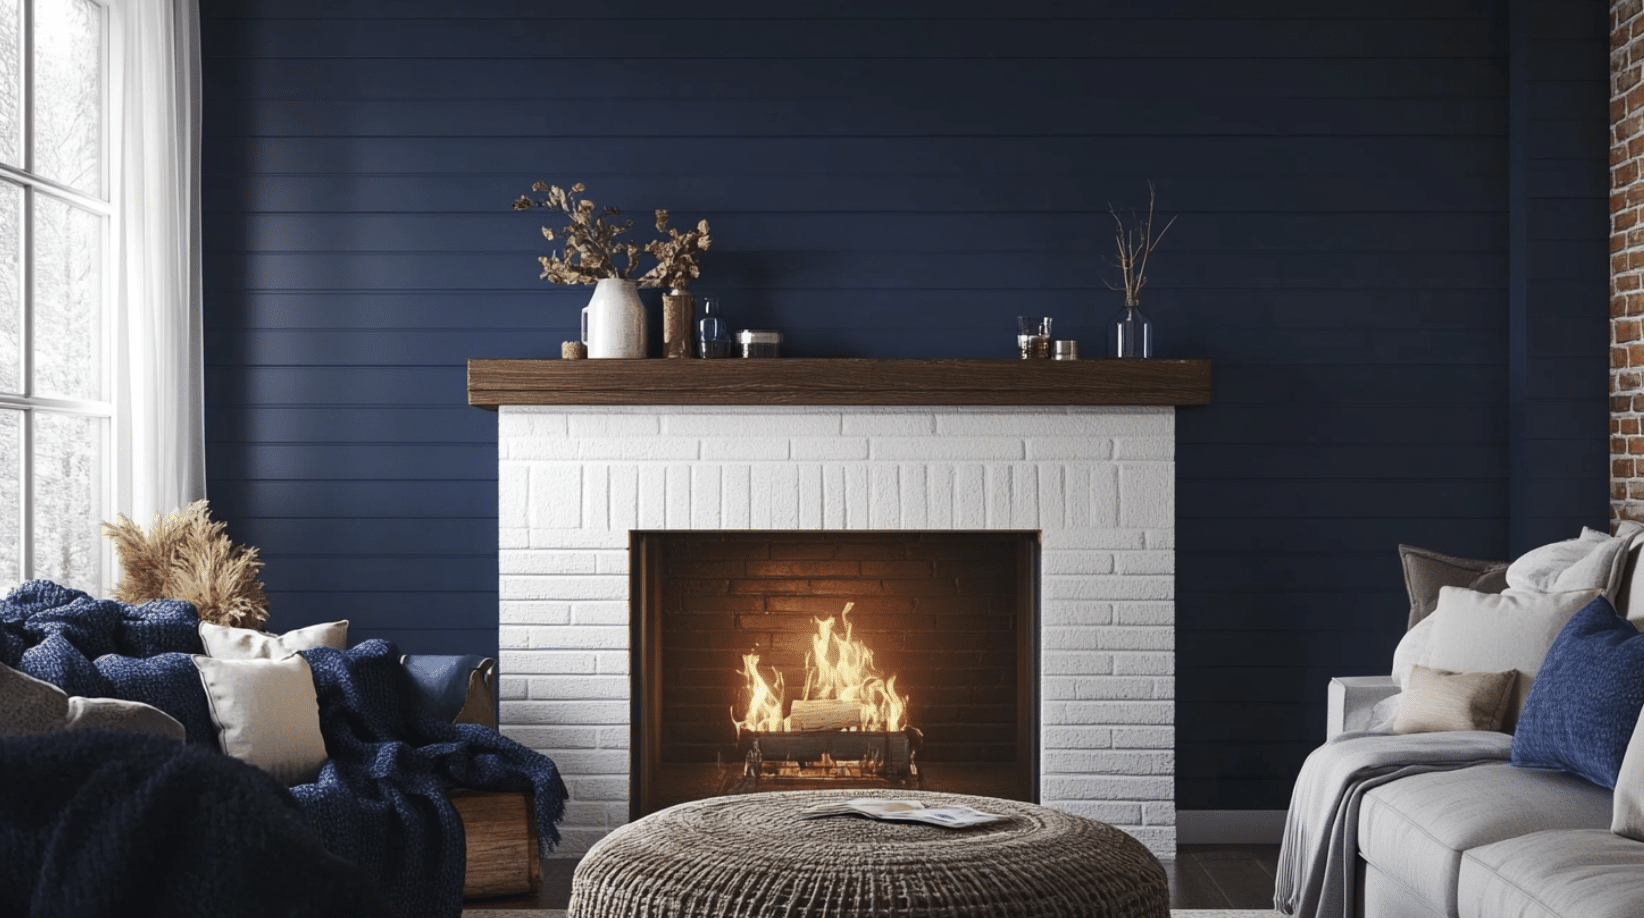
A fresh coat of paint can make your fireplace pop! For a bold look, try deep hues like navy, charcoal, or forest green, which add depth and drama. For a softer touch, warm neutrals such as beige or soft gray create a cozy vibe.
You could also add texture with wallpaper or shiplap to make an accent wall that adds dimension.
2. Add a Mantle Shelf and Decorate with Seasonal Items

A simple wooden mantle shelf can enhance your fireplace and allow you to switch up decor year-round. Decorate it with candles, small plants, and framed photos for a balanced, layered look.
Seasonal items let you change the vibe with the seasons, adding personality to the room.
3. Place Potted Plants or Greenery Nearby
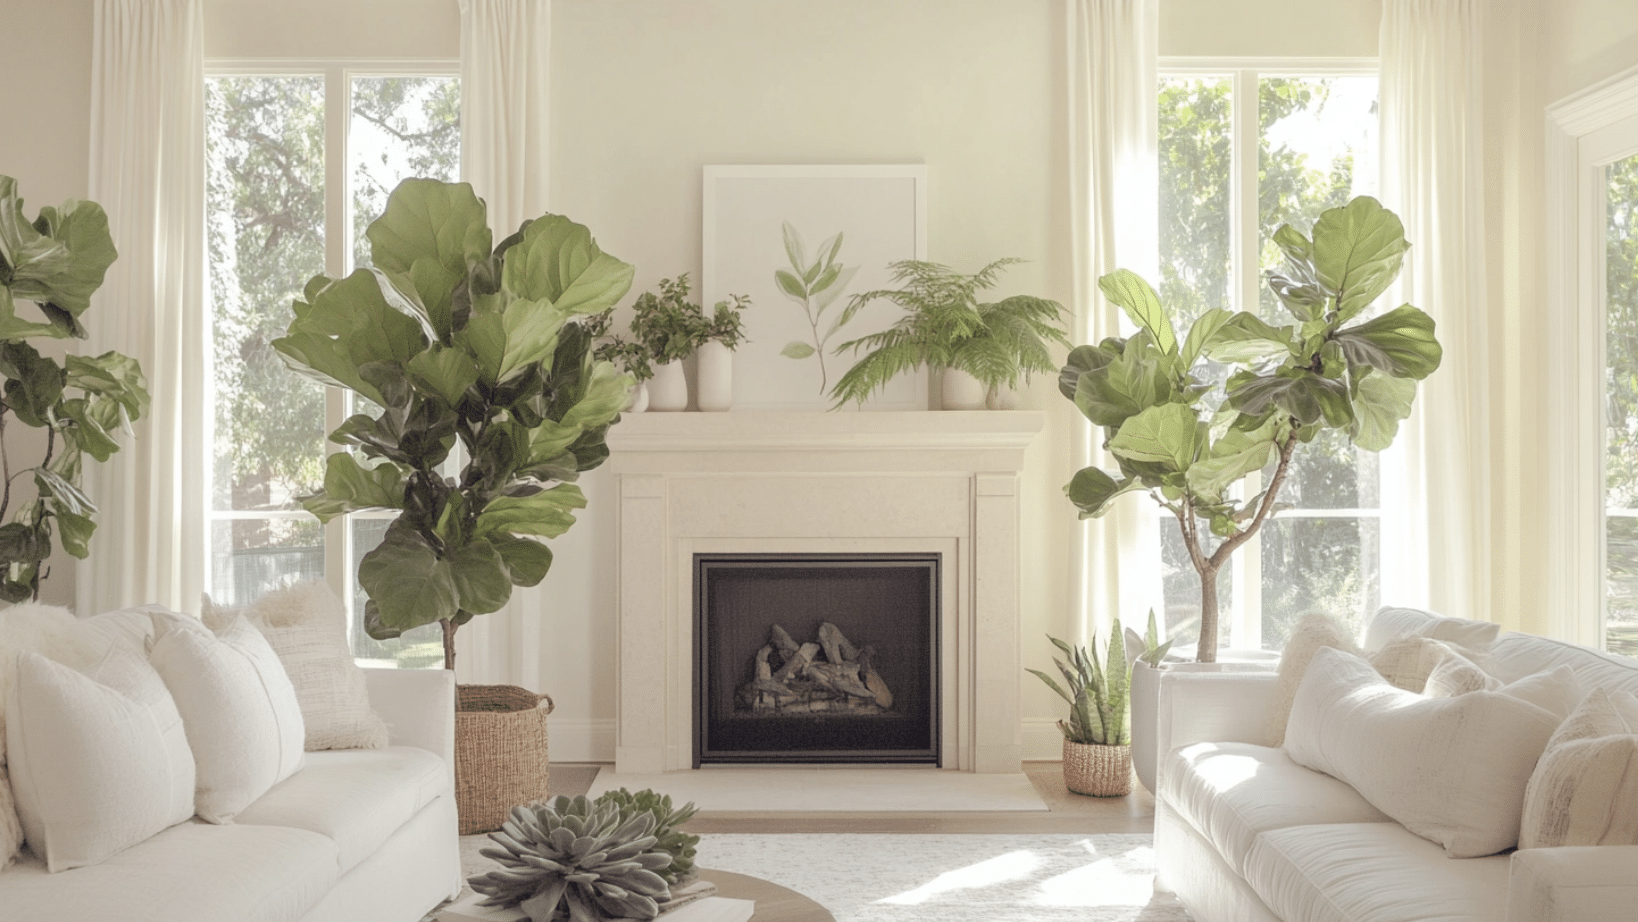
Plants around your fireplace bring a touch of nature indoors and soften the hard lines of brick or tile. Try larger plants like a fiddle leaf fig or snake plant on either side to frame the fireplace, and smaller succulents or trailing pothos on the mantle for a lush, inviting look.
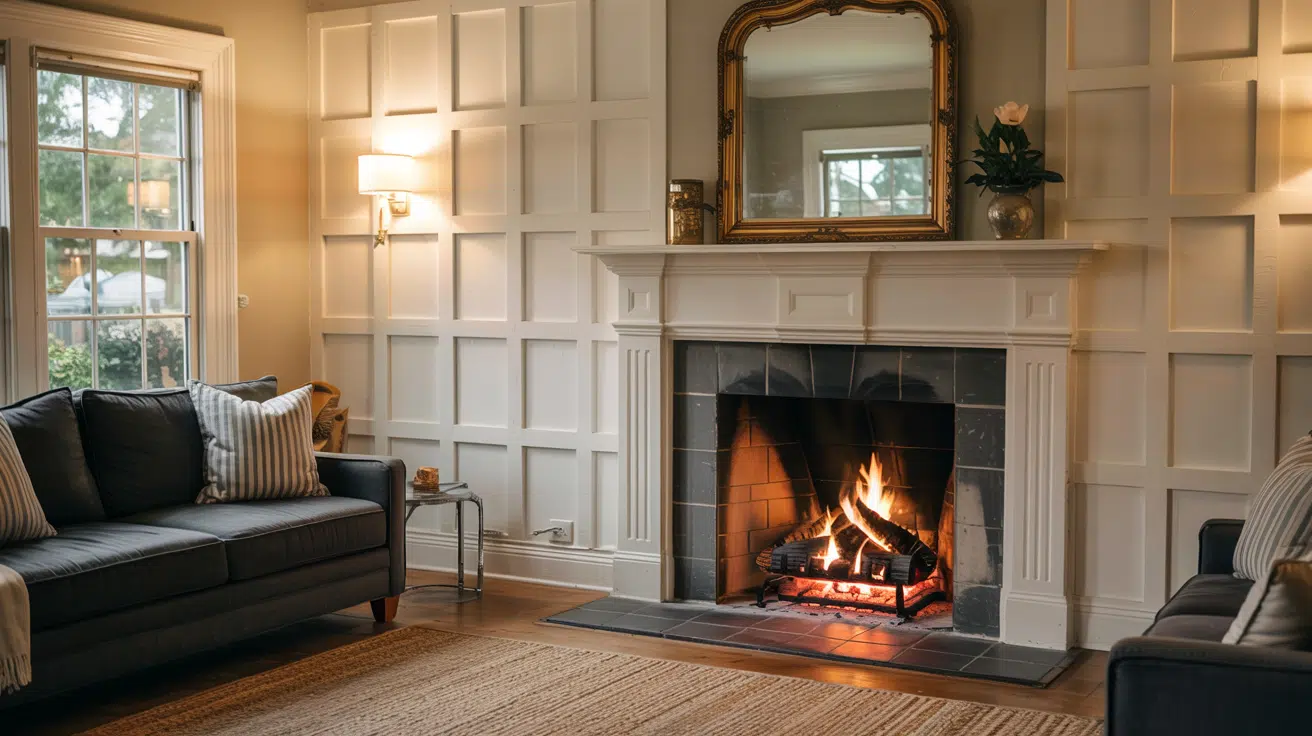
4. Hang Artwork or a Mirror Above the Mantle
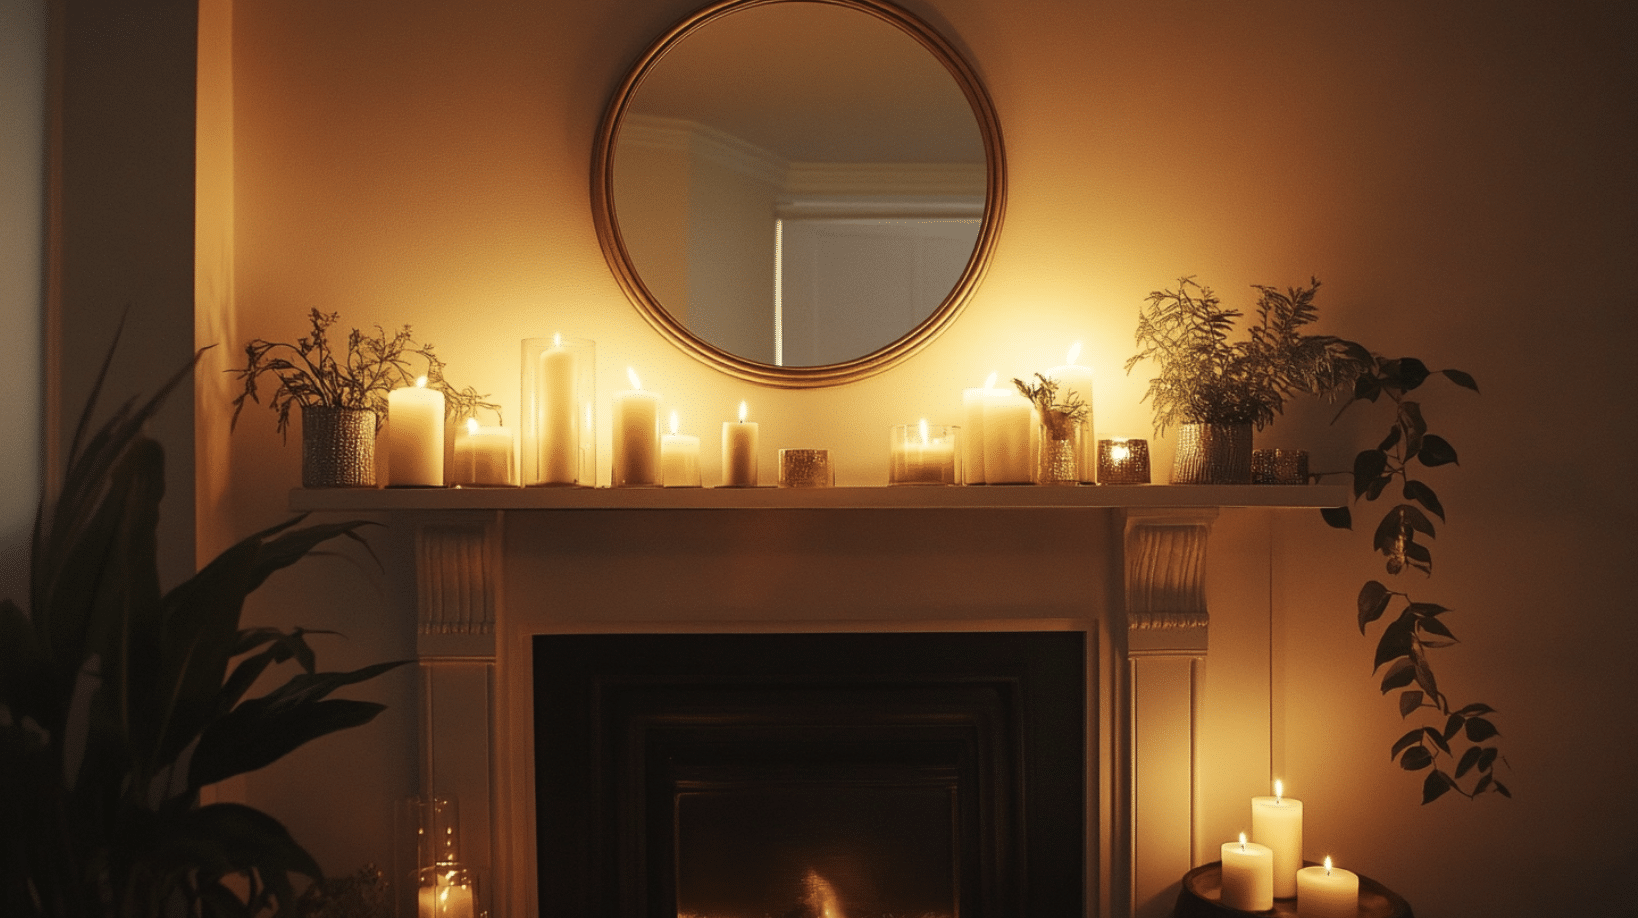
A large mirror above the mantle adds elegance and reflects light, making the room feel bigger. Artwork works just as well; choose a piece that complements your room’s color scheme.
Try a gallery wall of smaller frames or a statement clock above the mantle for a modern touch.
5. Incorporate a Cozy Hearth Rug or Floor Seating

A soft hearth rug in front of the fireplace adds warmth and comfort. Floor cushions or a small pouf make the area cozy and inviting, ideal for sitting by the fire. Choose colors that tie in with your room’s decor for a harmonious look.
6. Accent Lighting Around the Fireplace
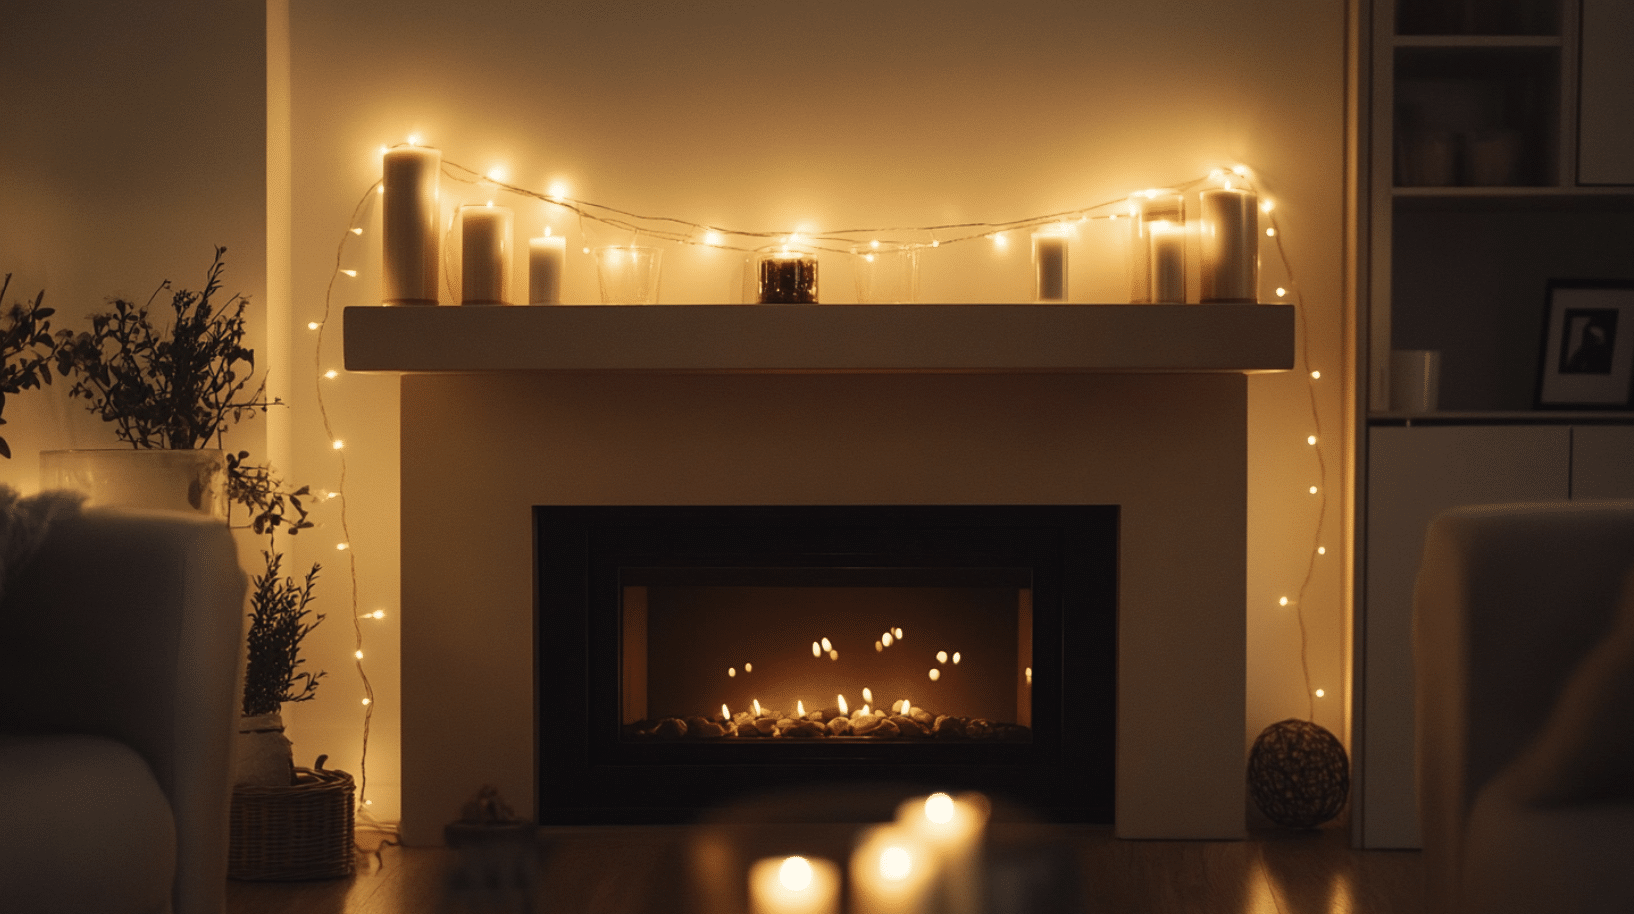
Accent lighting can make your fireplace area even more inviting. Add sconces on either side for warmth, or use string lights and candles for a cozy glow. Consider LED strips under the mantle or around the hearth to illuminate the tile for a modern look.
7. Accessorize with Personal Touches
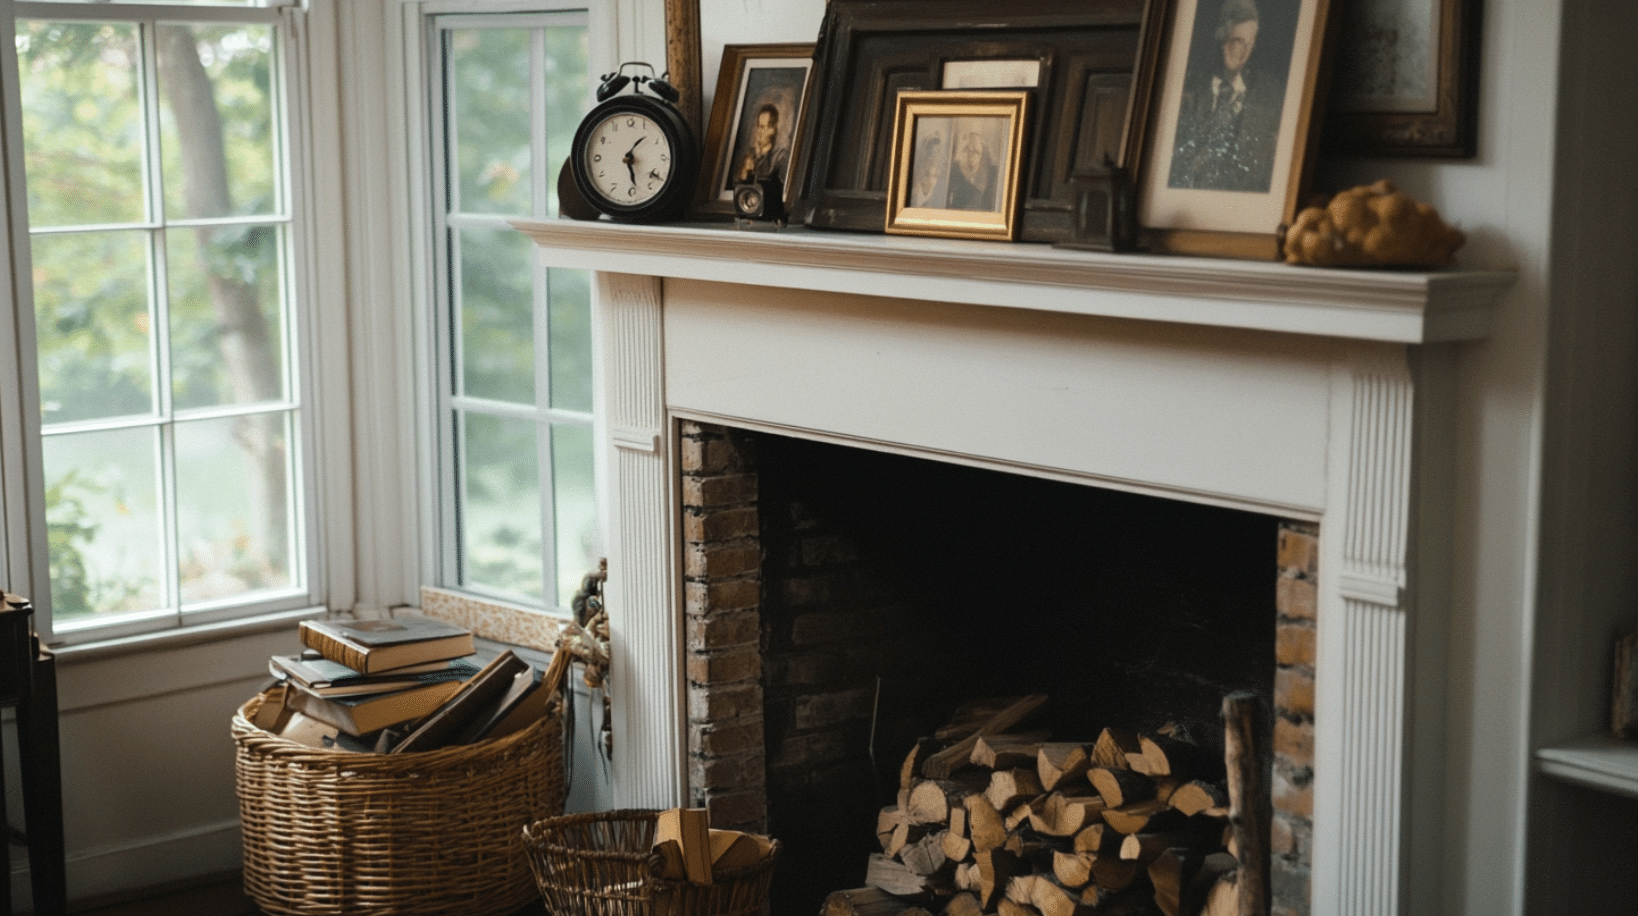
Personalize your fireplace area by displaying items that reflect your style. A collection of books, antique clocks, or family photos on the mantle adds charm and personality. Try a basket of firewood or a vintage lantern for a rustic vibe.
Caring for Your Tiled Fireplace

Once you’ve finished your tiling project, you’ll want to keep your new fireplace looking its best. Here are some tips to help you care for your tiled fireplace:
Regular Cleaning
To keep your fireplace tiles looking fresh:
- Dust weekly with a soft, dry cloth or duster.
- For deeper cleaning, use warm water and a mild soap.
- Avoid harsh cleaners that might harm the tile or grout.
- Dry the tiles after cleaning to prevent water spots.
Cleaning Different Tile Types
Different tiles need different care:
- Ceramic and porcelain: Easy to clean with most mild cleaners.
- Natural stone: Use only pH-neutral cleaners to avoid damage.
- Glass: A mix of vinegar and water works well for a streak-free shine.
- Metal: Use cleaners made for the specific metal type.
Protecting the Grout
Grout can stain easily, so take extra care:
- Apply a grout sealer yearly to guard against stains.
- Clean spills right away to prevent staining.
- Use a soft brush to clean grout lines gently.
Avoiding Scratches
To keep your tiles looking smooth:
- Use soft cloths for cleaning, not rough scrubbers.
- Place a screen in front of the fireplace to block sparks.
- Be careful when placing items on or near the tiles.
Dealing with Soot
If you use your fireplace often:
- Wipe away soot with a damp cloth after each use.
- For tough soot, mix baking soda with water to make a paste.
- Gently scrub the paste on the soot, then rinse with clean water.
Heat Safety
Remember, your fireplace gets hot:
- Wait for the tiles to cool before cleaning after a fire.
- Use heat-resistant cleaning tools when the area is warm.
- Don’t place anything flammable on or near the tiled area.
Following these care tips will keep your tiled fireplace beautiful for years. Regular, gentle cleaning and quick fixes for small problems will keep it looking as good as new.
With the right care, your updated fireplace will be a lovely focal point in your home for a long time.
Conclusion
As I step back and admire my newly tiled fireplace, I’m struck by how much it’s changed the feel of my room. This project, while not without its challenges, has been a rewarding experience.
I’ve learned that with careful planning, the right tools, and patience, even a DIY beginner can transform an outdated brick fireplace into a modern focal point. The process taught me valuable skills, from choosing the perfect tiles to applying them carefully.
Now, as I enjoy the warmth of my fire against the backdrop of gleaming tiles, I’m reminded that our homes are ever-evolving spaces shaped by our efforts and creativity.
This fireplace makeover has not just updated a single feature but breathed new life into my living space.