DIY Picture Frame Molding: Upgrade Your Walls on a Budget
Picture frame molding changed my home, and I bet it can change yours, too. I was tired of my plain walls but didn’t want to spend a fortune.
That’s when I found picture frame molding. It’s an old design trick that’s popular again, and for good reason. I added it myself, and wow, what a difference!
My rooms went from dull to stunning. Every time I walk in, I feel like I’m in a custom home. The best part? I did it all myself.
In this guide, I’ll show you how to transform your space with DIY picture frame molding and share what I learned, from choosing the right style to installation tips.
Ready to give your walls a makeover? Let’s get started on your picture frame molding expedition!
What is Picture Frame Molding?
Picture frame molding is a delightful way to add character to your walls. I was shocked at its simplicity and effectiveness when I first learned about it.
Imagine taking the concept of a picture frame and applying it directly to your wall – that’s essentially what picture frame molding does.
It’s a type of trim that creates shapes on your walls, usually rectangles or squares. These shapes remind me of empty picture frames, hence the name. I love how it adds depth and interest to otherwise plain walls.
You can use picture frame molding in various ways. It covers entire rooms, creating a cozy, wrapped feeling.
In my home, I chose to add it to just one wall as a focal point in my living room. It’s versatile like that!
The molding itself can be simple or fancy. I used a basic style that was easy to work with for my project.
Some people call it different names – panel molding, box paneling, or even wainscoting. But no matter what you call it, the effect is the same: it turns ordinary walls into something special.
Different Types of Molding
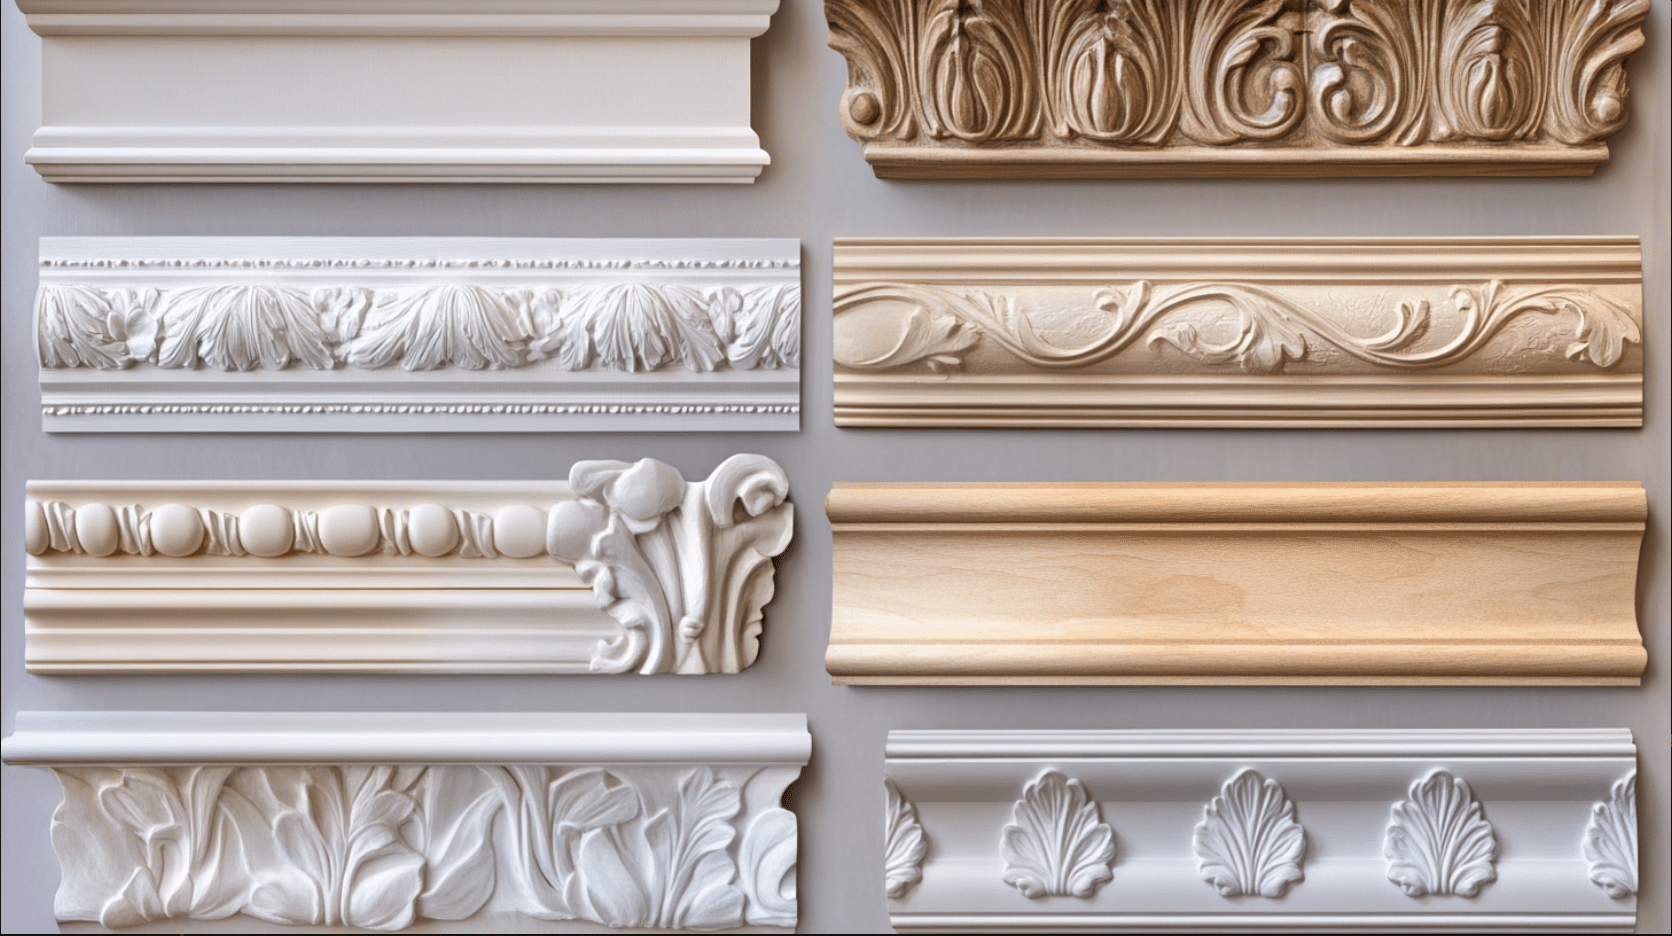
When I started my picture frame molding project, I was surprised by the various options available. Let me share what I learned about the different types:
1. Baseboards: These sit at the bottom of your wall. I already had these in my home, but adding picture frame molding above them made them pop.
2. Crown Molding: This goes where your walls meet the ceiling. It’s like a fancy hat for your room!
3. Chair Rail: This runs horizontally around the room, usually about a third up the wall. I used this as the top border for my picture frame molding.
4. Panel Molding: I used this to create the actual “frames” on my wall. It’s thinner than other types and perfect for this job.
5. Cove Molding: This is concave and can add a soft, rounded look to your frames.
6. Egg and Dart Molding: This type has a pattern of egg shapes and darts (or arrows). It’s fancier than I needed, but it looks great in more formal spaces.
7. Dentil Molding: This resembles a row of little blocks or teeth. It’s often used with crown molding for a classic look.
8. Bead Molding: This has a pattern of little balls or “beads” along it. It can add a playful touch to your frames.
For my project, I stuck with simple panel molding for the frames and a chair rail at the top.
However, knowing about these options helped me plan my design. Remember, you can mix and match to create a look that’s all your own!
Setting the Stage for Picture Frame Molding
I felt both excited and nervous when I decided to try picture frame molding. But trust me, it’s doable! Here’s how I started:
I examined my room, deciding where molding was placed and how many “frames” to use. For me, it was the living room wall behind my couch. I measured and sketched a plan.
Next, I thought about style. I went for a simple look that matched my home and was easier for a beginner. Shopping for materials was fun.
I made sure to get everything before starting to avoid mid-project store runs. I prepped my work area by moving furniture and laying down drop cloths. Safety matters!
Finally, I gathered all my tools and materials in one spot to save time later.
Starting was the toughest part, but it was enjoyable and rewarding once I began. If I can do it, so can you! Next, I’ll explain what you need and how to do it.
Materials and Tools Required
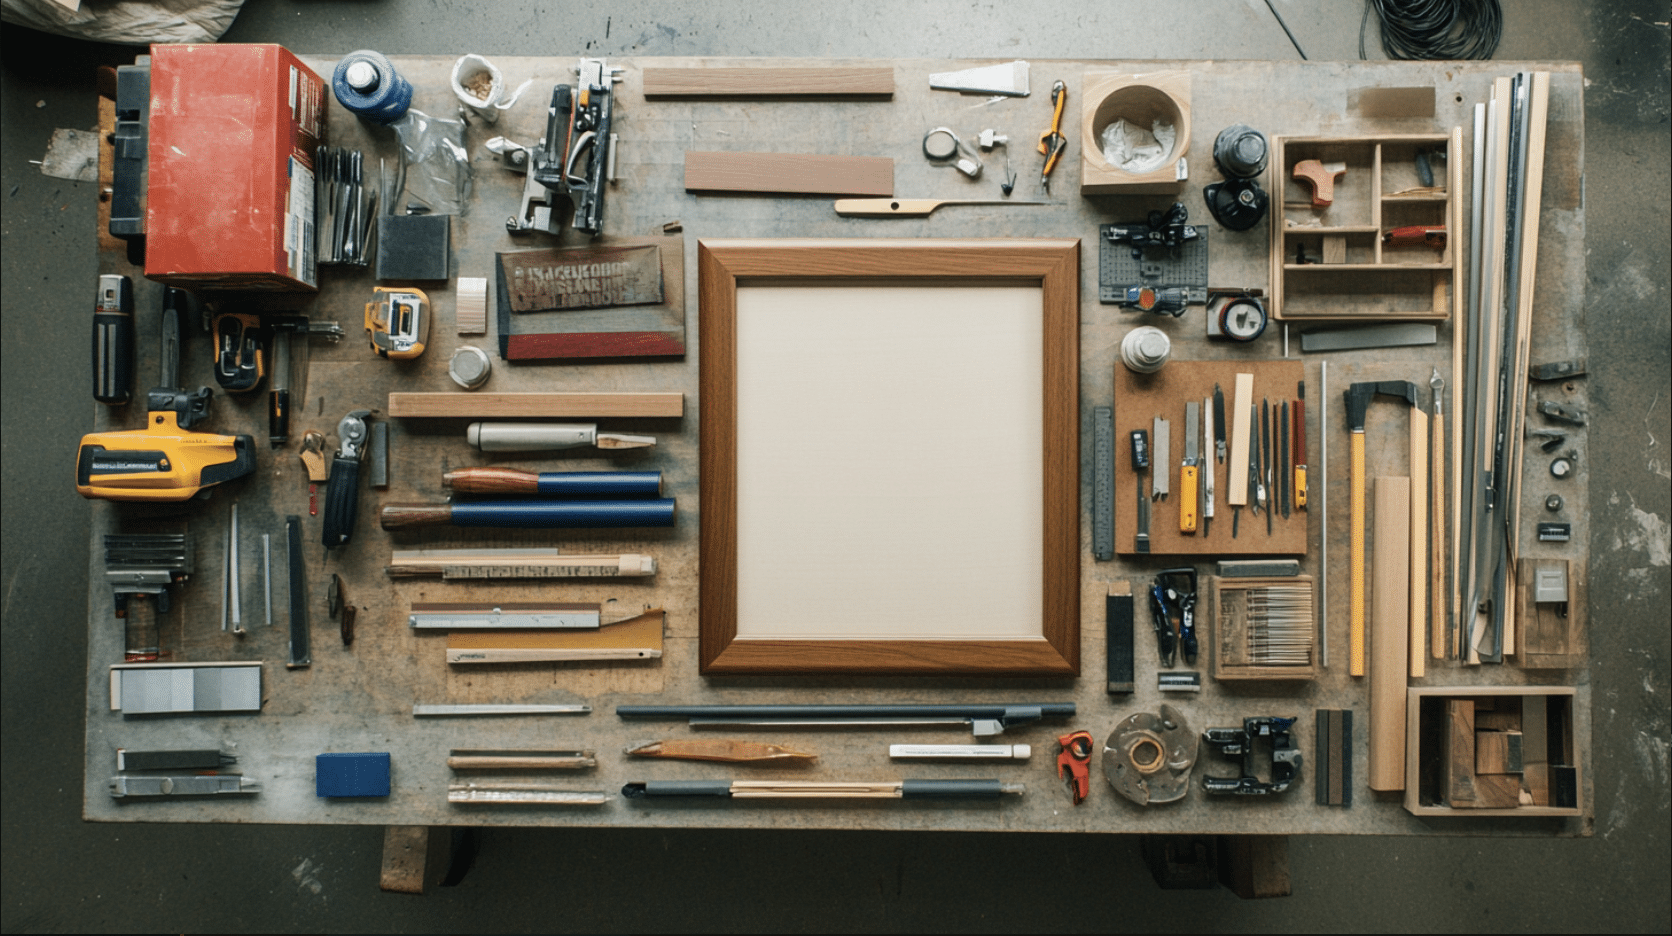
I gathered everything I needed before starting my picture frame molding project. Here’s what I used:
Materials
1. Molding: I chose a simple panel molding for the frames and a chair rail for the top.
2. Paint: To match my wall color and give the molding a finished look.
3. Wood filler: For covering nail holes and imperfections.
4. Caulk: To seal gaps between the molding and wall.
5. Sandpaper: For smoothing out rough spots.
6. Primer: To help the paint stick better.
Tools
1. Measuring tape: For precise measurements.
2. Pencil: To mark cutting lines and placement on the wall.
3. Miter saw: For cutting the molding at angles.
4. Nail gun: This made attaching the molding so much easier!
5. Level: To ensure everything is straight.
6. Caulk gun: This is used to apply the caulk neatly.
7. Paintbrushes: For painting the molding.
8. Safety gear: Goggles and dust masks are necessary when cutting wood.
I also found it helpful to have a calculator to calculate measurements. And don’t forget some old clothes—this job can get messy!
Having all these items ready-made the process smoother. I didn’t have to stop mid-project to run to the store.
Remember, it’s okay if you don’t have everything—you can always rent tools or borrow them from a friend.
Step-By-Step Picture Frame Molding Installation Guide
Here’s how I installed my picture frame molding, step by step:
STEP 1: Measure and plan: I carefully measured my wall and sketched my design on paper. This helped me visualize the final look.
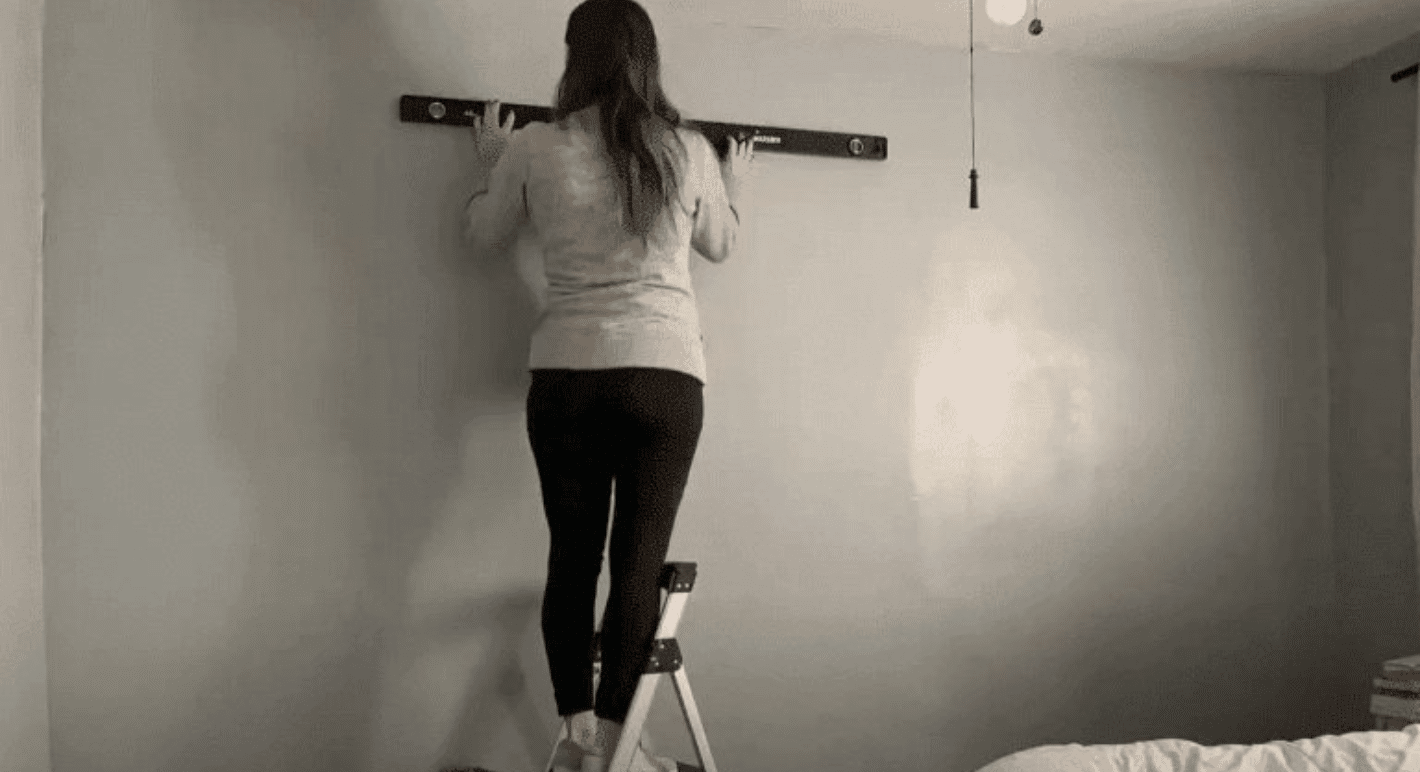
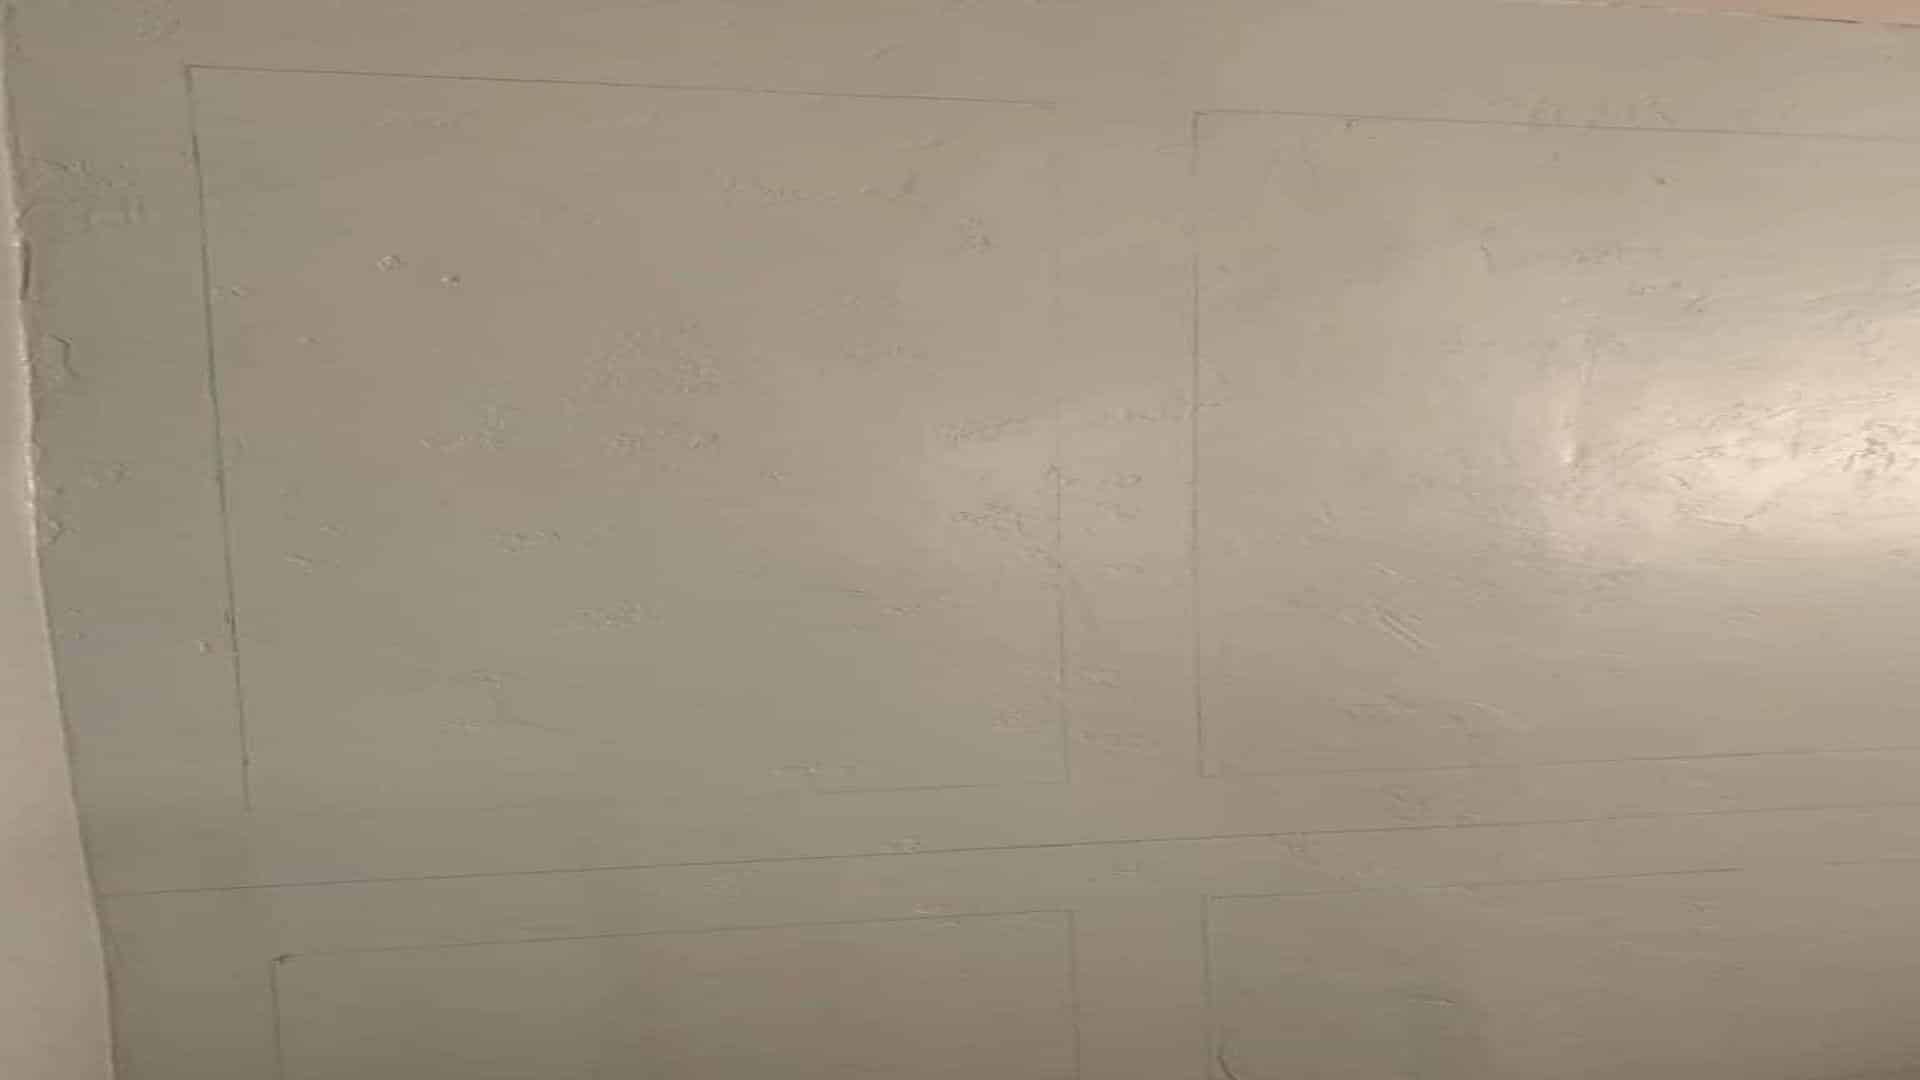
STEP 2: Mark the wall: With a level and pencil, I drew light lines where I wanted my molding to go. This was my roadmap for installation.
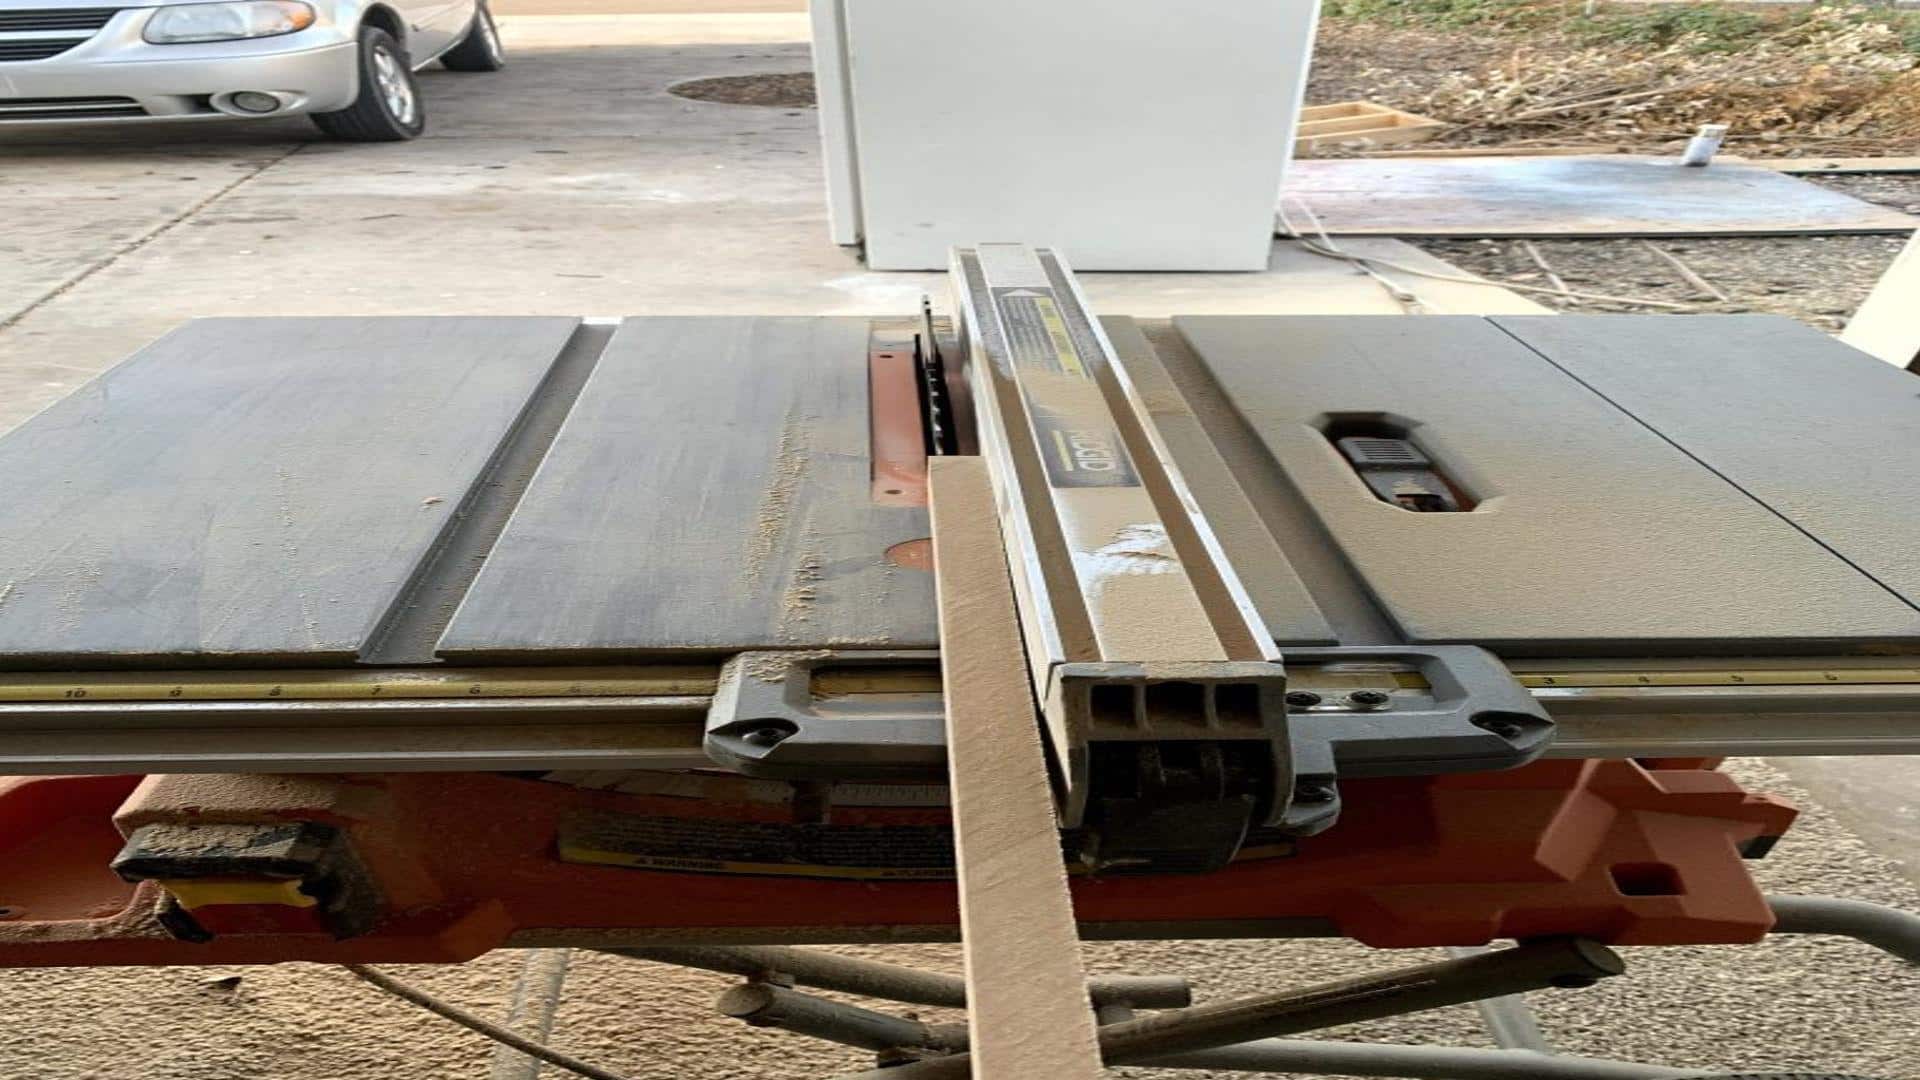
STEP 3: Cut the molding: I cut my molding pieces to size using a miter saw. For corners, I made 45-degree angle cuts to create neat joints.
STEP 4: Dry fit: Before using any adhesive or nails, I held the pieces to the wall to ensure they fit properly. This saved me from potential mistakes.

STEP 5: Apply adhesive: I ran a thin line of construction adhesive on the back of each molding piece. This extra step helps secure the molding.
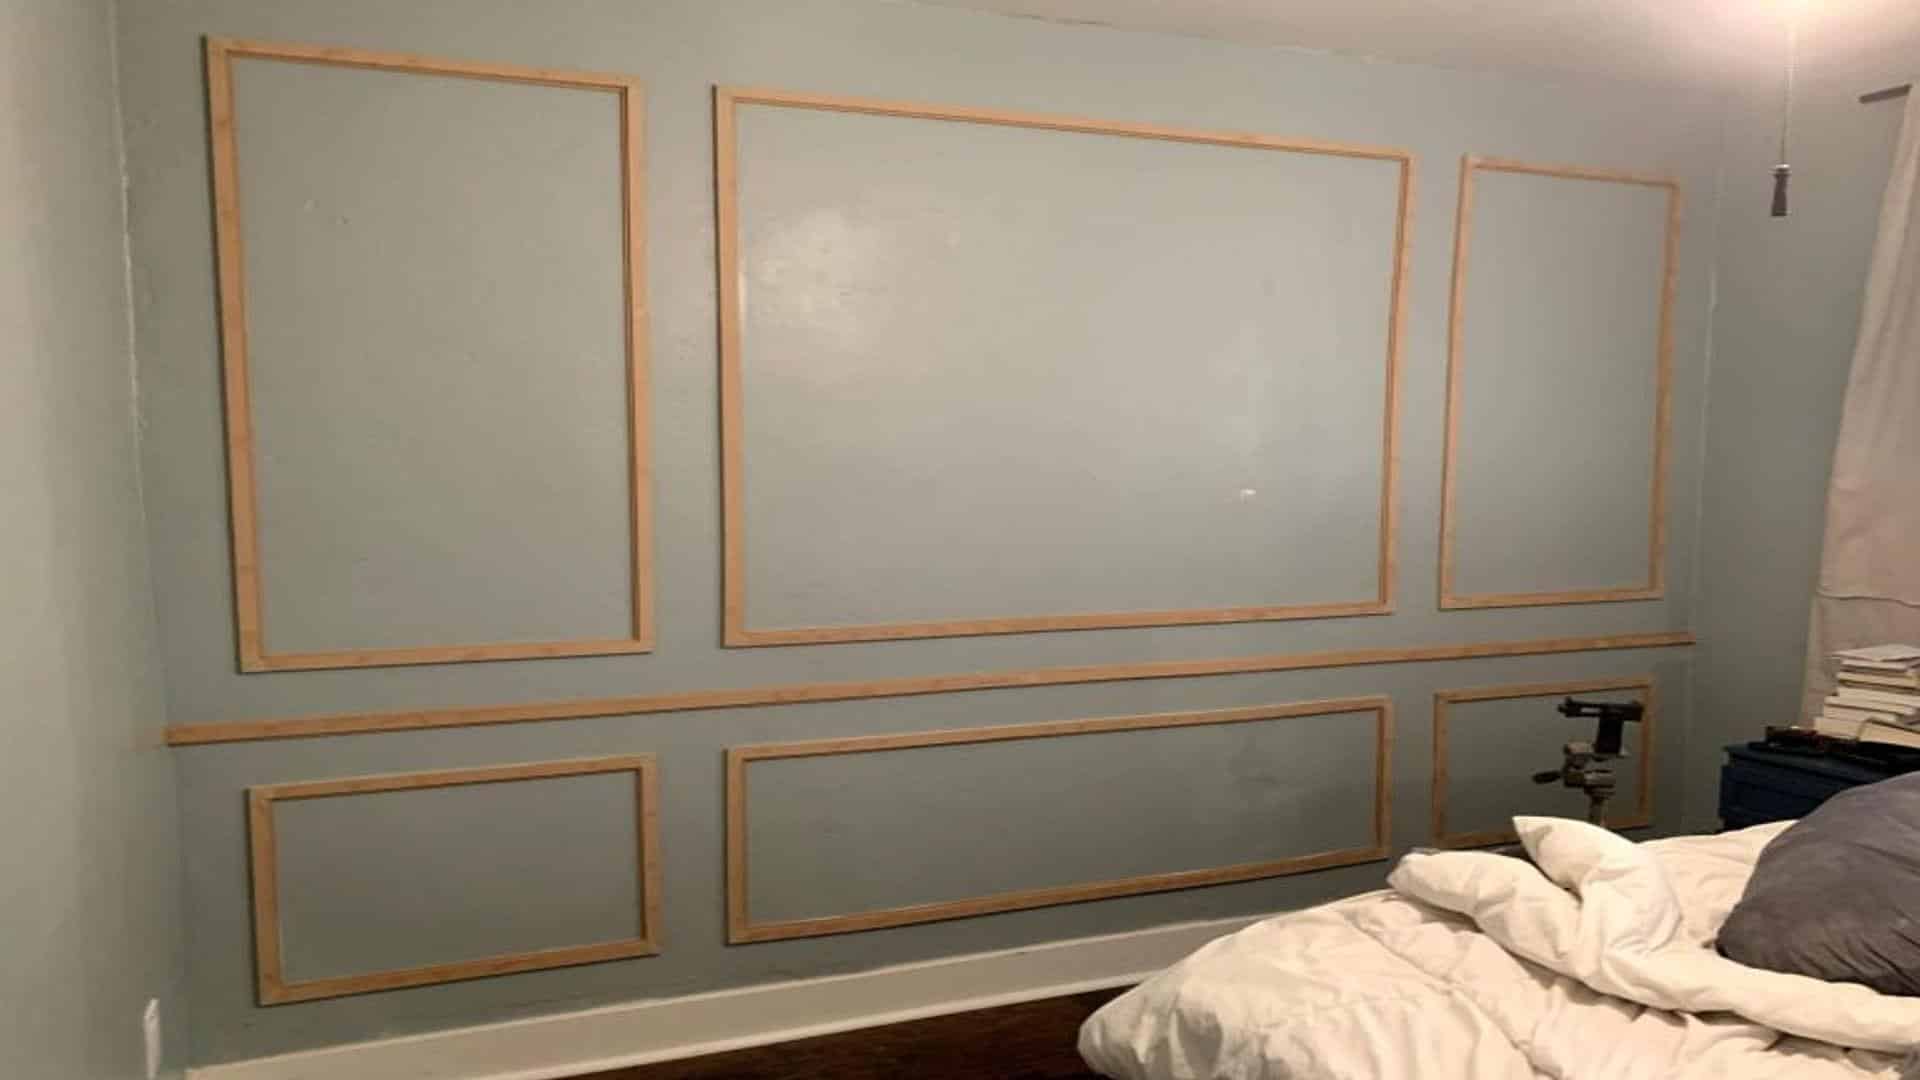
STEP 6: Nail it up: I used my nail gun to carefully attach each piece to the wall, following my pencil lines.
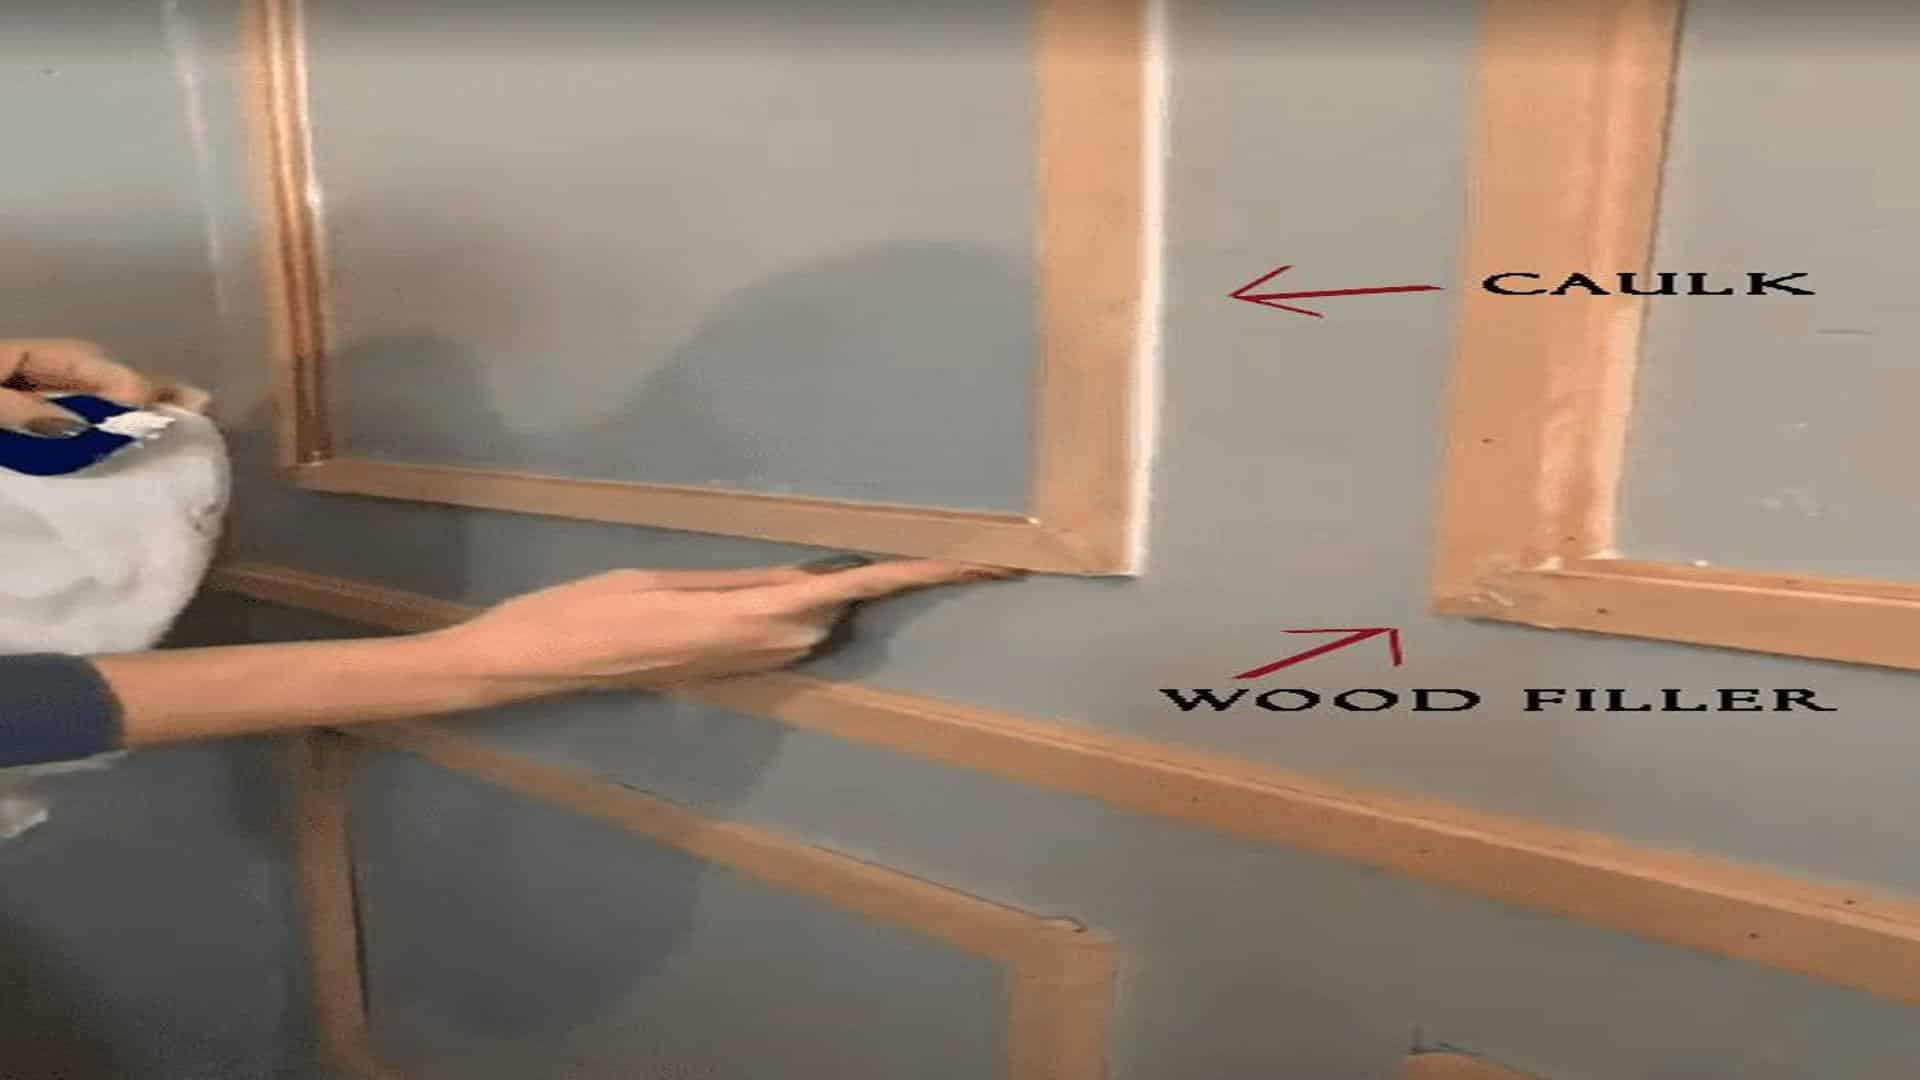
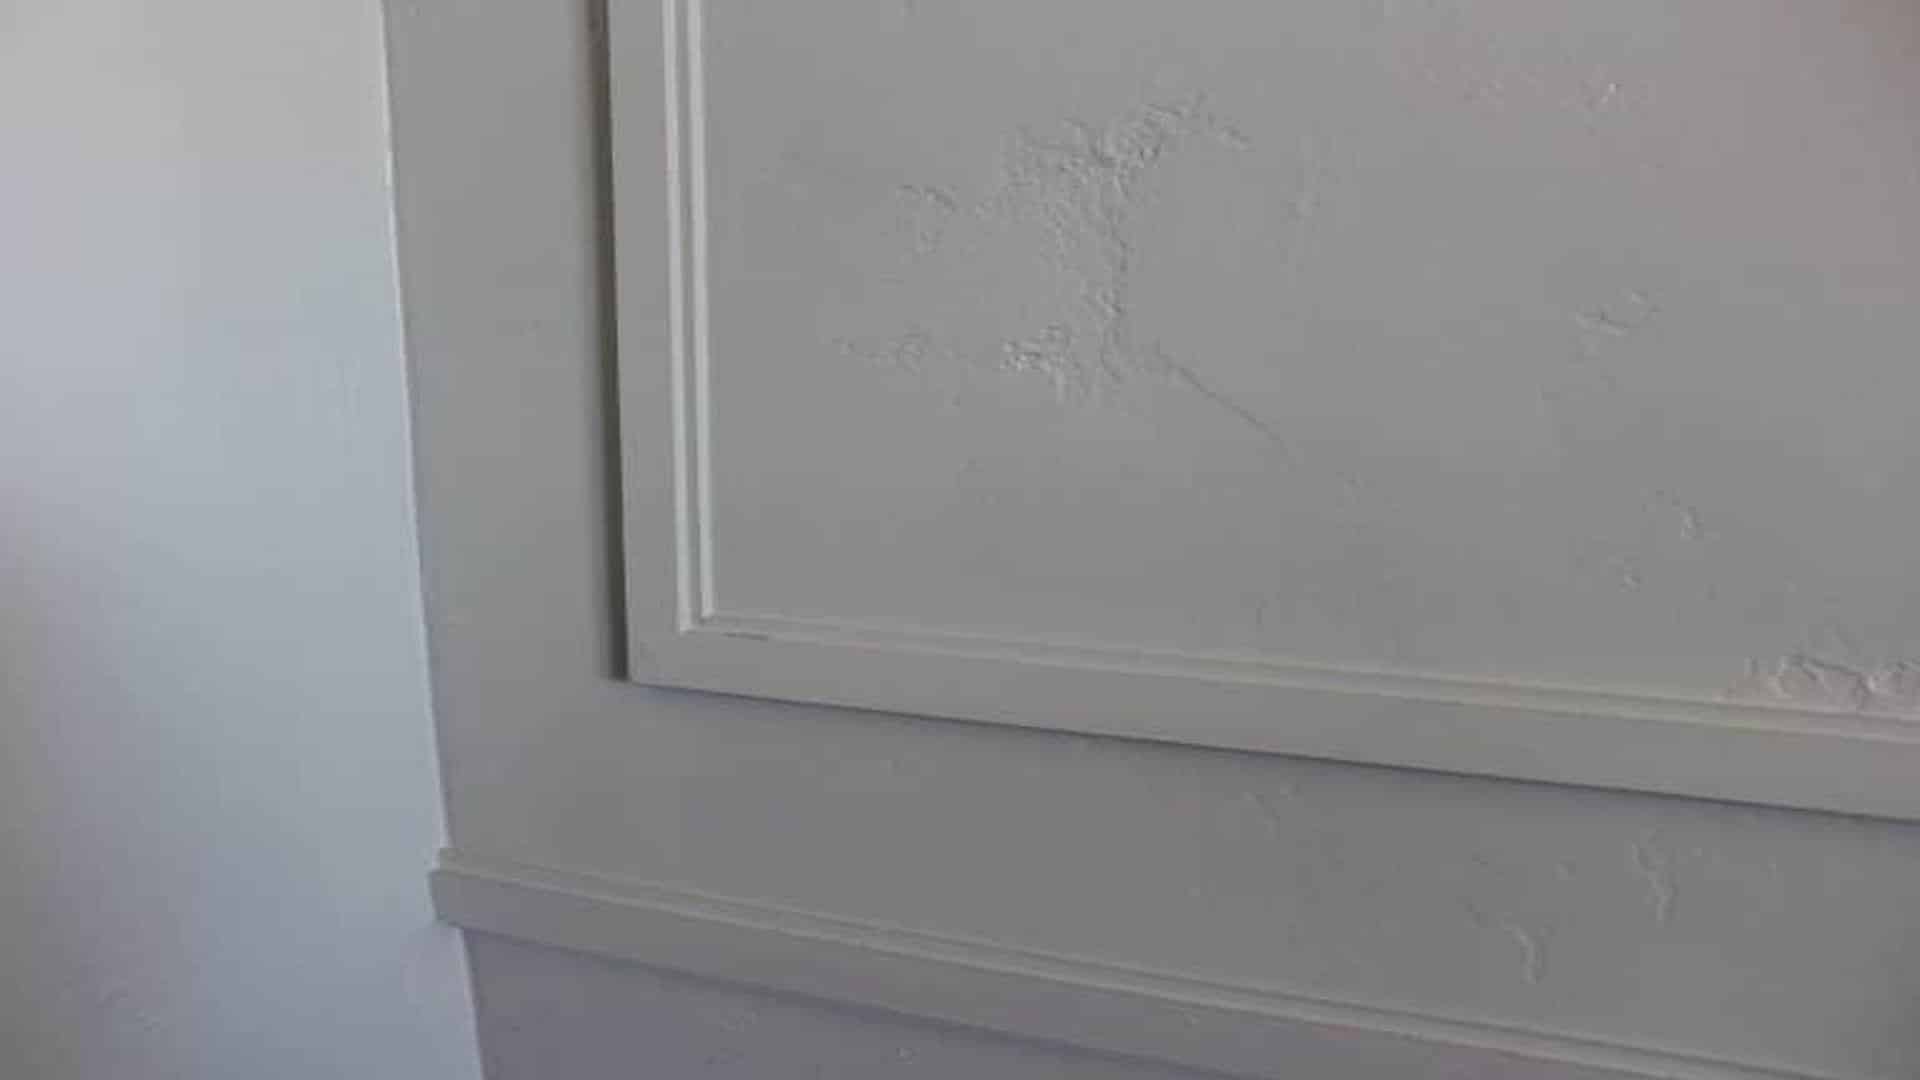
STEP 7: Fill nail holes: I used wood filler to cover all the nail holes and let them dry completely. This step helps create a smooth finish.
STEP 8: Sand: Once the wood filler was dry, I lightly sanded it to ensure a smooth surface. This step is key for a professional look.
STEP 9: Caulk: I applied caulk along the edges where the molding met the wall. This fills any gaps and creates a flawless look.
STEP 10: Prime: I applied a coat of primer to the molding and allowed it to dry fully. This helps the final paint adhere better.
STEP 11: Paint: Finally, I painted the molding to match the color of my wall, which unified the look of the whole wall.
STEP 12: Touch up: As a final step, I thoroughly checked and touched up any missed spots.
Each step took time and care, but seeing it all come together was rewarding! Remember, it’s okay to go slow and double-check your work. I did that, and I’m thrilled with how it turned out.
Breaking Down the Bill: Picture Frame Molding Costs
When I started my picture frame molding project, the costs pleasantly surprised me. Here’s a breakdown of my expenses for a 12′ x 12′ room:
| Item | Cost |
|---|---|
| 1. Molding (40 linear feet at $2.10/ft) | $85 |
| 2. Paint and primer (leftover) | $30 |
| 3. Nails and adhesive | $15 |
| 4. Caulk and wood filler | $10 |
| 5. Miter saw (borrowed) | $0 |
| 6. Nail gun (rental) | $25 |
| 7. Other tools (already owned) | $0 |
| Total Cost | $165 |
Before and After: The Power of Picture Frame Molding
Here, I’ll share my personal before and after experience with picture frame molding. It’s remarkable how this simple addition changed the whole feel of my room!
BEFORE: My living room wall was plain and forgettable; despite my best efforts with decor, it lacked character and felt unfinished.
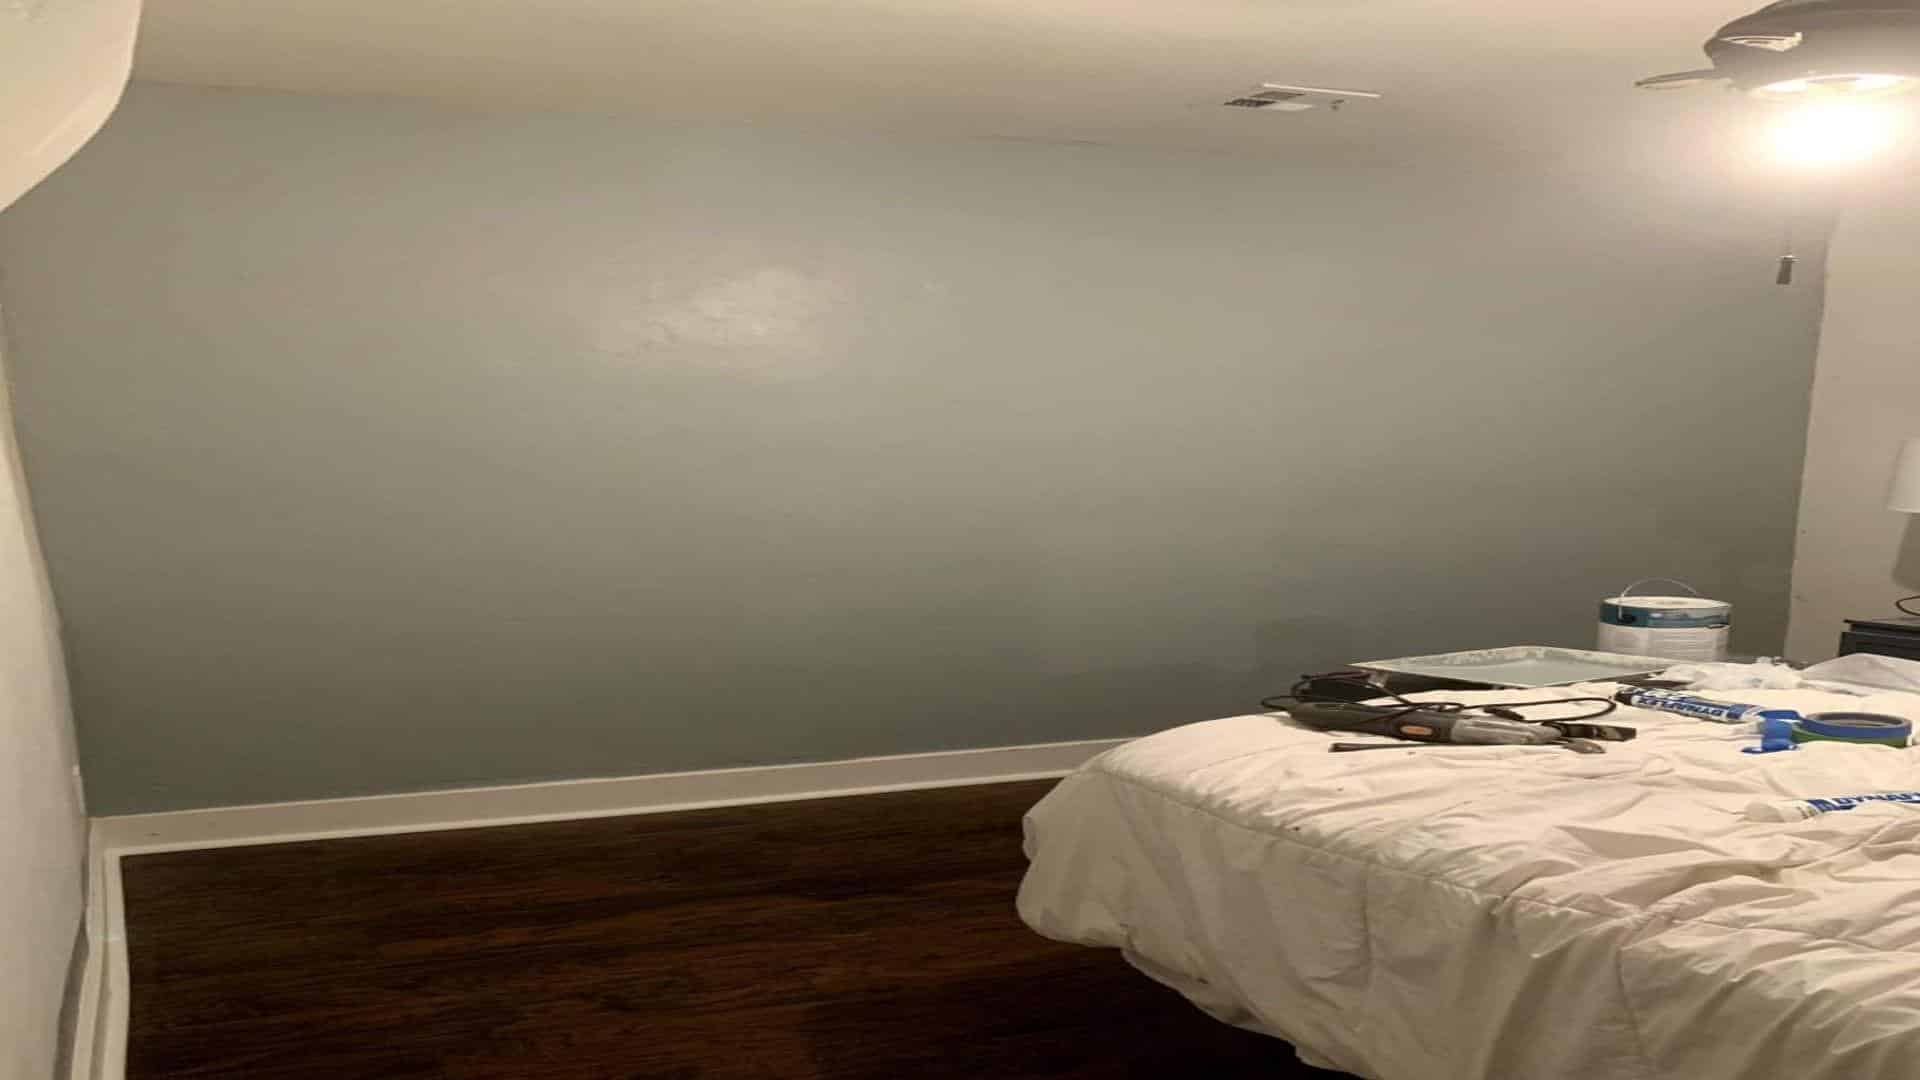
AFTER: The same wall became a focal point with picture frame molding, and the room instantly felt more put-together and high-end. The molding added depth and interest, making the space feel larger and more inviting.
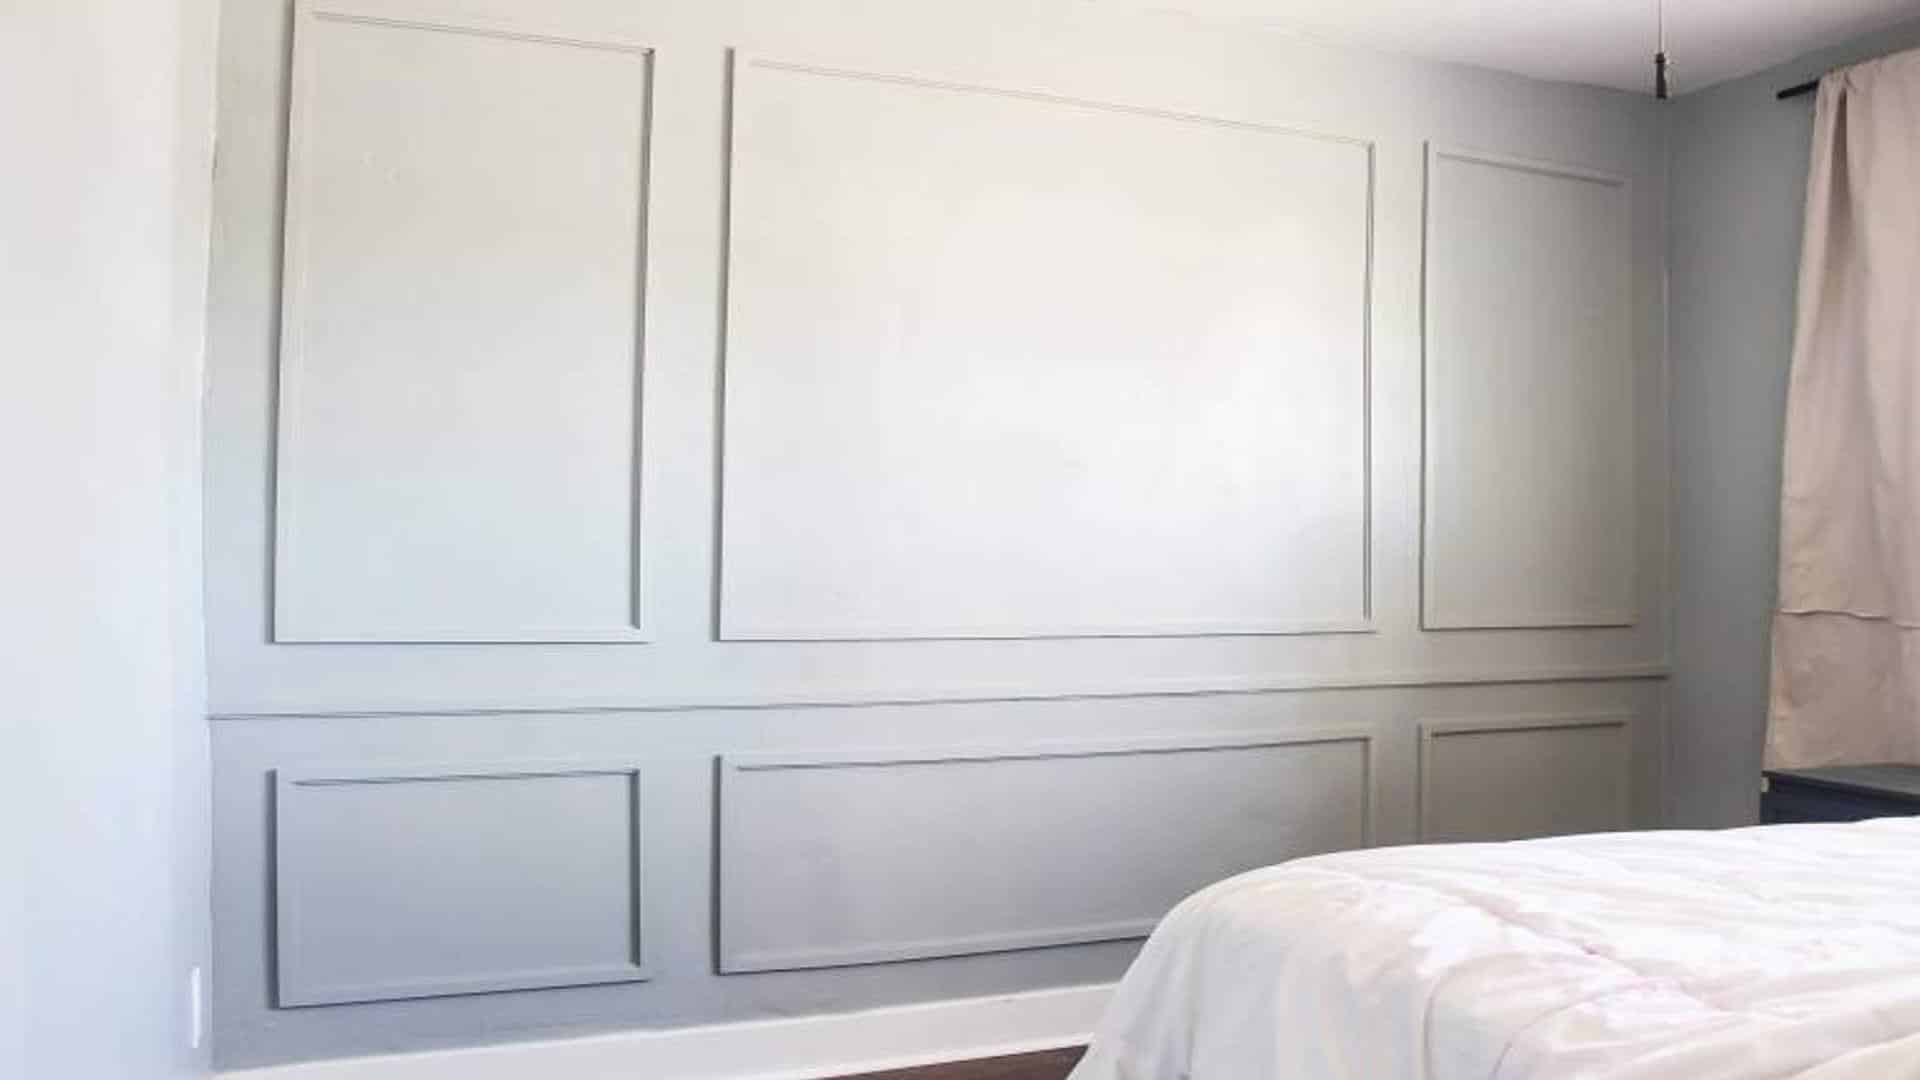
The transformation wasn’t just visual. It gave me a sense of pride whenever I walked into the room. It’s proof that a little effort can go a long way in home improvement!
Creative Picture Frame Molding Designs
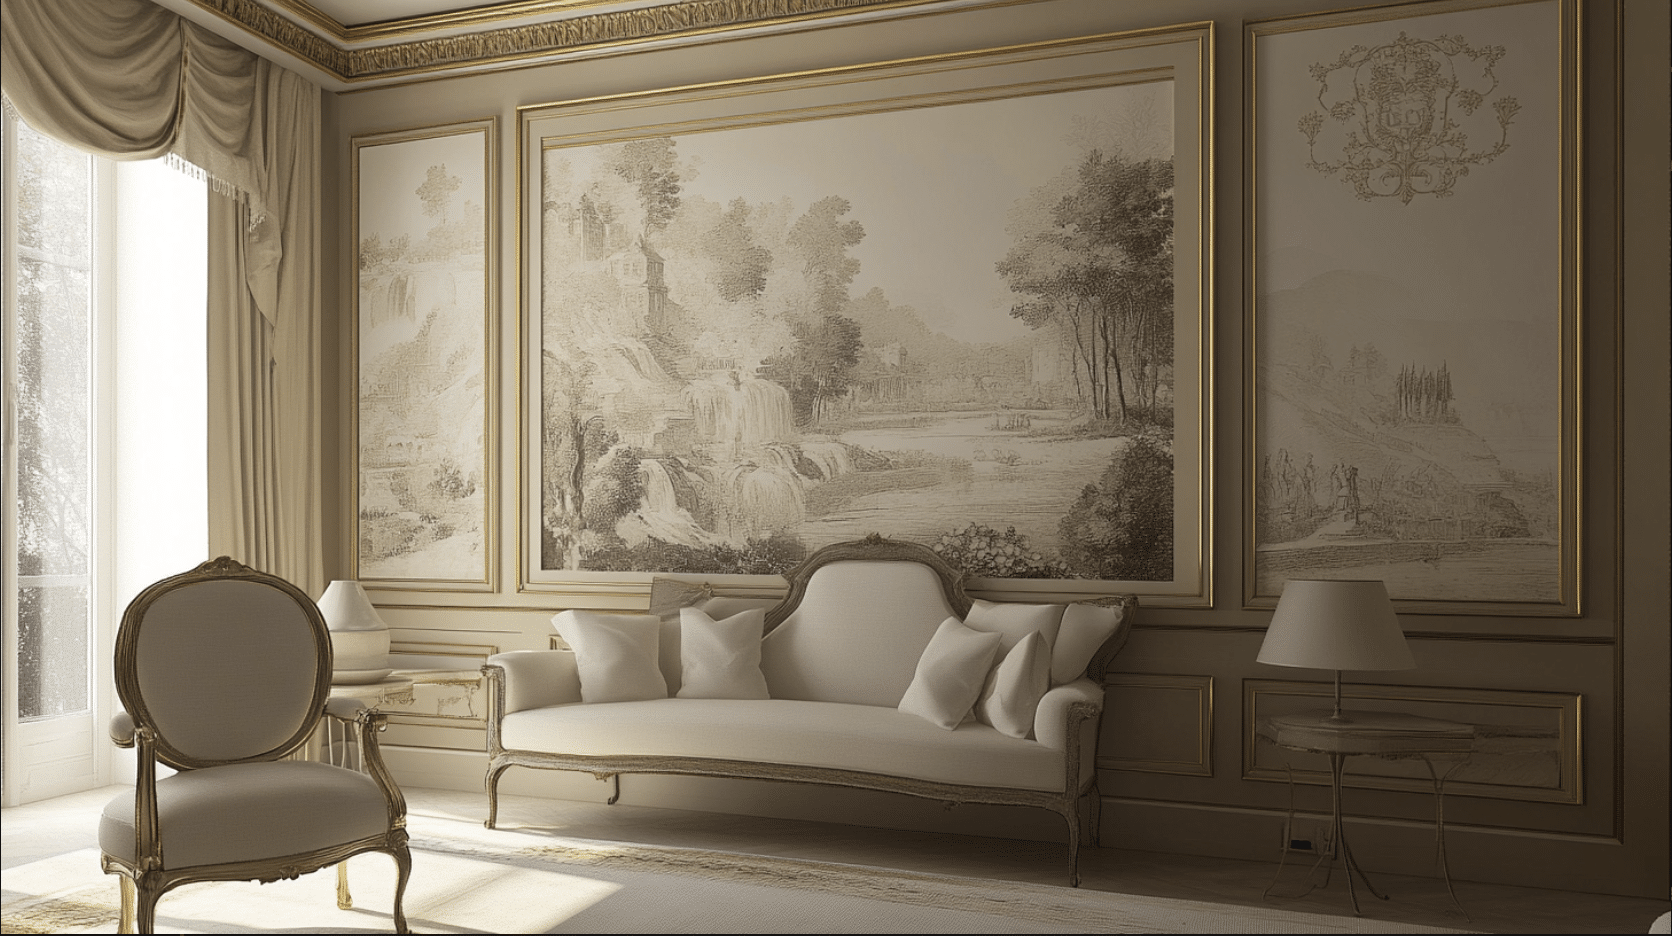
1. Floor-to-ceiling Picture Frame Molding
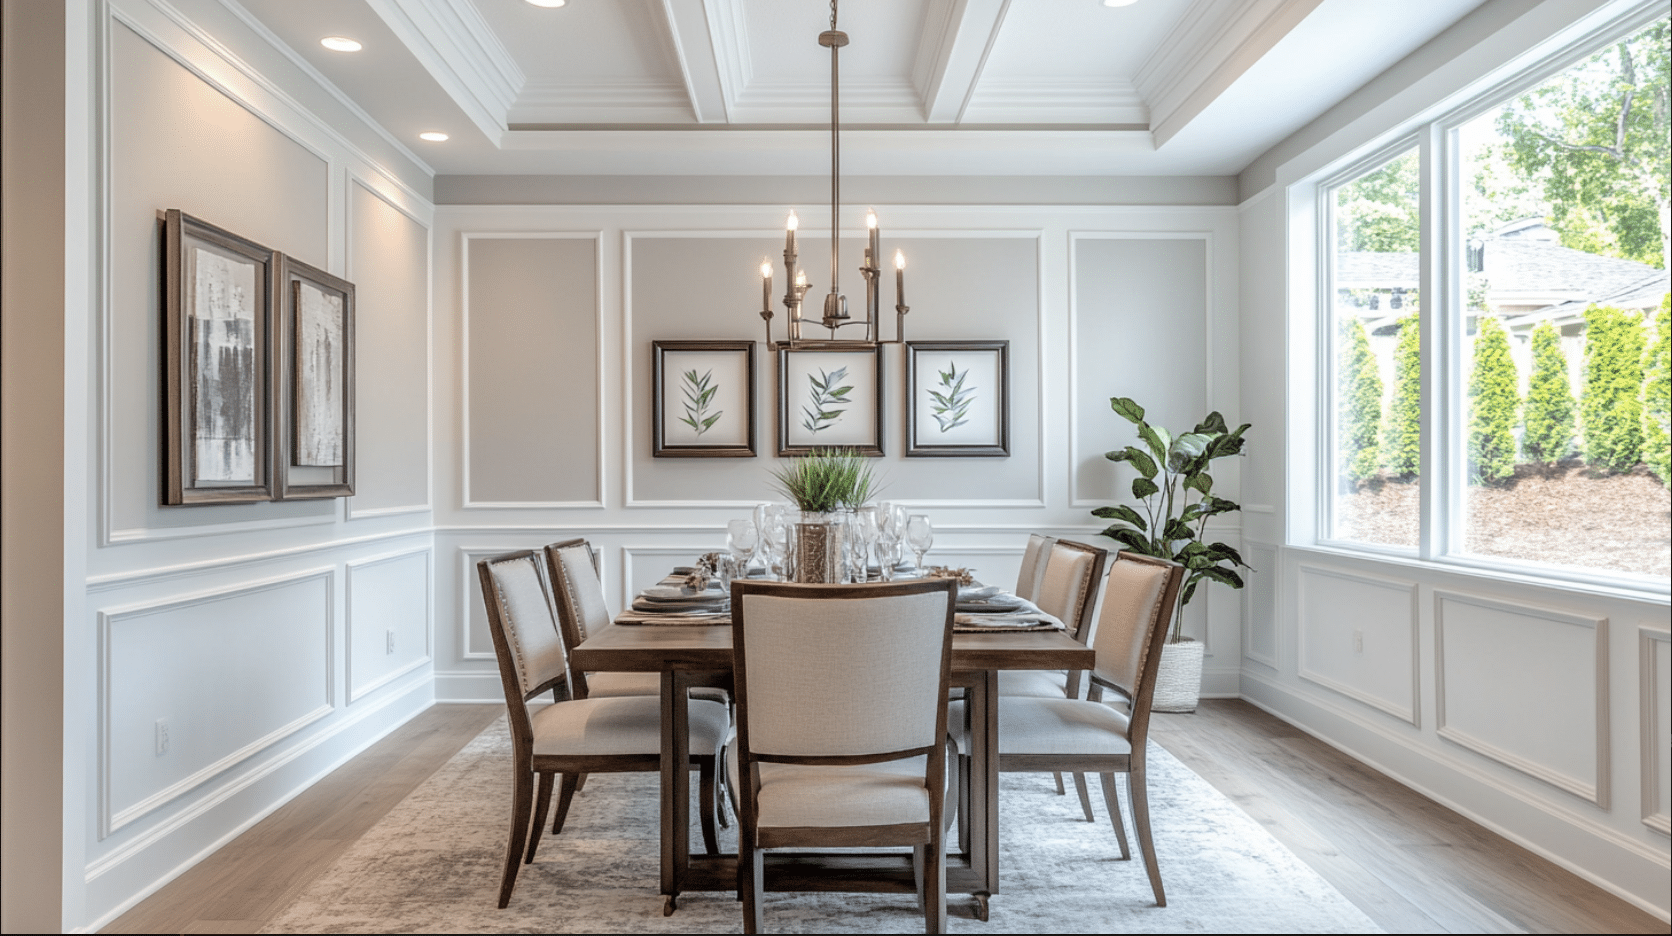
This concept features a dining room adorned with floor-to-ceiling picture frame molding. The molding defines each section of the walls, creating a balanced and refined look.
The symmetrical arrangement of artwork within the frames adds sophistication, while the soft neutral tones, chandelier, and natural light complete the refined ambiance of the space.
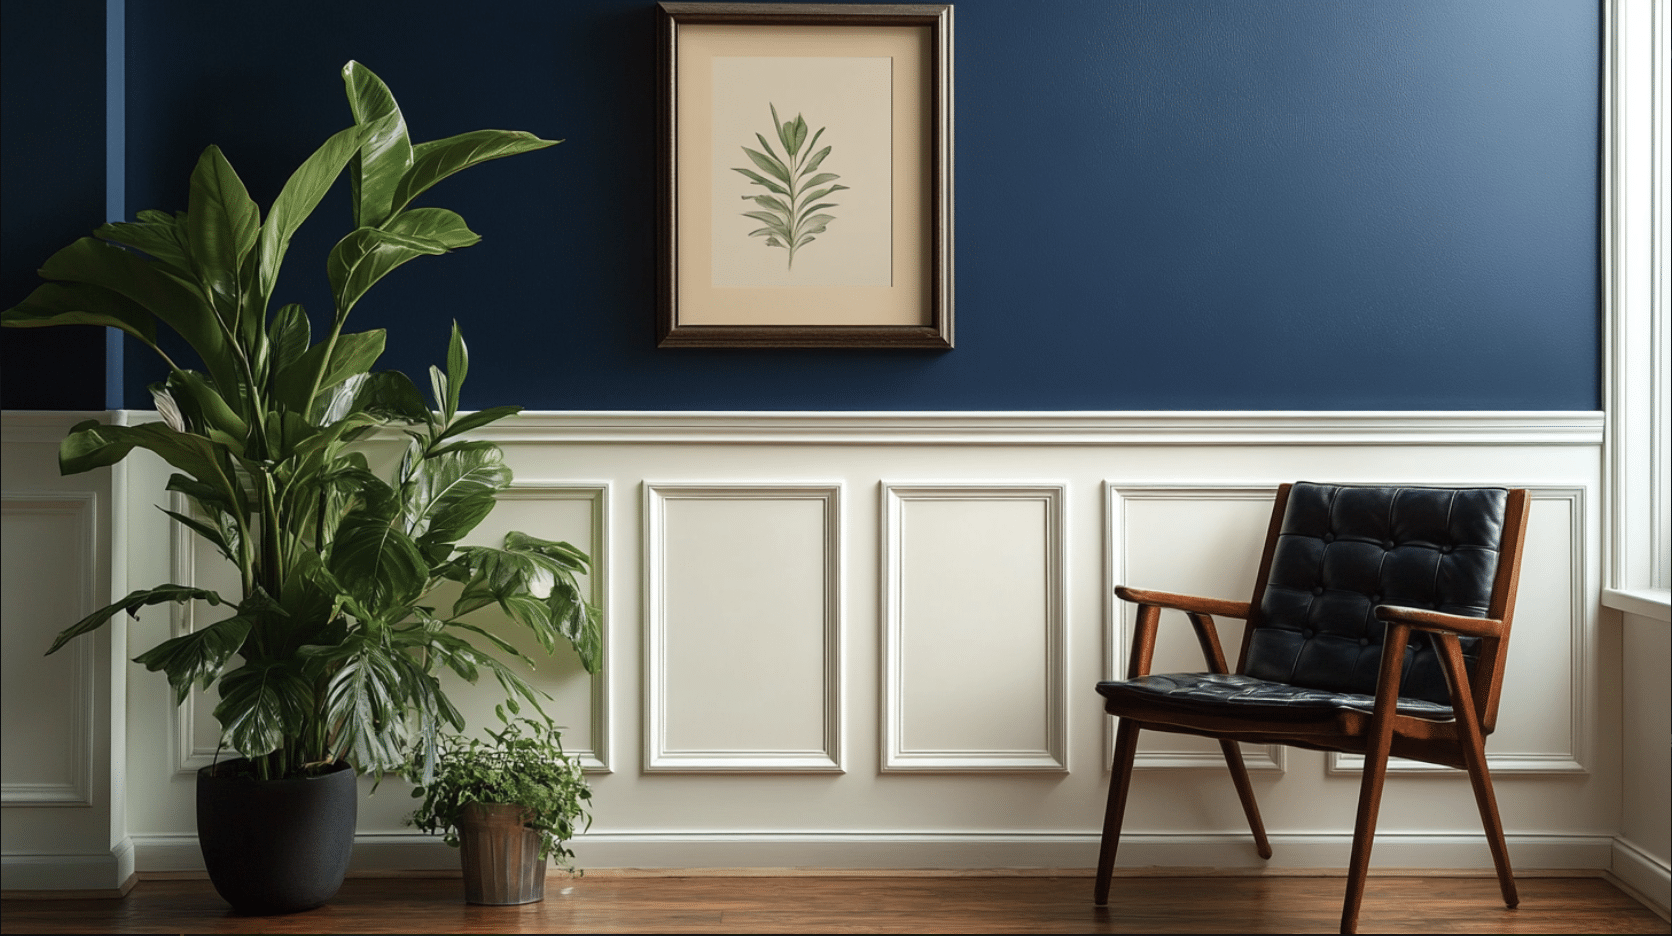
2. Picture Frame Molding Outlining Mural Wallpaper
The design depicts picture frame molding that gracefully outlines a mural-style wallpaper, framing the artwork and adding structure to the design.
The molding creates a defined border, highlighting the wallpaper’s intricate details while maintaining a clean and sophisticated look.
This approach heightens the space, blending art with architectural detail.
3. A Two-Tone Picture Frame Molding
This design features a stylish two-tone picture frame molding. The molding, painted in contrasting shades, enhances the wall’s depth and visual interest.
The combination of green and orange tones creates a bold statement, while the addition of curated decor on the mantel brings warmth and personality to the space.
4. Picture Frame Molding Accent Wall
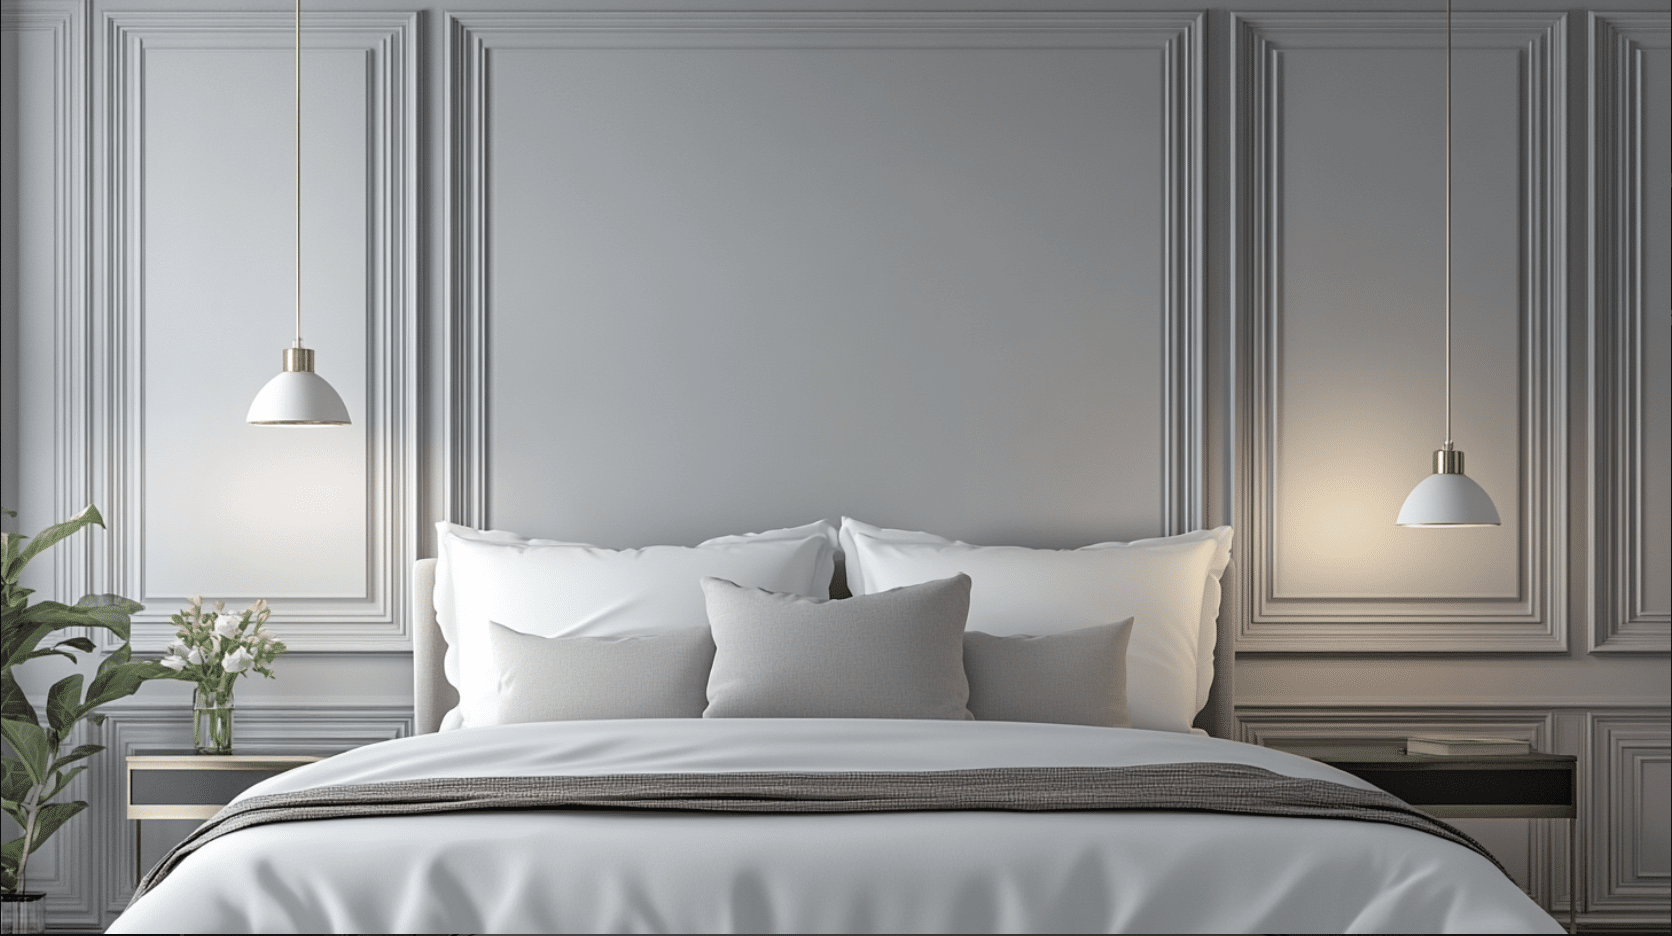
This idea comprises a serene bedroom with a graceful picture frame and molding accent wall.
The molding frames the wall behind the bed, adding texture and sophistication to the otherwise minimalist space.
The neutral tones, soft bedding, and pendant lighting create a balanced, calming atmosphere, making the accent wall a refined focal point
5. Fireplace with Picture Frame Molding
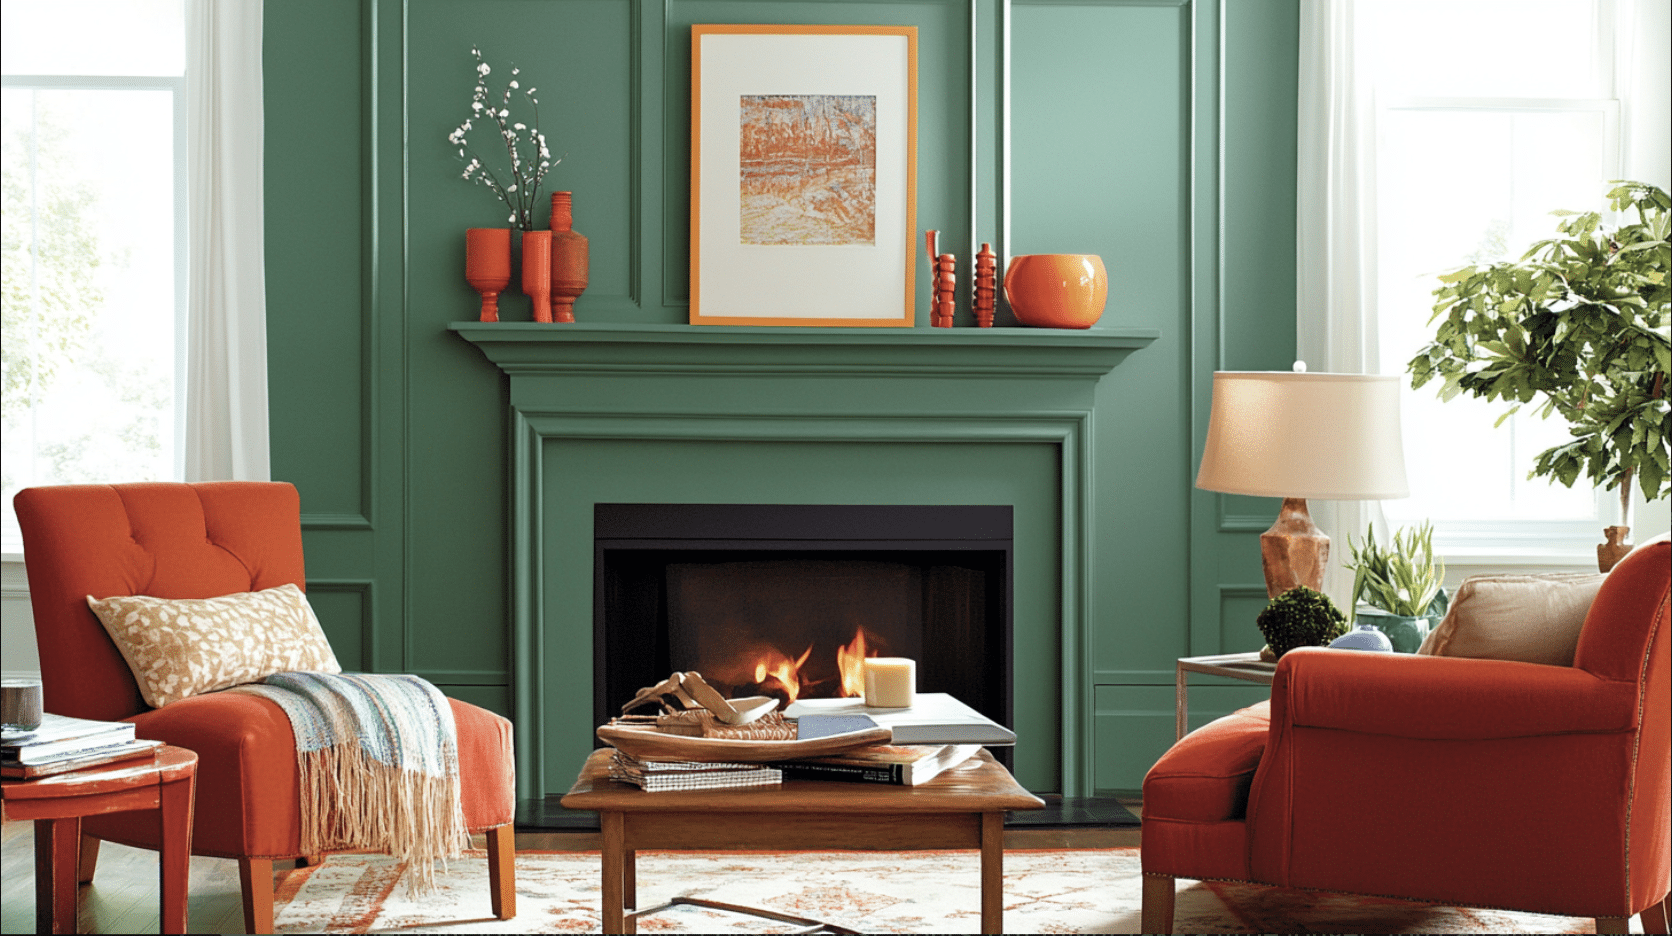
This idea showcases a fireplace surrounded by an extravagant picture frame molding painted soft green.
The molding adds depth and structure to the wall, enhancing the room’s visual appeal.
Above the mantel, an artwork framed in contrasting colors further emphasizes the focal point, while warm-toned decor complements the vibrant orange seating.
Wrapping It Up
Picture frame molding has truly changed my home, and I hope this guide helps you do the same. It’s incredible how this simple addition can make rooms feel more put-together and fancy.
Plus, it’s a project that won’t break the bank but can boost your home’s value. The best part?
You can do it yourself! I was initially nervous, but taking it step by step made it manageable and even fun.
Whether for a classic look or trying something unique, picture frame molding is a great way to show off your style.
I’d love to hear about your projects! Did you try it? How did it go? If you have any questions, feel free to ask.
Remember, every DIY project is a chance to learn and create something beautiful. Happy molding!
Frequently Asked Questions (FAQs)
What Is the Formula for Picture Frame Molding?
Measure the wall length, decide on the panel size, and calculate the frame perimeter. Then, multiply the total molding length by the number of frames.
How Do I Figure out How Much Molding I Need?
Measure the perimeter of each frame, then add the lengths together for all frames. Include 10-15% extra for errors or cuts.
Is Picture Frame Molding Outdated?
No, picture frame molding remains timeless and versatile, enhancing traditional and modern interior designs.