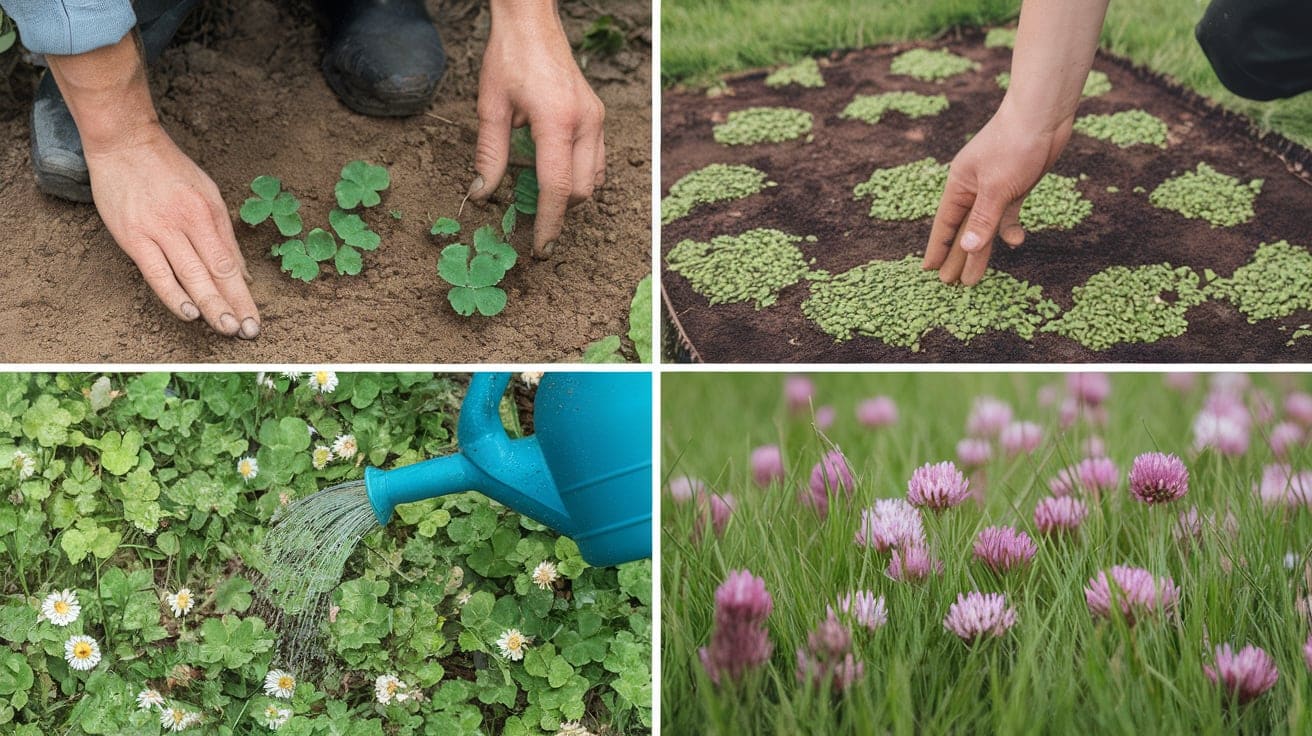
Planting Clover: The Guide to a Lush, Low-Maintenance Lawn
Have you ever considered ditching your traditional grass lawn for something different?
Well, let me introduce you to clover lawns.
They’re not just for lucky four-leaf finds anymore.
For good reason, Clover is coming back in yards across the country.
Why Choose Clover? First, it’s a dream for lazy gardeners (no judgment here; we’ve all been there).
Clover needs way less mowing, watering, and fussing than your typical grass.
It’s like the low-maintenance friend of the plant world.
But that’s not all – clover is a superhero for your soil.
It adds nutrients naturally, saving you from lugging around bags of fertilizer.
Ready to learn more about turning your lawn into a clover paradise? Let’s dig in!
How to Plant Clover in Lawns
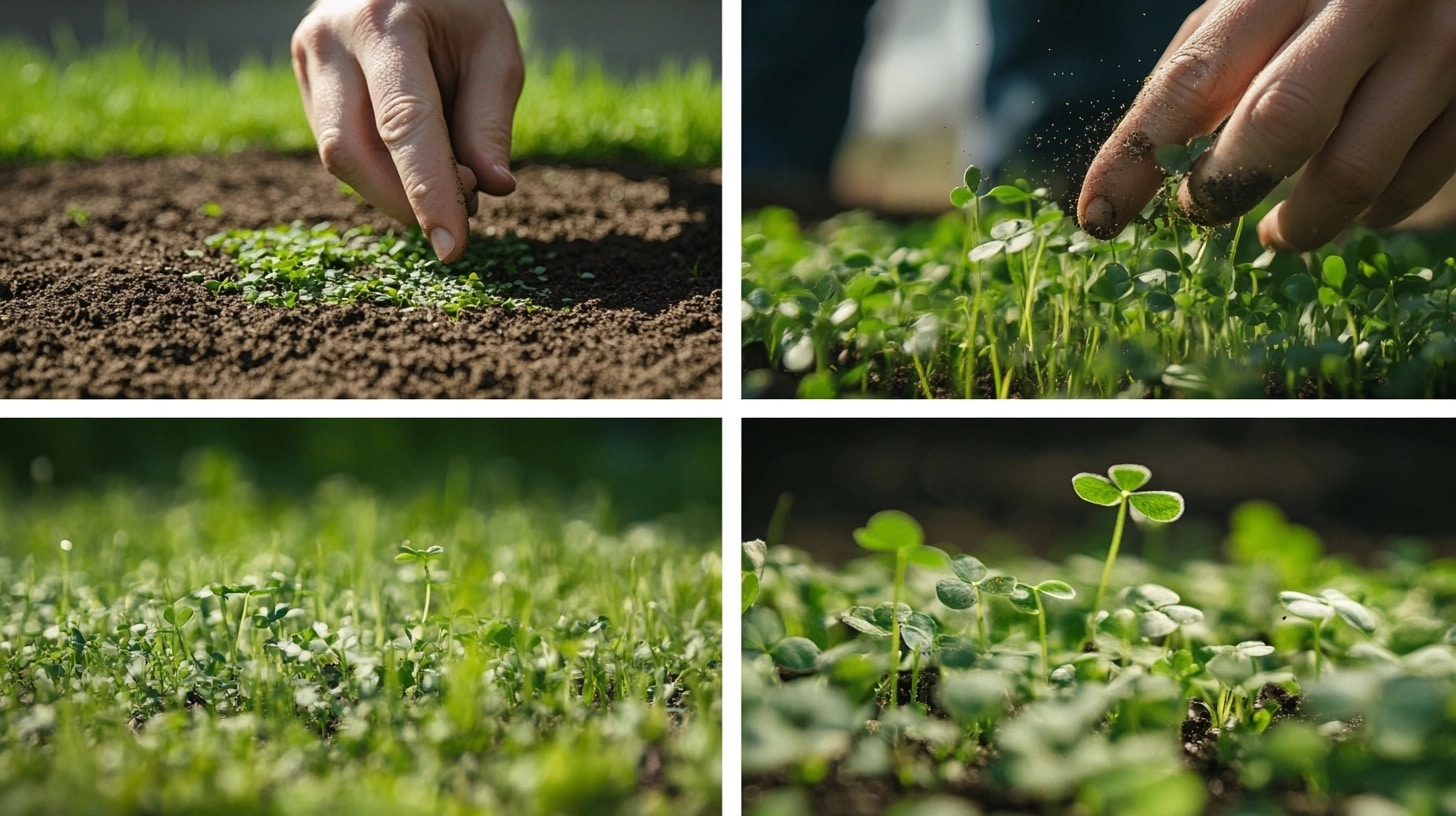
Step 1: Prepare the Soil
- Remove weeds: Pull out weeds by hand or use a safe weed killer. Ensure the area is clear for clover growth.
- Loosen the topsoil: Use a rake to scratch the soil surface gently. For hard soil, consider using a power rake or core aerator.
Step 2: Spread Clover Seeds
- Calculate seed amount: Use about 1/4 pound of seed per 1,000 square feet. Adjust based on package instructions.
- Choose the spreading method: Hand broadcast seeds with a sweeping arm motion for small areas. For larger areas, use a seed spreader for even distribution.
- Mix seeds: Combine seeds with sand or fine soil for visible, even coverage.
- Post-spreading care: Lightly rake the area to ensure good seed-to-soil contact.
Step 3: Water and Care
- Initial watering: Water gently immediately after planting. Aim for moist soil, not waterlogged.
- Ongoing care: Keep soil moist for the first two weeks. Water frequency depends on climate (1-2 times daily if dry).
- Monitor germination: Expect sprouts in 7-15 days. Ideal temperature range is 50°F to 80°F (10°C to 27°C).
- Maintenance: Reduce watering once sprouted. Let the top inch of soil dry between waterings. Reseed any bare patches as needed.
Planting Clover Over Grass
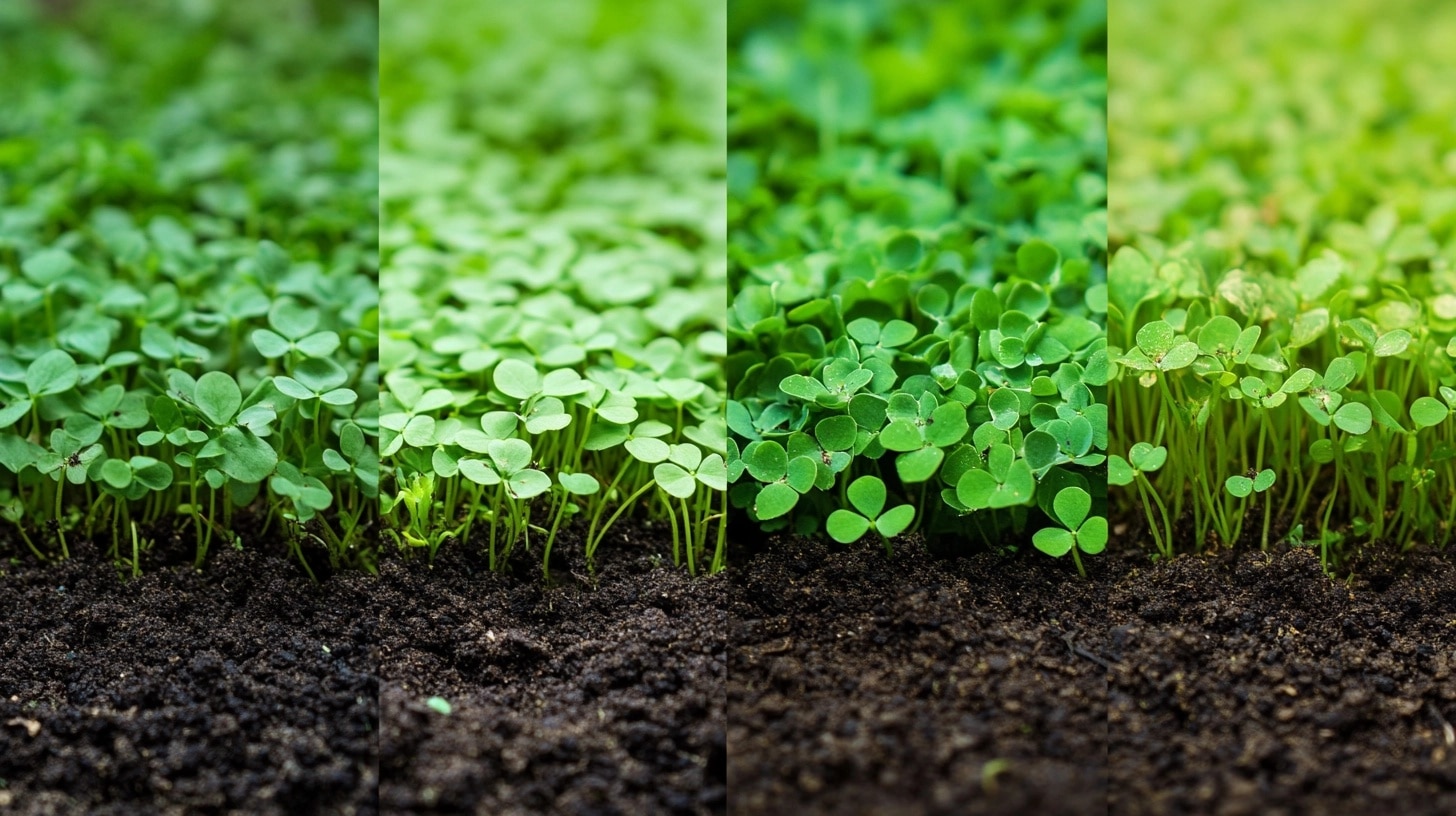
Step 1: Mow the Grass
- Trim it short: Cut your grass to about 2 inches in height. This allows clover seeds better access to soil and sunlight.
- Remove clippings: Rake and remove grass clippings to prevent them from blocking clover seeds.
Step 2: Overseed with Clover
- Choose the right time: Overseed early spring or fall for best results.
- Select clover type: White clover works well for most lawns. Microclover is a good option for a subtler look.
- Calculate seed amount: Use about 1/4 pound of clover seed per 1,000 square feet of lawn.
- Spread the seeds: Use a broadcast spreader for even distribution. For small areas, hand-seeding works well.
Step 3: Maintain Both Grass and Clover
- Watering schedule: Water lightly but frequently for the first two weeks to help clover establish.
- Mowing habits: Once established, mow your mixed lawn to 3-4 inches. This height benefits both grass and clover.
- Fertilization: Reduce or eliminate fertilizer use. Clover naturally adds nitrogen to the soil.
- Weed control: Avoid broad-spectrum herbicides that can harm clover. Hand-pull weeds when necessary.
Planting Clover for Deer
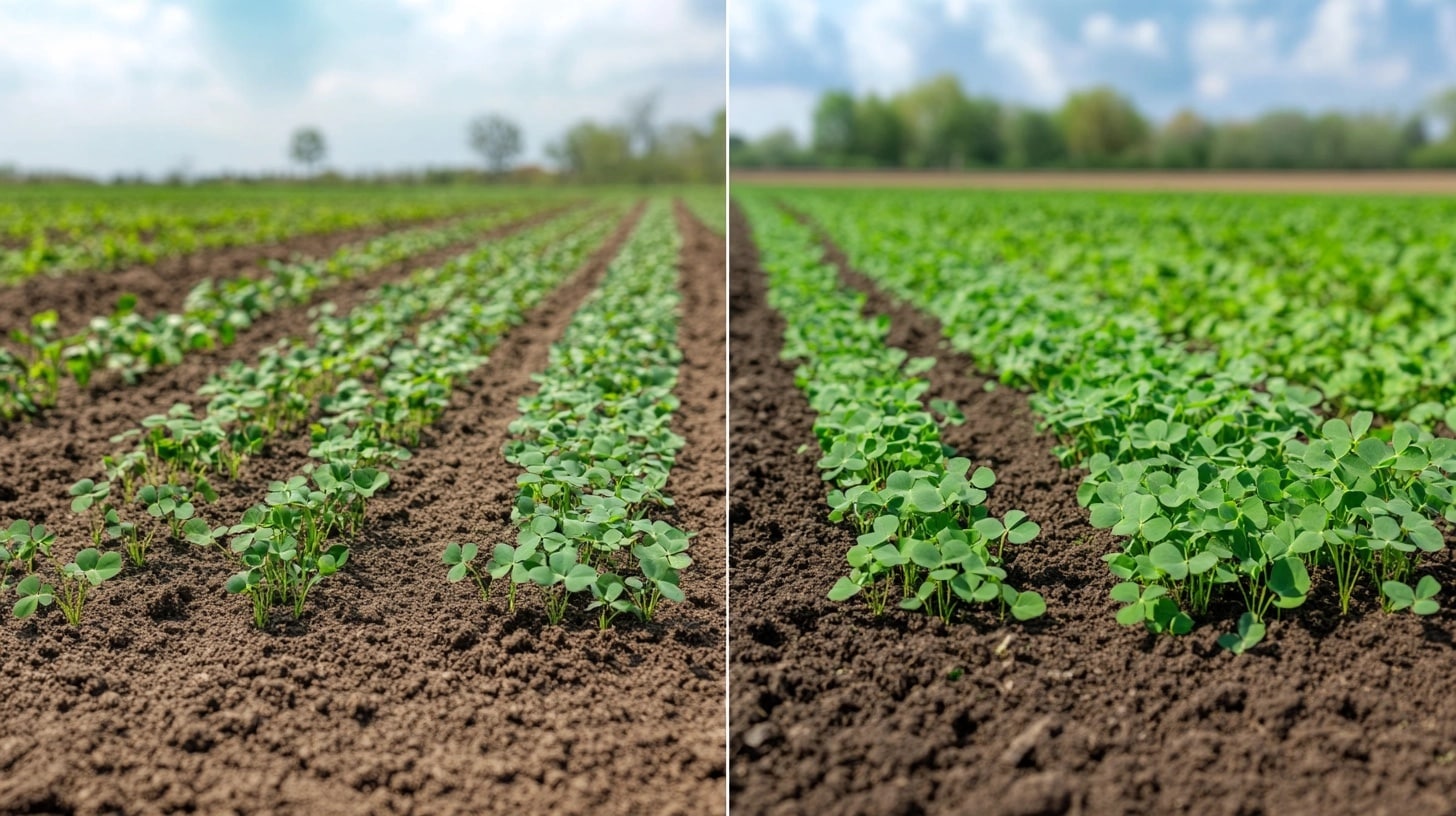
Step 1: Choose the Right Clover Variety
- White clover: Highly attractive to deer and tolerates heavy grazing. Grows well in most soil types.
- Red clover: Taller variety that provides good forage. Preferred by deer in late summer and fall.
- Alsike clover: Thrives in wet, acidic soils. It’s a good choice for poorly drained areas.
- Ladino clover: Large-leafed variety that’s highly nutritious for deer. Grows well in fertile soils.
Step 2: Prepare the Plot
- Select location: Choose a sunny area with good drainage, ideally near deer travel routes or bedding areas.
- Clear the area: Remove existing vegetation, including grass and weeds.
- Test soil: Check pH levels and add lime if needed to achieve a pH between 6.0 and 7.0.
- Till the soil: Loosen the top 4-6 inches to create a good seedbed.
Step 3: Planting and Maintaining
- Timing: Plant in early spring or late summer/early fall for best results.
- Seeding rate: Use 5-7 pounds of seed per acre for most clover varieties.
- Planting method: Broadcast seeds evenly over the prepared area. Lightly rake or roll to ensure good seed-to-soil contact.
- Initial care: Keep the soil moist until seeds germinate and establish (typically 7-14 days).
- Maintenance: Mow periodically to a height of 4-6 inches to encourage new growth and prevent weeds.
Planting Clover as a Cover Crop
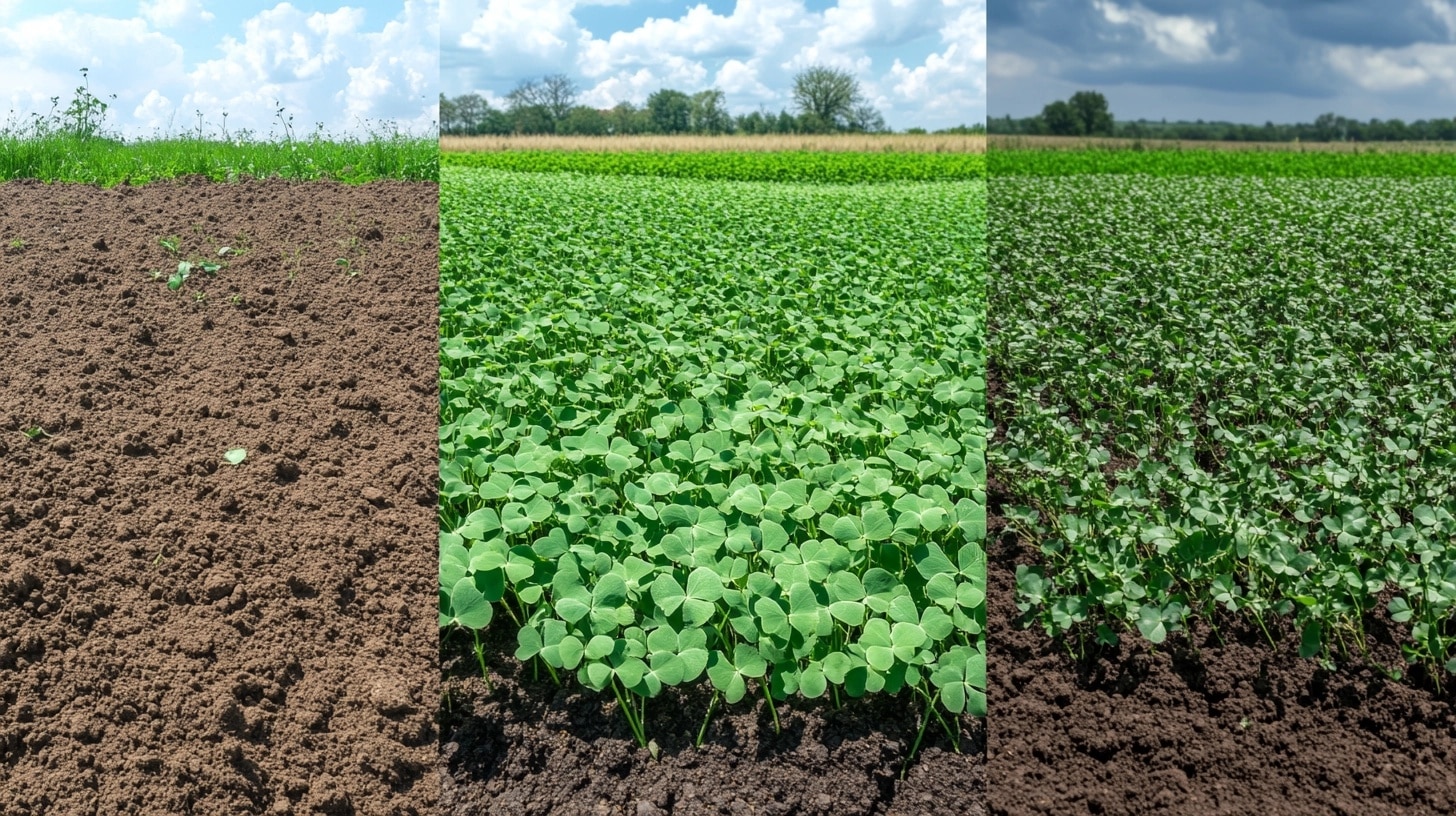
Step 1: Prepare the Soil
- Clear the area: Remove existing plants or crop residue from the previous season.
- Till the soil: Use a tiller or plow to loosen the top 4-6 inches of soil.
- Level the surface: Rake the area to create a smooth, even seedbed.
- Soil test: Check pH and nutrient levels, adjusting as needed for optimal clover growth.
Step 2: Sow Clover Seeds
- Choose clover type: Select based on your goals (e.g., crimson clover for quick growth, red clover for nitrogen fixation).
- Seeding rate: Use 10-15 pounds of seed per acre for most clover varieties.
- Spreading method: Use a broadcast seeder for large areas or hand-spread for smaller plots.
- Incorporation: Lightly rake or harrow the seeds into the top 1/4 inch of soil.
Step 3: Managing Clover as a Cover Crop
- Watering: Keep soil moist until seeds germinate and establish (about 7-14 days).
- Mowing: If needed, mow to control height and prevent seed formation.
- Termination timing: Plan to incorporate clover 2-3 weeks before planting your main crop.
- Incorporation method: Use a plow, disc, or rototiller to work clover into the soil.
General Tips for Planting Clover
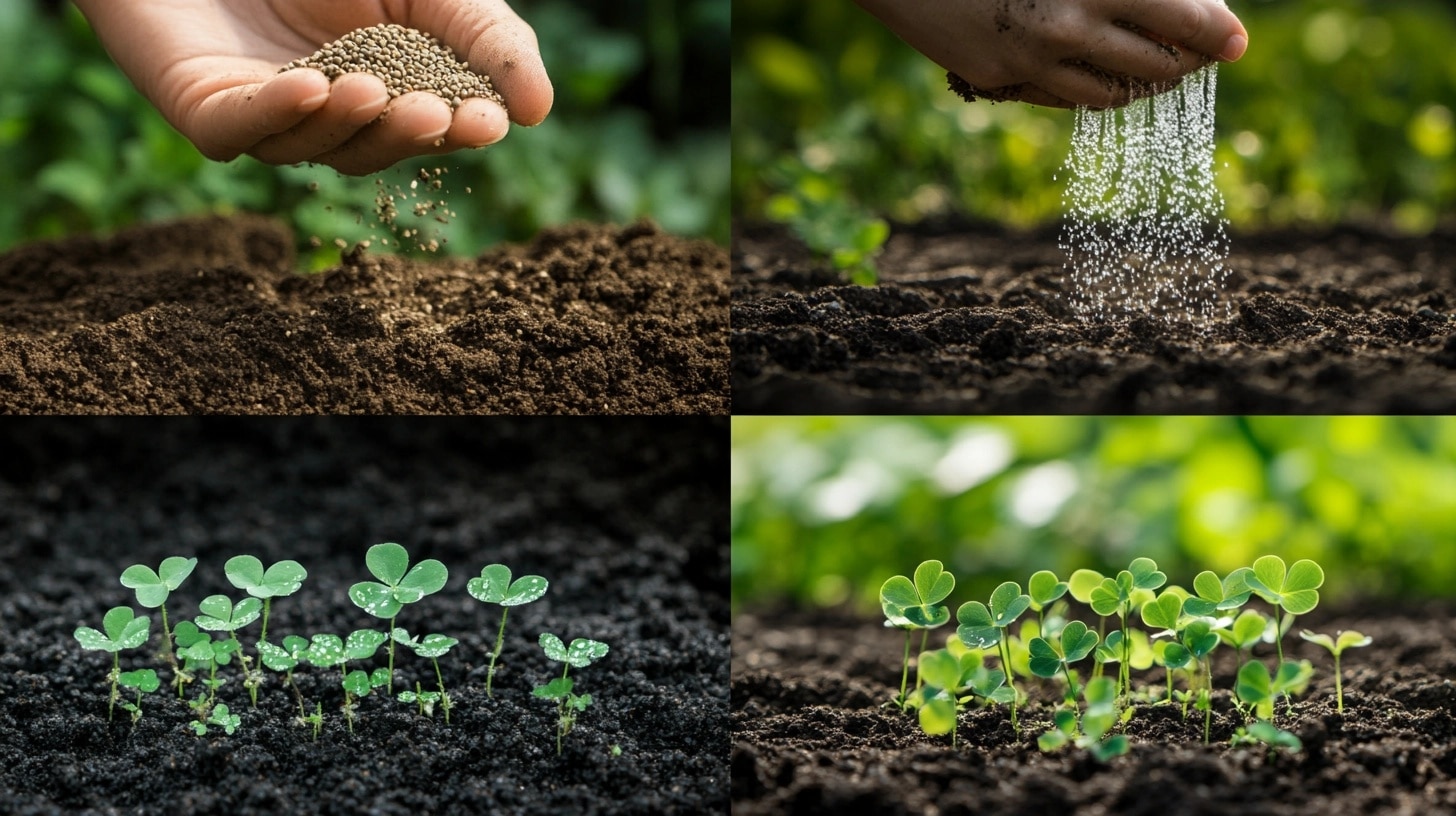
1. Soil and Sunlight Requirements
Clover prefers well-draining soil with pH 6.0 to 7.0. It adapts to many soil types.
Plant in areas with 4-6 hours of daily sunlight. Clover can handle some shade, but full sun is best.
Loosen top 1-2 inches of soil before planting. Best planting times: early spring or late summer.
2. Watering and Fertilizing
Keep soil moist when first planted. Once established, clover needs less water than grass.
Water deeply once a week during dry periods. Clover rarely needs extra fertilizer. It fixes nitrogen from the air, improving soil quality.
For poor soil, add low-nitrogen fertilizer before planting.
Avoid high-nitrogen fertilizers. Clover’s nitrogen-fixing ability benefits nearby plants.
This trait can reduce or eliminate fertilizer needs in your garden.
Common Mistakes to Avoid While Planting Clover
| Mistake | Description | How to Avoid |
|---|---|---|
| Overwatering | Too much water can cause root rot | Water only when top inch of soil is dry. Ensure good drainage. Reduce watering in rainy seasons. |
| Underwatering | Too little water stunts growth | Water deeply once a week in dry periods. Check soil moisture regularly. Increase watering during hot weather. |
| Planting in Poor Soil | Unsuitable soil hinders clover growth | Test soil pH before planting. Add organic matter to improve soil structure. Loosen compacted soil before seeding. |
| Wrong Planting Time | Planting in unfavorable seasons | Plant in early spring or late summer. Avoid planting in extreme heat or cold. Check local climate recommendations. |
| Ignoring Sun Requirements | Planting in too much shade | Choose spots with 4-6 hours of daily sun. Trim overhanging branches if needed. Consider shade-tolerant clover varieties. |
Benefits of Planting Clover
1. Natural Fertilizer
- Clover naturally enriches the soil by fixing nitrogen from the air. This process reduces the need for chemical fertilizers.
- It makes clover an environmentally friendly option for lawn and garden care.
- The nitrogen-fixing ability of clover helps improve soil quality over time. This benefits nearby plants. It also reduces overall maintenance costs.
2. Low Maintenance
- Clover needs less water than traditional grass lawns. This makes it an excellent choice for water conservation. It grows at a slower rate.
- Fewer mowings are necessary. This saves time and effort.
- It also reduces the carbon footprint associated with lawn care equipment.
3. Ground Cover
- Clover serves as an effective ground cover. It plays a crucial role in preventing soil erosion. Its dense root system helps hold soil in place. This is especially useful on slopes or in areas prone to erosion.
- Clover improves water retention in the soil. This can help reduce runoff. It also conserves moisture.
4. Attracts Beneficial Insects
- Clover flowers are highly attractive to bees and other pollinators. Planting clover creates a pollinator-friendly environment in your garden. This supports local ecosystems.
- It can also improve the pollination of other plants in your garden. Potentially increasing yields of fruits and vegetables. Clover helps maintain a balanced garden ecosystem.
- It provides food and habitat for beneficial insects. This natural approach supports biodiversity in your yard.
5. Weed Suppression
- Clover’s dense growth habit makes it an effective natural weed suppressant. As it spreads, it can outcompete many common weeds. This reduces their presence in your lawn or garden.
- The natural weed control method can significantly decrease the need for herbicides. It promotes a more organic approach to lawn care.
- Reducing potential harm to beneficial insects and the environment. Clover can help maintain a cleaner, weed-free lawn naturally. It saves time and effort typically spent on weed control.
Downsides of Planting Clover
1. Shorter Lifespan
- Clover may wear out more quickly under heavy foot traffic compared to traditional grass. It often needs more frequent replanting in high-use areas.
- The lifespan of a clover lawn is typically shorter than that of a grass lawn. This can lead to increased maintenance over time.
2. Patchy Growth in Extreme Weather
- Clover doesn’t tolerate extreme cold or drought as well as some grass types. This can result in uneven or patchy growth during harsh weather conditions.
- Clover may die off in areas of your lawn during severe winters or prolonged dry spells. Recovering from weather damage might take longer for clover than for grass.
3. Can Be Invasive
- Clover can spread rapidly and may invade areas where you don’t want it. This quick growth might require more frequent edging and maintenance.
- Clover can overtake other plants in your garden or landscaping. Controlling its spread might be challenging without regular attention.
4. Attracts Bees
- Clover flowers attract more bees to your lawn. This could be a concern for families with small children.
- People with bee allergies may find this particularly problematic. The increased bee presence might limit outdoor activities for some.
Final Thoughts
Planting clover in your lawn or garden offers many benefits. It’s a low-maintenance option that helps improve soil health naturally.
Clover needs less water and mowing than regular grass, making it easier to care for. It also attracts helpful insects and can stop weeds from growing.
However, clover has some drawbacks too. It might not last as long as grass in busy areas and can spread quickly.
It also brings more bees, which some people might not want. Before you decide to plant clover, think about what you need from your outdoor space.
If you want a green area that’s easy to care for and good for the environment, clover could be a great choice.
With the right planning and care, you can enjoy a beautiful, healthy clover lawn or garden.
Frequently Asked Questions
How Fast Does Clover Grow from Seed?
Clover seeds typically germinate in 7-15 days under ideal conditions. You’ll see sprouts within two weeks, but full lawn coverage usually takes about 6-8 weeks, depending on growing conditions and clover variety.
Do I Need to Cover Clover Seeds After Planting?
It’s best to lightly rake clover seeds into the top 1/4 inch of soil after planting. This ensures good seed-to-soil contact without burying them too deep, which can hinder germination.
Can I Just Throw Clover Seed on The Ground?
While clover can grow this way, it’s not ideal. Preparing the soil by loosening it and removing debris greatly improves germination rates. Raking seeds in lightly after spreading ensures better soil contact.

